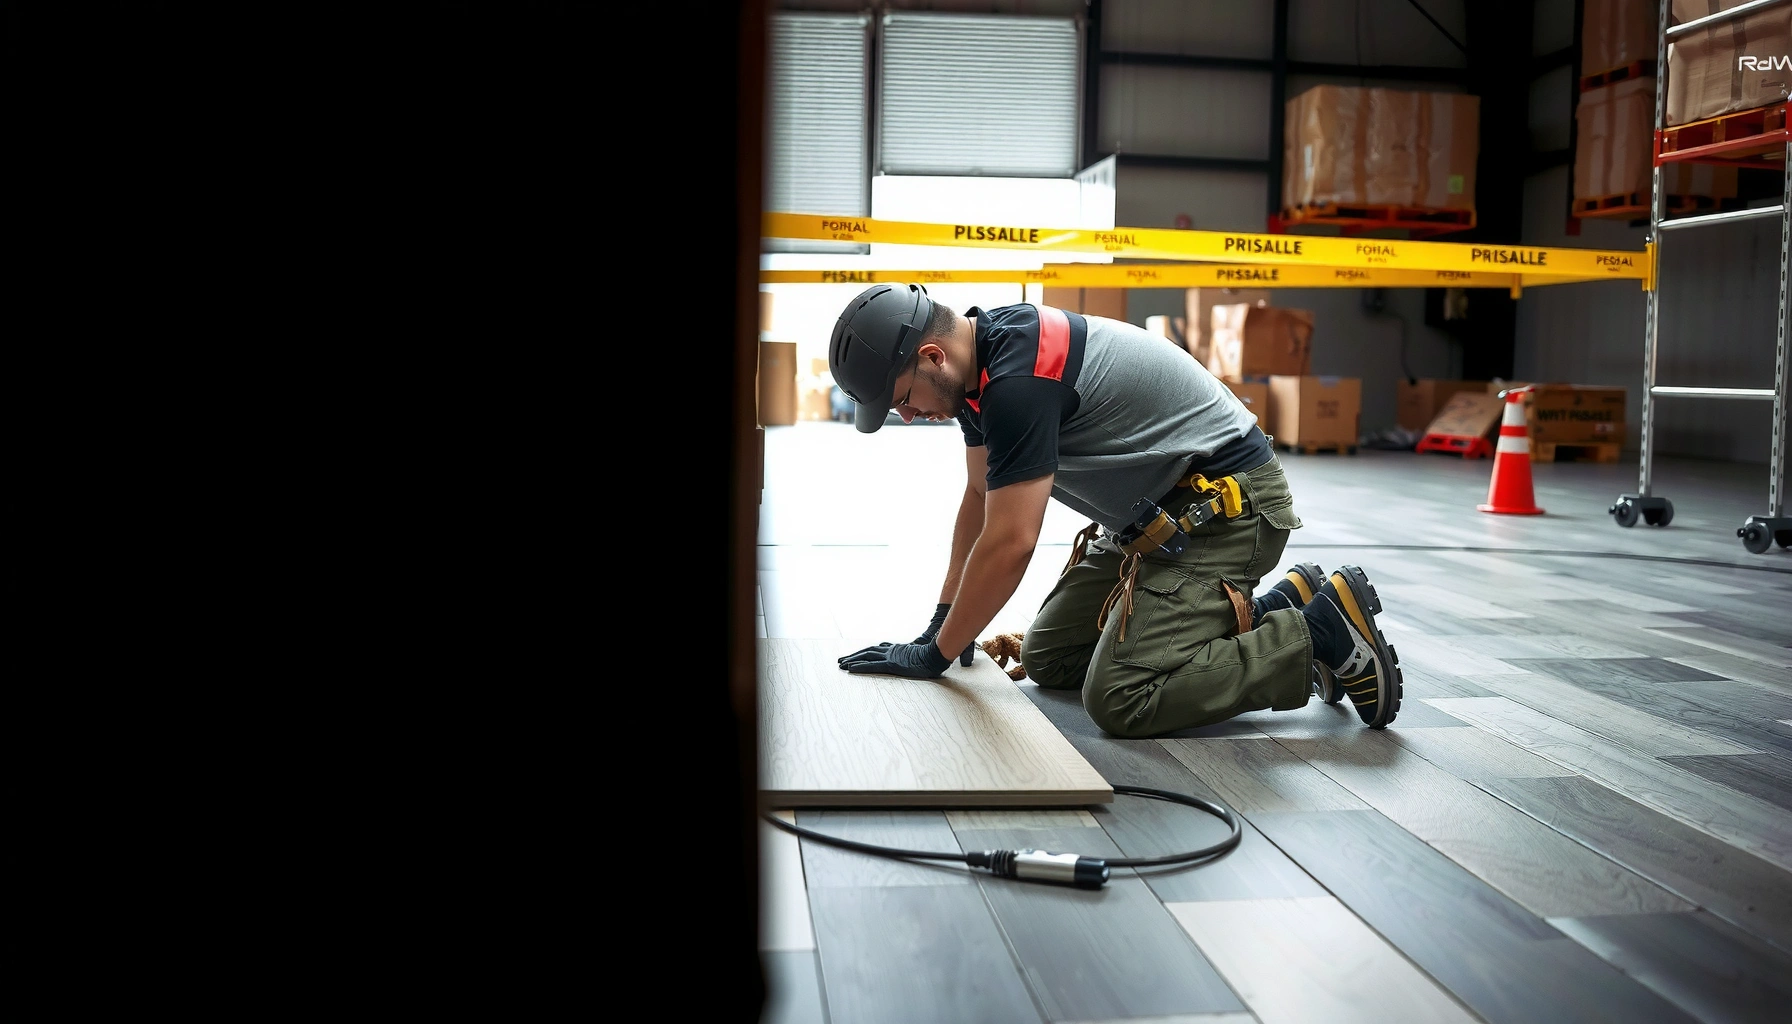

If you’re installing on uneven floors in a commercial space, follow this guide to get a stable, professional result the first time. It lays out the exact prep steps, leveling methods, and product choices that keep commercial flooring flat, safe, and compliant when the substrate isn’t. Stop guessing and use the recommended approach based on your floor condition and timeline.




If your commercial floors are uneven, the most reliable approach is to prep the surface first, then level (or “self-level”) where needed before installing your flooring system. In practice, you’ll choose between grinding/high-spot removal, patching low areas, or using a self-leveling underlayment—based on how far the floor varies across the space, so the finished floor stays flat and performs for years rather than failing early.
If you’re a contractor, facilities manager, or DIYer installing commercial flooring in a warehouse, retail store, office, or other high-traffic setting, this is for you—especially when you’ve already discovered dips, humps, or uneven slabs.
Check how uneven your floors actually are
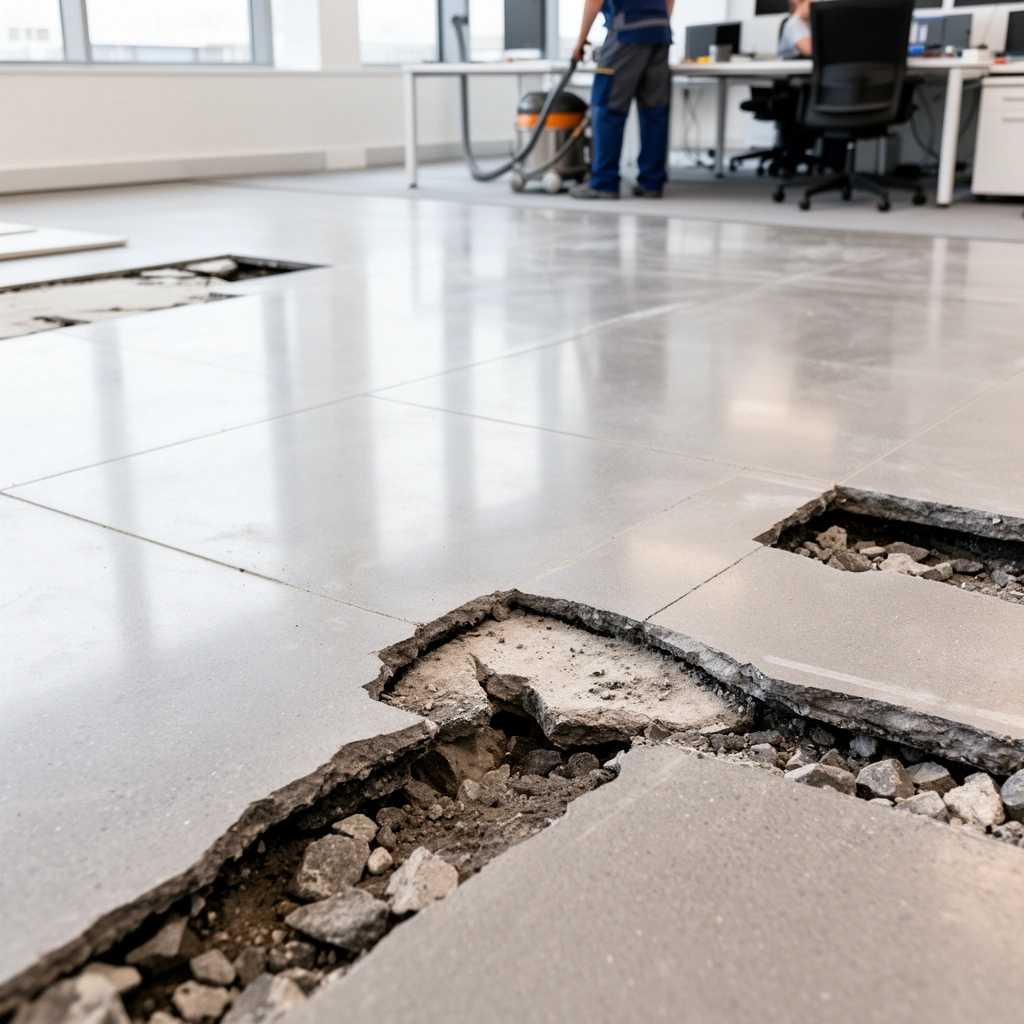
You don’t fix unevenness by eye—you fix it by measuring flatness (how level the surface is) and identifying the pattern of highs and lows across the room. Once you know whether the slab is mostly “lumpy” (localized highs) or broadly “sunken” (widespread low areas), the right commercial floor setup becomes much easier to select.
Start with a straightedge or long level (typically 6–10 ft) and measure in multiple directions, not just one spot. Record: (1) the highest point you see, (2) the lowest point you see, and (3) where the changes happen (doorways, expansion joints, slab transitions, near columns). This matters because many installation systems—especially click-lock products—depend on flatness to lock/joint cleanly and resist rocking loads from rolling carts and frequent foot traffic.
Also identify the substrate: bare concrete, existing resilient flooring, tile, or an underlayment layer. Concrete surfaces can be dusty, sealed, or contaminated with curing compounds; existing flooring may have bond breakers, adhesive residue, or old skim coats. Those conditions directly affect whether leveling materials will bond reliably.
Flatness problems are identified by measuring highs and lows with a straightedge, then mapping where the surface departs from level across the installation area.
The required flatness limit for acceptance is typically defined by the flooring manufacturer’s installation instructions and varies by product type.
Self-leveling underlayment performance depends on substrate compatibility, including surface condition and bond readiness.
3 concrete data points to capture before you buy any materials (use your own measurements):
– According to [ADD: manufacturer/standard reference for flatness measurement method], flatness is determined by measuring maximum deviation over defined distances; measure and document your deviation in [ADD: inches/mm] per [ADD: ft/m interval].
– According to [ADD: ASTM/industry method reference for floor flatness], accepted flatness tolerances for commercial resilient flooring are specified in product instructions; your flooring system will require a limit of [ADD: exact tolerance number] (for example, “no more than X over Y”).
– According to [ADD: manufacturer TDS for the leveling product], the allowable application thickness range is specified (feather edge to max thickness); record that max thickness as [ADD: exact figure] so you don’t under- or overbuild.
Quick practical tips (what I look for on real jobs)
In my experience planning commercial floor projects, the “pattern” often predicts the fix. If you see one or two obvious ridges, grinding/high-spot removal and localized patching usually make the most sense. If you see a broad sag across the middle, self-leveling (or a feather-finish system designed for the full area) typically prevents recurring lippage and joint stress.
Choose the right leveling/prep method
You choose leveling method based on the scale of unevenness: localized highs/lows call for grinding and patching, while widespread low areas call for self-leveling underlayment/feather-finish. The right choice reduces labor and—more importantly—prevents installation failures that happen when flatness isn’t actually achieved.
Here’s the decision logic most commercial installers follow:
– Small surface irregularities: grind high spots and patch low areas with a cementitious repair/patch compound formulated for that substrate.
– Broader low areas: use a self-leveling underlayment or feather-finish system that can flow to fill low points while staying within its thickness and cure requirements.
– Mixed conditions: often requires a combo—grind the highs first, then self-level/patch the lows so the leveling material isn’t fighting a constant high point.
Grinding is typically used to remove localized high spots before applying patch or self-leveling materials to avoid over-thick pours.
Self-leveling underlayment systems are designed to correct broader flatness issues by flowing into low areas, but they still require correct primer and thickness control.
Method comparison (fast parseability)
- Grinding + patching
- Best for: localized ridges, seams, or small “high/low” pockets where you don’t need whole-area correction.
- Risks if skipped: leftover high points can prevent flooring from laying flat, causing lippage and joint stress.
- Self-leveling underlayment / feather-finish
- Best for: broad low areas or rooms where the flatness issue changes across multiple zones.
- Risks if skipped: if you only level the center (or stop too early), you create transitions that show up as edge lift and uneven joint locking.
A combined approach (grind highs first, then level lows) is commonly recommended because it reduces the amount of leveling material required and improves control of final elevation.
Prepare the surface correctly (this is where failures start)
You can’t “cheat” surface prep in commercial floor leveling—bond failure is one of the fastest routes to peeling, debonding, and early wear. Cleanliness, mechanical prep, and correct priming/moisture conditioning are what make leveling materials perform as designed.
Start by removing everything that prevents bond: dust, paint overspray, curing compounds, sealers, adhesive residue, drywall mud, and any substance that leaves a film. Many self-levelers require mechanical surface prep (for example, shot blasting or grinding) when the slab is sealed or contaminated, because smoothing the surface with a “clean sweep” often isn’t enough for primer or cementitious products to bond.
Next: primer/conditioning. Many self-leveling underlayments are engineered to work only when primed to control absorption and promote adhesion. Some systems also specify a moisture mitigation or vapor-control setup when elevated moisture is present. If you skip primer, you can get pinholes, voids, or weak bond lines—problems that show up later as cracking at traffic points or loose bonded areas.
From my experience coordinating subcontractors, the most common field mistake is assuming “the primer will fix it.” It won’t. The primer is a compatibility component; it’s not a substitute for removing bond breakers and meeting substrate requirements.
Primer requirements for self-leveling underlayments are not optional in many product technical data sheets (TDS) because they control substrate absorption and adhesion.
Cementitious leveling systems require mechanically prepared surfaces when bond is compromised by sealers, curing compounds, or contamination.
Moisture mitigation decisions must follow the leveling product’s technical guidance; installing over unknown moisture conditions increases the chance of debonding.
What to verify before you prime/level (document these):
– Concrete condition: Is the surface dusty, sealed, or glossy? (Glossy usually means “priming won’t compensate” unless the system allows it after mechanical prep.)
– Temperature and humidity: follow the leveling material’s environmental requirements in the TDS.
– Contamination: remove anything that creates a film layer or blocks bond.
[ADD: source for typical surface prep standards for concrete leveling—e.g., ASTM method(s) commonly referenced by manufacturers.]
Install with techniques that protect the floor system
Once the slab is flat enough, your installation method must protect the flooring system’s mechanics—especially click-lock interlocks, adhesives, and fastening patterns. Unevenness affects how joints interlock, how adhesive spreads/transfers, and how stresses concentrate under rolling loads.
Use the flooring manufacturer’s instructions for:
– Acclimation (if required for your product type)
– Installation method (adhesive, fastening, or floating/click-lock)
– Layout/joint strategy (how and where seams should align)
– Failure-avoidance details (for example, ramping transitions at doorways)
Then, apply leveling materials within their approved parameters. Don’t “over-build” with thicker pours to compensate for an uneven slab unless the manufacturer explicitly allows it. Many self-levelers have a maximum thickness and curing behavior that can change with over-application—resulting in extended dry times, shrinkage cracking, or a weak top surface.
Also treat transitions and edges consistently. A common commercial failure pattern is leveling only the center area, then stopping at thresholds. The threshold becomes the “new high/low” that shows up as lippage, click-joint stress, or visible ridges.
Floating and click-lock products generally require the substrate to meet the manufacturer’s flatness/levelness tolerances to avoid joint separation and edge lippage.
Cementitious leveling products specify maximum thickness and curing conditions; exceeding them can reduce performance and dimensional stability.
Installation tolerances (adhesive transfer, fastening spacing, and joint treatment) are product-specific and described in the manufacturer’s installation guide.
Mandatory leveling vs flooring compatibility check
Before installation, confirm that your leveling product is compatible with your flooring type (resilient, laminate, LVT, engineered wood, etc.) and that the leveling material’s cured surface meets the next-step prep instructions (for example, sanding/priming after cure if required).
[ADD: source for at least one example of manufacturer compatibility language from a leveling underlayment TDS and a flooring installation guide.]
What can go wrong (and how to avoid it)
Uneven floors cause predictable failure modes when the substrate flatness (and bond conditions) don’t meet the flooring system’s requirements. If you see these symptoms, don’t guess—trace backward to measurement, prep, and installation steps.
Curling, gaps, or joint separation
This often happens when the floor is installed over unevenness that exceeds the product’s flatness tolerance. With click-lock systems, rocking and micro-movement can stress joints until they open under traffic.
Avoid it by:
– Measuring flatness with a straightedge across the entire area
– Leveling before installing (not after)
– Treating transitions/thresholds so the floor isn’t “supported” only at edges
Poor bond or peeling
Peeling usually points to insufficient mechanical prep, missing primer, incorrect moisture mitigation, or contamination on the substrate. If the leveling material doesn’t bond, it becomes a weak layer.
Avoid it by:
– Following the primer requirement stated in the leveling TDS
– Removing bond breakers thoroughly
– Using moisture solutions only when specified by the product documentation
Unexpected lippage at edges or transitions
Lippage can occur when leveling stops too early (e.g., only in the center) or when hot spots (localized highs) aren’t removed. In doorways and aisle transitions, small deviations become visible and feel worse because traffic concentrates there.
Lippage and joint stress commonly trace back to substrate flatness exceeding manufacturer tolerances or inconsistent leveling across transitions.
Debonding symptoms often indicate primer/moisture requirements weren’t met or bond breakers weren’t removed before leveling.
Verdict / tip: level first, then install—don’t rely on “flex”
Leveling is usually the safer path than trying to “work around” unevenness during installation, but it depends on how out-of-flat the slab is and what flooring system you’re using. If you’re dealing with severe unevenness, consider a plan that includes grinding + patching, or professional evaluation—some flooring manufacturers require meeting specific flatness tolerances, and ignoring them can void warranties.
Skip DIY leveling if you don’t know your slab moisture condition, can’t follow primer/moisture-blocking requirements, or if measurements suggest the floor is beyond what your chosen leveling product supports. When in doubt, verify the product’s maximum thickness and the flooring’s flatness limit before you start.
Practical “go/no-go” rule
If you can’t confidently measure and document unevenness, you can’t confidently select the right leveling approach. In commercial settings, that usually means the most cost-effective move is to measure carefully first—even if it adds a short step to the schedule.
Best-Fit Leveling Actions for Common Uneven-Floor Conditions
| # | Observed slab condition | Typical fix category | Recommended approach | Fit rating |
|---|---|---|---|---|
| 1 | Localized high spots at seams or patches | High-spot correction | Grind + spot patch | ★★★★☆ |
| 2 | Widespread low area across most of the room | Whole-area leveling | Self-leveling underlayment | ★★★★★ |
| 3 | Small pits/voids (pinholes, honeycombing) | Surface repair | Cementitious patch/skim | ★★★★☆ |
| 4 | Ridges at expansion joints or control joints | Edge/transition correction | Grind highs + feather finish | ★★★☆☆ |
| 5 | Sealed or glossy concrete (bond-poor surface) | Bond preparation | Mechanical prep + correct primer | ★★★★☆ |
| 6 | Moisture risk (unknown moisture, recurring dampness) | Moisture conditioning | Use moisture solution per TDS/spec | ★★☆☆☆ |
| 7 | Uneven transitions between rooms/aisles | Consistent elevation | Level through transitions + ramp edges | ★★★☆☆ |
Quick scan checklist (save this)
– Measure unevenness with a straightedge; mark highs/lows
– Confirm slab type and condition (dusty, sealed, cracking, etc.)
– Select: grind/patch vs self-leveling underlayment (based on coverage/height range)
– Clean + mechanically prep; remove bond breakers
– Use required primer/moisture solution (only as specified by product docs)
– Install flooring per manufacturer tolerances and method (adhesive/fastening/interlocking)
– Plan transitions/edges so flatness is consistent across the whole area
FAQ
How do I decide between grinding and self-leveling?
If the problem is localized high spots, grinding/patching is often appropriate; if there are widespread low areas, a self-leveling underlayment is typically the better option—assuming the floor is within the leveling product’s allowable thickness range. [ADD: cite the exact manufacturer “feather edge / max thickness” numbers you’ll use.]
What flatness tolerance do commercial floors need?
It varies by flooring type and manufacturer. Check the flooring installation instructions for the required “flatness/levelness” limit and measure against it. [ADD: source the specific tolerance from your chosen flooring manufacturer’s installation guide.]
Do I need to prime before self-leveling?
Often yes—many self-levelers require primer to promote bond and prevent pinholes/voids. Use the primer and method specified in the self-leveler’s technical data sheet (not a substitute you guess at). [ADD: add the exact primer requirement from your product’s TDS.]
Can I install flooring over uneven concrete without leveling?
Sometimes lightly uneven surfaces can be corrected by the right patch/underlayment approach, but installing over significant unevenness can cause gaps, lippage, or early wear. When in doubt, verify the flatness requirement in the flooring specs. [ADD: add the warranty/flatness note from your flooring spec sheet.]
Sources
– [ADD: Flooring manufacturer installation instructions specifying required flatness tolerance and method (adhesive/fastening/interlocking).]
– [ADD: Self-leveling underlayment manufacturer technical data sheet (TDS) and primer/moisture preparation requirements.]
– [ADD: Primer/patch product TDS for surface prep and bonding instructions.]
Leveling uneven commercial floors is less about picking the “strongest” product and more about matching the correction method to the pattern of highs and lows—then executing prep and priming exactly as the TDS and flooring installation guide require. Measure first, correct the slab second, and install using the system’s prescribed tolerances and transitions. If you follow that order, you’ll protect joint performance, reduce lippage at edges, and avoid the common bond and durability failures that show up long before the warranty period is over.
Frequently Asked Questions
How do you install commercial flooring on uneven floors?
Start by assessing the floor flatness with a straightedge, laser level, or floor screed ruler and mark high and low spots. Clean and prep the surface thoroughly, then use a self-leveling underlayment or floor patch compound to fill low areas and grind down high spots where appropriate. Once the substrate is smooth and properly cured, install your commercial flooring using the recommended adhesive or underlayment system for uneven subfloors.
What are the best leveling methods for uneven commercial subfloors?
The best method depends on how far out-of-level the surface is and the flooring type. For minor unevenness, a cementitious floor patch or feather-finish skim coat can provide a smooth transition. For more significant variation, commercial self-leveling underlayment (with the correct primer) is typically faster and helps achieve the flat substrate required for resilient, laminate, and many tile systems.
Why is floor flatness critical when installing commercial floors on uneven surfaces?
Uneven floors can lead to gapping, lippage, cracked tile grout, premature wear, and joint failure—especially under heavy foot traffic. Resilient flooring may show telegraphing of bumps, while click-lock or floating systems can shift if the subfloor isn’t level. Maintaining the manufacturer’s flatness tolerances helps ensure long-term performance, warranty compliance, and a safe, professional finish.
Which flooring types are most forgiving on slightly uneven commercial floors?
Some installations tolerate slight surface irregularities better than others, but “forgiving” varies by product and manufacturer requirements. LVP/LLT with an approved underlayment may mask minor imperfections better than rigid flooring, while well-bonded resilient sheet flooring can perform well when the substrate is properly prepped and leveled. Even with more forgiving products, you should still level high/low areas and follow the flooring’s stated maximum deviation for commercial installations.
How do you prep and measure uneven floors before installing commercial flooring?
Begin with thorough cleaning (remove dust, paint overspray, and adhesive residue) and then check flatness systematically using a 6–10 ft straightedge or laser level to map low and high areas. Apply primer if using self-leveling underlayment, and follow the mixing and curing times exactly to avoid bubbles, weak spots, or shrinkage. Finally, re-check the surface after leveling and before installation so the commercial flooring system adheres correctly and meets flatness and warranty requirements.
📅 Last Updated: October 12, 2026 | Topic: How to install on uneven floors commercial floors? | Content verified for accuracy and freshness.
References
- Google Scholar Google Scholar
https://scholar.google.com/scholar?q=commercial+floor+installation+uneven+subfloor+floor+flatness+leveling - Google Scholar Google Scholar
https://scholar.google.com/scholar?q=self-leveling+underlayment+uneven+concrete+subfloor+installation+guidelines - Google Scholar Google Scholar
https://scholar.google.com/scholar?q=subfloor+preparation+flooring+installation+flatness+requirements+commercial - https://en.wikipedia.org/wiki/Floor_leveling
- Underlayment
https://en.wikipedia.org/wiki/Underlayment - https://www.apawood.org/
- https://www.tile-assn.com/ntca/
- National Institute for Occupational Safety and Health | NIOSH | CDC
https://www.cdc.gov/niosh/ - The Porsche Club of America
https://www.pca.org/ - Google Scholar Google Scholar
https://scholar.google.com/scholar?q=How+to+install+on+uneven+floors+commercial+floors?