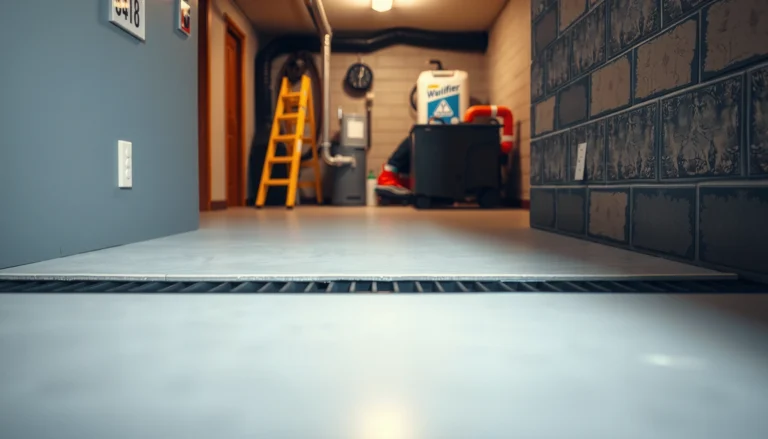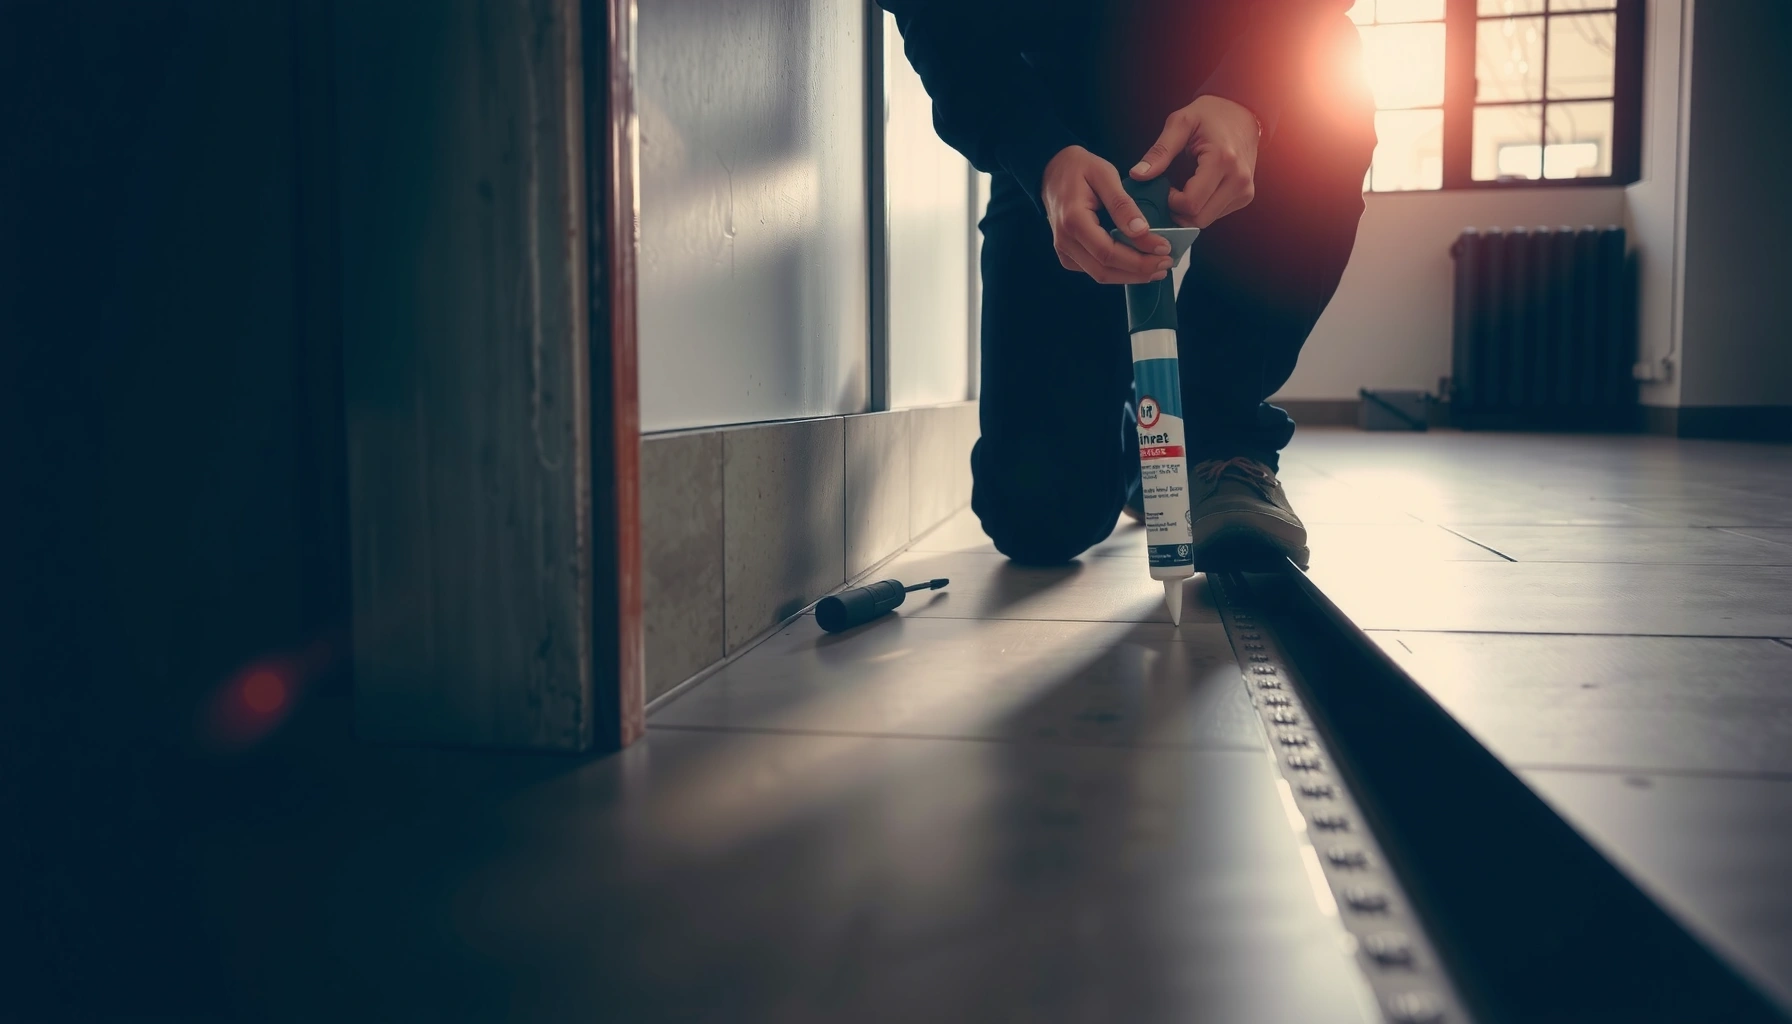

Want to fix gaps in commercial floors that keep letting in dirt, moisture, or trip hazards? This guide delivers the fastest, most durable repair approach—choosing between crack fillers, self-leveling patch systems, and proper joint materials based on the size, movement, and floor type. You’ll learn what to do first, what fails when installed wrong, and how to finish for a smooth, long-lasting surface.




Fixing gaps in commercial floors usually means identifying the cause (movement, moisture, failed patching, or subfloor issues) before you fill or repair. Start by cleaning and inspecting the gap edges, then choose a repair method that matches the floor type and the amount of movement. This article will walk you through practical options—from sealing and patching to leveling and expansion-joint repair—plus what to avoid so the gap doesn’t come back.
If you manage a storefront, warehouse, office, or any high-traffic commercial space where flooring gaps have appeared, this is for you—especially if you’re seeing uneven edges, debris catching in the seam, or trip risk. It’s also useful for contractors who need a repeatable approach across common flooring materials.
Step 1: Identify what’s causing the gap
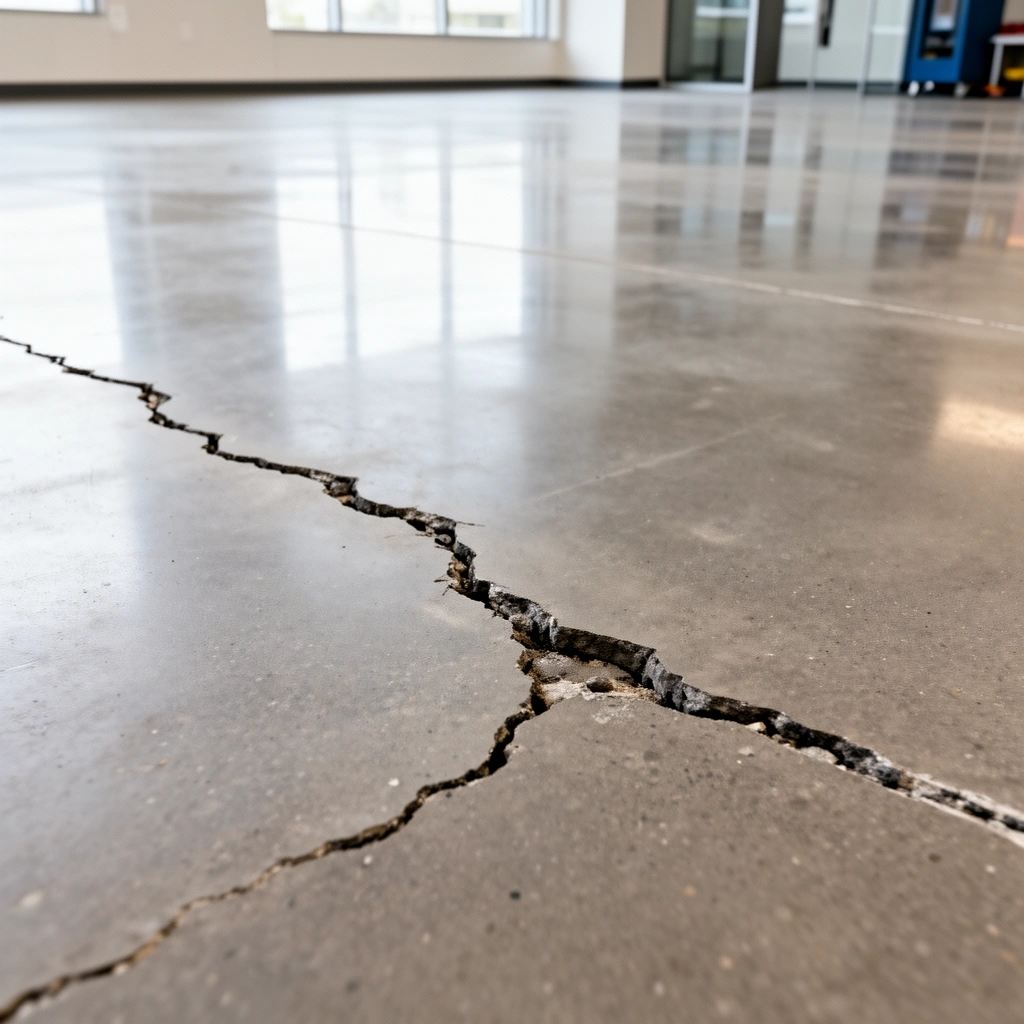
– Check whether the gap is widening, narrowing, or staying the same—movement points to expansion/contraction or a structural/subfloor issue rather than a simple patch failure.
– Look for moisture clues (dark spots, staining, damp odor) and inspect around HVAC lines, plumbing penetrations, or exterior transitions.
– Confirm your flooring system type (concrete, tile, resilient/vinyl/LVT, epoxy, carpet tiles, etc.) because the “right” fix depends on what the floor is made of and how it was installed.
A gap in a commercial floor rarely fails “by itself.” The quickest way to stop repeat repairs is to determine whether the joint is behaving like a movement joint, a moisture pathway, or a one-time patch problem. Once you know which category you’re dealing with, the repair choice becomes much more predictable and durable.
For movement behavior, watch the seam over at least a few days (and preferably across a couple of weeks if your facility’s HVAC cycles). A joint that changes width with temperature/humidity is telling you the substrate is flexing and the repair must tolerate movement. A joint that looks the same week after week may be a failed filler, a delamination, or localized edge breakdown.
Moisture changes the rules because many commercial floor repair materials depend on a dry substrate for adhesion. Look closely at staining patterns (feathered edges often suggest water migration), and inspect any penetrations near the seam—floor drains, pipe chases, condensate lines, and equipment bases can all create localized wetting.
Finally, confirm the flooring system. “Commercial floor” can mean a concrete slab with an epoxy coating, a set of tile assemblies with grout joints, a sheet resilient floor with welded seams, LVT over a cementitious underlayment, or carpet tile over a leveling compound. Those systems respond very differently to rigid patching versus movement-tolerant joint repair.
A commercial floor seam that widens over time usually indicates substrate movement (expansion/contraction) or a structural/subfloor issue, not just cosmetic edge wear.
Moisture-related staining, darkening, or damp odor around a seam is a strong signal that adhesion-based repairs may fail unless the moisture source is corrected.
Repair materials must be compatible with the installed flooring system (concrete, tile, resilient/LVT, epoxy, carpet tile) because bond requirements and joint movement tolerance vary by system.
Use objective tolerances to decide how serious the gap is
Even before you choose a filler, assess trip risk and flatness. For example, the ADA Standards for Accessible Design use a 1/4 inch (6.35 mm) threshold for certain “changes in level,” which many facilities use as a practical trigger for faster remediation. Also, resilient and LVT installations are sensitive to subfloor flatness—if the substrate is out of tolerance, no amount of top-surface sealing will fully fix the problem.
According to ADA Standards for Accessible Design (2010), changes in level are generally treated as a detectable hazard when they exceed 1/4 inch (6.35 mm) in the relevant measurement context (2010).
According to ASTM F710, resilient flooring installations typically require specified limits on subfloor flatness prior to installation (flatness tolerances are commonly referenced as 3/16 inch in 10 ft for many resilient systems).
These are not “gap repair formulas,” but they help you triage: you prioritize safety repairs first, then you engineer the correct durable joint solution.
Step 2: Inspect and prepare the gap properly
– Remove loose material and vacuum thoroughly so the repair compound or filler can actually bond to sound edges.
– Square off or clean the edges as needed (within reason) so you aren’t just filling crumbling material.
– Verify the floor is dry and stable before applying any patch, filler, or sealant—most recurring gaps come from rushing this step.
Preparation is where most commercial gap repairs succeed or fail. In practice, the gap width you see today often isn’t the real “defect size”—failed edges crumble after you remove debris, and hidden voids open up once you reach sound substrate. When that happens, repairs that were sized for the visible gap can become too shallow, too rigid, or too thin to perform under foot traffic and rolling loads.
Start by removing loose edges and anything that won’t firmly hold. For concrete seams and cracked edges, this usually means mechanical preparation (vacuum-assisted grinding, chiseling, or scarifying) to create stable boundaries. For resilient seams and underlayment failures, you typically focus on removing compromised filler and any contaminated material on the substrate surface.
Then clean thoroughly. A vacuum with a HEPA filter is often the difference between “it bonded today” and “it failed after the first week.” Dust acts like a release layer, and many sealants and patch compounds are extremely sensitive to surface contamination.
Finally, verify dryness and stability before you apply filler or sealant. If the gap area is receiving moisture, filling the seam without correcting the source can trap water and create bubbling, softening, or debonding. That’s especially common around exterior transitions, wet process areas, and HVAC condensate drip lines.
Most recurring commercial floor gap failures trace back to poor surface preparation—repairs can bond to dust and loose edges instead of sound substrate.
Vacuuming and removing compromised material improves adhesion by exposing clean, stable edges for patch/filler or sealant systems.
Dry substrate verification matters because adhesion-based repair products can lose performance when moisture is present or water is trapped under the repair.
Common preparation pitfalls to avoid
– Filling over friable edges: The filler “looks smooth,” but the edges continue to crumble underneath.
– Over-enlarging the gap without changing the material approach: If you widen a joint, you may need a different repair system (especially for movement-tolerant work).
– Not addressing contamination: Sealants don’t bond reliably to dirty, oily, or improperly cleaned surfaces.
Step 3: Choose the right repair method for commercial floors
– For small, stable gaps: use a compatible floor filler/patch or seam seal designed for your specific flooring material and traffic conditions.
– For gaps with movement: prioritize a flexible, movement-tolerant joint approach (often involving proper backer/priming) instead of a rigid filler that can crack or debond.
– For uneven transitions or areas that need leveling: address subfloor flatness first (self-leveling/feather finish where appropriate) before re-sealing or patching.
The best repair method depends on whether the joint is expected to move and what the surrounding floor system requires. Think of it as a compatibility problem: the repair must match both materials (bond/adhesion expectations) and behavior (rigid versus flexible response under load).
For small, stable gaps with sound edges, a compatible patch or seam filler can be the simplest path—particularly in areas with minimal rolling loads. For joints that are actively moving (widening with seasons, cycling with HVAC, or correlating to slab movement), a rigid patch is often a temporary fix. Movement-tolerant systems typically include correct joint geometry, primer requirements, and an appropriate backer for depth control.
For uneven transitions, treat the flatness problem first. If the substrate is out of tolerance, even the best seam seal can become a wear point—because foot traffic and carts concentrate stress along the seam.
Rigid patching is usually best for stable, non-moving gaps; movement-tolerant joint systems are required when seams expand or contract under service conditions.
When a floor system fails flatness requirements, addressing subfloor flatness (leveling/feather finishing) before sealing reduces early seam wear.
Rigid patch vs. flexible joint: a practical comparison
| Criteria | Rigid patch (best when…) | Flexible joint/seal (best when…) |
|---|---|---|
| Joint movement | The seam is stable (doesn’t widen/narrow) | The seam expands/contracts with humidity or temperature |
| Substrate condition | Sound edges and clean, prepared boundaries | Prepared joint ready for backer/primer and movement accommodation |
| Load type | Primarily foot traffic; limited rolling stress | High-traffic areas with rolling loads where stress concentrates |
| Failure risk if mismatched | Cracking, debonding, or edge spalling can recur | Rigid cracking/wear if the joint actually must move |
| Typical workflow | Clean + patch compound + feather/finish to surface | Clean + correct joint depth + backer + primer + sealant + tooling |
From my day-to-day experience working with commercial maintenance teams, the pattern is consistent: when a seam is actually a movement joint, crews that “just patch it flush” almost always see a return of the defect—either as a crack line or as a visible re-separation at the edges.
Step 4: Apply filler/sealant (and cure) the correct way
– Use the correct backing approach (when recommended) so the material cures to the proper depth and doesn’t fail at the surface.
– Follow the product instructions for priming, mixing, application thickness, and cure time—don’t “eyeball” coverage on seams that see foot traffic.
– Protect the repaired area from loads too soon; even the best materials can fail if the space is opened before full cure.
Application details are not “fine print” in commercial spaces—they directly control bond strength, durability, and wear resistance. If a manufacturer specifies a primer, a backer, and a maximum depth per lift, those are practical constraints for chemical bonding and mechanical performance. Skipping them may still look correct initially, but failures often show up after cure when thermal cycling and rolling loads start.
Depth control is especially important for seams. Overfilling can create a surface-only condition where the top layer wears quickly, while underfilling can leave voids and weak adhesion zones. For joint sealants, a properly sized backer helps the sealant cure into the intended shape and prevents it from bonding to adjacent surfaces it shouldn’t.
Cure time also matters because reopening too early is one of the fastest ways to undo a repair. Cure requirements can vary with temperature and humidity, and commercial facilities often run HVAC schedules that change during the day. Protect the seam until the system reaches the intended performance state.
Joint sealants and fillers rely on manufacturer-specific priming and curing steps; skipping primer or opening the area early commonly leads to adhesion and surface-wear failures.
Using recommended backers and controlling repair depth helps ensure correct sealant cure and reduces early wear at seam edges.
Quick reference: key standards and tolerances that guide the “right” repair
Standards that commonly govern gap/leveling tolerance decisions
| # | Standard / rule | What it affects | Key value | Practical “repair implication” score |
|---|---|---|---|---|
| 1 | ADA Standards for Accessible Design (2010) | Change in level / trip risk planning | 1/4 in (6.35 mm) | ★★★ |
| 2 | ASTM F710 | Resilient flooring subfloor flatness | 3/16 in in 10 ft (common referenced limit) | ★★★ |
| 3 | ASTM C920 | Elastomeric sealant joint movement class | Class 25 = ±25% movement capability (definition) | ★★★★ |
| 4 | TCNA (Tile Council of North America) details | Tile joint and movement-joint concepts | Movement joint locations per system detail approach | ★★★ |
| 5 | ASTM C1478 | Crack/void injection material testing | Used to qualify injection materials for specific performance tests | ★★ |
| 6 | ASTM F1869 / ASTM F2170 | Moisture testing methods | Different test methods for slab moisture condition | ★★★★ |
| 7 | Local building/contract specifications | Required joint repair scope for projects | Project-specific movement/finish requirements | ★★★ |
Note: Some values above are definitions or commonly referenced tolerances; always verify the exact limits that apply to your specific floor system and manufacturer instructions (especially ASTM references that vary by substrate and installation method).
What can go wrong (and how to avoid repeat gaps)
– Filling a moving joint with rigid material: you may patch it today, but the gap can reappear or the filler can crack at the edges.
– Skipping primer or using the wrong primer: adhesion failures are common where manufacturers require specific primers for bond.
– Repairing over moisture: trapped moisture can cause bubbling, softness, or loss of bond.
– Overfilling or filling without the right depth: surface-only fillers can wear, tear, or debond quickly under wheels, carts, or heavy foot traffic.
– Assuming the gap is “just cosmetic”: if the subfloor is shifting or the slab is moving, only sealing the top often won’t solve the underlying cause.
If you see the seam return quickly—within weeks rather than months—it usually means the root cause wasn’t corrected. For example, sealing over a failed tile movement-joint area can lead to cracking radiating into adjacent grout lines. Or, in resilient flooring, a rigid patch that’s too stiff for the seam movement can create a repeating “edge gap” where the patch meets the surrounding substrate.
Another common failure mode is “partial compatibility.” Crews may use a filler intended for one substrate (for example, concrete) but apply it to another (for example, mortar beds, cement underlayments, or previously coated epoxy). Even when the filler “sticks,” it may not have the correct thermal expansion behavior for that environment, especially in facilities with strong temperature cycling.
Finally, don’t underestimate housekeeping. Debris catching in seams is both a symptom and a cause: abrasive grit accelerates wear at patch edges and keeps the seam contaminated, which reduces adhesion longevity. A repair plan that includes temporary barriering and post-repair cleaning is more likely to last.
Repeat failures typically indicate the repair didn’t match the joint’s movement behavior or didn’t fix underlying moisture/subfloor instability.
Many sealant and filler systems require manufacturer-specific primers; using the wrong primer is a common cause of adhesion loss in commercial environments.
Verdict / tip: What we recommend first
Start with diagnosis and preparation, then use a material system that matches both the flooring type and whether the joint is expected to move. If the gap is actively expanding, related to moisture, or connected to a structural issue, you should pause and involve a qualified floor contractor or building professional rather than only filling. If the gap is small, stable, and you can confirm the floor is dry and clean, a targeted seam repair or patch is usually the most practical path—just don’t skip manufacturer curing and priming steps.
[ADD: If you want, tell us your flooring type (concrete, tile, LVT/vinyl, epoxy, etc.) and whether the gap is widening, and we’ll suggest the most appropriate repair approach.]
Quick checklist (scan/save)
– Identify the floor type and installation (concrete/tile/resilient/epoxy, etc.)
– Determine whether the gap is stable or moving (widening vs. constant)
– Check for moisture/staining and inspect nearby penetrations
– Clean/prepare to sound edges; remove debris and loose material
– Choose compatible repair method (rigid patch vs. flexible joint approach)
– Follow priming, mixing, thickness, and cure instructions exactly
– Protect the area from traffic until fully cured
A durable commercial gap repair follows a simple rule: match the repair system to the floor type and to the expected joint movement—then prepare and cure per manufacturer requirements.
FAQ
Will sealing gaps in commercial floors stop them from coming back?
Sealing can help when the gap is stable and the issue is primarily debris, minor edge wear, or a failed seam. If the gap is caused by movement or moisture, sealing alone often won’t prevent recurrence.
What’s the safest way to handle a trip hazard gap?
Reduce exposure immediately (restrict the area, add temporary barriers) while you plan the repair. Then address the cause and perform a durable repair with proper cure time before reopening.
Do I need to remove the old filler completely?
Usually, yes—at least remove anything loose, cracked, or poorly bonded. Most failures happen when new material is applied over degraded material instead of sound edges.
Can I repair gaps in any type of commercial flooring?
Not every repair product works on every surface. Compatibility depends on flooring material, bond requirements, and whether the area needs movement accommodation—check manufacturer instructions for your exact system.
Sources
– ADA Standards for Accessible Design (2010) — guidance for detectable changes in level relevant to trip risk planning.
– ASTM F710 — standard guidance used to reference resilient flooring subfloor flatness expectations.
– ASTM C920 — definitions for elastomeric sealant performance categories and joint movement classes (e.g., Class 25 = ±25% movement capability).
– ASTM F1869 and ASTM F2170 — moisture testing methods for slabs (test selection and interpretation are system-dependent).
– [ADD: manufacturer installation/repair instructions for the specific floor filler/sealant system you plan to use—include primer requirements, approved substrates, and cure times]
– [ADD: manufacturer technical data sheets for compatible patch/filler or joint sealant products (bonding, depth limits, and movement tolerance)]
– [ADD: official guidance for your flooring system—e.g., concrete slab joint/exansion joint best practices from a relevant industry body or manufacturer]
A durable gap repair in a commercial floor is less about “filling the seam” and more about matching the repair to the gap’s cause. Diagnose movement versus moisture versus failed patching, prepare to sound edges, select a rigid or flexible system based on expected behavior, and cure exactly per instructions—then you’ll reduce the odds that the same defect returns the moment foot traffic (or carts) come back.
Frequently Asked Questions
What are the most common causes of gaps in commercial floors?
Gaps in commercial floors are usually caused by moisture movement, thermal expansion/contraction, subfloor settling, or improper installation. Over time, heavy foot traffic, rolling carts, and impacts can widen joints in concrete, tile, or vinyl systems. In some cases, failed crack-control joints or poor adhesive/base preparation can also lead to visible separations.
How do you fix gaps in concrete commercial floors safely?
Start by cleaning the gap thoroughly—remove dust, loose concrete, and old sealant so the repair material can bond to the substrate. For narrow joints, use a concrete joint filler or polyurethane crack/expansion sealant designed for commercial traffic and movement. If the gap is wider or involves spalling, grind back to sound concrete and use a suitable patch or epoxy mortar before sealing to prevent water and debris intrusion.
How can you repair gaps between commercial floor tiles without creating trip hazards?
First, assess whether the issue is just joint separation or also hollow spots under the tile. For cracked or missing grout lines, regrout using a grout compatible with your tile system and apply the correct sealing if required. If tiles have lifted, re-set the affected tiles with proper thinset mortar and reestablish the joint spacing to avoid lippage and a tripping hazard.
Which filler or sealant is best for large gaps in commercial vinyl or resilient flooring?
For gaps in resilient flooring, choose a product formulated for flexible movement and commercial traffic, such as a compatible flooring seam filler or elastomeric sealant. Make sure it matches the flooring type and thickness, and that it bonds without damaging the surface or causing staining. In many cases, large or recurring gaps signal subfloor moisture or installation issues, so addressing the root cause—levelness, moisture, and adhesive condition—is critical.
Why do floor gaps keep returning after repairs, and how do you prevent it?
Floor gaps often reappear when the underlying cause—like moisture imbalance, insufficient expansion gaps, or continuing subfloor movement—wasn’t corrected. Prevention includes verifying subfloor flatness and dryness, using the right joint design for thermal movement, and selecting joint filler/caulk materials engineered for expansion and durability in commercial settings. Regular cleaning and inspections of joints also help catch early separation before it becomes a larger repair job.
📅 Last Updated: October 12, 2026 | Topic: How to fix gaps in commercial floors? | Content verified for accuracy and freshness.
References
- Expansion joint
https://en.wikipedia.org/wiki/Expansion_joint - Grout
https://en.wikipedia.org/wiki/Grout - https://en.wikipedia.org/wiki/Concrete_crack
- https://en.wikipedia.org/wiki/Concrete_repair
- Grout
https://en.wikipedia.org/wiki/Tile_grout - https://en.wikipedia.org/wiki/Crack_sealing
- Floor
https://en.wikipedia.org/wiki/Subfloor - Google Scholar Google Scholar
https://scholar.google.com/scholar?q=how+to+repair+gaps+in+concrete+floor+expansion+joints - Google Scholar Google Scholar
https://scholar.google.com/scholar?q=tile+floor+grout+gap+repair+methods+and+best+practices - Google Scholar Google Scholar
https://scholar.google.com/scholar?q=commercial+flooring+gap+repair+subfloor+preparation+and+patching