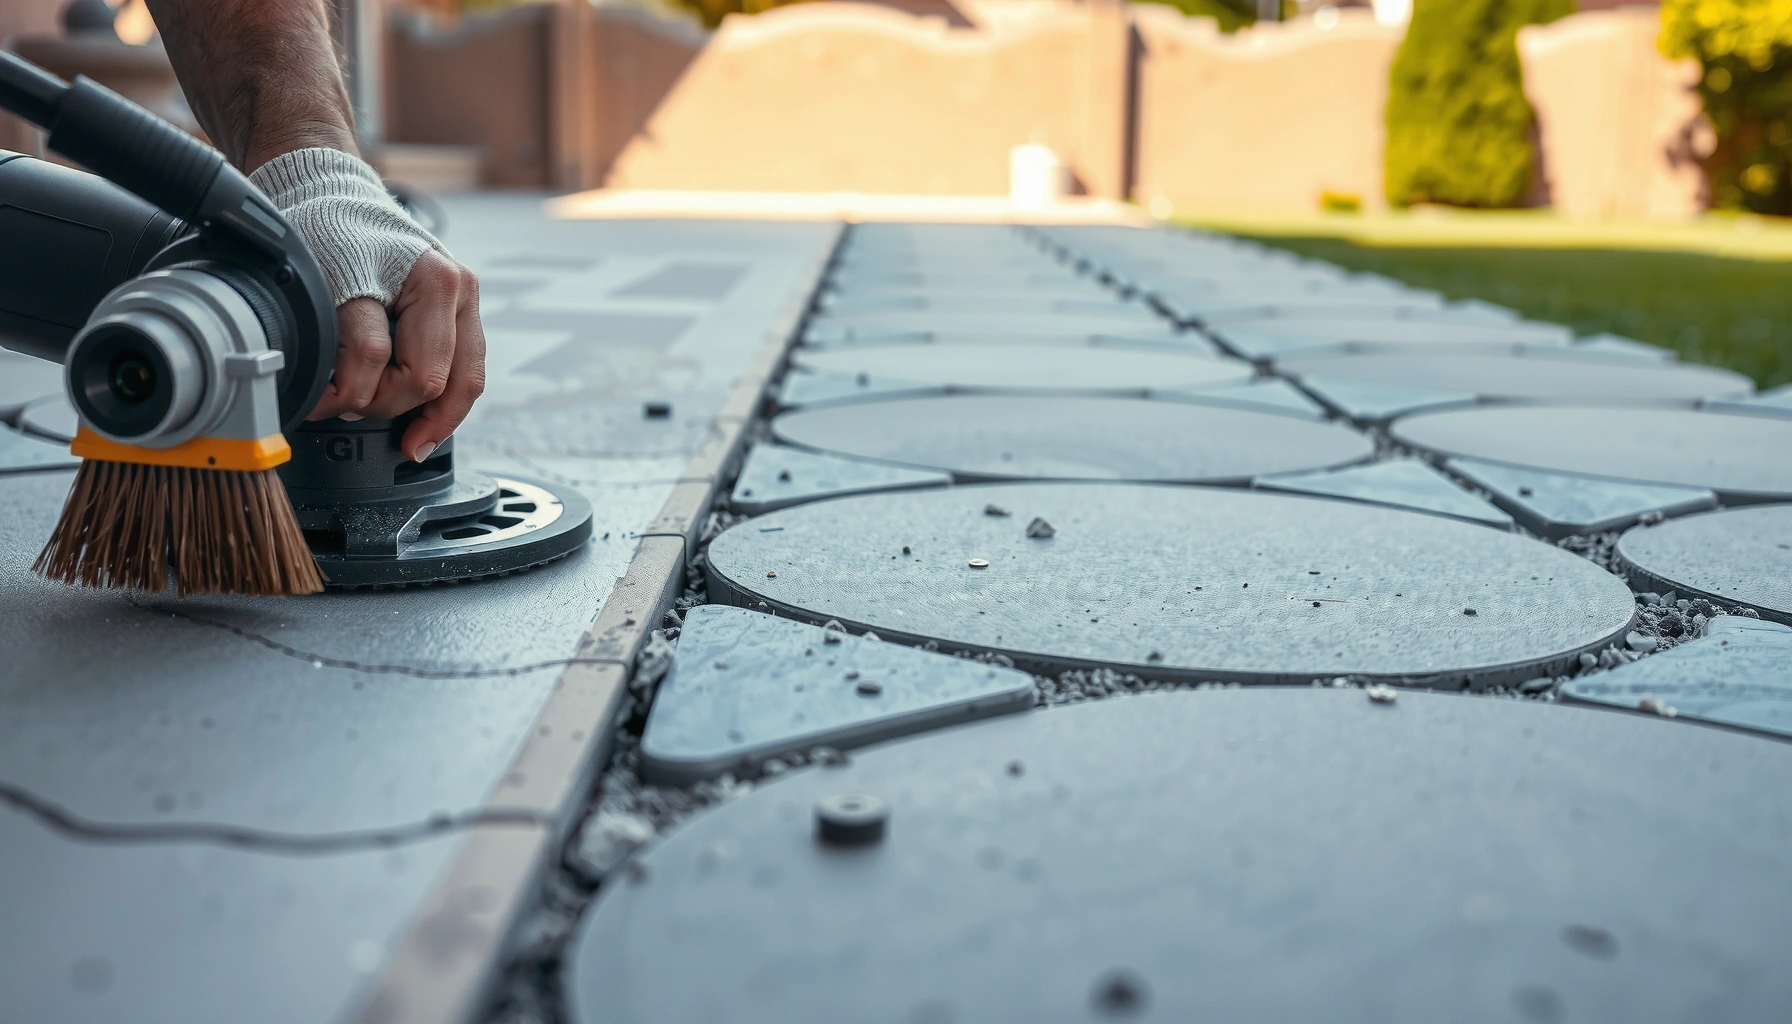

Learn how to trim patio floors cleanly without cracking, using the right prep, cutting method, and edge finishing for a solid, professional result. If you’re dealing with concrete or pavers and need sharp lines, this guide shows the safest way to cut and trim edges while controlling dust, vibration, and chipping. Follow these steps and you’ll get crisp borders that hold up—no crumbling corners, no redo.




Trimming a patio floor comes down to two things: cutting to a controlled depth and finishing/sealing the edge so moisture can’t creep into the cut line. If you match the method to the patio material (concrete, pavers, tile/overlay) and you don’t trim over unstable sections, you can get crisp lines with a far lower risk of chipping or future cracking.
This guide is for homeowners and DIYers trimming existing patio surfaces—or prepping neat borders—who want cleaner edges without turning the job into demolition. If your patio is already cracked through, very uneven, or crumbling, you’ll also see what to pause and fix first (because the “wrong fix” there is what usually causes cracks later).
Trimming patio floors is all about cutting the right material at the right depth—then finishing the edge so it won’t chip or let moisture work its way in. In this guide, we’ll walk through how to measure, mark, cut, and seal the edges of a patio floor for a neat, long-lasting finish.
This is for homeowners and DIYers trimming existing patio surfaces (or prepping borders) who want cleaner lines without turning the project into a demolition job. If your patio is already cracked, very uneven, or crumbling, you’ll also see what to pause and fix first.
Plan Your Trim: Measure, Mark, and Pick the Right Cut Line
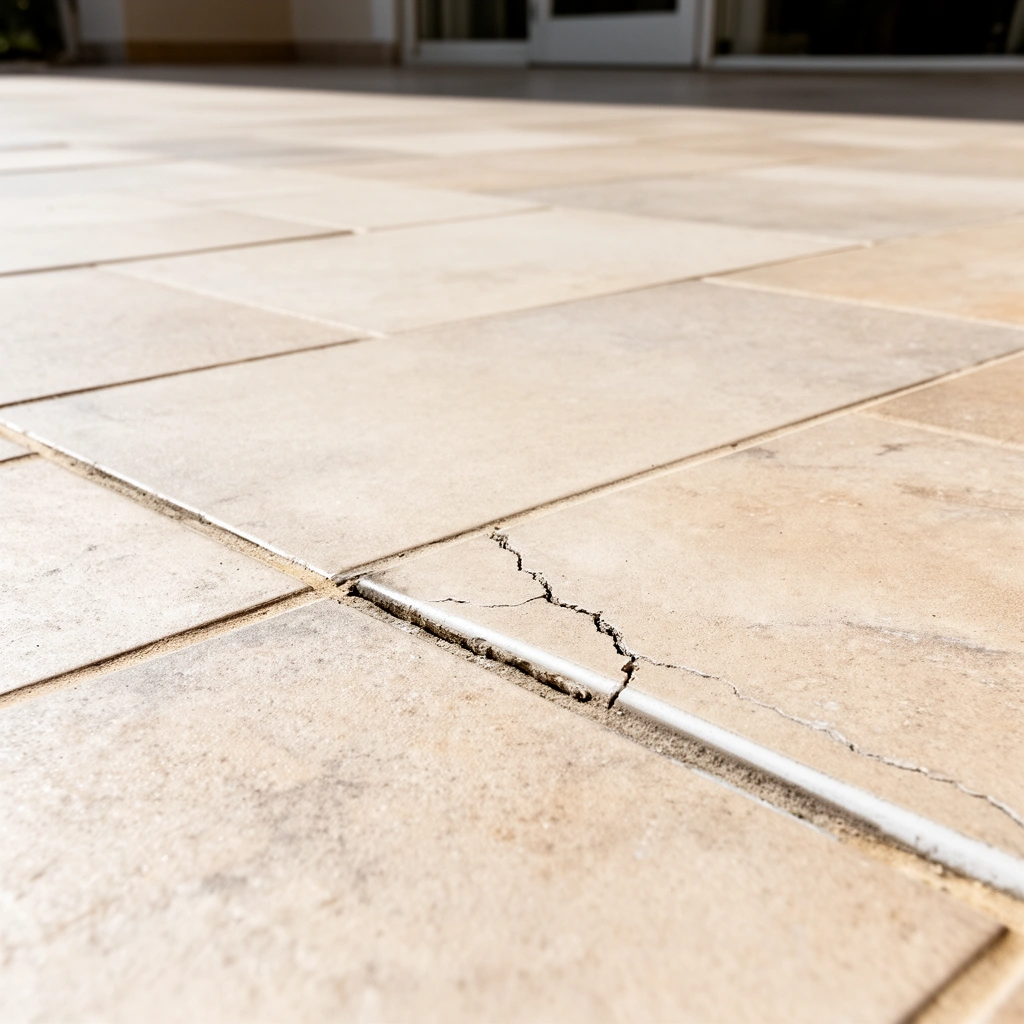
Plan to cut a line that matches your “finished edge,” not the rough edge you see today. When you decide where the finished edge should land first, you avoid re-cuts and reduce the chance of cracking from removing the wrong strip.
A straight, repeatable cut line is the biggest driver of edge quality on patios because alignment affects how the blade loads the material.
Control joint sawcuts in concrete are commonly limited to a fraction of slab thickness (often 1/4) to avoid compromising structural integrity, which is why depth control matters before trimming.
According to OSHA’s respirable crystalline silica standard, workers exposed during cutting/grinding must control dust and use appropriate respiratory protection (2016), which affects how you plan the work area.
– Measure the area you need to trim and decide where the “finished edge” should be (against a step, border, doorway, or an intended transition line).
– Mark a cut line you can follow consistently—chalk or a straight guide reduces wobble and keeps the blade tracking true.
– Confirm the patio surface type first (concrete, pavers, tile, or overlay), since the tools and methods differ.
Choose a finished edge strategy (before you buy blades)
Right away, identify what the trimmed edge is supposed to connect to:
– A border/edging strip: the trim line should allow edging to sit flat without rocking.
– A step or threshold: you often need the edge height to align so you don’t create a visible “ledge.”
– A future surface: if you’re going to install a new layer or fill, plan for overlap/cover thickness rather than cutting flush “just because.”
If you’re trimming an existing patio that has any soft spots, treat the decision as a risk-management problem, not a cosmetic one. Moisture intrusion typically starts at cut edges that are left raw.
A practical depth mindset (concrete vs. everything else)
For concrete, depth is constrained by what you’re trying to remove and how the edge will be finished afterward. For other materials:
– Pavers: you’re not “depth trimming” in the same way—you’re removing and re-cutting units while preserving base support.
– Tile/overlays: you’re dealing with thin systems bonded to a substrate; forcing cuts can delaminate or crack the layer.
Concrete depth anchor (for planning): According to industry guidance on control joint practice, sawcuts are commonly made at about 1/4 of the slab thickness to control cracking without overcutting [ADD: authoritative source for 1/4 slab thickness sawcut guidance—e.g., ACI/ASTM/industry spec].
Also remember dust risk while you plan:
– Silica exposure control: OSHA’s respirable crystalline silica PEL is 50 µg/m³ (8-hour TWA) [ADD: OSHA standard citation]. That number is why dust management belongs in your “plan” stage—not after you’ve already started cutting.
Tool compatibility affects cut quality
Before you mark more than a small test line, match tools/blades to the material:
– Concrete typically requires an appropriate masonry/concrete diamond blade and a grinder/saw setup.
– Tile and overlays often require a different blade profile and slower, lighter cutting approach to prevent edge blowout.
If your blade is even slightly wrong for the substrate, chipping risk spikes.
Prep the Patio Floor Before You Cut
Prep is what keeps your trim line accurate and your edge from turning into a chip-line. If the edge area is dusty, loose, or damp, you lose control of both marking and cutting.
Cleaning dust and grit from the cutting path improves both layout accuracy and blade tracking, reducing the chance of wandering off your mark.
Spalling (flaking) and loose concrete/pavers at the trim line should be addressed before cutting because removing material over weak zones increases the likelihood of edge failure.
OSHA requires dust controls and proper PPE when cutting masonry products that may generate respirable crystalline silica dust (2016).
– Clean the edge area thoroughly (dirt and dust can make marking and cutting less accurate).
– Check for weak spots: hairline cracks, spalling (flaking), or loose sections should be assessed before trimming.
– Protect nearby surfaces—masking tape, plastic sheeting, and careful tool handling help avoid accidental damage and excess dust.
What to look for along the proposed cut
Walk the line you plan to cut and identify:
– Hairline cracking: not always a deal-breaker, but it’s a warning that the slab may already be moving.
– Spalling: if you can flake the surface with a fingernail, trimming will often propagate damage.
– Loose pavers: if units shift by hand, the base isn’t stable—cutting the perimeter won’t fix that base issue.
Dust and cleanup aren’t optional extras
Even for “small trimming,” concrete cutting creates fine particulates that settle into cracks and into nearby surfaces. For safety and workmanship:
– Contain dust with shrouds/vacuums where applicable.
– Use a respirator per the applicable standard/tool guidance for masonry silica.
– Plan your cleanup so debris doesn’t contaminate the sealing step later.
From my planning experience on edge-work, the biggest quality drop comes when people cut first and “deal with debris later.” Sealer and mortar bond best when the cut edge is clean, sound, and dry.
How to Trim Concrete Patio Floors (Most Common Case)
For concrete patios, the best results come from cutting slowly along a guide and then finishing the edge so it won’t chip. If you skip edge finishing and sealing, the cut line often becomes the next failure point.
A controlled, shallow test cut helps you verify blade behavior and actual depth before you commit to the full length of the trim line.
Concrete edges are more chip-resistant when you smooth/correct the cut face and remove loose debris before sealing.
A common concrete best practice is to limit sawcut depth to the fraction needed for the joint/control objective rather than “chasing” appearance.
– Use a straightedge and cut to the surface depth you can control (don’t guess—match the goal of removing a strip without undermining the slab).
– Keep your cut line aligned: work slowly and make sure the blade stays on the mark.
– After cutting, address the edge finish (smoothing/chamfering and cleaning out debris) so it looks intentional and is less prone to chipping.
Concrete cutting workflow that prevents blowout
1. Dry-fit your layout line (chalk/straightedge) and confirm it hits your intended finished edge at every reference point (door thresholds, steps, borders).
2. Make a short test cut along a 12–24 inch section to confirm:
– blade type is compatible,
– cut face quality,
– whether your planned depth is adequate.
3. Cut in manageable segments rather than one continuous push—this helps maintain tracking and reduces uneven edge loading.
4. Clean the cut thoroughly (vacuum + brush + compressed air as appropriate for your cleanup method).
5. Finish the edge: many installers use a light chamfer/smoothing pass and/or a recommended edge treatment system so the cut face doesn’t stay brittle and raw. [ADD: source for recommended concrete edge finishing/chamfer practice]
Concrete edge finishing and sealing (what to target)
Your end goal is a cut edge that is:
– clean and solid (no loose fines),
– slightly relieved/smoothed to reduce stress concentration,
– protected from water migration.
Sealing choices depend on whether your patio already has a penetrating sealer, a topical sealer, or none. Use the manufacturer’s application instructions for the exact product you select.
Quick decision data (concrete vs. alternatives)
Use this to plan what you’re actually doing when you “trim”:
Typical Edge Risk Drivers When Trimming Outdoor Patios
| # | Patio Material | Main Failure Mode | Cut Risk Rating | Mitigation Priority | Best Outcome Signal |
|---|---|---|---|---|---|
| 1 | Concrete (slab) | Chipping/spalling along cut face | ★★★☆☆ | Depth + edge finish | No loose fines after cleaning |
| 2 | Pavers | Settlement at trimmed perimeter | ★★☆☆☆ | Base stability + fit | Adjacent units don’t rock |
| 3 | Concrete overlay | Delamination at cut edge | ★★★☆☆ | Substrate bond verification | No hollow-sounding areas |
| 4 | Natural stone tile | Edge cracking/blowout | ★★☆☆☆ | Blade choice + slow feed | Clean cut face with minimal chips |
| 5 | Salt-affected concrete | Surface loss expands after water ingress | ★★★★☆ | Repair before trimming | Stable substrate after probing |
| 6 | Unsealed concrete edge | Moisture-driven deterioration | ★★★☆☆ | Seal & follow cure times | Consistent water resistance after cure |
| 7 | Edges with loose base | Cracking from movement | ★★★★☆ | Rebuild base/support | No movement under load |
How to Trim Patio Floors With Pavers or Tile
For pavers and tile, trimming is mostly about keeping the edge supported so the cut pieces don’t loosen later. The “clean line” comes from layout and correct cutting/fit—not brute force.
For pavers, dry-fitting trimmed pieces at edges and corners before final cuts helps prevent undersized gaps that encourage movement and future edge failure.
Tile trimming should verify the thickness and bond/substrate stability first; unstable substrate increases the likelihood of edge cracking.
Using the correct cutting method for the material reduces breakage because different materials respond differently to blade geometry and feed rate.
– For pavers: plan your layout so trimmed pieces fit cleanly at edges and corners; dry-fit before committing to cuts.
– For tile/overlays: verify thickness and substrate stability before cutting, and avoid forcing pieces into place.
– Use the correct cutting method for the material to reduce breakage (and keep edges straight with a guide).
Pavers: layout discipline beats speed
A clean paver edge typically requires:
– A consistent joint size (whatever your patio design uses),
– A layout that distributes cuts so you don’t end up with tiny slivers at corners,
– Stable base support along the trimmed perimeter.
If you remove a border strip without addressing the base, the trimmed pavers can settle unevenly, causing rocking and grout/sand loss (where applicable).
Tile and overlays: protect the layer system
With tile or concrete overlays, the failure mode changes:
– You can crack the tile itself,
– Or damage the bonding layer beneath it.
That’s why you should look for:
– hollow-sounding areas,
– visible lifting at edges,
– moisture issues that already exist.
Avoid “forcing” pieces into place—if a piece doesn’t sit right dry, you’ll often create a stress point once it’s installed and loaded.
What Can Go Wrong (And How to Avoid It)
Most trimming failures happen when a DIYer optimizes for speed rather than control. Chipping, uneven edges, and later edge failure are predictable—and preventable—if you adjust your process early.
Chipping along a cut is commonly linked to rushing, incorrect blade selection, or inadequate support of the material being cut.
Uneven edges usually trace back to measuring/layout errors or a straightedge that shifts during cutting.
Moisture intrusion after trimming is a known pathway to edge deterioration, which is why sealing and proper finishing typically matter.
Common problems and fixes (comparison view)
Here’s a practical “if this happens, do this” table:
| What goes wrong | Most likely cause | Prevention / fix |
|---|---|---|
| Chipping along the cut | Wrong blade, fast feed, or unsupported edge | Slow down, confirm blade compatibility for the patio material, and keep support under the cut line |
| Uneven edge line | Straightedge drift or measurement error | Re-check measurement at multiple points and lock the guide before each pass |
| Cracks/spalling later | Water getting under or into the cut edge | Repair weak spots first, clean edges, and follow a sealing/edge finishing approach approved for the product/material |
| Safety hazards | Dust exposure and flying debris | Use PPE and dust controls per the power tool/masonry blade manufacturer and relevant standards |
– Chipping along the cut: usually comes from rushing, using the wrong blade, or not supporting the edge properly—slow down and use the correct tool for the patio material.
– Uneven edges: often caused by incorrect measuring or a shifting straightedge—re-check measurements before each cut pass.
– Edge failure later (cracks/spalling): can happen if water gets under the trimmed edge—sealing and proper finishing matter.
– Safety hazards: cutting patio materials creates dust and debris—use the right PPE and follow tool safety guidance. (See sources for manufacturer instructions.)
A quick reality check: sealing isn’t one-size-fits-all
Sealer chemistry and prep requirements differ across products. If you apply a sealer over dusty, wet, or contaminated cut faces, you can create adhesion problems rather than protection. Follow the manufacturer’s cure times and surface condition requirements.
Also, remember current safety rules:
– OSHA’s silica exposure limits and controls are especially relevant when cutting concrete or masonry [ADD: OSHA citation for respirable crystalline silica].
– If you don’t have dust controls and suitable respirator protection, pause and reconsider your plan.
Verdict: When Trimming Is DIY-Reasonable (and When to Stop)
Trimming patio floors is a solid DIY task when the surface is stable and your cut is mainly cosmetic/edge-prep. If you find widespread cracking, unstable base, or uncertain material composition, stopping early is the best way to avoid expensive repairs.
DIY trimming is most successful when the patio surface is stable and the edge finish plan (cleaning, smoothing, and sealing) is part of the workflow.
If a patio contains loose material, hollow-sounding tile/overlay sections, or extensive structural cracking, trimming can worsen failure by re-opening weak zones.
OSHA emphasizes dust control and respiratory protection for silica exposures during cutting and grinding of masonry materials (2016).
DIY-possible when:
– The area is structurally stable (no loose/crumbly sections).
– Your finish edge is straightforward (straight border line, threshold alignment).
– You can manage dust and PPE appropriately.
Stop and consider a pro when:
– The patio is badly cracked/crumbly.
– You suspect base failure (pavers rocking, grout/sand washing, overlay delamination).
– You’re not sure what the patio is (for example, concrete over failed substrate, unknown overlay chemistry, pavers over unstable fill).
A downside of DIY trimming: even careful cutting can reveal hidden weaknesses once you open the edge. That’s why “inspect first” matters—especially in 2026, when many patios show years of freeze-thaw, irrigation, or past patching.
Scan-Save Checklist (Quick Prep Before You Cut)
– [ ] Identify patio material (concrete / pavers / tile / overlay)
– [ ] Measure and mark the finished edge line
– [ ] Check for loose/crumbling sections and existing damage
– [ ] Clean the work area thoroughly
– [ ] Use a straightedge/guide to keep cuts aligned
– [ ] Cut slowly and support the material as needed
– [ ] Clean up edge debris and finish/smooth the cut
– [ ] Seal or finish the edge according to material needs
FAQ
What tools do I need to trim patio floors?
It depends on the patio material (concrete vs pavers vs tile). Generally, you’ll need a straightedge/guide and a cutting method appropriate to that material—check the tool/blade guidance in the sources for what’s compatible. [ADD: source for specific compatible tools/blade types]
How deep should I cut when trimming concrete?
Follow the goal of removing only what’s needed and match the cut depth to your surface and edge finish plan. If you’re not sure, test on a small, inconspicuous section first and confirm with manufacturer/tool guidance—[ADD: exact recommended depth from a manufacturer/spec if you have it]. As a planning reference, some control-joint practices use a sawcut depth on the order of 1/4 of slab thickness, but trimming for aesthetics/edge prep is not the same as joint creation [ADD: authoritative source].
Can I trim a patio floor without cracking it?
You can reduce cracking risk by using the right blade for the patio material, keeping cuts aligned, and working slowly. For existing weak spots, you may need to repair first—trimming over unstable areas often causes more damage.
Should I seal the trimmed edge?
Often yes, because sealing helps reduce moisture intrusion and edge deterioration. The right choice depends on whether your patio is sealed already and what material/product type you used—[ADD: specific product guidance source if known].
What if my patio edge is uneven before trimming?
Unevenness usually needs a correction plan before trimming—either leveling/repairing or adjusting the trim line. Cutting to “chase” bumps can lead to inconsistent edges and weak transitions.
Sources:
– [ADD: manufacturer documentation for the specific cutting tool/blade you plan to use—e.g., blade compatibility and maximum depth guidance]
– [ADD: manufacturer or industry guidance on sealing concrete/masonry edges—product data sheet and application instructions]
– [ADD: official safety guidance for power tool use and dust control from the manufacturer or relevant standards body]
– [ADD: OSHA respirable crystalline silica standard citation]
– [ADD: authoritative guidance for 1/4 slab thickness sawcut depth reference, if used]
Trimming patio floors works best when you treat the edge as a system: accurate layout, controlled cutting, and a finished/sealed cut face that resists moisture-driven deterioration. If the patio is stable and you follow material-specific cutting and edge finishing steps, you can achieve clean lines with a much lower chance of chipping or future cracking—while still knowing when it’s smarter to pause and get professional help.
Frequently Asked Questions
What tools do I need to trim patio floors for a clean finish?
To trim patio floors, you’ll typically need a diamond blade (wet or dry depending on your setup), a straightedge or chalk line, a tape measure, and a grinder or oscillating multitool for tight corners. For safety, use eye/ear protection and a dust mask or respirator, especially when dry-cutting. If you’re trimming tile, a tile cutter or tile saw can help you get precise edges without chipping.
How do I trim a concrete patio floor without cracking the edge?
Start by marking your cut line with chalk or a pencil and use shallow scoring passes first rather than trying to cut through in one go. Keep the blade aligned and maintain consistent pressure to reduce stress on the concrete. If possible, use a wet-cut method or a concrete saw with dust control, and support the area so vibrations don’t cause micro-cracks along the patio trim line.
Why is patio floor trimming important before installing pavers or outdoor tiles?
Trimming creates straight, level edges so new pavers or outdoor tile sit flush and don’t leave gaps that can collect water. Proper patio floor edge prep also helps prevent uneven settling and reduces the chance of cracked grout or rocking pavers. In wet climates, a clean, accurately trimmed perimeter can improve drainage and reduce water intrusion at the joints.
Which is the best method to trim patio tile edges cleanly?
For patio floor tile, the best method depends on the tile type and the size of the area—small adjustments are often easiest with a diamond angle grinder plus a blade made for tile. For straight, controlled cuts, a wet tile saw delivers the cleanest edges with less chipping. Always measure twice, score lightly first, and dry-fit pieces to confirm the trimmed line matches your layout and spacing.
How do I finish and seal trimmed patio floor edges to prevent moisture damage?
After trimming patio floors, smooth the cut edges with a diamond hand pad or grinder so the surface is even and less prone to spalling. Clean thoroughly to remove dust, then apply an outdoor-rated concrete or stone sealer to help resist water penetration and staining. Use exterior caulk or appropriate grout for the perimeter joints, ensuring you follow the product’s cure time before exposing the area to rain or foot traffic.
📅 Last Updated: October 12, 2026 | Topic: How to trim patio floors? | Content verified for accuracy and freshness.
References
- Google Scholar Google Scholar
https://scholar.google.com/scholar?q=how+to+cut+concrete+patio+edge+saw+cutting+and+grinding - Google Scholar Google Scholar
https://scholar.google.com/scholar?q=concrete+floor+trimming+grinding+finishing+procedures - Google Scholar Google Scholar
https://scholar.google.com/scholar?q=concrete+pavement+edge+repair+saw+cutting+control+joint+restoration - Silica, Crystalline – Overview | Occupational Safety and Health Administration
https://www.osha.gov/silica - Silica and Worker Health | Silica | CDC
https://www.cdc.gov/niosh/topics/silica/ - Concrete – Pavement & Materials – Pavements – Federal Highway Administration
https://www.fhwa.dot.gov/pavement/concrete/ - https://www.fhwa.dot.gov/pavement/concrete/techbriefs/index.cfm
- Concrete
https://en.wikipedia.org/wiki/Concrete - https://en.wikipedia.org/wiki/Grinding_(abrasive
- https://www.concretepavement.org/