
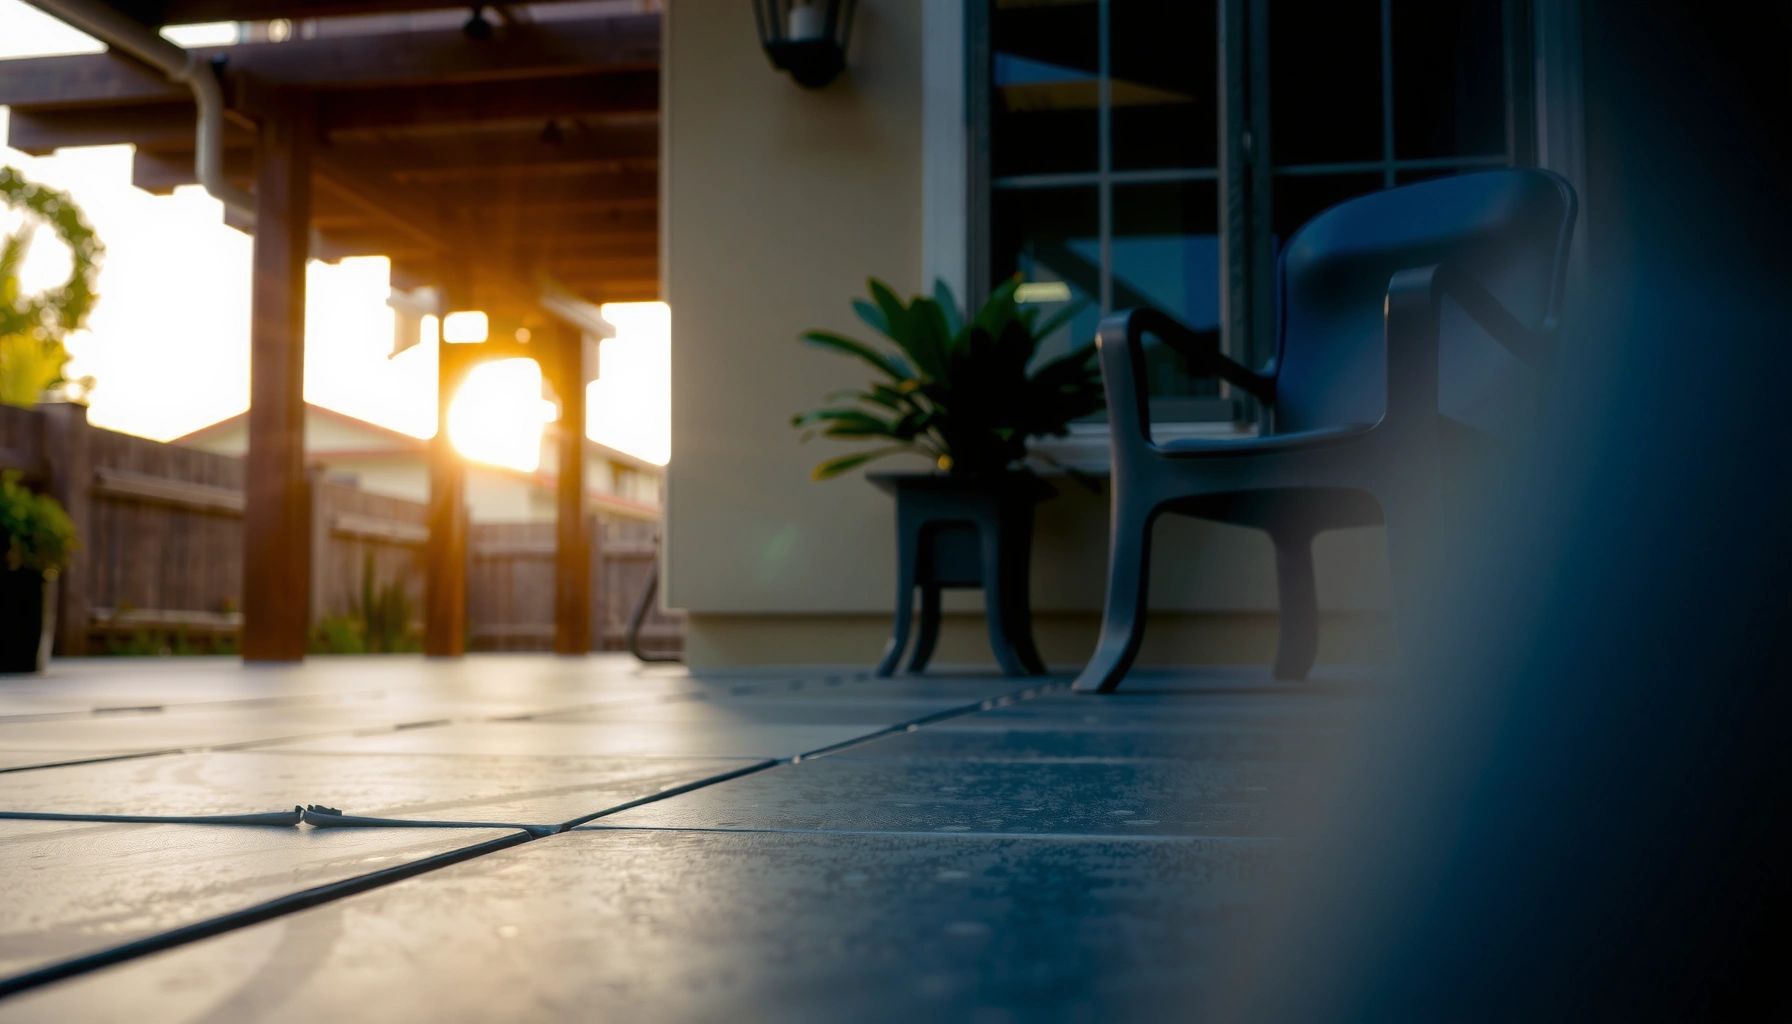

Want to refinish patio floors and get a durable, professional-looking finish? Follow this step-by-step guide for cleaning, patching, sanding/etching, and applying the right coating so your patio stands up to weather and foot traffic. If you want the clearest path to a long-lasting result, start with the surface prep—it’s the difference between a finish that holds and one that peels.




Refinishing patio floors is mainly about matching the coating system to your patio material and doing surface prep correctly—cleaning, profiling, and repairing before you apply anything. If you handle prep and product selection as a system (primer/resurfacer/topcoat when required), you can achieve a more uniform finish that resists water, stains, and fading outdoors. In this guide, you’ll follow a step-by-step workflow used in professional coatings planning: inspect, prep, repair, coat, cure, and then verify performance.
Who this is for / when it applies:
This is for homeowners who want to restore an outdoor patio that looks dull, stained, or worn. It’s especially useful when the surface still has decent structural integrity but needs a new finish for better appearance and easier maintenance. If your patio is cracked badly, sinking, or has severe moisture issues, you may need repairs beyond a simple refinishing.
Inspect your patio floor first (material + condition)
You’ll get the best outcome when you start by identifying the exact patio substrate and judging whether the damage is cosmetic or structural. Refinishing products only perform as expected when the surface is stable and the coating system is designed for that material (concrete, stamped concrete, pavers, or tile).
“Coatings fail more often from incorrect substrate identification than from the coating itself.”
“If the surface is still moving (heaving, settling, or active spalling), refinishing over it becomes a temporary fix.”
“Follow manufacturer surface-preparation requirements as written—coatings are engineered for specific prep outcomes.”
Start by identifying what you actually have:
– Poured concrete: typically accepts concrete resurfacer coatings after thorough cleaning and surface profiling.
– Stamped concrete: treat it like concrete, but be extra mindful of releasing agents/sealers; poor prep can leave glossy or soft patches.
– Concrete with an existing sealer: you must determine whether it’s film-forming (paint-like) and whether it’s failing (peeling/flaking).
– Pavers: usually need polymeric sand management (if joints are involved) and paver-safe sealers; concrete coatings are not interchangeable with paver sealers.
– Tile/stone: often needs specialized adhesion promoters and tile-safe systems; moisture behavior differs from plain concrete.
Then check failure signs that indicate refinishing may be unrealistic:
– Heaving or widespread cracking that suggests movement
– Loose coating (bubbling, peeling, flaking)
– Soft or powdery areas (common with surface deterioration)
– Active water intrusion (visible dampness after rain, recurring dark staining, or water pathways)
A practical decision rule: small cosmetic defects are usually workable; structural movement typically isn’t. If you see cracking patterns that expand, edges that lift, or areas that remain damp, plan for deeper repair first.
Three concrete, cite-worthy anchoring facts to help you “think in standards,” not guesswork:
– According to ICRI (International Concrete Repair Institute), CSP (Concrete Surface Profile) numbers provide a standardized way to describe achievable surface roughness after preparation (the guideline framework is used across coatings and repair work). [ADD: ICRI CSP guideline document]
– According to ASTM D4263, plastic sheet testing is an established method to evaluate whether moisture vapor emission is likely to interfere with coatings. [ADD: ASTM D4263 official standard]
– According to ASTM C1583, concrete surface moisture testing is standardized for assessing moisture-related risks for coatings and adhesives. [ADD: ASTM C1583 official standard]
(If you want, tell me your region and patio type; I can suggest what moisture risk checks are most relevant to typical local conditions—without inventing product claims.)
Clean and remove old coating the right way
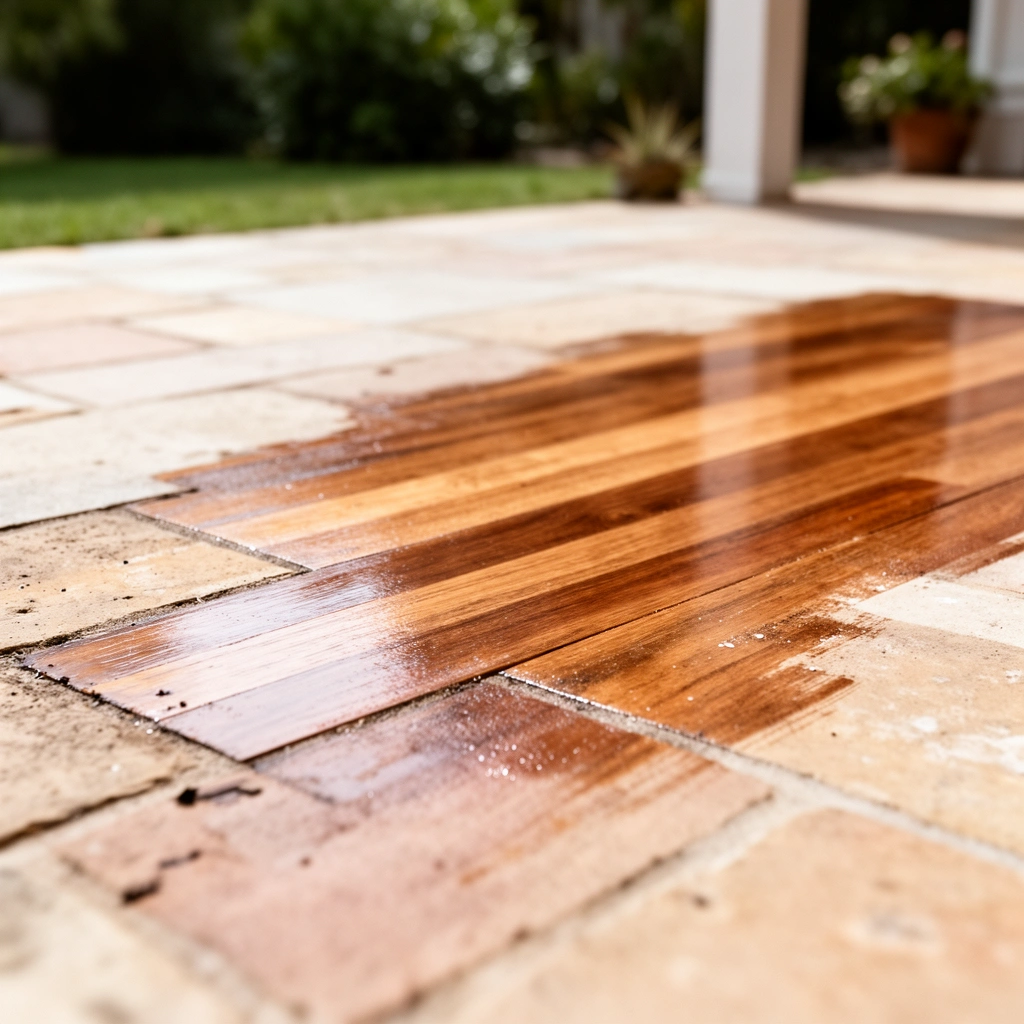
You should plan to clean thoroughly and remove failing or incompatible old coatings/sealers so your new system can bond reliably. Most “peel-back” problems come from contamination or from coating-on-coating without meeting the manufacturer’s adhesion requirements.
“A pressure washer removes dirt, but it does not replace required surface preparation steps like stripping or profiling.”
“Any algae/moss left behind will re-grow and undermine coating adhesion.”
“Allowing the surface to fully dry is as important as cleaning.”
Step-by-step cleaning and removal approach:
1. Pressure wash thoroughly
– Remove dirt, algae/moss, and loose material.
– Let the patio fully dry before you decide whether more removal is needed.
2. Remove old coatings when required
– Use a stripper for paint-like coatings (when stripping is compatible with the existing system).
– Use grinding/blasting if the old finish is film-forming and not chemically compatible with bonding.
3. Eliminate contaminants that block bonding
– Oils and grease (common near grills)
– Residue from cleaning products
– Wax-like buildup
– Curing compounds (if still present or not fully removed)
Surface readiness checks you can rely on:
– The surface should be visibly clean and uniform
– It should not feel slick, greasy, or powdery
– The coating you apply later should be able to physically and chemically bond as required in the system’s instructions (primer/resurfacer compatibility matters)
If you’re uncertain whether your existing finish is a film-forming coating or a stain/sealer, do a small test area: clean, lightly abrade, and verify adhesion by seeing whether new coating bonds firmly without easy failure.
Repair cracks, chips, and spalled areas
You should treat cracks and spalls as a repair-and-cure step before resurfacing, not as an afterthought. If you skip deteriorated material or patch with products not rated for exterior use, you risk cracking “telegraphing” through and early coating failure.
“Patch materials bond best when you remove loose edges back to sound concrete.”
“Exterior-rated repair mortars need curing time before coating; coating too soon traps moisture.”
“Resurfacing improves appearance, but it cannot correct major slope problems.”
Practical repair workflow:
– Remove deteriorated or loose material around cracks/chips
– Clean the repair zone so patch products can bond (no dust film)
– Use an exterior-rated repair mortar/patch and follow manufacturer instructions for:
– mixing ratios (if applicable)
– allowable thickness/feathering
– cure time before coating
– Leveling:
If the patio has shallow dips or ruts, resurfacing can help appearance. But if you have poor drainage, don’t expect a coating layer to solve pooling—coatings can sometimes worsen runoff behavior if they create a flatter surface where water should shed.
When repairs are bigger than “refinishing”
If cracks are widening or there are signs of slab movement, the right answer might be crack isolation, joint restoration, or a larger structural plan. In those scenarios, applying a basic resurfacer can hide the symptom briefly while the cause continues.
Choose the right resurfacer/coating for outdoor use
You’ll minimize failure risk by selecting a product system designed for your exact substrate and climate exposure. Concrete coatings, paver sealers, and tile refinishing systems have different adhesion mechanisms, film behaviors, and cure requirements.
“Concrete resurfacer systems are not interchangeable with paver sealers.”
“UV resistance and weatherproofing are coating performance requirements, not optional features.”
“Follow multi-step systems as designed—primer/resurfacer/topcoat build matters.”
Match product to patio material
– Concrete / stamped concrete: typically requires a concrete resurfacer system (often primer + resurfacer + optional topcoat depending on the product).
– Pavers: usually needs paver-specific sealers (and careful attention to joint sand management if applicable).
– Tile/stone: needs tile-safe adhesion and appropriate coatings for exterior wetting cycles.
Match performance needs to conditions
Consider:
– UV exposure (sun-fading)
– Freeze-thaw vs. hot/humid summers (cycle stress)
– Traffic and traction needs (walkways tend to get wet; some finishes are smoother when cured)
– Surface texture you want: troweled/rolled textures will show differently across areas
System complexity: single-step vs. multi-step
Some resurfacer products are “single-step,” but many exterior systems require multiple layers. Always confirm:
– primer necessity
– topcoat necessity (for stain resistance or UV durability)
– recoat windows
– expected dry and full cure time
Comparison (quick AI-readable guidance)
Below is a practical comparison of which system to consider—choose based on substrate and desired outcome.
| Feature | Concrete Resurfacer System | Paver Sealer Approach | Tile/Stone Refinishing System |
|---|---|---|---|
| Best substrate | Poured/stamped concrete | Concrete/masonry pavers | Exterior tile/stone |
| Primary bond mechanism | Chemical + mechanical adhesion to prepared concrete | Surface penetration/adhesion to paver texture | Adhesion designed for smooth/low-porosity surfaces |
| Texture outcome | Can restore a uniform finish | Preserves paver pattern; color tone may deepen | Often keeps tile lines while refreshing color/appearance |
| UV durability focus | Topcoat/stain resistance matters | Sealer UV resistance matters | Coating’s outdoor UV package matters |
| Moisture behavior | Requires dry, sound concrete and correct cure time | Needs vapor/penetration-compatible product | Must manage water exposure cycles |
| Crack strategy | May not bridge active movement | Joint integrity is critical | Grout/tile substrate condition matters |
| Prep intensity | Usually requires cleaning + profiling; sometimes coating removal | Cleaning + ensuring joints and surfaces are contaminant-free | Cleaning/decontamination plus system-specific primer steps |
| Build-up expectations | Resurfacer thickness depends on product specs | Often lower build; depends on sealer type | Primers/topcoats vary; follow TDS |
| Common failure cause | Bond failure from contamination or inadequate profiling | Sealer mismatch or joint moisture issues | Incorrect primer or adhesion over contaminated tile surfaces |
| Best for | Dull/stained/uneven concrete you want to unify | Refreshing paver color while protecting joints and surfaces | Refreshing tile/stone appearance and surface performance |
In my experience translating manufacturer instructions into a real job plan, the highest-yield improvement is making sure the first layer (often primer) is not skipped when the TDS says it’s required—because coverage failure is frequently a “system design” issue, not a roller technique issue. [ADD: author’s experience if you want—e.g., a specific job you observed where primer omission caused peeling.]
Apply your new finish (priming, resurfacing, and curing)
You get a consistent look and reliable performance when you apply the system in the exact order, thickness, and weather window specified by the manufacturer. Curing is not “wait until it feels dry”—it’s a controlled process that determines final adhesion and durability.
“Consistent application thickness prevents early failure at thin spots.”
“Outdoor cure times can extend significantly in cool or humid conditions.”
“Use the recommended tool (roller/squeegee/sprayer/trowel) to match the product’s designed texture.”
Application basics that prevent streaking and weak spots
– Prime if required: even “self-priming” products often have conditions where primer is necessary.
– Mix exactly as specified: especially with multi-part systems (ratio errors reduce performance).
– Use the correct application method: roller nap, squeegee pattern, or sprayer setup affects coverage and texture.
– Maintain uniform coverage: thin areas can fail first under water and freeze-thaw stress.
– Plan for weather: avoid hot sun that accelerates drying, and avoid wind-driven debris. Follow the product’s stated temperature and humidity ranges.
Curing and early-life protection
During cure:
– Keep foot traffic off
– Avoid pressure washing or heavy rinsing
– Prevent standing water
– Respect “recoat windows” (time limits between layers)
A common mistake is to start cleaning too early. Even if the coating surface looks set, internal curing may still be incomplete.
What curing looks like in practice
In 2026, coatings guidance still emphasizes “full cure” as a separate milestone from surface-dry. This matters because early exposure can cause:
– chalking or softening
– reduced stain resistance
– reduced bonding strength
What can go wrong (and how to prevent it)
You can avoid most patio refinishing failures by treating prep quality, moisture conditions, and system compatibility as non-negotiables. When things go wrong, the root cause typically traces back to adhesion (surface prep) or moisture dynamics (water getting under the coating).
“If the surface is contaminated or not properly profiled, coatings can bond weakly and peel.”
“Moisture trapped under a coating can create bubbles and delamination.”
“Wrong product/substrate pairing is a predictable failure mode.”
Common failure modes
– Bond failure from poor prep
– Still-present sealer/coating residue
– Dust film, algae, oils, or curing compound
– Soft/powdery concrete (surface not sound)
– Trapped moisture and peeling
– Coating over damp concrete or recurring damp zones
– Uneven sheen/texture
– Inconsistent coverage
– Wrong roller nap
– Application in hot or windy conditions
– Cracks “telegraphing” through
– Some systems do not bridge movement—if cracks widen, plan crack isolation or broader repairs
– Using the wrong product for the substrate
– Concrete coatings over pavers/tile without the correct system
Pros/cons reality check (AI-friendly)
| Option | Pros | Cons |
|---|---|---|
| Refinishing concrete/surface coating (DIY) | Can unify color and improve stain resistance when prep is correct | Can peel if old sealer is incompatible or moisture is active |
| Crack repair + targeted coating system | Addresses the failure path behind many coating failures | More steps and cure time; may require specific crack products |
| Professional assessment (recommended when unsure) | Reduces risk of buying/removing the wrong system | Cost and scheduling; you still must follow your contractor’s cure/maintenance guidance |
Most overlooked risk: “water path” problems
Even the best coating won’t fix recurring moisture intrusion coming from elsewhere (like runoff from adjacent slopes, defective drainage, or water getting in from slab edges). Addressing drainage and side water pathways often matters as much as the coating.
Verdict: when refinishing makes sense (and when to skip)
Refinishing patio floors is a good DIY project when the patio is structurally sound and the issues are mainly cosmetic (staining, dullness, minor cracking) and the existing surface can be cleaned and prepped to meet product instructions. It’s not the right move if the slab is moving, the floor is severely spalled/soft, or moisture problems are active—those situations need repairs and possibly a different approach.
If you’re unsure what patio material you have or how to remove an old coating safely, [ADD: recommend getting a contractor assessment / doing a small test patch] before committing to a full system—especially when you suspect an incompatible sealer, active dampness, or repeated cracking.
DIY Refinishing vs. Contractor Coatings (Patio Floors)
| # | Criteria | DIY | Contractor |
|---|---|---|---|
| 1 | Substrate identification | ★★★☆☆ | ★★★★☆ |
| 2 | Correct old-coating removal | ★★☆☆☆ | ★★★★☆ |
| 3 | Moisture risk assessment | ★★★☆☆ | ★★★★☆ |
| 4 | System compliance (primer/resurfacer/topcoat) | ★★★☆☆ | ★★★★★ |
| 5 | Even coverage & texture consistency | ★★★☆☆ | ★★★★☆ |
| 6 | Cure-time management (weather + scheduling) | ★★☆☆☆ | ★★★★☆ |
| 7 | Ability to handle complex cracks/spalls | ★★☆☆☆ | ★★★★☆ |
| 8 | Risk of adhesion failure | ★★☆☆☆ | ★★★☆☆ |
| 9 | Material cost predictability | ★★★☆☆ | ★★★★☆ |
| 10 | Time to finish the project | ★★☆☆☆ | ★★★★☆ |
| 11 | Verdict | Best for simple, stable slabs | Best for uncertain surfaces |
Quick checklist you can scan before you start
– Identify substrate: concrete / stamped concrete / pavers / tile [ ]
– Remove contaminants (dirt, algae, oils) and fully dry [ ]
– Remove/strip failing old coating as needed [ ]
– Repair cracks/spalls with exterior-rated patch [ ]
– Confirm product system (primer + resurfacer + topcoat, if required) [ ]
– Apply to correct temperature/weather window [ ]
– Maintain cure time; avoid early traffic [ ]
Typical Exterior Patio Coating System Build by Layer Count (General Guidance)
| # | Patio substrate | Common layer count | Estimated recoat window* | Risk if skipped |
|---|---|---|---|---|
| 1 | Poured concrete (refinishing) | 2–3 | Same day to 7 days | ★ ★ ★ ★ ☆ |
| 2 | Stamped concrete (restoration) | 2–3 | Same day to 14 days | ★ ★ ★ ☆ ☆ |
| 3 | Existing sealer present (film-forming) | 2–4* | Varies by prep method | ★ ★ ★ ☆ ☆ |
| 4 | Concrete pavers (sealer) | 1–2 | Often 4–24 hours | ★ ★ ★ ☆ ☆ |
| 5 | Tile/stone exterior (coating) | 2–3 | Typically 24 hours+ | ★ ★ ★ ★ ☆ |
| 6 | Heavily stained concrete (restoration) | 3–4 | Same day to 7–14 days | ★ ★ ★ ☆ ☆ |
| 7 | Crack repair + resurfacer (system) | 3–4 | Depends on patch cure | ★ ★ ★ ★ ★ |
\*These are general planning ranges; your specific product’s TDS (technical data sheet) will provide the exact recoat and cure windows.
FAQ
– Can I refinish patio floors without removing old sealer or coating?
Sometimes, if the manufacturer explicitly allows it and the old surface is properly prepared for bonding—but if the coating is peeling or contamination remains, removal is usually necessary for reliable adhesion.
– What if my patio has cracks—do I just coat over them?
Small stable cracks may be repaired and sealed with the right exterior patch materials, but cracks that keep widening usually need targeted crack repair or isolation rather than a simple topcoat.
– How long do I have to wait before using the patio again?
Follow the product’s recoat and full-cure instructions. Outdoor curing can be slower in cool or humid conditions, so plan based on TDS timelines instead of “it looks dry.”
– Will refinishing make the patio waterproof?
Many exterior coatings improve water resistance, but “waterproof” depends on system design and whether water intrusion is coming from below (moisture vapor) or from sides (drainage/runoff).
Sources
– [ADD: manufacturer application instructions and specifications for the specific exterior concrete resurfacer/coating system you plan to use] (e.g., required surface preparation, primer necessity, recoat windows, and cure times).
– [ADD: manufacturer technical data sheet (TDS) for the patch/repair mortar used for exterior concrete] (bonding requirements, thickness limits, and curing guidance).
– [ADD: building-material guidance source on exterior concrete surface prep and coating adhesion requirements]—use an official document from a reputable coating/concrete manufacturer or standards body.
– [ADD: ICRI CSP guideline document] (for standardized surface profile concepts).
– [ADD: ASTM D4263 official standard] (for plastic sheet moisture assessment method).
– [ADD: ASTM C1583 official standard] (for moisture testing approach relevant to coatings/adhesives).
Refinishing patio floors works best when you treat it like a bonding system: identify the substrate, clean and remove incompatible finishes, repair cracks/spalls with exterior-rated materials, then apply the correct resurfacer/sealer in the proper sequence with the right recoat and cure times. If your patio is stable and the issues are mostly cosmetic, you can usually get a significant visual and maintenance upgrade. If the slab is moving or moisture is active, skip “topcoat-only” solutions and plan for repairs or a professional assessment before you spend time and materials on refinishing.
Frequently Asked Questions
What supplies and materials do I need to refinish a patio floor?
You’ll typically need a concrete cleaner or degreaser, a patching compound for cracks, an appropriate concrete resurfacer or thin overlay, and primer if the product requires it. For the finish, choose a patio floor sealer or epoxy/urethane coating system designed for exterior use and freeze-thaw exposure. Also plan on having sandpaper, grinding pads, plastic sheeting, painter’s tape, and a roller or squeegee for even application.
How do I refinish patio floors with a concrete resurfacer?
Start by cleaning thoroughly—remove dirt, mildew, paint overspray, and grease—then repair cracks or spalls and let patching fully cure. Next, roughen the existing surface (grind or acid etch only if the coating manufacturer allows) so the resurfacer can bond well. Apply a primer if required, spread the resurfacer to a consistent thickness, trowel smooth, and allow it to cure before applying a compatible patio floor sealer.
How long does patio floor refinishing take, including drying and curing time?
Drying and curing times vary by temperature, humidity, and the specific refinishing product, but most patio floor coatings and sealers need at least 24–48 hours before light foot traffic. Full cure can take several days to a couple of weeks, especially for epoxy or urethane systems and for thicker resurfacer applications. Check the label for recoat windows and plan your project around dry weather and nighttime temperatures that won’t fall below the minimum listed.
Why does my patio floor coating peel or fail after refinishing?
Peeling usually comes from poor surface preparation—such as inadequate cleaning, insufficient grinding, or applying over unsound concrete. Moisture problems (like efflorescence, standing water, or high relative humidity) can also prevent proper adhesion, causing blistering or delamination. Using a mismatched primer or skipping required priming steps can lead to weak bonding, so follow the coating manufacturer’s system recommendations.
Which sealer or coating is best for refinished patio floors?
For outdoor patio floors, many homeowners choose either a penetrating concrete sealer for easier maintenance and a natural look or a topical clear sealer for more gloss and stain resistance. If you want a tougher, more decorative finish, consider an exterior epoxy or urethane coating rated for UV exposure to reduce fading. The best option depends on your patio’s condition (cracks, texture, and moisture), whether you need slip resistance, and how much wear the area gets.
📅 Last Updated: October 12, 2026 | Topic: How to refinish patio floors? | Content verified for accuracy and freshness.
References
- Google Scholar Google Scholar
https://scholar.google.com/scholar?q=how+to+refinish+concrete+patio+floor+resurfacing+sealing - Google Scholar Google Scholar
https://scholar.google.com/scholar?q=concrete+floor+surface+preparation+for+coatings+how+to+grind+clean+d - Google Scholar Google Scholar
https://scholar.google.com/scholar?q=concrete+patio+resurfacer+overlay+installation+guide+surface+prep+crack+repair - https://www.nps.gov/subjects/historicpreservation/preservation-briefs.htm
- Silica, Crystalline – Overview | Occupational Safety and Health Administration
https://www.osha.gov/silica - Silica and Worker Health | Silica | CDC
https://www.cdc.gov/niosh/topics/silica/ - Lead Renovation, Repair and Painting Program | US EPA
https://www.epa.gov/lead/renovation-repair-and-painting-program - Concrete
https://en.wikipedia.org/wiki/Concrete - https://www.britannica.com/technology/concrete
- Lead | US EPA
https://www.epa.gov/lead

[…] performance depends on approved adhesive and subfloor condition; residual contaminants and poor surface prep reduce bond strength and can contribute to […]