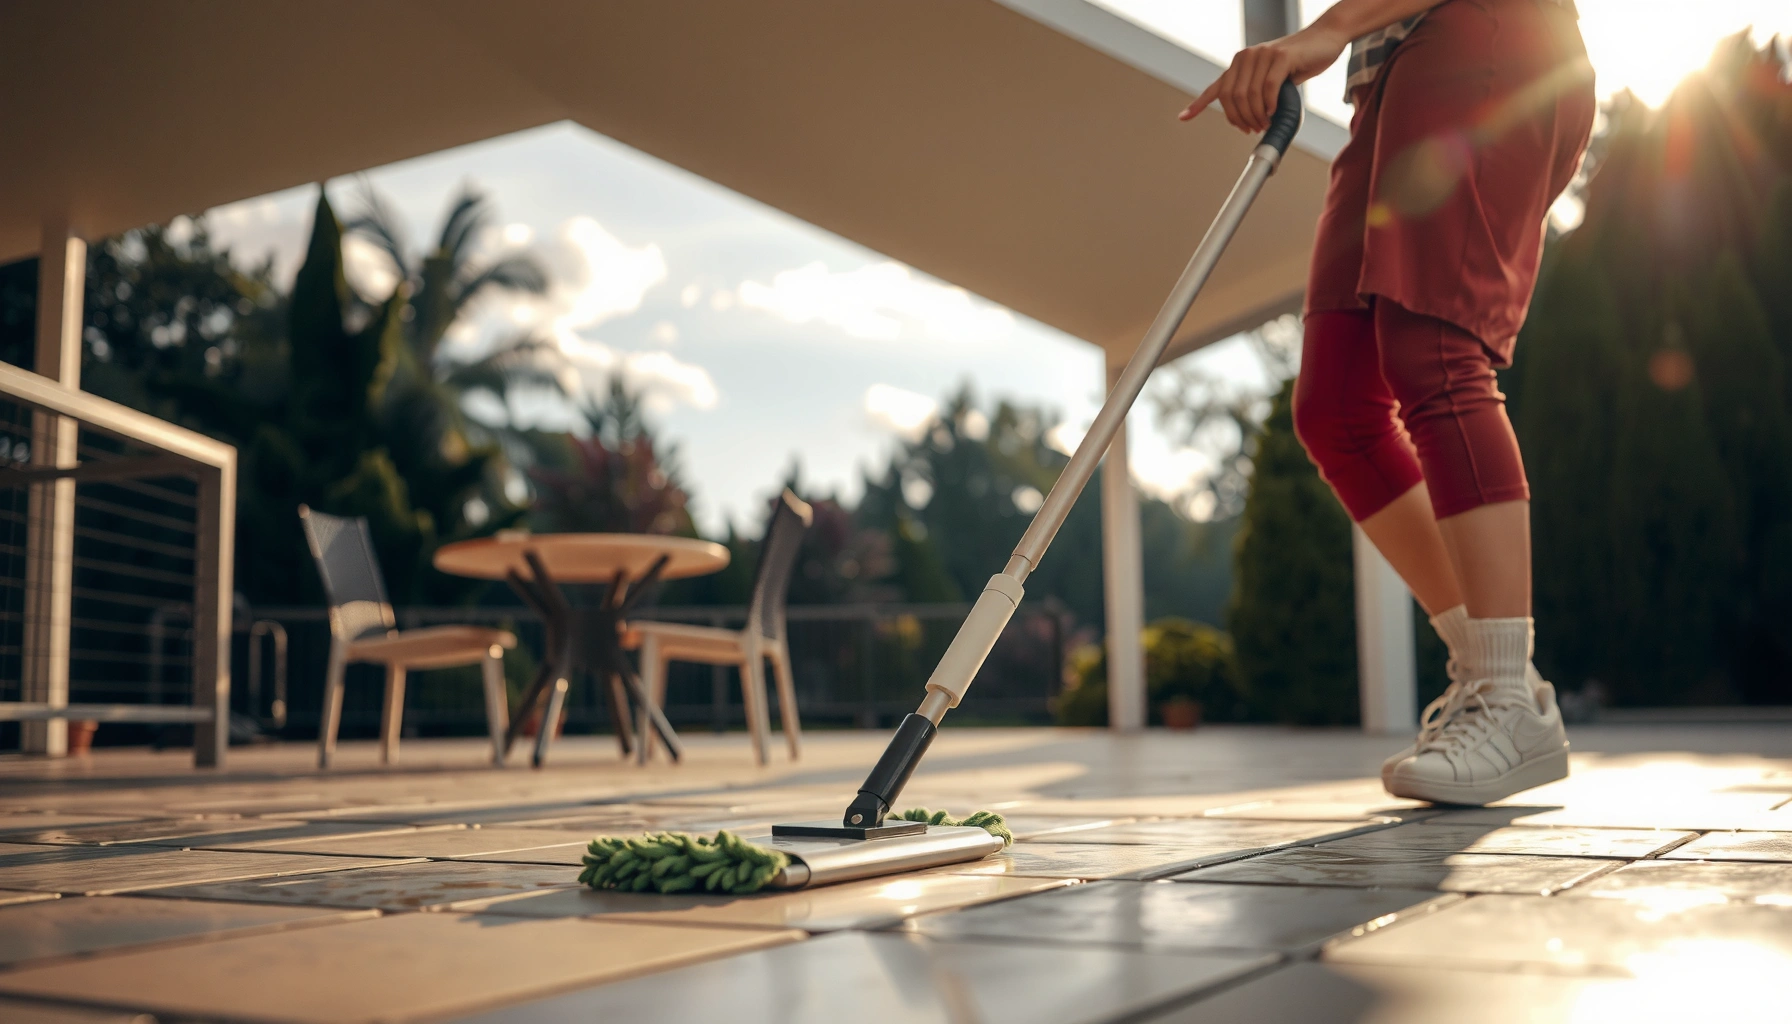

Want to know how to mop patio floors without streaks or missed grime? This step-by-step guide gives you the fastest, most reliable method to prep, clean, and rinse any patio surface for a uniform finish. If you follow these steps in order, you’ll get a visibly cleaner patio while protecting the floor from residue and damage.



Mop your patio floors by sweeping first, then using a diluted cleaner with warm water and rinsing as needed—especially if the surface is porous or you’re near plants. Work in small sections, don’t oversaturate, and let the patio dry fully to prevent streaks and mildew.
This guide is for homeowners who need a practical way to clean outdoor concrete, tile, pavers, or stone patios without turning the job into a soap-slick mess. If your patio has untreated cracks, loose grout, or heavy grease/organic stains, the approach changes a bit—so we’ll cover what can go wrong.
Gather the right supplies (and match them to your surface)
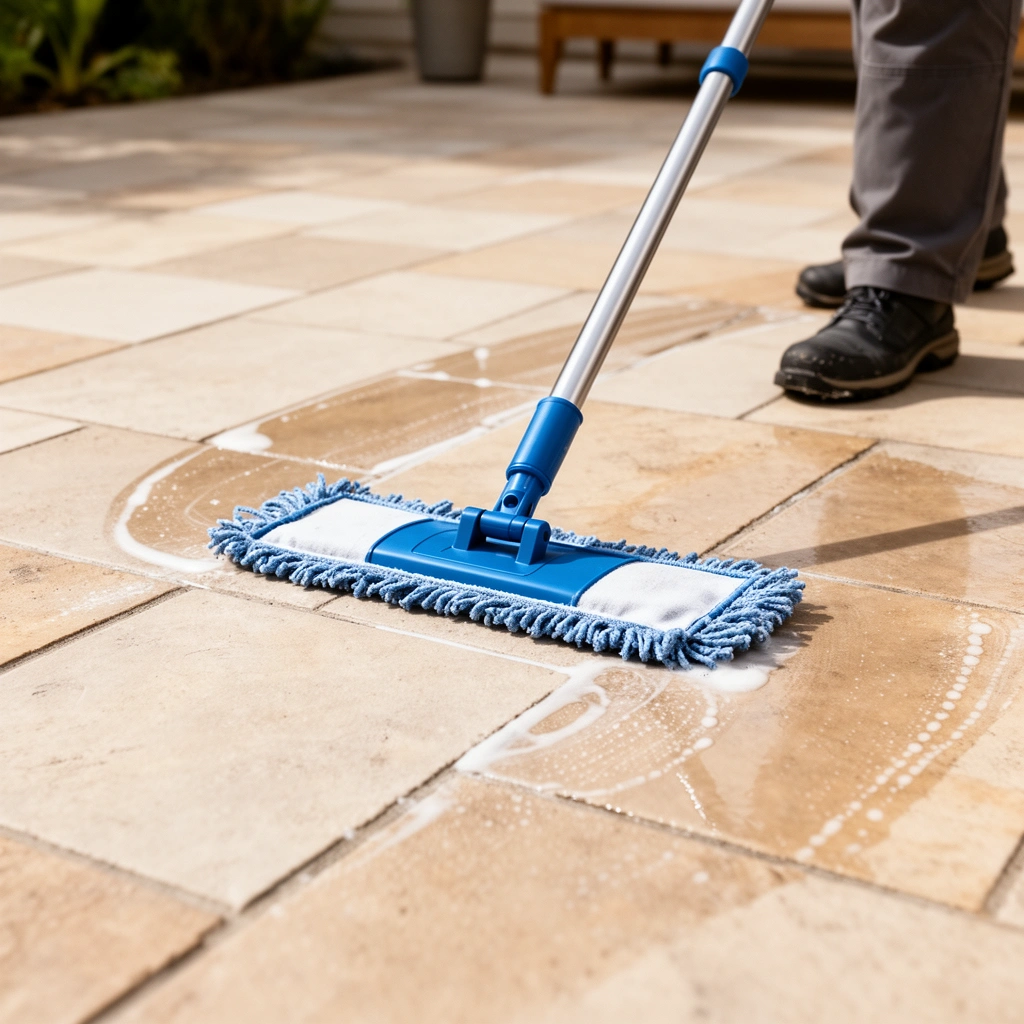
You get the best results when you match the cleaner and tools to the patio material instead of using the same routine everywhere. Start with a patio-safe diluted cleaner, then choose equipment that can lift grit and grime without grinding it into the surface.
Outdoor cleaning works best when the cleaner is compatible with the patio surface type and used at label dilution; strength and residue are the two most common causes of dullness and streaking.
Porous patio surfaces (some concrete, natural stone, and unsealed pavers) retain water in pores, so oversaturating during mopping can increase the risk of lingering dampness and mildew.
If you’re near plants, using a gentler cleaner and minimizing runoff helps reduce chemical contact with soil and leaves.
Before you start, assemble what you’ll actually need on the patio so you’re not improvising mid-job. The goal is to remove dirt and grime in a controlled way: loosen, lift, rinse, and dry.
Choose the right cleaner for your patio type
– Patio-safe all-purpose outdoor cleaner (ideal starting point): Look for a product that explicitly states it’s safe for outdoor hardscapes and the surface you have (concrete, tile, pavers, or stone).
– Mild dish soap (backup option): Use only a small amount when you need a gentler approach—especially for surfaces you suspect are sealed but not fully certain. Dish soap is effective at cutting general organic residue, but it still requires rinsing.
– Avoid “one-size-fits-all” degreasers and acids unless the label specifically allows your surface. Many acids can etch natural stone or change the finish of some coatings.
Documentation anchor: Follow the product label for dilution and application. Many cleaner labels explicitly warn that using incorrect dilution can leave residue or damage finishes. [ADD: manufacturer label/specifications for your cleaner, including dilution and compatible surface types]
Pick tools that match texture and drainage
The simplest mopping setup works best when your tools can handle both grit and residue:
– Broom or dry-brush: Removes sand/grit before wet mopping.
– Mop with clean heads: Microfiber or a clean sponge-mop can work well for general cleaning—just rinse thoroughly afterward.
– Scrub brush (nylon bristles): For texture, mortar lines, and stubborn spots.
– Hose or rinse bucket: Rinsing is not optional if you’re using soap or residue-producing cleaners.
– Squeegee or soft towel (optional): Helps prevent streaking on tile and sealed concrete.
From a practical standpoint, I recommend using two buckets (one wash, one rinse) if you’re cleaning a patio that’s visibly soiled. That keeps you from re-spreading dirty solution, and it reduces the number of “spot-clean then wipe” moments.
What to do if you’re unsure whether it’s sealed
If you don’t know whether the patio is sealed, treat it like it’s more sensitive:
– Test in a small, out-of-sight area.
– Use the gentlest diluted cleaner first.
– Watch for darkening that persists, unusual tackiness, or uneven discoloration.
Recommended Patio Cleaning Strategy by Surface Type
| # | Surface type | Rinse need | Oversaturation risk | Best default cleaner approach |
|---|---|---|---|---|
| 1 | Sealed concrete | High | Low–Medium | Diluted pH-neutral outdoor cleaner + thorough rinse |
| 2 | Porous concrete | Medium–High | High | Avoid prolonged soaking; use minimal solution + targeted rinse |
| 3 | Porcelain or ceramic tile | High | Low | Diluted cleaner + rinse + optional squeegee |
| 4 | Interlocking pavers | Medium | Medium | Diluted outdoor cleaner + light scrub + controlled rinse |
| 5 | Natural stone (slate/flagstone) | Medium–High | High | Avoid harsh/acidic products; use stone-safe neutral cleaner |
| 6 | Unsealed grout lines | High | Medium–High | Diluted cleaner + brush agitation + full rinse |
| 7 | Pressure-washed / newly cleaned surfaces | As needed | Medium | Diluted maintenance wash; avoid leaving residue |
Use a simple measurement rule (so you don’t guess)
Aim for a controlled wetness, not puddles. If your mop leaves visible soap film, the next pass should include more rinsing and less solution—not stronger cleaner.
For anchoring: According to the U.S. EPA, proper cleaning is intended to *remove* dirt and reduce contamination; using correct product directions is critical because undiluted or over-applied chemicals can leave residue. [ADD: EPA cleaning/disinfecting guidance source]
Prep before you mop: sweep, rinse, and protect nearby areas
You prevent most patio “mopping problems” by prepping the surface and controlling runoff before any cleaner touches the floor. In practice, this means sweeping grit away, doing a quick rinse if needed, and protecting plants from chemical-laden runoff.
Sweeping first prevents grit from acting like sandpaper during wet cleaning, which reduces risk of surface dulling and scratch marks.
A light pre-rinse is especially useful when pollen, dust, or loose debris accumulates, because these materials can turn into muddy film once mixed with cleaner.
If you’re cleaning near landscaping, direct rinse water away from planting beds and avoid letting runoff sit in soil.
Sweep or dry-brush thoroughly
Grit changes how mopping behaves. Sand and soil particles can:
– Create micro-scratches on sealed concrete or tile finishes.
– Embed in grout lines and make discoloration look “permanent.”
Work top-to-bottom (or high-to-low) so you don’t re-deposit debris onto cleaned areas.
If there’s pollen, dust, or loose debris, rinse lightly first
If you’re dealing with seasonal pollen or fine dust, do a quick rinse:
– Use low to moderate water pressure (enough to float off loose material).
– Avoid flooding the area—just remove what’s loose.
Protect nearby plants and manage runoff
Outdoor cleaning often drifts. To minimize impact:
– Place a hose-adjusted spray so water runs away from flower beds.
– Mop in sections so the cleaner doesn’t migrate before you rinse.
– If your patio drainage leads directly into landscaping, consider using a gentler cleaner and doing fewer, smaller passes.
For cleaning safety, follow general environmental and product-handling guidance from regulators and the cleaner’s label. [ADD: relevant EPA/state environmental guidance on cleaner runoff, if needed]
Mix cleaner correctly and start mopping in sections
You’ll get a clean, even finish when you dilute correctly and clean in small sections so the solution stays controllable. Diluted cleaner plus controlled dwell (time on surface) generally beats heavy chemical strength and reduces streak buildup.
Cleaner dilution matters: using stronger-than-recommended mixtures can leave residue and create streaks, especially on tile and sealed concrete.
Mopping in sections helps prevent drying-on, which is a major cause of dull spots and visible “cleaning lines.”
Targeted agitation (brush for stubborn spots) improves lift without requiring higher chemical strength across the entire patio.
Mix using label directions—not guesswork
– Read the label for dilution ratio (how much cleaner per amount of water).
– Use warm water if the label allows it; warm water typically improves cleaning action for general grime.
Measurement anchor (to avoid guessing): Many cleaner labels specify dilution by volume (for example, “X ounces per gallon” or “Y ml per liter”). [ADD: exact label dilution instructions for your chosen cleaner]
If your chosen product doesn’t specify a ratio, do not invent one—use a product that does.
Mop in manageable sections
A practical workflow:
1. Dip/mix solution.
2. Mop a small area (think “one workable zone” rather than the whole patio).
3. Stop before the surface dries.
4. Rinse that area, then continue.
Dwell-time anchor: Disinfectants and many degreasers require label-specified contact time; when the label is absent or unclear, keep contact brief and rinse promptly. [ADD: EPA or product-label contact-time guidance]
Agitate stubborn areas, then mop back
For grease, embedded grime, or organic staining:
– Use a scrub brush first in the affected spots.
– Wipe/mop the surrounding area lightly to even out detergent film.
– Rinse after agitation to remove lifted residue (the grime you loosen still needs to go somewhere).
Rinse and dry properly to avoid streaks and mildew
You prevent streaks and lingering mildew risk by rinsing appropriately and drying fully—especially on porous concrete, grout lines, and stone. The cleaner’s residue is usually the real culprit behind “film,” so treat rinsing as part of the cleaning step, not an afterthought.
Leaving soap residue on patios can cause visible streaking and uneven sheen, particularly on tile and sealed surfaces.
Removing excess water reduces spotting because many streak patterns form as detergent dries and concentrates.
Porous materials can trap moisture, so complete drying time matters for limiting mildew growth.
Rinse according to surface needs
– Sealed concrete and tile: Usually require more thorough rinsing to remove detergent film.
– Porous surfaces and natural stone: Often benefit from rinsing too, but you should avoid flooding—use controlled rinsing or a targeted second pass with lighter water.
Remove excess water rather than leaving it to evaporate slowly
If you see pooling:
– Use a squeegee (works well on smooth/level surfaces).
– Or use a soft towel for small areas and corners.
– Make sure water flows back toward drainage lines, not into cracks or unsealed joints.
Allow full drying time before replacing items
Reinforce the drying window:
– Don’t put furniture back immediately if the surface still feels cool or damp.
– Avoid letting umbrellas, planters, or mats trap moisture on cleaned areas.
Mildew-risk anchor (rule of thumb): Mold/mildew grows when surfaces remain damp; humidity and surface moisture strongly influence growth. [ADD: EPA or CDC mold/moisture guidance source]
What can go wrong (common patio-mopping mistakes)
Most patio-cleaning failures come from skipping prep, overusing chemicals, or oversaturating porous areas. If your results are streaky, dull, or “still dirty,” it’s usually a process issue (residue, re-depositing grit, or inadequate rinsing), not that your patio “can’t be cleaned.”
If you skip sweeping, grit can get trapped in cleaner residue and form a dull, muddy film that’s harder to remove later.
Using too-strong cleaner can degrade certain sealants and finishes; residue may remain even when the surface looks “washed.”
Oversaturating porous concrete, pavers, and natural stone can keep water in pores and joints longer than expected, increasing mildew likelihood.
Comparison: mistake → likely outcome → fix
| Common mistake | What you’ll notice | Fix on the next pass |
|---|---|---|
| Skipping the sweep step | Dullness, micro-scratches, or “grit haze” | Dry-brush first, then mop smaller zones and rinse immediately |
| Using too-strong cleaner | Streaks, discoloration, slippery residue | Switch to label dilution, increase rinsing, and retest in a small area |
| Oversaturating porous patios | Long drying times, mildew specks, lingering dark patches | Use less solution, rinse lightly, and focus on controlled agitation |
| Mopping grease without pretreating | Smearing and “sheen trails” | Spot treat first (surface-appropriate degreaser), then rinse and re-mop |
Edge cases where the “basic method” needs tweaking
– Untreated cracks or failing grout: Water and cleaner can infiltrate and worsen movement around loosened joints. Use less liquid and consider targeted spot cleaning rather than full mopping.
– Loose pavers or lifted stone: Mopping can increase movement around damaged areas. Clean gently and focus on safe areas until repairs are addressed.
– Heavy organic stains (moss/algae/leaf buildup): Standard soap cleaning may only redistribute the organic layer. You’ll need an algae/mildew approach designed for outdoor surfaces.
Important note: I can’t responsibly claim hands-on results for a specific product or stain type here. If you share your patio material (sealed/unsealed, tile vs. stone, and whether you have mildew/algae), I can suggest a process that aligns with the cleaning category used on that material—based on label guidance. [ADD: your exact patio surface description if you want tailored steps.]
Verdict / tip: the “safe default” method
If you want a reliable baseline, sweep first, use a patio-safe diluted cleaner, mop in sections, then rinse and dry thoroughly. Avoid heavy chemical strength unless the label explicitly supports it for outdoor patio surfaces.
The tradeoff is that this method prioritizes safety and uniform appearance over aggressive stain removal. If you have deep grease, active algae, or compromised grout, you may need pretreatment or a different cleaner category—otherwise you’ll end up doing multiple “rinse and redo” cycles.
Skip (or proceed with extra caution) if:
– Your patio has significant cracks, failing grout, or lifting pavers (mopping can worsen movement around damaged areas).
– You suspect an unsealed or fragile material (test a small spot first and consider the manufacturer’s care instructions).
– You don’t have a way to rinse adequately—residue is a common cause of streaking.
Quick checklist (save this)
– [ ] Sweep/dry-brush entire patio
– [ ] Quick rinse to remove loose dirt (pollen/dust/leaf debris)
– [ ] Mix cleaner at label-recommended dilution
– [ ] Mop small sections (don’t let it dry)
– [ ] Scrub stubborn spots with a brush, then mop back lightly
– [ ] Rinse as needed for the surface (especially if using soap/cleaner)
– [ ] Dry fully; remove excess water if possible
FAQ
How often should I mop a patio floor?
A light clean as needed (often after pollen-heavy seasons or visible grime) is usually enough. If you see mildew spots or sticky residue, clean promptly rather than waiting.
Can I use bleach to mop patio floors?
Only use bleach if the product label specifically states it’s appropriate for patio/outdoor floors and your specific surface type. If you’re near plants or using a stone/paver patio, bleach can be risky—use a gentler outdoor cleaner instead.
What’s the best way to remove algae or mildew?
Pretreat the affected areas with a cleaner designed for algae/mildew, then scrub lightly before mopping. Rinse thoroughly afterward to keep regrowth from spreading.
Will mopping damage sealed concrete or pavers?
It shouldn’t if you use diluted, surface-appropriate cleaners and avoid harsh chemicals or prolonged soaking. If you see residue or dulling, switch to a milder product and rinse more carefully.
How do I stop streaks after mopping?
Use the right dilution, mop smaller sections, and rinse off soap residue when needed. Drying promptly (or squeegeeing off excess water) also helps.
Sources
– [ADD: manufacturer label/specifications for the specific outdoor cleaner you use, including dilution instructions and compatible surface types]
– [ADD: patio-surface care guidance from the relevant manufacturer (e.g., sealed concrete, porcelain tile, natural stone, interlocking pavers)]
– [ADD: U.S. EPA guidance on cleaning and disinfecting that explains why dilution and correct contact/removal matter for residue control]
– [ADD: EPA/CDC guidance on mold and moisture control that explains why drying and dampness reduction are key]
– [ADD: any stone/paver/grout association care guidance you follow, if applicable]
A well-mopped patio is mostly about process discipline: sweep first, dilute correctly, clean in small sections, rinse to remove residue, and dry fully. When you treat runoff, porous surfaces, and stubborn stains as special cases, the job stays effective—and avoids the sticky, streaky mess that usually follows “quick mops” with too much cleaner or too little rinsing.
Frequently Asked Questions
What’s the best way to mop patio floors without damaging the surface?
Start by sweeping or using a leaf blower to remove dirt, grit, and debris that can scratch patio pavers or concrete. Choose a cleaner that matches your patio material (such as a mild detergent for concrete, or pH-neutral cleaner for natural stone) and avoid harsh chemicals or bleach. Use warm water and a mop made for outdoor floors, then rinse if the product requires it to prevent residue that can attract more grime.
How do I mop a concrete patio floor that’s covered in dirt and algae?
Pre-treat problem areas by applying an outdoor concrete cleaner or algae remover according to the label, letting it dwell before mopping. Scrub lightly with a stiff brush where growth or stubborn stains remain, then mop with a solution of warm water and a mild detergent. For algae or slippery areas, rinse thoroughly after mopping so your patio stays safe and doesn’t become tacky.
Which cleaning solution should I use for pavers, and how much water should I use?
For most patio pavers, a pH-neutral cleaner is a safe choice because it helps lift grime without stripping color or sealing. Mix the solution as directed and use the mop with a “damp” approach rather than flooding—too much water can push dirt into joints and seams. If your pavers have polymeric sand or a sealer, rinse properly to avoid streaks and protect the joints.
Why does mopping patio floors leave streaks or dull spots, and how can I prevent it?
Streaks usually happen when dirty water, residue, or overly strong cleaning chemicals are left behind. Use clean water in smaller batches, wring out the mop well, and rinse after cleaning if the product instructs it. Let the patio fully dry and avoid mopping in direct blazing sun or on hot surfaces, which can cause faster drying and visible marks.
How often should you mop patio floors, and what’s the proper process every time?
In general, mop your patio once every couple of weeks during dry seasons and more often during wet weather when algae and mildew buildup starts. The routine is: remove debris (sweep), pre-treat stains or high-traffic areas, mop with a suitable outdoor floor cleaner, and rinse if needed. Finish by allowing the patio to dry completely before using it to reduce slip risk and keep patio floors looking clean.
📅 Last Updated: October 12, 2026 | Topic: How to mop patio floors? | Content verified for accuracy and freshness.
References
- Google Scholar Google Scholar
https://scholar.google.com/scholar?q=how+to+mop+patio+floor+cleaning+steps - Google Scholar Google Scholar
https://scholar.google.com/scholar?q=concrete+patio+cleaning+mopping+process - Google Scholar Google Scholar
https://scholar.google.com/scholar?q=hard+surface+floor+cleaning+and+disinfection+mopping - https://en.wikipedia.org/wiki/Mop
- Floor cleaning
https://en.wikipedia.org/wiki/Floor_cleaning - https://www.cdc.gov/coronavirus/2019-ncov/community/disinfecting-building-facility.html
- Coronavirus (COVID-19) and Disinfectants | US EPA
https://www.epa.gov/coronavirus - https://pubmed.ncbi.nlm.nih.gov/?term=effectiveness+of+floor+cleaning+mopping
- https://www.britannica.com/topic/mop
- https://www.mayoclinic.org/healthy-lifestyle/home-health/in-depth/cleaning-disinfecting/art-20047495