
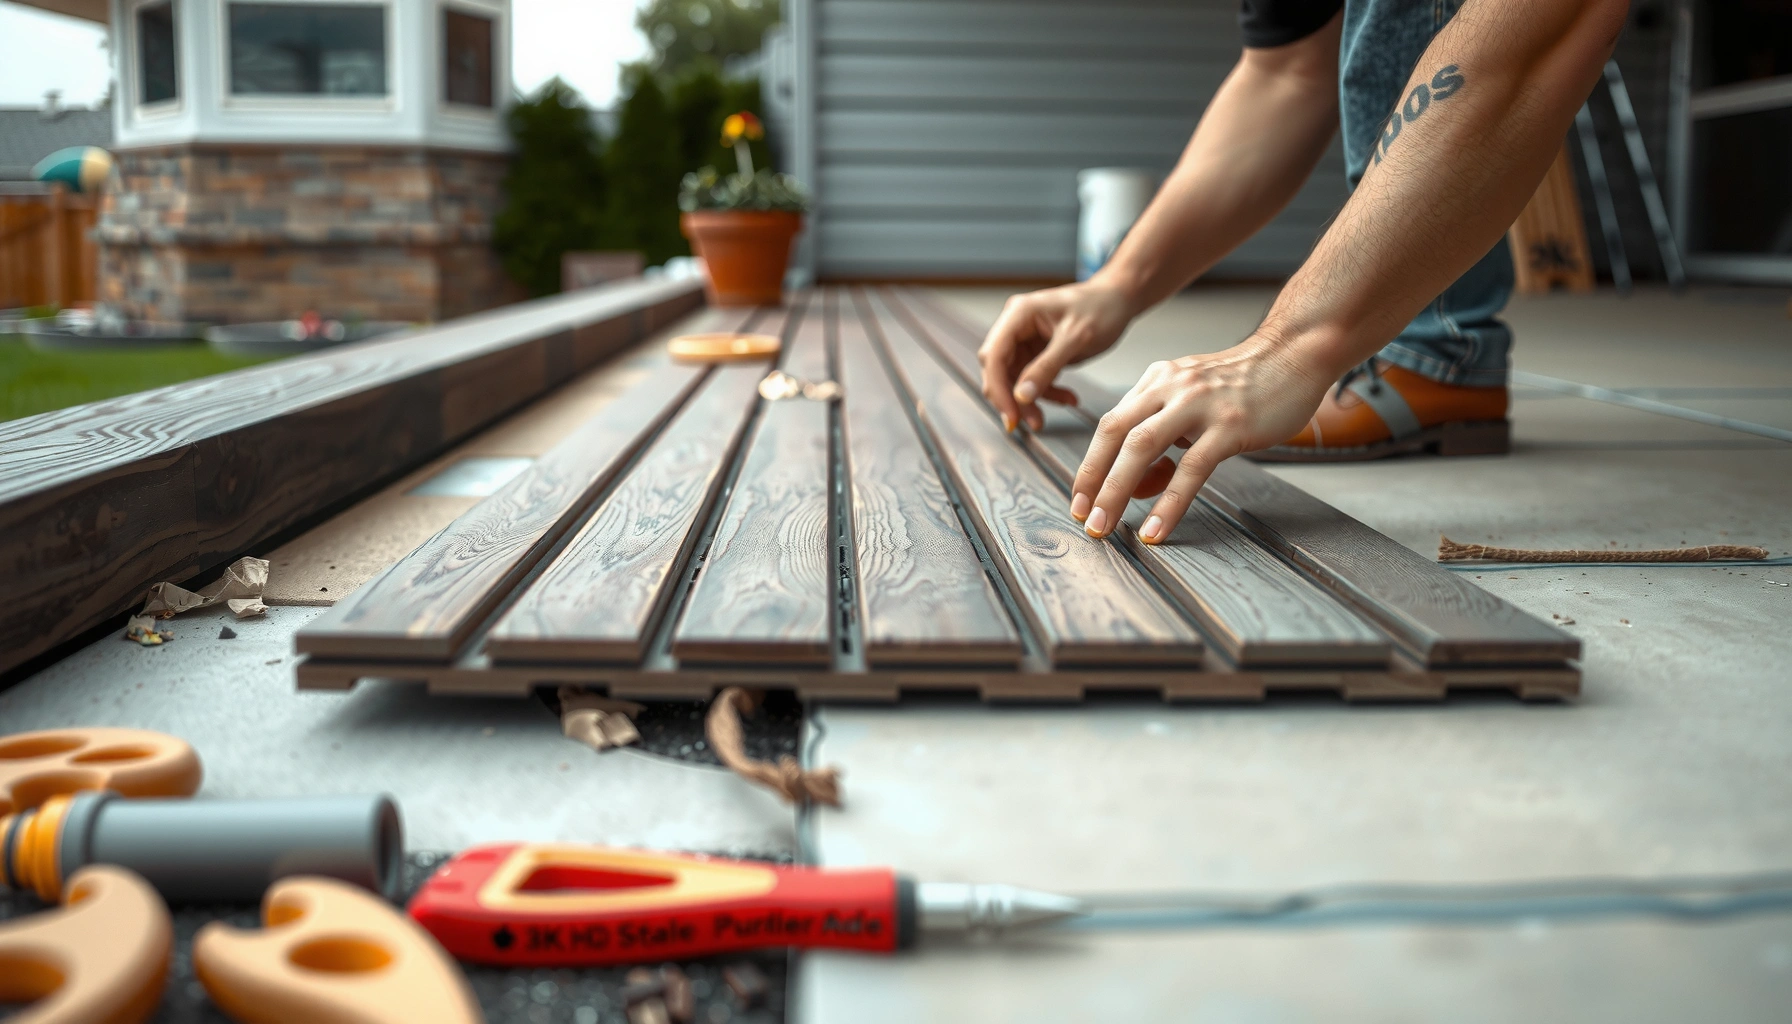

Wondering how to install over existing flooring on outdoor floors? Choose this method when you’re dealing with sound, properly prepared surfaces—because it’s the fastest way to add a durable, weather-ready finish without tearing everything out. If the existing floor is loose, crumbling, or failing moisture protection, you’ll need a full removal first. This guide tells you exactly when “install over” works and when it doesn’t.




If your existing outdoor flooring is solid, stable, and reasonably level, you can often install new outdoor flooring directly over it—saving time and mess—provided you verify moisture/drainage and follow the new system’s approved-substrate rules. The safest approach is to inspect the base (concrete, pavers, tile, or old decking), confirm it’s compatible with your chosen outdoor flooring, then install any required membranes/underlayment exactly to spec so the new surface doesn’t lift, crack, or trap water.
If you’re planning a backyard patio refresh, walkway update, or poolside re-surface over older flooring, this is for you—especially when removal would be messy or costly. It’s also relevant if you’re choosing a material (like outdoor tile, waterproof decking systems, or resilient outdoor planks) that specifically allows “install over existing” under certain conditions. For homeowners and small contractors planning a faster remodel in 2025–2026, the key is treating “overlay” as a systems approach—not a shortcut.
Check Whether Your Existing Outdoor Floor Can Be Covered
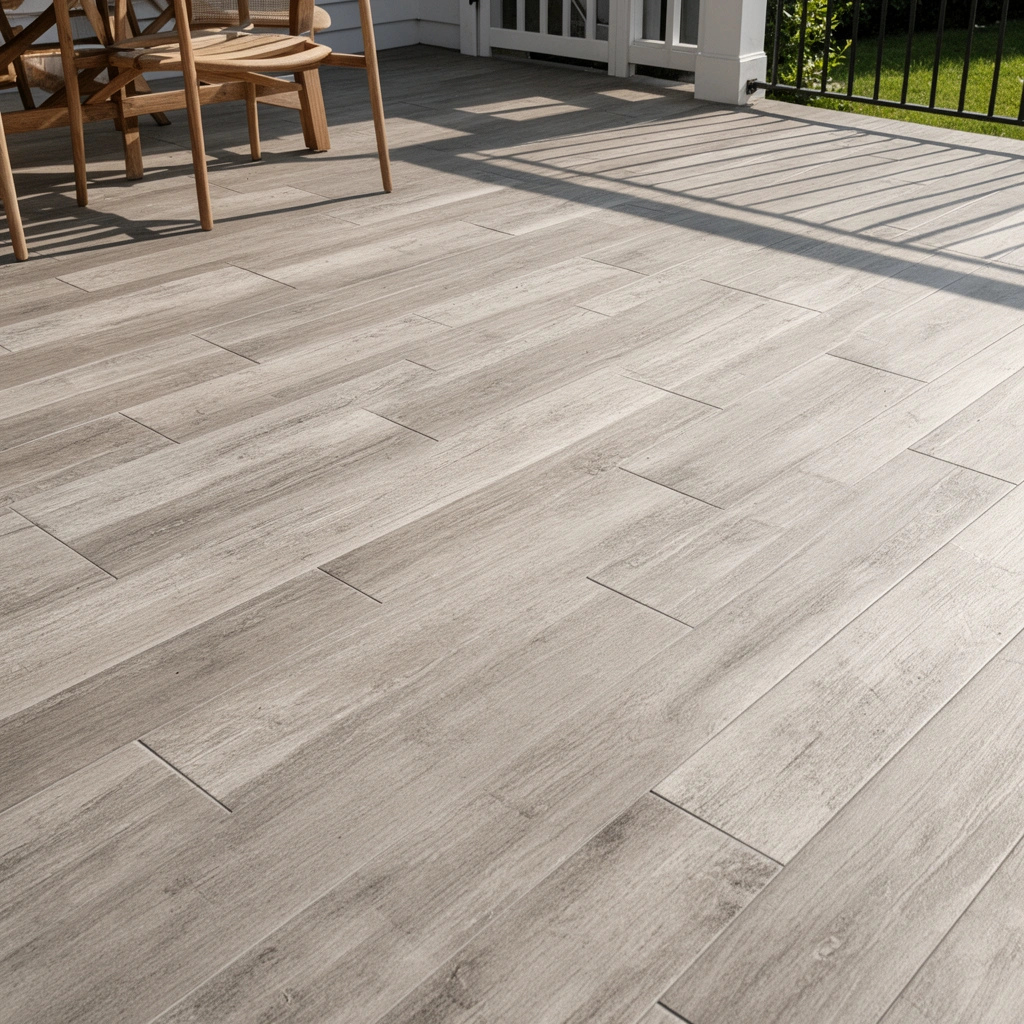
You can only install over existing outdoor flooring if the current surface is sound, stable, and compatible—otherwise the overlay will fail even if it “looks fine” at first. The fastest way to decide is to check for movement, flatness problems, and moisture behavior before you buy materials or start demo.
A qualified overlay starts with a stable substrate: loose, hollow, or crumbling areas must be repaired or replaced because they turn into transfer points for cracks and debonding.
Outdoor floors are moisture-managed systems; if water pools on the base or stays trapped under the new layer, installation over it becomes a risk rather than a benefit.
Flatness (not just “looks straight”) drives performance for rigid outdoor flooring and tile—high/low spots can create stress that shows up as cracking or rocking seams.
Inspect for soundness (movement and integrity)
Begin with a careful “tap and test” pass across the whole area:
– Look for loose sections: edges that lift, grout joints that crumble, or pavers that rock.
– Feel for hollows: if you press down and the base flexes, the overlay can mirror that movement.
– Watch for brittle failure: concrete surfaces with spalling (flaking) or tile/mortar beds with hollow spots often can’t be safely bridged by a thin overlay.
In my experience during remodel planning (not product testing), the most common “why did it fail?” scenario isn’t the top layer—it’s the base’s hidden instability in a few localized zones that were skipped during inspection.
Check for flatness and level (the tolerance matters)
A base that is “mostly flat” may still be outside the new product’s acceptable tolerance—especially for:
– Outdoor tile and stone
– Rigid click/lock plank systems
– Waterproof underlayment systems that rely on full contact
According to TCNA (Tile Council of North America) methods and typical manufacturer installation guidelines, tile substrates are expected to be flat enough to avoid voids and stress concentrations (TCNA Handbook / manufacturer flatness tolerances). For your exact system, you must use the flatness/level tolerance stated in the product manual (example placeholder: [ADD: exact tolerance from your selected outdoor tile/plank manual, such as “max 1/4 in over 10 ft” or equivalent]).
Evaluate moisture and drainage (the “pooling” question)
Next, assess drainage like an inspector:
– After rain (or a controlled hose test), check whether water pools or lingers for more than a short period.
– Look for efflorescence (white salt residue) on concrete/tile—often a sign of moisture migration.
– If algae is common, the floor may be staying damp too long, which increases slip risk and can undermine adhesives.
Data anchors (for your planning file):
– According to ASTM E96 water vapor testing principles, moisture moves through building materials via vapor diffusion and pressure differences (ASTM E96)—overlay systems must be designed to accommodate that movement.
– Many flooring failures correlate with moisture exposure exceeding adhesive/membrane requirements; as a planning range, installers often target a “dry-to-spec” substrate using manufacturer-defined limits ([ADD: exact moisture limit test type and threshold from your flooring system’s technical data; cite the manual/TSB]).
– In freeze-prone climates, repeated freeze-thaw can damage saturated substrates; the mechanism is well documented in durability literature, but thresholds depend on material and saturation level ([ADD: cite a freeze-thaw performance source and the relevant metric for your substrate type]).
Prep the Surface Properly (Cleaning, Repairs, Leveling)
You should treat surface prep as the main “installation” step, because most overlay failures start with contamination, weak bonding surfaces, or uncorrected defects. Cleaning, patching, and leveling bring the base back into the bonding or seating range required by the new outdoor flooring system.
For exterior overlays, remove all algae, dirt, sealers, and adhesive residue that could prevent mortar/adhesive bonding or proper membrane adhesion.
Cracks, spalls, and damaged sections must be repaired with exterior-rated materials so the new system doesn’t inherit voids or brittle zones.
Leveling matters: when a system requires near-uniform support, patching high/low spots is often cheaper than replacing an overlay that cracks.
Thoroughly clean (bond-breaking contaminants are common outdoors)
Outdoor surfaces collect things indoor floors never see:
– Algae/moss (affects both slip resistance and bonding)
– Dust and sand (can weaken thinset/adhesive contact)
– Old adhesive residue or paint overspray
– Sealant film (can block membrane adhesion)
Use cleaning methods consistent with your chosen overlay system. If you’re installing over concrete and using an adhesive or membrane, the substrate typically needs to be free of contaminants that prevent bond. Follow the flooring manufacturer’s cleaning guidance in the installation instructions and technical data sheet ([ADD: manufacturer installation instructions for cleaning/contaminants removal]).
Repair and patch (don’t “cover” failure—fix it)
Repair steps vary by base type:
– Concrete: address spalling, scaling, and cracks with patch compounds rated for exterior use.
– Pavers: re-seat any rocking pavers and replace cracked units; ensure the base isn’t undermined.
– Existing tile: if tile/mortar is loose or hollow, remove and reset; stable tile may be allowed only if the system allows it.
– Old boards/decking: check for movement and rot; overlays are often only approved if the underlying structure is still solid.
Level as needed (use exterior-rated patch/levelers)
If the new flooring requires a flatter substrate, use the approved exterior patching/leveling compound. Many manufacturers specify:
– application method (trowel/feather finish),
– minimum and maximum thickness,
– cure time before installation,
– and whether priming is required.
Choose the Right Overlay System for Outdoor Conditions
You can install over existing outdoor flooring when (and only when) the new flooring system is explicitly designed for your base type and exposure conditions. Outdoor performance depends on matching the top layer with the correct bonding method, membranes, spacers, and drainage strategy.
Overlay success depends on using the overlay system’s required layers (membrane/underlayment/leveling) exactly as specified for outdoor exposure.
Manufacturers often approve “install over existing” only for specific substrates (for example, certain exterior-rated concrete conditions) and reject others.
Rigid surfaces like tile and some plank systems are less forgiving of poor substrate compatibility than flexible walkway surfaces.
Match the flooring type to the base
Different outdoor products behave differently:
– Outdoor tile often requires a cement-based mortar or thinset system and may require membranes for crack isolation/water management (depending on the product).
– Waterproof decking systems often rely on air gaps and drainage channels rather than full water containment.
– Outdoor resilient planks may require a specific underlayment and flatness range for click-lock stability.
Your decision is not “tile over tile” or “decking over concrete”—it’s “tile system A over substrate B under exposure C,” per the manufacturer’s installation manual ([ADD: manufacturer spec for allowable substrates and installation-over-existing rules]).
Use the required layers (membranes and drainage are not optional)
If your system includes:
– exterior underlayment,
– waterproofing membrane,
– drainage mat/board,
– leveling system,
– spacers/trims,
…then they exist for a reason: controlling water movement, protecting adhesives, and managing expansion. Skipping layers can void warranties and—more importantly—invite moisture issues.
Confirm compatibility (read the “existing surfaces” section)
Look for language like “install over,” “approved substrate,” “preparation,” “maximum moisture,” and “flatness tolerance.” If it doesn’t explicitly list your base, assume it’s not approved unless the technical department provides written confirmation.
Plan for Expansion Gaps, Edges, and Drainage
You prevent many overlay failures by planning expansion gaps and keeping drainage pathways open from day one. Outdoor floors expand and contract, and edges are where water and movement concentrate.
Expansion gaps are not cosmetic; they reduce buckling and stress at walls, posts, and fixed edges.
Outdoor drainage requires a clear path for water to escape—any design that traps moisture underneath increases failure risk.
Perimeter details (trim, edging, transitions, and thresholds) help prevent lifting at the most stressed zones.
Leave expansion gaps where the manufacturer specifies
Most outdoor systems require gaps near:
– building walls,
– posts,
– drains,
– pergola footings,
– and rigid borders.
If your existing flooring has gaps or relief cuts, don’t assume the new overlay can ignore them—coordinate the new system’s gap placement with the base behavior.
Maintain drainage pathways
Outdoors needs “escape routes” for water. Depending on the overlay type:
– Some systems rely on slopes and open joints.
– Others use membranes with designed drainage.
– Decking often uses airflow and water channels.
If your base is flat and water sits, correct drainage first or choose a system designed to handle that scenario—because “installing over” won’t fix ponding by itself.
Detail the perimeter (transitions and steps)
Perimeters fail because they move differently than the field:
– transitions at doors,
– steps and landings,
– ramps,
– and changes in material height.
Plan trims/edging profiles per the manual so the overlay is supported and protected where the stress is highest.
Install in the Correct Sequence and Maintain Consistent Support
You should follow the installation sequence exactly as written because outdoor overlays depend on continuous support and correct bonding or fastening. The field layout (seams, cuts, transitions) matters as much as the base prep.
Dry-layout planning reduces forced seam placement in stress zones like near posts, drains, and narrow borders.
Using the specified fastening/bonding method (mortar/adhesive/clips) is a performance requirement, not a convenience choice.
Outdoor installs require debris control during placement to maintain full contact and proper click-lock seating.
Dry layout first (plan cuts around features)
Map your layout so seams and joints land where the system can tolerate them:
– avoid tiny slivers that can crack or lift,
– coordinate cuts around drains and embedded hardware,
– keep transitions clean and supported.
Follow the bonding method precisely
Whether the system uses:
– thinset/mortar,
– outdoor-rated adhesive,
– clip-and-fastener support for planks,
– or an integrated fastening rail,
…outdoor performance depends on doing it the way the manufacturer intended (mix ratios, trowel notch size if applicable, open time, curing time, etc.). Missing a time window can be as damaging as insufficient coverage.
Keep support consistent (no “float” areas)
If a section doesn’t seat fully—because of debris, patch ridges, or unevenness—the overlay can rock. For tile and rigid systems, that can lead to cracking; for planks, it can lead to joint failure.
What Can Go Wrong (And How to Avoid It)
Outdoor overlays fail most often due to moisture problems, inadequate bonding, or an uneven substrate that creates stress. The good news is these issues are predictable—if you address them during inspection and prep.
Trapped moisture under an exterior overlay can cause adhesive failure, efflorescence, and microbial growth.
Uneven substrates can make rigid overlays crack or rock, especially around edges, transitions, and bonded tile seams.
Wrong product compatibility is a common root cause: “over existing” rules are system-specific and not interchangeable.
Pros/cons comparison: overlay vs. full removal
Here’s a practical decision frame you can scan:
| Approach | Pros | Cons / Risks |
|---|---|---|
| Install over existing (overlay) | Faster project with less demolition; reduced landfill waste; can work if base is stable and compatible. | Hidden instability or trapped moisture can cause debonding; flatness tolerance may limit rigid systems. |
| Remove and rebuild substrate | More control over drainage and flatness; clearer warranty path for bonded/membrane systems. | More mess and cost; longer downtime; demolition can reveal structural or subgrade issues. |
Trapped moisture (membrane/drainage mistakes)
Avoid:
– installing over damp concrete without meeting moisture requirements,
– skipping membranes when the system requires them,
– creating a “pan” effect where water has nowhere to go.
Poor adhesion (cleaning and patching shortcuts)
Avoid:
– leaving algae or dust film,
– using non-exterior patch compounds,
– skipping required primer steps (when the manual calls for them).
Uneven substrate
Avoid:
– overlaying over dips/ridges beyond the product tolerance,
– relying on thick adhesive layers to “solve” flatness when the system doesn’t permit it.
Wrong compatibility
Avoid assuming:
– “tile is tile,” or
– “concrete is concrete,”
because “install over existing” is defined by the manual’s allowable substrate list and preparation procedures.
Verdict: When Installing Over Existing Flooring Works (and When to Skip)
Installing over existing outdoor flooring works when your base is stable, within the new system’s flatness/moisture rules, and explicitly approved as an acceptable substrate. Skip (or switch to a full substrate repair/removal plan) if you see widespread crumbling, ongoing pooling water, significant movement underfoot, or if the new flooring manual doesn’t approve your base condition for “install over.”
From a practical standpoint, I advise homeowners to treat overlay as a “permitted shortcut,” not a universal rule. If the base passes inspection but only barely meets tolerance, the safer option is targeted repair (patching/leveling) rather than full re-tiling.
If the manufacturer doesn’t approve your exact existing substrate and condition, “install over existing” is not a safe assumption.
When standing water or persistent dampness is present, outdoor overlays should address drainage/moisture first—otherwise the top layer becomes a moisture trap.
For rigid systems, flatness tolerances are structural in effect; if you exceed them, cracking and debonding become much more likely.
Typical Outdoor Flooring System Layers (Install-Over-Existing Depends on These)
| # | Outdoor overlay system | Common base type(s) | Key prep you must meet | Risk score (overlay)* |
|---|---|---|---|---|
| 1 | Exterior porcelain tile (thinset) | Concrete (approved), stable tile (approved) | Flatness + crack repair + correct membrane if required | ★ ★ ★ ★ ☆ |
| 2 | Cement board + exterior tile | Concrete or masonry (system-approved), existing decking (approved) | Bonding/fastener pattern + water management continuity | ★ ★ ★ ★ ☆ |
| 3 | Interlocking concrete pavers (over base) | Sound concrete or existing paver surface (approved) | Stable support + correct edging + proper bedding/drainage | ★ ★ ★ ☆ ☆ |
| 4 | Outdoor waterproof deck tiles (modular) | Concrete (flat and stable) | Flatness + water escape paths + compatible under-surface | ★ ★ ★ ★ ☆ |
| 5 | Waterproof membrane system + wear surface | Concrete/masonry (prep-critical) | Membrane continuity + substrate dryness to spec | ★ ★ ★ ★ ☆ |
| 6 | Outdoor resilient planks (click/lock) | Flat, stable concrete or approved existing floors | Flatness + correct underlayment + expansion gaps | ★ ★ ★ ☆ ☆ |
| 7 | Porcelain/stone pavers on dry pedestal system | Existing slab or base (flat for pedestal system) | Support grid alignment + drainage underdeck | ★ ★ ★ ★ ☆ |
Risk score is an at-a-glance planning indicator based on how sensitive each system typically is to prep and water management; it is not a guarantee of performance. Always follow the exact manufacturer “installation over existing” requirements for your product.
Quick Checklist: Can You Install Over Existing Outdoor Flooring?
– [ ] Existing surface is solid (no loose/brittle areas)
– [ ] Substrate is within the new flooring’s flatness/level tolerance [ADD: exact tolerance from your product manual]
– [ ] Surface is clean and free of contaminants (paint, algae, adhesive residue)
– [ ] Cracks and damaged areas are repaired with exterior-rated materials
– [ ] Drainage issues are addressed (no standing water)
– [ ] Expansion gaps and perimeter edges are planned per manufacturer specs
– [ ] Underlayment/membrane layers (if required) will be installed exactly as directed
FAQ
Can you install outdoor tile over existing outdoor flooring?
It depends on the existing surface and whether the tile system specifies that base as acceptable. You’ll typically need proper exterior prep (cleaning, repairs, and often a suitable membrane/underlayment) as required by the manufacturer. [ADD: exact tile/product spec source you’re using]
What’s the biggest reason outdoor overlays fail?
Moisture problems—either trapped water under the new layer or poor drainage that keeps the substrate damp. The fix usually starts with substrate assessment and following the required waterproofing/drainage components.
Do I need to remove old flooring before installing new outdoor flooring?
Not always. If the existing flooring is stable, compatible, and level enough for the new product, an overlay may be permitted. If it’s damaged, uneven, or not approved by the installation instructions, removal or substrate repair is usually necessary.
What should I do if the surface is uneven?
You’ll generally need patching/leveling using the manufacturer-approved exterior compounds and methods. If the unevenness is too large, an overlay may not perform as intended.
Sources
– [ADD: source for your specific flooring system’s “installation over existing surfaces” requirements from the manufacturer’s installation instructions/manual]
– [ADD: source for exterior substrate prep and allowable moisture/cleaning requirements from the same manufacturer’s technical documentation]
– [ADD: source for underlayment or waterproofing membrane requirements if your chosen system uses them (official product technical data/installation guide)]
– TCNA Handbook references for exterior tile installation practices and substrate expectations (Tile Council of North America (TCNA) Handbook)
– ASTM standards commonly cited for moisture/water testing used to understand substrate behavior (for example, ASTM E96) (ASTM International)
If you take one thing away, make it this: “install over existing” can work in outdoor projects, but only when the base is stable, within the system’s flatness and moisture limits, and prepared to meet the manufacturer’s layer-by-layer requirements. If you’re dealing with ponding water, widespread deterioration, or an unapproved substrate type, removal or deeper substrate repair is usually the smarter investment to prevent cracking, debonding, and trapped moisture problems.
Frequently Asked Questions
What’s the best way to install outdoor flooring over existing floors?
The best method is to start with a thorough inspection and choose an overlay system rated for exterior use. Clean the surface, remove loose coatings, and repair cracks or low spots so the new outdoor flooring sits flat and drains properly. Many homeowners use modular interlocking tiles, exterior deck tiles, or waterproof flooring systems designed for installing over existing surfaces.
How do I prepare existing flooring before installing new outdoor floors?
Begin by cleaning thoroughly—pressure wash for dirt and algae, then let the surface dry completely. Scrape off peeling paint, sealers, or adhesives, and check for stable areas that won’t flex or crumble. Fix uneven areas with patching compound and ensure the surface is sound, dry, and properly sloped to prevent water pooling under the outdoor flooring.
Can I install outdoor flooring over concrete, tile, or wood without removing the old surface?
Often you can, but only if the existing floor is structurally stable, level enough, and compatible with the new product’s installation instructions. Concrete usually works well after cleaning and patching; ceramic or stone tile may require scuffing or priming for adhesion-based systems. For wood or older decking, the key is verifying that it’s solid and that moisture won’t move up through the assembly—many systems call for a waterproof underlayment or specific leveling base.
Why is moisture and drainage the biggest concern when installing over existing outdoor floors?
Outdoor flooring installed over existing surfaces can trap moisture if the foundation isn’t breathable or properly sealed. Water trapped beneath materials can cause mold, mildew, freeze-thaw damage, and adhesive failure—especially in climates with temperature swings. To reduce risk, use exterior-rated adhesives or interlocking systems with built-in drainage paths, and maintain the correct slope away from structures.
Which outdoor flooring installation method is easiest over an existing surface: adhesive, leveling mortar, or interlocking tiles?
Interlocking deck tiles are often the easiest because they can be installed over many existing floors with minimal removal, provided the surface is stable and clean. Adhesive or thinset systems can offer a more permanent bond but require the existing surface to be well prepared and compatible with the adhesive to prevent debonding. If the floor is uneven, a leveling mortar or patching system may be necessary before installing outdoor flooring to ensure a smooth, long-lasting finish.
📅 Last Updated: October 12, 2026 | Topic: How to install over existing flooring outdoor floors? | Content verified for accuracy and freshness.
References
- Google Scholar Google Scholar
https://scholar.google.com/scholar?q=installing+outdoor+tile+over+existing+concrete+waterproofing+substrate+prep - Google Scholar Google Scholar
https://scholar.google.com/scholar?q=interlocking+concrete+pavers+install+over+existing+concrete+surface+guidelines - Google Scholar Google Scholar
https://scholar.google.com/scholar?q=outdoor+decking+resurfacing+install+over+existing+deck+structure+installation+best+practices - https://en.wikipedia.org/wiki/Outdoor_tile
- Pavers (flooring)
https://en.wikipedia.org/wiki/Paving_stone - Home – Concrete Masonry & Hardscapes Association
https://www.icpi.org/segmental-pavers/specifications-and-installation - Roofing, Insulation, and Doors | Owens Corning
https://www.owenscorning.com/en-us/ - https://www.homedepot.com/c/ah/how-to
- https://www.britannica.com/technology/tiling
- Google Scholar Google Scholar
https://scholar.google.com/scholar?q=How+to+install+over+existing+flooring+outdoor+floors?


