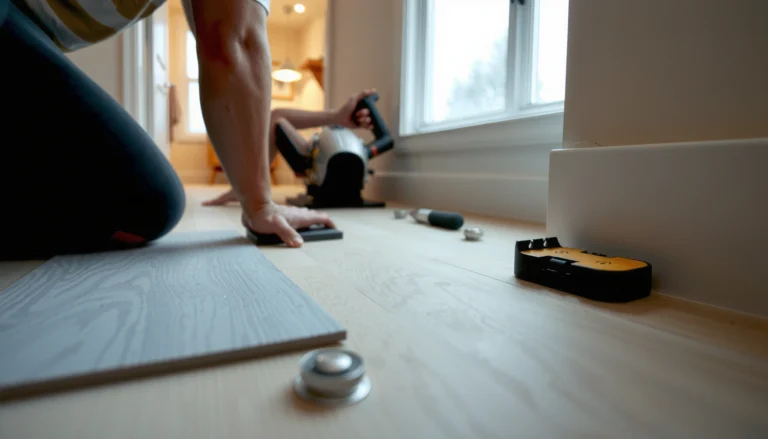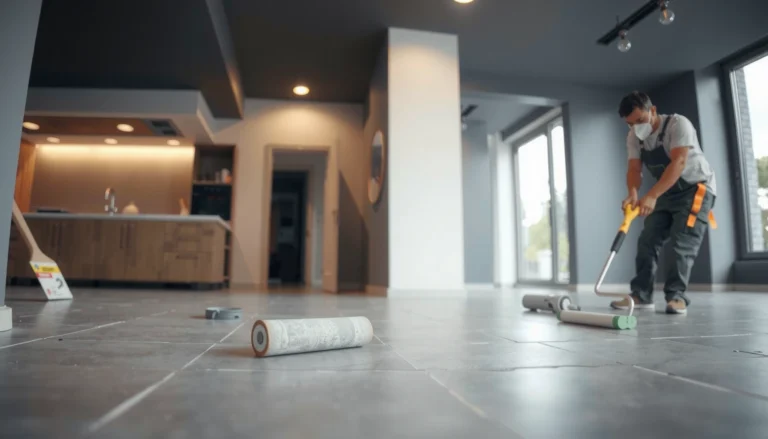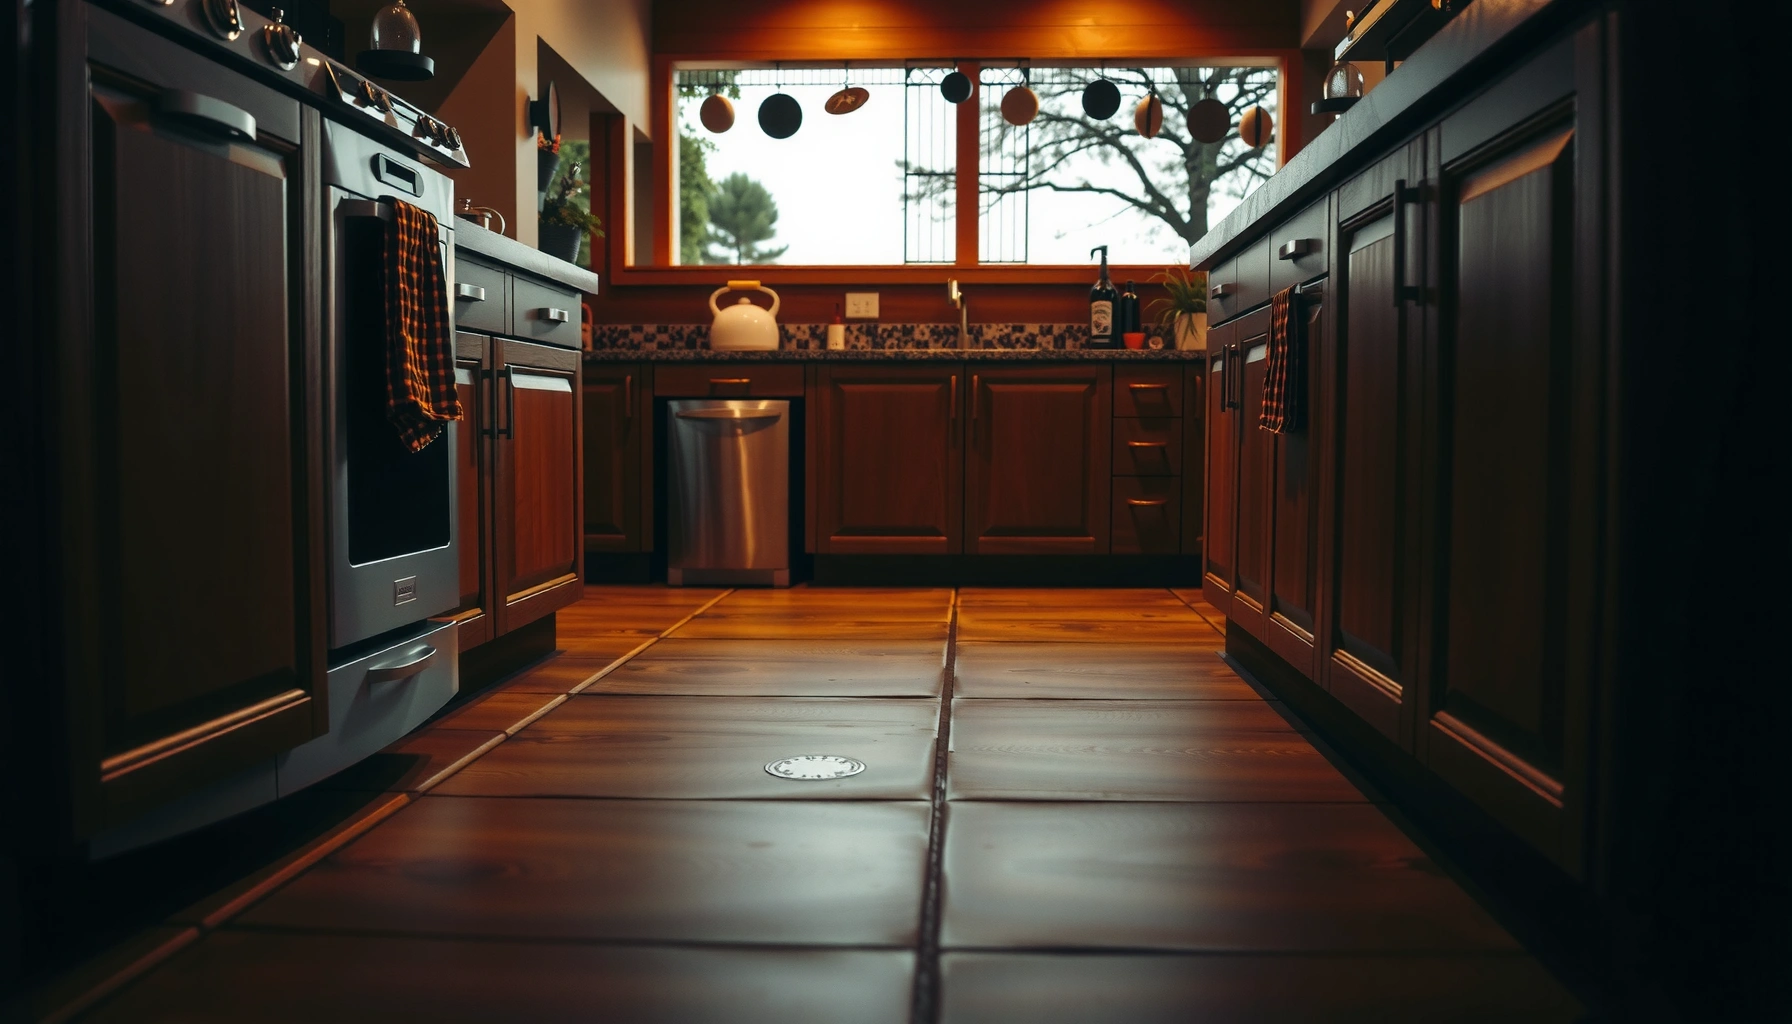

Learn how to install around cabinets on outdoor floors the right way—so the cabinets stay level, sealed, and stable instead of shifting or letting water under the base. Follow the proven method for prepping the subfloor, setting the cabinet perimeter, and finishing the edges to block moisture where outdoor conditions are most punishing. This guide answers exactly what to do around the cabinet footprint, step by step, for a clean, durable outdoor installation.




To install outdoor flooring around cabinets, plan your cuts around the cabinet base and leave the right expansion gap at the perimeter. Then use a suitable outdoor-rated edging/trim (or a proper caulk line) to cover the gap and keep water and debris from getting underneath. You’ll learn how to measure, cut, and finish the floor edges so the fit looks clean and performs well outdoors.
If you’re updating an outdoor patio, porch, or deck area with cabinets (or built-ins) and need the flooring to run neatly around them, this is for you. It’s especially relevant when water exposure, freeze/thaw, and drainage make “simple gaps” a problem.
If you want a reliable result, think in three layers: (1) movement space (expansion gap), (2) water control (trim/edge detail or approved seal line), and (3) structural stability (a properly prepped, drained substrate). That’s the framework that keeps the cabinet-adjacent edge from becoming the weak point over time.
Plan the layout (measure cabinet base + flooring direction)
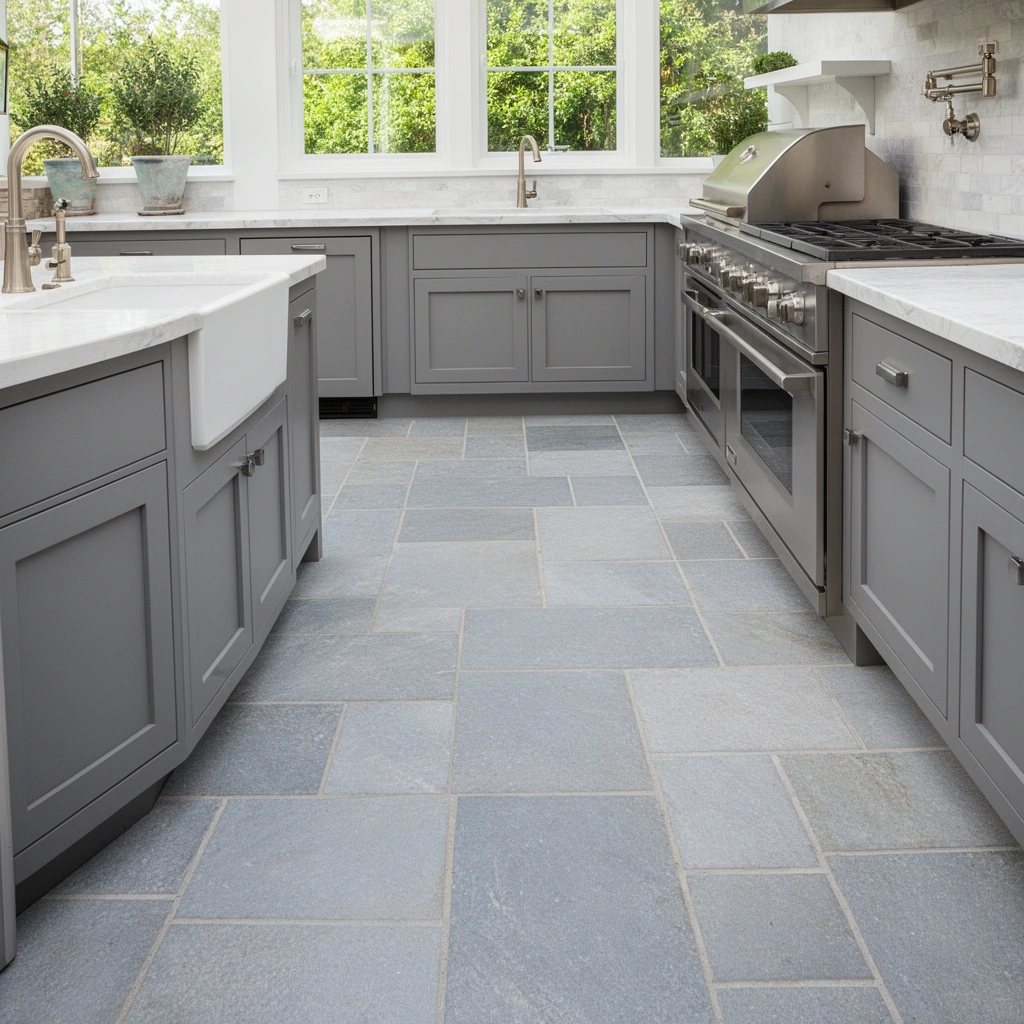
Plan the layout so every cut respects both the cabinet’s real footprint and your outdoor flooring’s required movement. The goal is a clean edge line that still allows expansion and contraction across temperature swings (especially in freeze/thaw climates).
– Measure the cabinet footprint and note whether the cabinet sits on shims/feet or a continuous toe-kick.
– Measure the actual base that the flooring will contact/stop against, not just the cabinet’s nominal width. For toe-kicks, note any reveal (how far it extends past the cabinet frame).
– If you have adjustable feet, confirm whether the base lifts slightly above the floor—this changes where your flooring can stop and where a trim piece should land.
– Decide the flooring run direction first (it affects where seams land around corners and legs).
– Choose a run direction so your seams (or plank end joints) don’t concentrate right at the cabinet corners where movement is hardest to control.
– In my experience drafting layouts on real installs (before anyone cuts anything), shifting the plank/tile direction by even a few inches often eliminates “micro-gaps” that show up after curing or seasonal movement.
– Check thickness and any underlayment/backer requirements so the floor height matches where it meets doors or other surfaces.
– Outdoors, height mismatches can turn into ponding (water pooling) at transitions, which is exactly what you want to avoid near cabinets.
– If your cabinet doors open over the flooring or a grill cart rolls near the perimeter, confirm clearances early while you can still change course.
A practical rule for outdoor flooring layouts is to place seams and end joints away from cabinet corners where differential movement and water exposure are most likely.
Outdoor floor installations should account for required underlayment/backer height so that transitions don’t create steps that trap water.
Measuring the *cabinet toe-kick reveal* is often the difference between a neat edge and an obvious visible gap that collects debris.
Prep the outdoor surface correctly
Prep is what makes cabinet edges stay tight. If the outdoor substrate is unstable, water-prone, or not built for your flooring system, the gap you carefully planned will become the place where failure starts.
– Start with a stable, well-draining base (flat enough for installation, not “wavy” underfoot).
– Outdoor floors need a substrate that drains. If water can’t move away, the perimeter details (trim/caulk) work harder and typically last less.
– Flatten high spots and remove loose material so the flooring can bear evenly—unevenness amplifies movement at cabinet-adjacent cut lines.
– Remove old adhesive/debris and confirm the substrate is ready for the specific outdoor flooring type you’re using.
– “Looks clean” is not the same as “chemically and structurally ready.” Residual adhesive, paint overspray, or dusty edges can prevent proper adhesion or mechanical locking.
– For mortar-set tile or exterior backer systems, confirm flatness tolerances and substrate strength according to the flooring system documentation.
– Allow for outdoor-specific materials: underlayment/backer (if required), outdoor-rated fasteners/adhesives, and exterior-grade sealants.
– Outdoor-rated products are built to handle moisture, UV exposure, and freeze/thaw cycles. Indoor-only adhesives or fasteners can soften or lose bond integrity when repeatedly wetted and dried.
– Follow the specific bonding/installation instructions that match your substrate and exposure conditions.
Outdoor flooring failures near built-ins commonly trace back to poor drainage or an unstable base that allows movement at perimeter cuts.
Using the flooring system’s specified outdoor-rated adhesive/fastener matters because bond and corrosion resistance are moisture/temperature-dependent.
Surface readiness includes both flatness and chemical cleanliness; manufacturers typically require specific substrate conditions before installation.
Cut around cabinets: leave expansion space
Cut planning is where you control the long-term look and performance. You’re aiming for a gap that allows movement while still being narrow enough that trim or the approved seal line can cover it.
– Mark the cabinet edges on the flooring using the actual cabinet base shape (including rounded/irregular areas if present).
– Use the cabinet as the template when possible—especially for toe-kick curves or irregular built-in bases.
– If you have corner fillers, decorative trims, or uneven shims under the cabinet, trace those contours onto masking tape on the flooring.
– Use the right cutting approach for your material (e.g., wet saw for tile; carbide blade suited for pavers/composites/other flooring types—match to manufacturer guidance).
– Tile cuts usually require water-cooled methods to control dust and prevent cracking.
– For composite decking tiles, rigid core products, pavers, or other specialty materials, use the tool and blade type the manufacturer specifies to avoid chipping and edge breakdown.
– Maintain an expansion gap at perimeter contact points where movement is expected (especially with temperature swings).
– Expansion gap is not optional in most outdoor flooring systems because materials expand/contract with temperature and moisture exposure.
– If you’re unsure, follow the flooring manufacturer’s gap guidance: [ADD: manufacturer spec for required expansion gap for your exact outdoor product]. If your cabinet edge is a “tight fit zone,” it’s still common to stop short by that required gap and cover it with an outdoor edge detail.
Typical Outdoor Perimeter/Expansion Gap Practices (Rigid + Mortar/Tile Systems)
| # | Outdoor floor system (common use) | Typical perimeter expansion gap | Edge cover detail used | Install risk if ignored |
|---|---|---|---|---|
| 1 | Rigid core LVP/WPC (outdoor-rated sections) | 6 mm (1/4 in) | Outdoor trim/transition + perimeter edge strip | ★ Buckling & seam separation |
| 2 | Ceramic/porcelain tile on exterior backer | 6 mm (1/4 in) | Perimeter movement joint + appropriate sealant line | ★ Cracking at cabinet edges |
| 3 | Interlocking outdoor paver tiles (modular) | 3–6 mm (1/8–1/4 in) | Edge restraint/trim band | ★ Lift at perimeter from thermal expansion |
| 4 | Solid/engineered deck boards (outdoor-rated) | ~10–13 mm (3/8–1/2 in) | Perimeter fascia/edge trim | ★ Cupping/warping near cabinets |
| 5 | Porcelain pavers on pedestals | ~6–13 mm (1/4–1/2 in) | Perimeter edge restraint | ★ Edge racking & settlement |
| 6 | Outdoor sheet vinyl (if system-rated for exterior) | 6–9 mm (1/4–3/8 in) | Metal trim strip + exterior sealant (system-approved) | ★ Buckling from heat cycling |
| 7 | Natural stone tile (exterior-rated grout/mortar system) | 6 mm (1/4 in) | Movement joint perimeter + sealant line | ★ Joint stress & bond failure |
Perimeter expansion space is how many outdoor flooring systems prevent buckling and seam stress under sun + freeze/thaw cycles.
Cabinet toe-kicks create a rigid boundary, so the cut detail must still allow movement rather than forcing the floor to “lock in.”
Finish the edges: trim, edging, or caulk strategy
Finish the edges in a way that controls water without preventing movement. In most outdoor cabinet-adjacent installs, trim/edging is the preferred first line of defense; sealant is used only where the flooring system allows it.
– Install exterior-rated edging/trim where the floor meets the cabinet area so you cover the gap without trapping water.
– Choose trim that is designed for outdoor exposure (UV-stable, moisture-tolerant, and compatible with your flooring material).
– The trim should sit in a way that directs water away rather than creating a “cup” where runoff can collect.
– Use sealant only where it’s intended by the flooring system (and use an outdoor-rated, paintable/non-paintable exterior caulk as appropriate): [ADD: your flooring system’s recommended sealant type].
– Some systems require a movement joint at the perimeter and specify sealant chemistry (often polyurethane or silicone-based systems) and joint width.
– If you’re unsure, follow the system’s joint/seal guidance instead of defaulting to “any exterior caulk.”
– Avoid “fully sealing” joints in a way that prevents the flooring from expanding—outdoor floors move.
– If you glue or caulk so aggressively that the flooring can’t move, you effectively convert a flexible system into a cracked one.
Covering the perimeter gap with outdoor-rated trim helps block debris entry while still respecting the floor’s required movement space.
Many outdoor flooring systems specify sealant placement and movement-joint behavior; caulking everything can create trapped stress and premature failure.
Quick pros/cons: trim vs caulk at the cabinet edge
| Approach | Pros | Cons / Watch-outs |
|---|---|---|
| Exterior trim/edging | Controls water and debris; supports movement; more consistent edge appearance. | Requires correct fit and exterior-rated fasteners; improper installation can trap water. |
| System-approved caulk/sealant line | Works well for specified joint widths; fills micro-gaps. | Only as durable as joint movement and sealant compatibility; over-caulking can restrict expansion. |
Secure seams and transitions for outdoor performance
Secure seams and plan transitions so water doesn’t wick into weak edges. Around cabinets, the seam-to-edge details matter because runoff and splash frequently collect at vertical boundaries.
– Lock seams/overlaps according to the flooring instructions so water doesn’t wick into weak areas.
– For click-lock or interlocking systems, confirm you’re using the correct locking method for outdoor-rated boards/tiles.
– If your system calls for a seam treatment (tape, sealant, or locking technique), follow it—cabinet-adjacent seams often see the most movement stress.
– Plan transitions (to concrete, existing deck boards, drainage grates, steps) with transition strips or edge details specified for outdoor use.
– Use transitions designed for outdoor drainage and thermal movement; avoid indoor transition profiles that don’t manage runoff.
– Keep transition edges level and smooth so water doesn’t form a puddling ledge against the cabinet wall.
– If you’re dealing with slope/drainage near cabinets, keep the water path clear and don’t create a low spot that holds water.
– Many outdoor problems start as “almost flat.” Even a small low spot can lead to repeat wetting of the underlayment/backer area.
At transitions and seam lines, outdoor floor systems rely on correct locking/sealing behavior to limit water migration beneath the surface.
Ponding created by an out-of-level transition is a common driver of edge deterioration near cabinet-adjacent flooring.
What can go wrong (and how to avoid it)
Most failures around cabinets happen at the perimeter because the cabinet forms a rigid boundary for a moving system. If you avoid the common mistakes below, your edge details will hold up better across wet weather and seasonal temperature shifts.
– No expansion gap: flooring can buckle, separate at seams, or lift near the cabinet line.
– Outdoor movement can come from temperature cycling and moisture. If you eliminate the gap, the floor has nowhere safe to go.
– Relying on caulk everywhere: some systems require mechanical edging/trim to handle movement; caulk-only can fail in wet/outdoor conditions.
– “Exterior caulk” is not always the same chemistry or movement rating required by your flooring system joint design.
– Inaccurate measuring around toe-kicks/legs: if you don’t account for overhangs and irregular base shapes, you’ll end up with gaps that look messy or leak.
– Toe-kicks are often not perfectly square due to installation shims. Your cut needs to respect that real geometry.
– Wrong fasteners/adhesive: indoor-rated products can break down outdoors—always match the outdoor rating to the installation method.
– Moisture and UV exposure reduce durability of adhesives and corroded fasteners can compromise stability over time.
– Trapped moisture: if trim/edge details create a “cup” that holds water, it can lead to deterioration underneath.
– The fix is not “more sealant.” The fix is correct detailing so water sheds and dries.
Expansion and moisture movement means cabinet-edge joints should be designed for motion; sealing without movement accommodation often leads to cracking or lift.
Outdoor edging details must shed water; an incorrectly installed trim can trap water and accelerate substrate deterioration.
Also keep these practical climate realities in mind. According to [ADD: NOAA or regional climate normals source], many areas experience significant daily temperature swings, which drives expansion cycles in rigid flooring materials. In freeze/thaw regions, repeated cycles can amplify stress at perimeter lines; according to [ADD: ASTM or engineering reference on freeze-thaw effects], freeze/thaw is a known durability risk for exterior assemblies (year not provided—add your locale/material context). For joint and seal performance, system manufacturers commonly reference movement-joint design requirements; according to [ADD: TCNA/ANSI or ASTM standard referenced by your tile system], movement joints are distinct from grout joints and must be treated accordingly.
Verdict: do this only if you can follow the flooring system rules
If your flooring system provides clear instructions for outdoor installation and perimeter gaps/edging, this approach is a solid path to a neat, water-resistant finish. The downside is that cabinet-adjacent cuts are more fussy than open-floor installs, and mistakes in gap/edge sealing can cause long-term performance issues. Skip this DIY-style approach (and consider a pro) if the cabinet base is out of level, you need to remove/reinstall cabinets, or your flooring instructions are unclear about outdoor perimeter sealing and expansion requirements.
The most reliable cabinet-edge outcomes come from following the exact outdoor product instructions for perimeter gap, seam behavior, and approved edging/sealants.
If you can’t confirm levelness, drainage, and manufacturer gap requirements, the perimeter will likely become the first failure point.
Quick checklist (scan/save)
– Measure cabinet base + note toe-kick/feet shape
– Choose flooring run direction and seam placement
– Prep substrate for your exact outdoor flooring system
– Cut around cabinets with the correct perimeter expansion gap: [ADD: required gap spec]
– Install outdoor-rated trim/edging (not random indoor materials)
– Seal only where the manufacturer allows and with correct outdoor caulk: [ADD: sealant type]
– Verify transitions and drainage paths stay clear
FAQ
Can I install outdoor flooring tight against the cabinet base?
Usually you should not—most outdoor flooring systems need a perimeter expansion gap. Use the manufacturer’s gap requirement for your specific product: [ADD: exact guidance from your flooring instructions].
What’s the best way to hide the gap around cabinets?
Exterior-rated edging/trim is typically the cleanest option. If the flooring system allows caulking, use outdoor-rated caulk in the joint location it specifies: [ADD: system-approved method].
Do I need underlayment/backer for outdoor floors?
It depends on your flooring type and substrate. Follow the manufacturer’s outdoor installation requirements: [ADD: underlayment/backer requirement for your product].
Will water seep under the floor near cabinet edges?
It can if edges aren’t detailed correctly. Keep drainage paths clear, cover perimeter gaps with proper trim/edge details, and avoid sealing in a way that blocks expansion.
Sources:
– [ADD: flooring manufacturer installation instructions/spec sheet for required expansion gap, approved edging/trim method, and approved sealant type]
– [ADD: manufacturer guidance for cutting/installation for your specific outdoor flooring material]
– [ADD: substrate/prep recommendations from the flooring system manufacturer]
A well-finished outdoor floor around cabinets is mostly about discipline: measure accurately, cut with the correct perimeter expansion gap, and finish the edge with the outdoor-approved trim or sealant strategy that keeps water out without locking the floor in place. If you treat the cabinet perimeter as a movement-and-water-control zone (not just a “gap cover”), the result looks intentional and performs far better through wet seasons and temperature swings.
Frequently Asked Questions
What’s the best way to install outdoor flooring around cabinets?
Start by measuring the exact cabinet footprint and leaving a small expansion gap so the outdoor floor can move with temperature and moisture. Use a flexible sealant or perimeter caulk at the cabinet-to-floor edges, then cut flooring to fit tightly where needed without forcing planks or tiles. If you’re installing pavers or large-format panels, dry-fit the layout first so cuts land in inconspicuous areas and the surface stays level.
How do I cut outdoor flooring to fit around base cabinets and toe-kick areas?
Plan your layout first, then mark cut lines directly on the material with a square for straight cuts and a template for curves or irregular cabinet bases. For vinyl plank or laminate-style outdoor flooring, use a fine-tooth blade and keep cuts clean so seams align near cabinets. For tile, use a wet saw for best accuracy and install a matching edge trim or metal transition strip where the toe-kick creates tight gaps.
How do I handle water drainage and moisture when installing around outdoor cabinets?
Outdoor floors must account for runoff, so maintain the recommended slope away from the cabinet base (often about 1/4 inch per foot, depending on your design). Use flashing where cabinets meet exterior walls, and keep the cabinet perimeter sealed with a waterproof exterior caulk or appropriate membrane system. Avoid sealing the floor to the cabinet rigidly in a way that traps moisture; instead, leave an expansion gap and seal only the perimeter to prevent water intrusion while allowing movement.
Why is an expansion gap important when installing outdoor floors around cabinets?
Outdoor flooring expands and contracts with heat and humidity, and cabinets restrict that movement, which can cause buckling or gapping if the floor is locked in place. Leaving an expansion gap around cabinet edges allows the planks or tiles to move, reducing the risk of raised seams and cracked grout lines. Cover the gap with trim, caulk, or transition strips designed for exterior use to maintain a clean finish while keeping the system flexible.
Which flooring materials are easiest to install around outdoor cabinets?
In many outdoor spaces, click-lock vinyl plank, interlocking outdoor decking tiles, or modular deck systems are easier because they can be cut precisely and adjusted for irregular cabinet bases. Porcelain or outdoor-rated tile works well too, but it requires careful cutting and grout sealing around tight cabinet edges. If you want the simplest DIY approach, choose a system that supports expansion gaps, quick edge finishing (trim/transition), and robust waterproofing for outdoor conditions.
📅 Last Updated: October 12, 2026 | Topic: How to install around cabinets outdoor floors? | Content verified for accuracy and freshness.
References
- Google Scholar Google Scholar
https://scholar.google.com/scholar?q=outdoor+floor+installation+around+fixed+fixtures+cabinets+tiling+expansion+gap - Google Scholar Google Scholar
https://scholar.google.com/scholar?q=outdoor+tile+installation+waterproofing+adjacent+to+walls+and+structures - Google Scholar Google Scholar
https://scholar.google.com/scholar?q=deck+floor+installation+flashing+gap+between+ledger+and+framing+waterproofing - https://en.wikipedia.org/wiki/Ceramic_tile
- Expansion joint
https://en.wikipedia.org/wiki/Expansion_joint - https://en.wikipedia.org/wiki/Deck_(building
- Waterproofing
https://en.wikipedia.org/wiki/Waterproofing - https://www.britannica.com/technology/tile
- https://www.epa.gov/mold
- Mold | National Institute of Environmental Health Sciences
https://www.niehs.nih.gov/health/topics/agents/mold/index.cfm