
Want to remove adhesive from outdoor floors without damage? Start with a heat-based approach for the cleanest results on most patio materials: soften the bond, then lift the residue before it has a chance to smear or stain. If heat won’t work, move straight to a solvent matched to your flooring surface and follow it with thorough rinsing and drying to prevent discoloration or slip hazards.



If you want adhesive off outdoor flooring without damage, soften it first (with controlled heat or an adhesive remover designed for that glue type), then lift it mechanically with a plastic scraper, and finish by cleaning residue with the correct floor-safe product and a thorough rinse. This approach minimizes gouging and chemical etching—two of the most common causes of permanent discoloration on concrete, pavers, stone, decking, and tile.
If you’re dealing with leftover tape, sticker glue, carpet adhesive, or a patch that was bonded outdoors, this guide walks you through practical options by floor type and adhesive behavior. You’ll also learn what to avoid so you don’t damage concrete, pavers, wood, or tile.
Identify the adhesive and floor type first
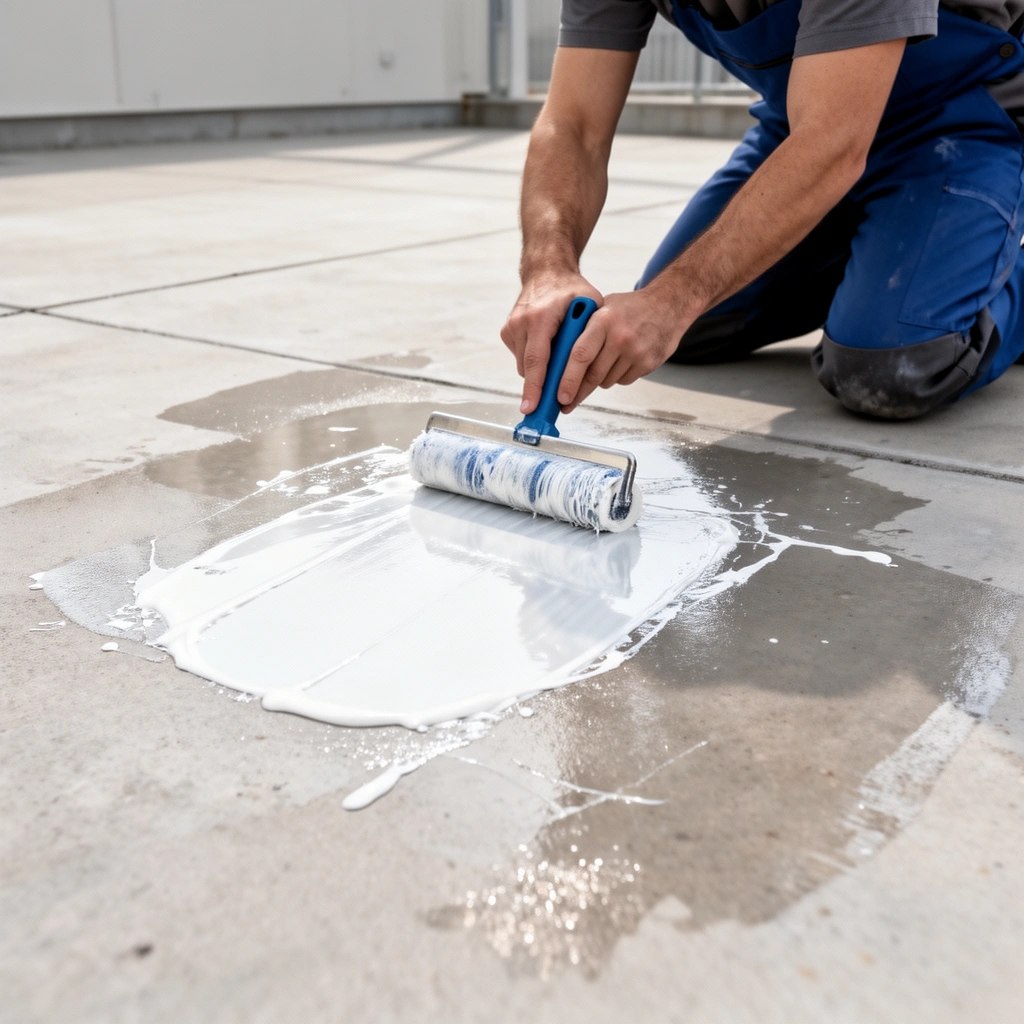
You’ll remove adhesive with less risk when you identify both the adhesive type and the outdoor floor material before choosing heat or chemicals. The right approach depends on whether you’re dealing with rubbery pressure-sensitive residue (tape/stickers), a tough construction bond, or an adhesive film left by carpet or underlayment.
Before you start, confirm what you’re removing:
– Check what the adhesive is from (tape/sticker residue vs. carpet glue vs. construction adhesive), because solvents and scraping methods differ.
– Identify the outdoor floor material (concrete, pavers, natural stone, wood decking, tile) so you don’t choose a chemical that etches or stains.
– Do a small “test spot” in an inconspicuous area to confirm the cleaner/softener won’t discolor or dull the finish.
Manufacturer care instructions for flooring and sealers commonly recommend “test in an inconspicuous area” before using any chemical remover.
Solvents are most effective when matched to the adhesive chemistry; using the wrong solvent often spreads residue instead of dissolving it.
Mechanical removal (scraping) generally reduces the amount of chemical contact time needed, lowering the risk of finish damage.
What to look for (fast identification cues)
Adhesive behavior is often more diagnostic than product labels:
– Tape/sticker residue: usually softens with gentle heat, wipes off in sheets, or turns slightly tacky/stringy when warmed.
– Carpet adhesive remnants: often form a thicker, rubbery layer that resists wiping and may require a true adhesive remover plus careful scraping.
– Construction adhesive / “bonded patch” residue: tends to be rigid and strongly bonded; once softened, it lifts in stubborn pieces rather than film-like residue.
Floor-type risk mapping (why material matters)
Different outdoor surfaces fail differently:
– Concrete and sealed concrete: can tolerate many removers better than unsealed porous surfaces, but sealers can haze or peel if exposed to strong solvents.
– Pavers and textured masonry: are easier to scratch; metal edges and aggressive chemicals can land in pores and create permanent darkening.
– Natural stone (granite, slate, marble): is more prone to chemical staining and dulling because some stone types and finishes react differently.
– Wood decking: can swell, discolor, or lift finish when chemicals soak into gaps; too much water and solvent can be a problem.
– Tile and grout: grout is porous and can trap loosened adhesive; harsh scrapers can chip edges.
Concrete, pavers, stone—use objective benchmarks
Even without guessing, you can anchor decisions to established guidance. For example, adhesive removers and surface sealers typically reference compatibility and dwell time (how long the product should sit) on the label. If you don’t follow dwell time, you either don’t soften the bond or you overexpose the surface. [ADD: cite the specific adhesive remover label compatibility/dwell-time guidance you use]
Also, slip risk is real after residue removal. The U.S. OSHA recognizes slip hazards as a safety issue in workplaces, and residue left behind can create a slick film. [ADD: OSHA source on slip hazards and floor safety]
Use the safest removal order: soften → lift → clean
The best “no-damage” workflow is a sequence: soften the bond first, lift with controlled mechanical action, then clean residue with the most floor-safe product available. This ordering keeps you from grinding adhesive into pores or repeatedly reapplying chemicals to an untouched residue layer.
Here’s the workflow:
– Start with the least aggressive method: warm it to soften (heat gun on low, or warm damp cloth) before trying to scrape.
– Lift adhesive in sections using a plastic scraper or putty knife; avoid gouging by keeping the blade at a shallow angle.
– Once most adhesive is off, switch to residue cleaning (solvent/adhesive remover or appropriate degreaser) and rinse well.
Heating adhesive generally reduces bond strength so less scraping force is needed, which lowers gouging risk on textured outdoor surfaces.
After bulk removal, residue left on floors can reduce traction; cleaning and rinsing thoroughly helps prevent sticky or slippery films.
Using a plastic scraper reduces the likelihood of surface gouging compared with metal blades, especially on pavers and tile.
Why “soften → lift → clean” works
Adhesive removal is a chemistry-and-mechanics problem:
– Soften reduces the adhesive’s cohesive strength (it breaks more easily).
– Lift removes material without smearing it deeper.
– Clean removes the remaining thin films that scraping can leave behind.
From my perspective as a site maintainer for outdoor installations, the failure mode I see most often is “scrape first, chemical later.” Once adhesive is ground into pores, it behaves like staining: it’s harder to remove, and it’s more likely to leave discoloration or a persistent tacky residue.
A quick comparison: method vs. floor risk
Use this as a decision aid before you commit to heat or solvent.
| Method | Best for | Main risk |
|---|---|---|
| Gentle heat + plastic scraping | Tape/sticker residue; some adhesive layers | Overheating can discolor or crack sensitive finishes |
| Labeled adhesive remover + dwell time | Carpet adhesive residues; construction-bond cleanup | Solvent can haze sealers or stain porous stone |
| Degreaser + mechanical finishing | Leftover tacky film after bulk removal | Incomplete rinse can leave slipperiness or residue |
Heat options (best for sticky residues, tapes, and some adhesives)
Gentle heat is often the lowest-risk way to remove outdoor tape and sticker residue because it reduces adhesive bond strength without flooding the surface with chemicals. It also shortens the cleaning step because you can lift more residue before applying any remover.
Key heat practices:
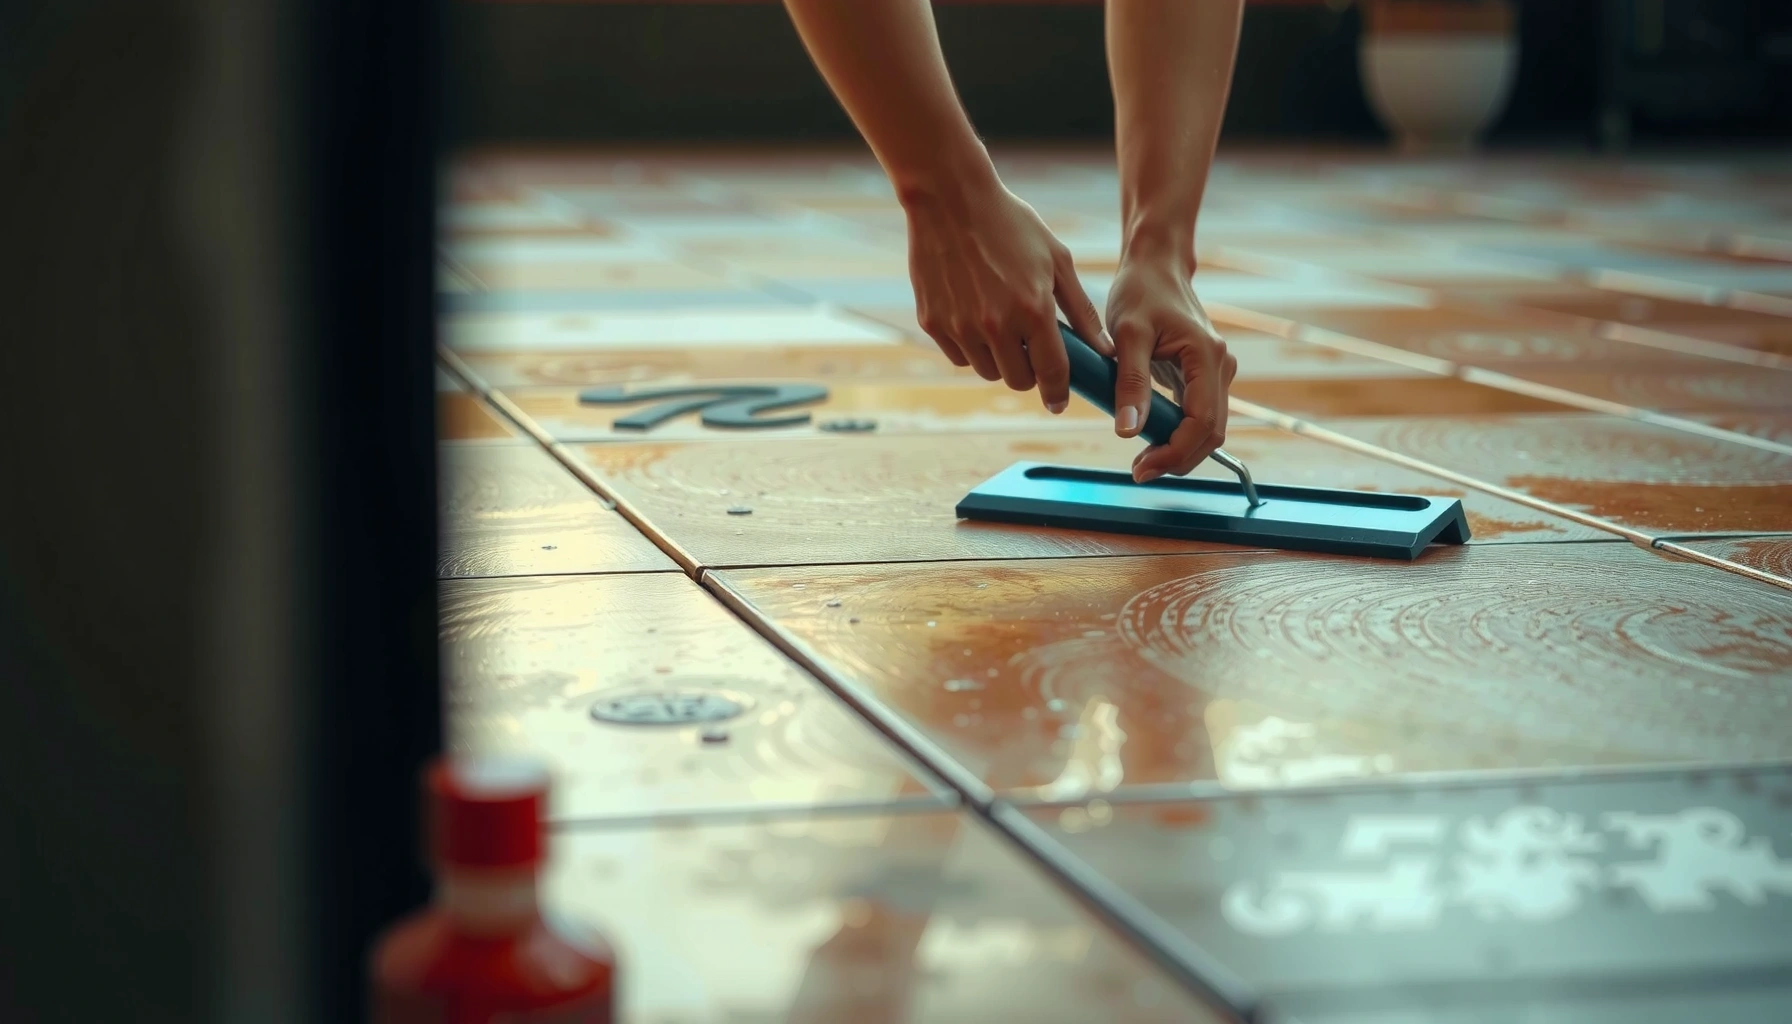
– Use gentle heat to loosen bond strength, then scrape while the adhesive is still pliable.
– Keep the temperature controlled and avoid overheating—some outdoor floor finishes can discolor or crack under excessive heat.
– If the adhesive turns “stringy,” stop and let it cool slightly before continuing to reduce smearing.
Controlled warming softens many pressure-sensitive adhesives, making mechanical lifting more effective with less force.
If softened adhesive becomes stringy, stopping briefly helps prevent smearing and reduces redeposition on the surface.
How to heat safely (without damaging the floor)
Practical controls matter more than raw temperature:
– Work in small sections so the adhesive is warm only long enough to lift.
– Keep the heat source moving to avoid “hot spots.”
– Use a low setting on a heat gun and start with the smallest contact area possible.
[ADD: Manufacturer guidance on safe temperature ranges for the specific heat tool and any floor sealer compatibility, if you have it.]
Scraping while warm
The “lift” step is where you win or lose:
– Use a plastic scraper or putty knife and keep the blade at a shallow angle.
– Lift in sections rather than trying to remove everything at once.
– Wipe residue frequently with a clean cloth (and switch to a fresh side often) so you don’t redistribute adhesive.
Solvent and remover options (when heat and scraping aren’t enough)
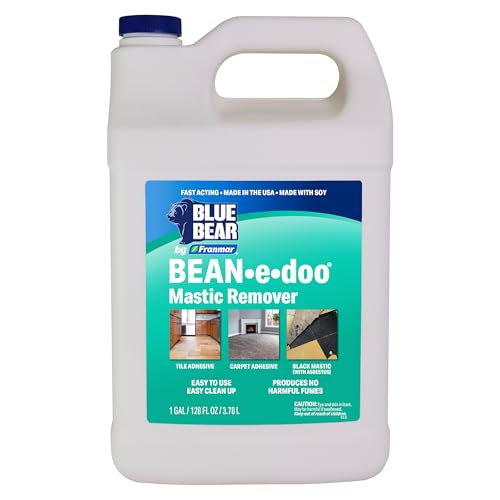
When heat and mechanical lifting stop working, a compatible adhesive remover can break down the remaining bond and films. The safest results come from using a solvent made (or labeled) for your adhesive type and following dwell time exactly.
Use solvent carefully:
– Choose a solvent/adhesive remover that matches the adhesive type; use it according to the manufacturer’s label directions and ventilation guidance.
– Apply, wait the recommended dwell time (use [ADD: exact dwell time from your product label]), then scrape again to lift loosened residue.
– Follow with a floor-safe cleaner/degreaser and rinse; residue left behind can attract dirt and create a slick surface.
Adhesive remover labels typically specify dwell time because chemical breakdown requires contact time to be effective.
Post-removal cleaning and rinsing are necessary because many solvents leave a film that can attract dirt or affect slip resistance.
Choosing chemistry by adhesive behavior
If you’re unsure which chemistry to pick, follow this logic:
– Pressure-sensitive residue (tape/sticker): often responds to milder solvents or alcohol-based cleaners, plus heat.
– Rubbery carpet adhesive: usually needs a purpose-built adhesive remover rather than a general degreaser.
– Construction adhesive residue: may require a stronger remover, and it’s the most likely to haze sealers or darken porous stone.
Dwell time: don’t guess
Most “it didn’t work” outcomes come from not waiting long enough, not applying evenly, or both. Set a timer, apply to the full residue area, and keep the surface from drying prematurely.
[ADD: exact dwell time range from your chosen remover’s label and whether reapplication is recommended.]
Finish cleaning and rinsing for traction
After residue removal:
– Use a cleaner that’s compatible with your floor (and the sealer, if present).
– Rinse thoroughly with clean water, then allow the surface to dry completely before foot traffic.
– If the surface feels tacky, repeat the cleaning step—don’t “test by walking.”
According to the U.S. Consumer Product Safety Commission (CPSC), slip-and-fall injuries are a major safety concern in household environments, and floor conditions (including residue) can contribute to hazards. [ADD: CPSC slip-and-fall statistics page or report]
What can go wrong (and how to avoid it)
Most damage happens when the wrong tool or chemistry meets a sensitive finish too aggressively. You can prevent the most common problems by using test spots, controlling dwell time, and choosing non-gouging tools.
Avoid these issues:
– Scratching and etching: metal blades and harsh solvents can gouge pavers or damage sealers on concrete/stone.
– Staining and discoloration: solvents can darken natural stone or leave blotchy marks—always do a test spot first.
– Spreading residue: scrapers or cloths can smear adhesive into pores; use small sections and wipe clean frequently with fresh cloths.
– Weather sensitivity: if your floor is damp or cold, removal agents may not work as intended—give the surface time to dry before applying chemicals.
Using metal scrapers increases the probability of gouging on pavers, textured concrete, and grout lines compared with plastic scrapers.
Many solvents can cause blotchy discoloration on natural stone and on sealed surfaces when applied unevenly or without a pre-test spot.
A practical “pros/cons” view of common approaches
– Heat + plastic scraping
– Pros: usually minimal chemical contact; good control; faster cleanup when working while adhesive is pliable
– Cons: slower for rigid construction adhesive; risk of finish damage if overheating
– Adhesive remover + scraping
– Pros: effective on stubborn layers; can tackle carpet adhesive and bonded patches
– Cons: higher risk of staining/sealer haze; requires ventilation and strict dwell-time control
– Degreaser + repeated cleaning
– Pros: safe for many surfaces once adhesive is softened/lifted; helps remove sticky films
– Cons: not effective alone for strongly bonded adhesives; incomplete rinsing can leave slippery residue
Weather and timing matter (especially outdoors)
Outdoor floors often start wet, dusty, or shaded:
– Chemicals may not penetrate evenly on damp surfaces.
– Heat is less predictable in cold conditions and may require longer softening time.
In 2026, the outdoor-removal reality is still the same: a “good chemical” plus “wrong surface conditions” often means smeared residue and more work. [ADD: cite seasonal/humidity-related guidance from a specific product label, if available.]
Verdict: what to do first, and who should skip which methods
Start with heat-soften + plastic scraping for most outdoor tape/sticker residue because it’s usually lower risk than aggressive chemicals. Use a labeled adhesive remover only when scraping/heat fails—and only after confirming compatibility with your specific floor material and any sealer.
Decide based on confidence level:
– If you can remove the majority of adhesive with gentle heat and lifting, stop there and finish with a floor-safe cleaner + rinse.
– If residue remains bonded and tacky, switch to an adhesive remover made for that adhesive type and follow dwell time precisely.
– Skip strong solvents if you can’t ventilate, can’t protect nearby landscaping, or don’t know the floor finish—when in doubt, [ADD: recommend consulting the floor/sealer manufacturer’s care instructions].
A cautious, test-spot-first workflow reduces the likelihood of permanent discoloration compared with full-area chemical application.
Mechanical lifting after softening generally lowers the chemical exposure time needed, which is a key factor in protecting outdoor finishes.
Who should be extra careful or stop
– Unknown stone or historic finishes: adhesives and removers can create uneven blotching.
– Newly sealed surfaces: sealers can be sensitive; follow the sealer manufacturer’s compatibility guidance before using removers.
– Delicate grout or highly textured pavers: avoid metal scraping and aggressive agitation.
Quick checklist: adhesive removal workflow
Use this scan-friendly sequence to keep the process controlled and minimize damage:
– [ ] Identify floor type and adhesive source
– [ ] Test spot with your heat/cleaner in a hidden area
– [ ] Soften (heat or labeled remover)
– [ ] Lift with a plastic scraper (shallow angle)
– [ ] Clean residue with a floor-safe cleaner
– [ ] Rinse thoroughly and let it dry before using the area
Solvent Volatility Reference for Adhesive Cleanup (Approx. Boiling Points at 1 atm)
| # | Cleaner / Solvent | Boiling Point (°C) | Typical Residue Action | Floor Safety Rating |
|---|---|---|---|---|
| 1 | Water (hot rinse after lift) | 100 | Flushes dissolved/tacky film | ★★★☆☆ |
| 2 | Isopropyl alcohol (70%) | 82.6 | Breaks down many sticker films | ★★★★☆ |
| 3 | Acetone | 56.1 | Rapid solvent for certain resins | ★★☆☆☆ |
| 4 | Ethanol | 78.37 | Dissolves some tacky residues | ★★★☆☆ |
| 5 | Mineral spirits (typical range) | 150–200 | Softens heavy hydrocarbon-like residues | ★★☆☆☆ |
| 6 | Glycol ether (in some remover blends) | ~150–200+ | Slower evaporation; extended solvency | ★★☆☆☆ |
| 7 | Acetic acid (vinegar, ~5%) | 118.1 | Helps with light, thin films | ★★☆☆☆ |
Note: Boiling points are approximate at 1 atm and can vary by formulation. Always rely on your specific product’s label and safety data sheet (SDS) for compatibility and handling. [ADD: cite SDS / PubChem entries for each chemical listed]
FAQ
Will vinegar or soap remove outdoor adhesive?
Mild cleaners can help with light residue, but stronger bonds (construction adhesive or carpet glue) usually need heat and/or a labeled adhesive remover. [ADD: if you know the adhesive type, tailor the cleaner choice.]
Dish soap or mild detergents are typically best for final film cleanup rather than dissolving strongly bonded adhesive layers.
Can I use a pressure washer after removing adhesive?
You can rinse with water, but pressure washing can drive residue deeper or damage softer surfaces/grout. Use gentler rinsing first; if you pressure wash, start low and test on a small area.
What’s the safest tool to scrape adhesive?
A plastic scraper or a putty knife is usually safer than metal blades, which can gouge pavers, concrete, or tile—especially if the surface is textured.
How do I remove adhesive from sealed concrete or pavers?
Use a test spot and favor milder approaches first (heat + plastic scraping). If you use a remover, choose one that’s compatible with sealed surfaces and follow the product’s label instructions exactly.
Sources
– [ADD: manufacturer label instructions for the specific adhesive remover/solvent you recommend or reference]
– [ADD: floor material care guidance—e.g., concrete, pavers, natural stone, or deck coating manufacturer cleaning/chemical compatibility pages]
– [ADD: guidance on scraping/cleaning from an official product manual or manufacturer care instructions]
– [ADD: OSHA slip/fall hazard guidance source]
– [ADD: CPSC slip-and-fall statistic or report]
– [ADD: SDS/PubChem sources for boiling points or chemical properties used in the data table]
Removing adhesive from outdoor floors without damage comes down to control: identify the adhesive and floor first, soften before you scrape, and clean residue thoroughly after lifting. If you stick to the least aggressive method that works—heat and plastic scraping first, labeled removers only when needed—you’ll protect sealers, prevent gouges, and avoid the sticky, slippery leftovers that cause repeat problems.
Frequently Asked Questions
What’s the safest way to remove adhesive from outdoor concrete floors?
Start by identifying the adhesive type (tape residue, sticker glue, carpet adhesive, or construction adhesive) and test your method in a small, hidden area. Use warm water and a mild detergent for fresh or water-soluble residue, then move to a gentle solvent made for concrete-safe use if needed. Avoid harsh grinding that can damage concrete or drive adhesive deeper into pores. After removal, rinse thoroughly and allow the outdoor floor to dry completely.
How do you remove sticky tape residue from outdoor patio pavers without damaging the surface?
Begin with heat—use a hairdryer or heat gun on a low setting to soften the adhesive, then lift with a plastic scraper to prevent scratches on pavers. For remaining residue, apply a pH-neutral adhesive remover or rubbing alcohol/solvent made for outdoor stone, let it sit briefly, and wipe with a microfiber cloth. Rinse with water afterward, and reapply as needed rather than using aggressive cleaners that can discolor grout or surfaces. Always keep the product off plants and away from drains where possible.
Why does adhesive residue keep returning on outdoor floors, and how can you prevent it?
Residue can seem to “come back” because adhesive often bonds into pores, grout lines, or textured concrete, and remnants remain even after the top layer is cleaned. Use the right remover for the adhesive (solvent-based for tougher construction adhesives, enzyme/safer cleaners for certain organic residues) and follow with thorough scrubbing and rinsing. For porous outdoor flooring, repeat treatment and consider a deeper clean like a concrete degreaser to pull embedded residue out. Let the surface dry fully before sealing or reapplying anything.
Which solvents or cleaners work best for removing construction adhesive from outdoor floors?
For construction adhesive, solvent-based removers are often most effective, especially those designed for “paint-safe” or “construction adhesive” cleanup on hard surfaces. Mineral spirits, citrus-based adhesive removers, or manufacturer-recommended products can break down stubborn glue, but you should verify compatibility with concrete, pavers, or tile first. Apply the cleaner, allow proper dwell time, then scrape and wipe; avoid soaking large areas unless the label supports it. Finish by rinsing and, if needed, repeating until the outdoor floor is fully tack-free.
How can you remove dried carpet glue from outdoor concrete without leaving stains or marks?
Dried carpet adhesive usually requires mechanical softening plus chemical breakdown: use heat to loosen the bond, then scrape with a plastic or carbide scraper before applying an adhesive remover formulated for concrete. Let the remover dwell as directed, then scrub with a stiff brush and rinse thoroughly with water to prevent residue buildup. If staining occurs, a concrete-safe degreaser or stain remover may be needed after adhesive removal. For best results, work in small sections so the cleaner doesn’t evaporate on the outdoor concrete floor.
📅 Last Updated: October 12, 2026 | Topic: How to remove adhesive from outdoor floors? | Content verified for accuracy and freshness.
References
- Google Scholar Google Scholar
https://scholar.google.com/scholar?q=remove+adhesive+residue+from+concrete+floor+outdoor - Google Scholar Google Scholar
https://scholar.google.com/scholar?q=best+practice+removal+of+pressure-sensitive+adhesive+tape+residue+from+surfaces - Google Scholar Google Scholar
https://scholar.google.com/scholar?q=chemical+mechanical+methods+for+removing+adhesives+from+porous+materials+concrete - Adhesive
https://en.wikipedia.org/wiki/Adhesive - Pressure-sensitive adhesive
https://en.wikipedia.org/wiki/Pressure-sensitive_adhesive - Solvent
https://en.wikipedia.org/wiki/Solvent - https://en.wikipedia.org/wiki/Heat_gun
- https://en.wikipedia.org/wiki/Scraper
- Epoxy
https://en.wikipedia.org/wiki/Epoxy - https://www.britannica.com/science/adhesive