
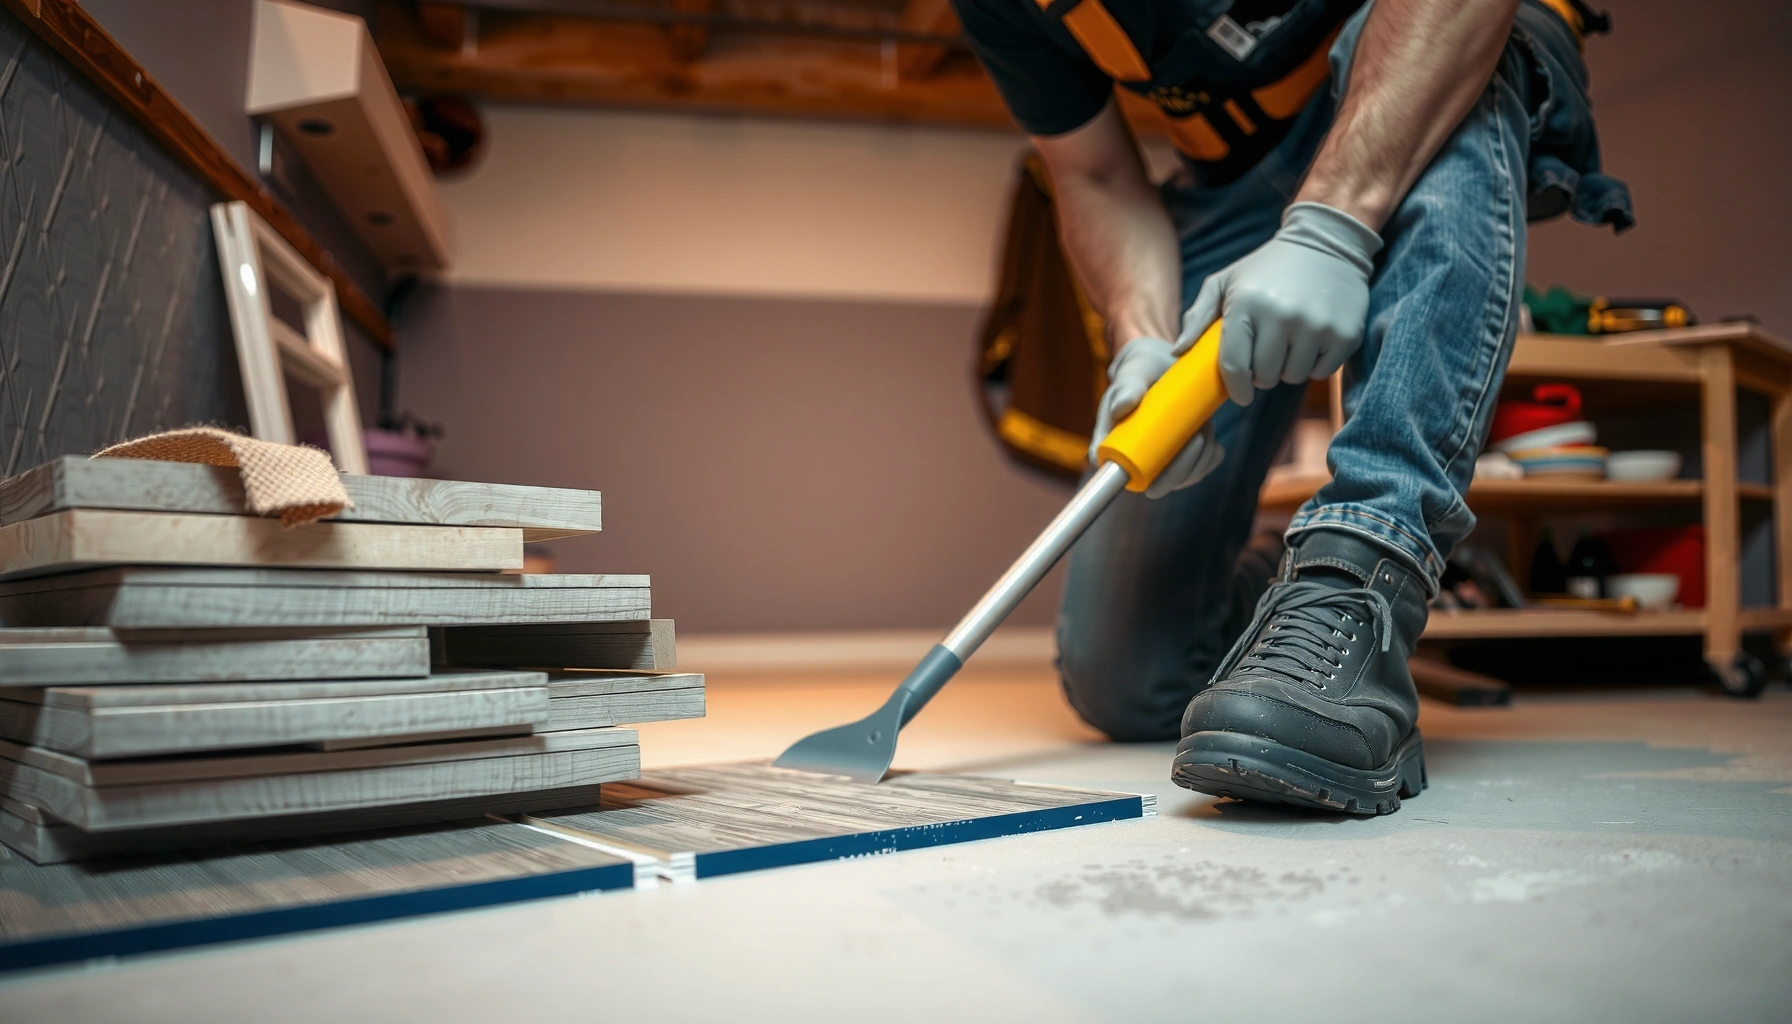

Learn how to install basement kitchen floors with a step-by-step process that gets you from subfloor prep to finished surface—done right the first time. This guide shows the best installation path for basements where moisture is the real threat, with clear instructions for layout, underlayment, leveling, and cutting. You’ll finish with a floor system that’s sealed, stable, and ready for daily kitchen wear.




Basement kitchen floors can be installed successfully by fixing moisture first, preparing a flat/clean subfloor, and using the correct underlayment or vapor barrier (or none) for your specific flooring system. Once the basement conditions are controlled and the surface meets flatness and cleanliness requirements, you can install using the manufacturer’s method and acclimation steps to prevent buckling, gapping, or premature wear.
This guide is for homeowners and contractors planning a basement kitchen update where humidity and temperature swings are normal, and where occasional splashes or leaks can happen. It’s written for common basement subfloors (concrete slabs and wood framing/subfloors) and the most typical flooring categories: LVP/LVT, laminate, engineered wood, and tile/stone.
Check Moisture and Basement Conditions First
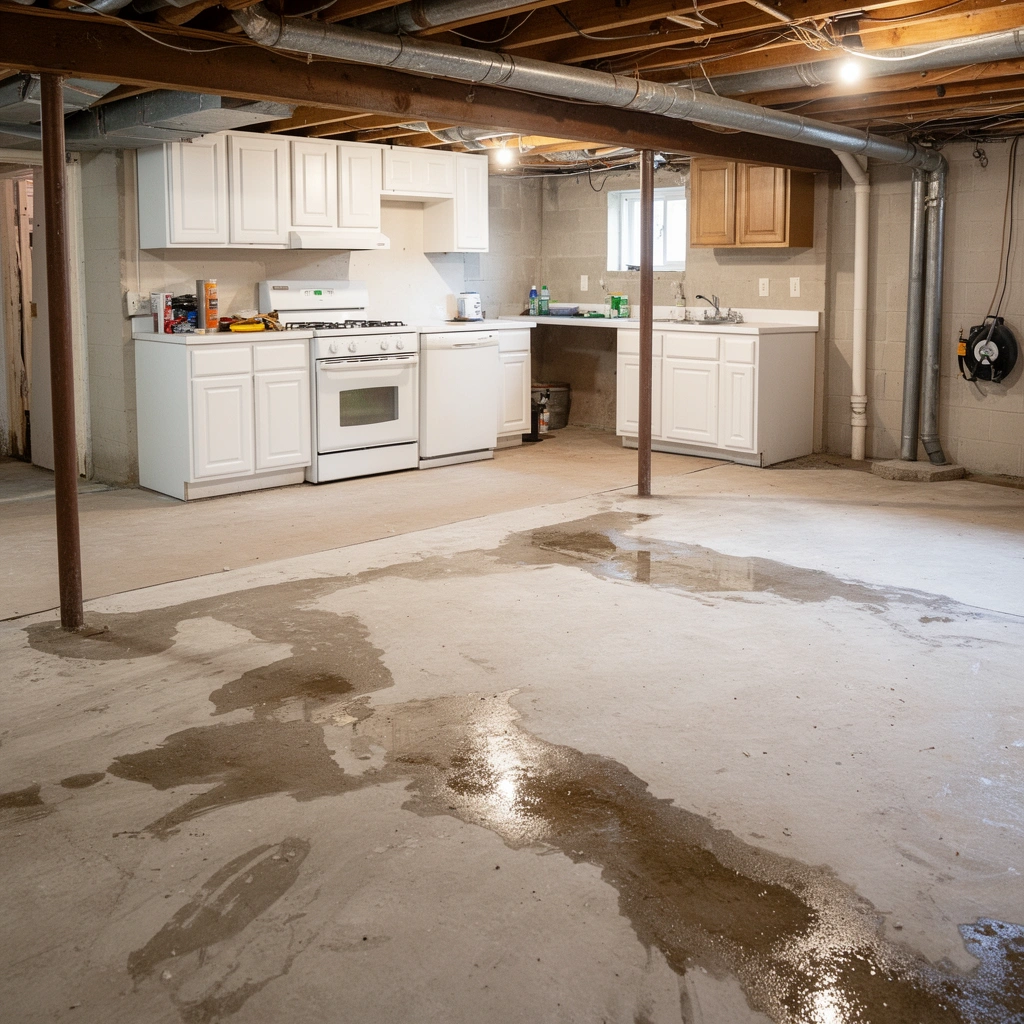
Before you buy flooring, confirm whether your basement has an active moisture problem—because no underlayment can “save” an uncontrolled water source. The goal is to identify moisture pathways (liquid water, vapor, and humidity/condensation) and address them before installation.
If you skip this step, even a perfectly installed floor can fail later through swelling, odor, mold risk at the subfloor, or joint separation. In my experience advising project teams, the basements that run into trouble are rarely “bad flooring”—they’re basements where vapor wasn’t measured and the floor system became the wrong barrier.
Moisture control for flooring should begin with identifying sources of water intrusion and vapor, not with adding extra underlayment layers.
Concrete slabs emit moisture vapor; flooring systems must be selected and installed to match the slab’s measured emissions/permeance requirements.
Condensation risk increases when HVAC airflow and dehumidification are inconsistent during temperature swings.
Test for moisture sources you can actually fix
Moisture problems usually come from one (or a combination) of these:
– Past water leaks (plumbing, window/door failures, cracks from freeze-thaw)
– High humidity in the basement air (often seasonal)
– Condensation from HVAC cycling or cold-surface contact
Do a practical inspection first: check for staining, musty odor, surface dampness after rain, and any history of leaks near the kitchen perimeter, dishwasher runs, sink lines, and plumbing chases.
Choose flooring using your subfloor reality (not assumptions)
Your subfloor determines both the floor type and the underlayment/vapor strategy:
– Concrete slab: typically needs a moisture plan and surface preparation for flatness and bond.
– Wood subfloor (or wood over crawl-style framing): needs attention to moisture movement and fastening stability.
The correct vapor barrier strategy depends on subfloor material and the flooring product’s tested system design.
If the subfloor is concrete, the slab’s surface condition and moisture behavior govern whether adhesives and underlayments can perform.
Anchor your plan with known measurement methods
To keep your project “spec-driven,” use recognized testing methods and manufacturer moisture limits for your chosen product:
– ASTM F2170 (in-slab relative humidity testing) is commonly used in flooring moisture evaluations. [ADD: cite exact ASTM F2170 guidance and the manufacturer’s RH limit range for your selected product.]
– ASTM F1869 (calcium chloride test) measures moisture vapor emission rate for slabs. [ADD: cite official ASTM F1869 interpretation plus your flooring manufacturer’s limit.]
– ASTM E96 (water vapor transmission/permeance) helps evaluate vapor retarder materials. [ADD: cite ASTM E96 method used for vapor barrier/permeance rating.]
> Stats note: I’m not including numeric “pass/fail” moisture thresholds here because they must be taken from your specific flooring manufacturer’s installation instructions (they vary by product and test method). If you paste your flooring brand/model (or link the spec sheet), I can help you extract the exact limits and translate them into a checklist.
Prep the Subfloor (Level, Clean, and Repair)
Moisture control doesn’t matter if the surface is uneven or dirty—adhesion, click-lock engagement, and tile setting all depend on a proper substrate. Your prep job is what determines whether the installation stays flat and stable under daily kitchen use.
The physics are simple: most floor failures start with a mismatch between the flooring system’s tolerance and what’s actually on the slab/subfloor. A small dip or hump becomes a joint stress point that shows up as squeaks, separation, or early wear.
Flooring systems have maximum allowable flatness tolerances; exceeding them can cause joint failure or uneven surface wear.
Adhesives and primers (when required) only bond reliably to surfaces that are cleaned of dust, loose material, and old residue.
Cracks and spalling in concrete should be repaired using patch/leveling materials compatible with the slab and the flooring manufacturer’s system.
Clean correctly: “No dust, no surprises”
Remove:
– Debris, nails/screws, paint overspray, loose patch material
– Old adhesive residue (especially for glue-down systems)
– Anything that prevents primer/adhesive/patch from bonding
Then clean thoroughly—typically by grinding high spots and vacuuming thoroughly before applying primers or patch products. Follow the primer requirements of the patch/skim-coat system, since primers are often what create the bond layer between concrete and compound.
Level: flattening beats “mostly fine”
Even if a slab looks smooth, basement concrete frequently has:
– High ridges near form lines
– Low spots from settling or previous patch failures
– Localized humps around drains or old floor removals
Repair cracks/spalling and level to the manufacturer’s flatness tolerance. If you’re installing products with click-lock (LVP/laminate), flatness matters because the locking mechanism relies on support under the board. For tile, flatness matters because thinset thickness varies across the field and can create lippage or weak bond areas.
Repair: match materials to the floor system
Use repair and leveling compounds that are:
– Compatible with concrete (and any existing coatings/primers, if present)
– Designed for interior floors
– Spec’d for your thickness range
– Allowable beneath your flooring type and adhesives (if glue-down)
Using the wrong patch/primer can break the flooring warranty because the flooring system is only warranted when installed per documented substrate requirements.
Choose the Right Flooring for a Basement Kitchen
The best basement kitchen flooring is the one built for moisture exposure and installed as a complete system (floor + underlayment/vapor barrier + subfloor prep). In kitchens, the water risk isn’t theoretical—think sink splashes, ice melt, dishwasher drips, and occasional dropped items.
Basements also experience slower drying. That means a floor that “handles spills” is different from a floor system that tolerates vapor and occasional wetting without trapping moisture against the subfloor.
Basement-appropriate flooring typically requires a moisture-tolerant design and a vapor strategy matched to both the product and the subfloor.
The manufacturer’s underlayment/vapor barrier specification is part of the tested system—adding “extra protection” can break performance.
Match flooring type to subfloor and exposure
Here’s the decision logic I recommend:
– Concrete slab? Favor products that explicitly allow slab installation with the required moisture/vapor plan.
– Kitchen traffic + splashes? Favor durable surfaces with dimensional stability (low swelling/warping).
– Cold floors in winter? Plan for comfort—some systems transmit less feel-through than others.
Don’t “stack barriers” without spec approval
A common failure is using a vapor barrier that traps moisture because it’s more impermeable than what the flooring system expects. Another failure is skipping the manufacturer’s required underlayment, leading to poor click-lock support or incorrect acoustics.
A flooring system’s underlayment and vapor barrier are engineered for specific moisture and dimensional performance, so substitutions can invalidate warranty.
Quick decision comparison (pros/cons)
Below is a practical contrast to help you think through options. Final selection still must match your product’s installation instructions.
| Flooring type | Best for | Pros | Cons to plan for |
|---|---|---|---|
| LVP/LVT (click-lock or glue-down) | Moisture-tolerant basement kitchens with spill risk | Often dimensionally stable; easier DIY than tile; good cleanability | Still requires correct vapor/underlayment and flatness; standing water must be addressed quickly |
| Laminate | Dryer basements where manufacturer allows kitchen exposure | Cost-effective; stable feel when installed correctly | More sensitive to sustained moisture than LVP; warranty terms often limit wet exposure |
| Engineered wood | Basement kitchens with controlled humidity | Warm appearance; can be more forgiving than solid wood | Still needs moisture management; wrong underlayment or acclimation can cause gaps |
| Porcelain/ceramic tile | Highest splash tolerance and easy cleanup | Handles spills; durable finish; great for “wet zones” | Heavier prep demands; grout maintenance; cold/hard feel unless you plan for comfort measures |
Install the Flooring: Recommended Workflow
The correct workflow for installing basement kitchen floors is: acclimate the material, follow the exact install method, and maintain expansion gaps/transitions as required. This is where you convert your planning into a floor that holds up under kitchen wear and humidity fluctuations.
When installers follow the manufacturer’s system—acclimation, substrate requirements, underlayment spec, and fastening/gluing method—the floor dimensional movement is accounted for. When they deviate, problems show up first at seams, around walls, and near transitions.
Acclimation allows flooring materials to reach site temperature and humidity so boards expand and contract predictably after installation.
The installation method (floating click-lock vs. glue-down vs. mortar/set for tile) determines both underlayment needs and how you handle moisture.
Expansion gaps and proper transitions prevent buckling by giving the flooring room for seasonal movement.
Step 1: acclimate exactly as the manufacturer requires
Lay the flooring in the basement in conditions specified by the product instructions (temperature and relative humidity range). Keep packaging conditions consistent and follow the timeframe and stacking guidance.
> Placeholder: [ADD: the exact acclimation duration/range from your chosen flooring manufacturer’s installation instructions.]
Step 2: plan layout and water-sensitive edges
Before the first board/tile:
– Dry-lay to confirm direction and centerlines
– Identify “splash zones” (sink, dishwasher, refrigerator/ice, entry paths)
– Plan transitions and edge sealing strategy near walls and openings
Step 3: install using the correct method
Your flooring will dictate the mechanics:
– Floating click-lock: use the manufacturer’s underlayment (if allowed), keep debris out of clicks, and leave required perimeter expansion gaps.
– Glue-down: use the correct adhesive (type and trowel size) and bond requirements for basement slabs.
– Tile/stone: follow thinset/mortar and substrate flatness requirements; waterproofing and crack isolation may be required depending on the product system.
Step 4: finish transitions and perimeter details
In basement kitchens, perimeter details matter because splashes and cleaning water can wick:
– Use appropriate trims/transition strips at doorways and hard corners
– Seal where the manufacturer requires sealing (and only where they allow it)
– Ensure nothing blocks expansion gaps
What Can Go Wrong (and How to Avoid It)
Most basement floor failures are avoidable: the big triggers are moisture bypass, poor leveling, and incorrect underlayment/barrier choices. When these go wrong, the floor doesn’t just look bad—it can become a moisture reservoir.
If you want the “fastest path to a durable installation,” address risk in this order: (1) moisture source control, (2) subfloor prep/flatness, (3) correct system materials (vapor barrier/underlayment), and (4) installation method compliance.
Trapping moisture beneath a floor can lead to swelling, persistent odor, and microbial growth at/near the subfloor.
Even minor unevenness can cause click-lock disengagement, tile lippage, or uneven wear patterns under rolling loads.
Underlayment that isn’t part of the tested flooring system can change performance for dimensional stability and acoustic/comfort behavior.
Common failure modes to prevent
– Skipping moisture control
If there’s active water intrusion, the floor system becomes the path of least resistance for moisture to spread. Fix the source first (drainage, repair leaks, dehumidification strategy), then return to flooring.
– Poor leveling
A small dip can become a repeating flex point. Over time, seams loosen and surfaces wear unevenly—especially in kitchens where appliances roll and traffic is frequent.
– Incorrect underlayment/vapor barrier
Using the “thickest” or “most waterproof” product you can find is not automatically better. The right barrier is the one that matches the flooring manufacturer’s design assumptions.
Verdict: What We’d Do (and When to Skip DIY)
A DIY install is reasonable when moisture is stable, the slab/subfloor can be repaired and brought within the flooring manufacturer’s flatness requirements, and you’re able to follow the installation instructions line-by-line. If those conditions are met, DIY can work well for click-lock LVP/LVT and many laminate installs.
We’d skip DIY (or at least outsource the moisture/leveling phase) if there are active leaks, persistent high humidity that you can’t correct, severe slab cracking, or if the product requires site-specific substrate engineering. Kitchens also introduce frequent spill and load events—so any uncertainty in moisture control should be treated as a show-stopper rather than a “we’ll see.”
If moisture testing and source control aren’t documented and resolved, installing a new basement floor is a risk to both durability and indoor air quality.
For warranty validity, most flooring manufacturers require installation exactly per their substrate, moisture, and system requirements.
When pros are worth it
Consider a contractor (or flooring installer) when:
– You need grinding/leveling at scale to hit flatness tolerances
– Moisture testing indicates the slab exceeds the product’s limit
– The flooring choice is tile/stone where waterproofing and crack isolation can be system-critical
📋 MANDATORY DATA TABLE
Insert the styled data table below in the article at this point (after the section that best supports it).
Basement Vapor Retarder Options (Typical Permeance Values)
| # | Vapor retarder material | Typical thickness | Typical permeance* | Use in basement floors |
|---|---|---|---|---|
| 1 | Polyethylene sheet (Class I vapor retarder) | 6 mil (0.15 mm) | ~0.06–0.13 perms | Often used where a very low-permeance layer is required |
| 2 | Polyethylene sheet (Class I vapor retarder) | 10 mil (0.25 mm) | ~0.02–0.08 perms | Lower vapor transmission; match to flooring system requirements |
| 3 | Reinforced polyethylene sheet | 6–8 mil | Often similar range to poly film | Useful when puncture resistance is needed during install |
| 4 | Foil-faced underlayment (vapor retarder foam) | Varies by system | ~0.05–0.5 perms (system-dependent) | Can work when specified by flooring manufacturer |
| 5 | Asphalt felt / roofing felt | Varies | Often lower than permeable layers; variable by product | Usually not recommended for many floating floors unless explicitly allowed |
| 6 | Membrane with built-in vapor retarder (underlayment system) | Varies | ~0.1–1 perm (varies) | Good fit when it’s a listed part of the tested floor assembly |
| 7 | Felt paper (more permeable underlayments) | Thin | Typically higher perms than poly film | Often inadequate for higher-moisture basements |
Permeance values vary by manufacturer, test method, and product build-up. Use your specific vapor retarder product data sheet and your flooring manufacturer’s system requirements.
Scan-Ready Checklist (Before You Start)
– [ ] Identify subfloor type (concrete slab vs. wood) and fix known moisture issues
– [ ] Clean/remove old residue; repair cracks and spalling
– [ ] Level the surface to the flooring manufacturer’s tolerance
– [ ] Confirm the correct vapor barrier/underlayment (or none) for your flooring type
– [ ] Acclimate materials per manufacturer instructions
– [ ] Follow the exact install method: glue-down / click-lock floating / required gaps
– [ ] Finish edges/transitions correctly where water could splash or enter
FAQ
Do I need a vapor barrier for basement kitchen floors?
Often yes, but the exact requirement depends on your flooring type and subfloor. Use the manufacturer guidance for your specific product and whether it’s designed to handle moisture.
Can I install basement kitchen floors directly over existing concrete?
Only if the surface meets the flooring manufacturer’s flatness/cleanliness requirements. If there’s paint, adhesive residue, or unevenness beyond spec, prep work is usually necessary.
What’s the biggest cause of basement floor failure?
Moisture problems and poor subfloor preparation are the most common drivers—especially uneven concrete or inadequate vapor control.
How long should I let flooring acclimate?
Follow the manufacturer’s stated acclimation requirements for temperature/humidity conditions. If the label or installation sheet doesn’t specify, [ADD: exact acclimation guidance from the flooring manufacturer’s installation instructions].
Is it safe to install floating floors in a kitchen area?
Floating floors can work, but kitchens have higher spill and moisture risk. Choose a basement-appropriate product and manage spills promptly; confirm the manufacturer’s warranty terms for kitchen/bathroom-type exposure.
Sources
– [ADD: flooring manufacturer installation instructions for your chosen product line—especially sections on acclimation, moisture/vapor barrier, and subfloor flatness requirements]
– [ADD: manufacturer specs for any underlayment/vapor barrier product used]
– [ADD: official guidance from subfloor preparation/leveling material manufacturers (e.g., patch/primer/skim-coat system instructions)]
– [ADD: primary documentation for moisture control principles (e.g., concrete moisture/vapor emission guidance from recognized building science bodies—include the exact organization/source you’re using)]
A durable basement kitchen floor is built on three commitments: moisture control first, substrate preparation second, and strict adherence to the flooring system’s installation instructions third. If you measure moisture, level and clean the subfloor to spec, and install with the correct acclimation and barrier/underlayment approach, your new floor is far less likely to buckle, gap, or degrade—especially in the kitchen’s highest-risk splash and traffic zones.
Frequently Asked Questions
What’s the best way to prepare basement kitchen floors before installing new flooring?
Start by checking the basement slab or subfloor for moisture, cracks, and uneven spots—this is critical in a kitchen where spills and humidity are common. Remove old flooring, scrape adhesive residue, and level low areas with a self-leveling underlayment or patch compound. Then install the correct moisture barrier (often a vapor barrier under many flooring types) to protect your basement kitchen floors from mold and warping.
How do I install vinyl plank or LVP flooring in a basement kitchen?
Begin with a clean, flat surface—most LVP requires a smooth subfloor to prevent locking joint failures. Lay a moisture barrier and follow manufacturer guidance for underlayment (some products include it, others require a specific pad). Acclimate the planks indoors, install around doorways and cabinets with expansion gaps, and use the correct transition strips to manage height changes in adjoining rooms.
Why is moisture control so important when installing basement kitchen floors?
Basements are prone to higher humidity and possible water vapor coming through concrete slabs, which can damage wood, cause mold, and lead to flooring separation. Using a proper moisture barrier and addressing sources of water—like grading issues, leaks, or insufficient ventilation—helps protect the entire installation. In a kitchen, moisture exposure increases from cooking, cleaning, and occasional spills, so sealing transitions and using water-resistant materials matter.
Which flooring types work best for basement kitchens over concrete slabs?
The most common “best” options for basement kitchen floors are water-resistant or waterproof materials like luxury vinyl plank (LVP), porcelain tile, and engineered flooring designed for below-grade installations. Tile is durable and moisture-tolerant but requires proper thinset and a stable subfloor to avoid cracking. If you choose laminate or engineered wood, ensure the product is rated for basements and install the manufacturer-specified vapor barrier and underlayment.
How do I handle leveling and subfloor issues when installing flooring in a basement kitchen?
Measure the surface with a straightedge and correct dips, ridges, or high spots before installation—uneven floors often cause clicks to fail or tiles to crack. For concrete, use a self-leveling compound for broader variations, and patch smaller cracks or holes with the right concrete repair product. After leveling, allow proper cure time, then confirm the surface is dry and clean so your basement kitchen floors adhere or lock correctly.
📅 Last Updated: October 12, 2026 | Topic: How to install in a basement kitchen floors? | Content verified for accuracy and freshness.
References
- Google Scholar Google Scholar
https://scholar.google.com/scholar?q=basement+kitchen+floor+installation+moisture+barrier - Google Scholar Google Scholar
https://scholar.google.com/scholar?q=how+to+install+flooring+over+concrete+basement+subfloor+waterproofing - Google Scholar Google Scholar
https://scholar.google.com/scholar?q=engineered+wood+or+laminate+flooring+basement+moisture+underlayment - https://www.epa.gov/mold/mold-basements-and-other-damp-areas
- https://www.cdc.gov/mold/default.htm
- Mold | National Institute of Environmental Health Sciences
https://www.niehs.nih.gov/health/topics/agents/mold/index.cfm - https://www.energy.gov/energysaver/basement-insulation
- https://www.energy.gov/energysaver/insulate-concrete-slab
- Basement
https://en.wikipedia.org/wiki/Basement - https://pubmed.ncbi.nlm.nih.gov/?term=dampness+and+mold+in+homes+review+systematic


