
Removing adhesive from parquet floors is safest when you start with heat and a plastic scraper, because it lifts most residues with minimal risk to the wood. If the bond is tougher, use a parquet-safe adhesive remover formulated for wood, applied carefully to avoid soaking the planks. This guide tells you exactly which method to choose based on the adhesive type and how to protect your parquet finish while you clean.




If you can lift loose residue first, then use the gentlest method that matches the adhesive type—heat for truly heat-softening residues or a remover specifically labeled for wood floors—you can usually restore parquet to clean wood without ruining the finish. The practical path is: plastic scraping and thorough drying first, then controlled remover use (never flooding), and only then heat or steam if needed.
If your parquet is glue-down (or covered old tile/underlay), the adhesive is often the hardest part. This guide is for homeowners and DIYers who want a practical, damage-minimizing plan for removing glue residue from parquet—whether the surface is lacquered or oiled.
Identify the adhesive on your parquet floor
The fastest way to avoid damage is to identify the residue’s adhesive family before you choose heat or a solvent remover. In practice, the right choice comes down to whether the residue behaves like a flexible pressure-sensitive adhesive, a brittle mastic, a water-soluble glue, or a chemically tough binder like epoxy.
“If you don’t know what the adhesive is, treat it as ‘unknown’ and start with the least aggressive method—small, hidden tests first.”
“Water-based glue often softens with warm water, while solvent-based residues generally won’t react the same way to water.”
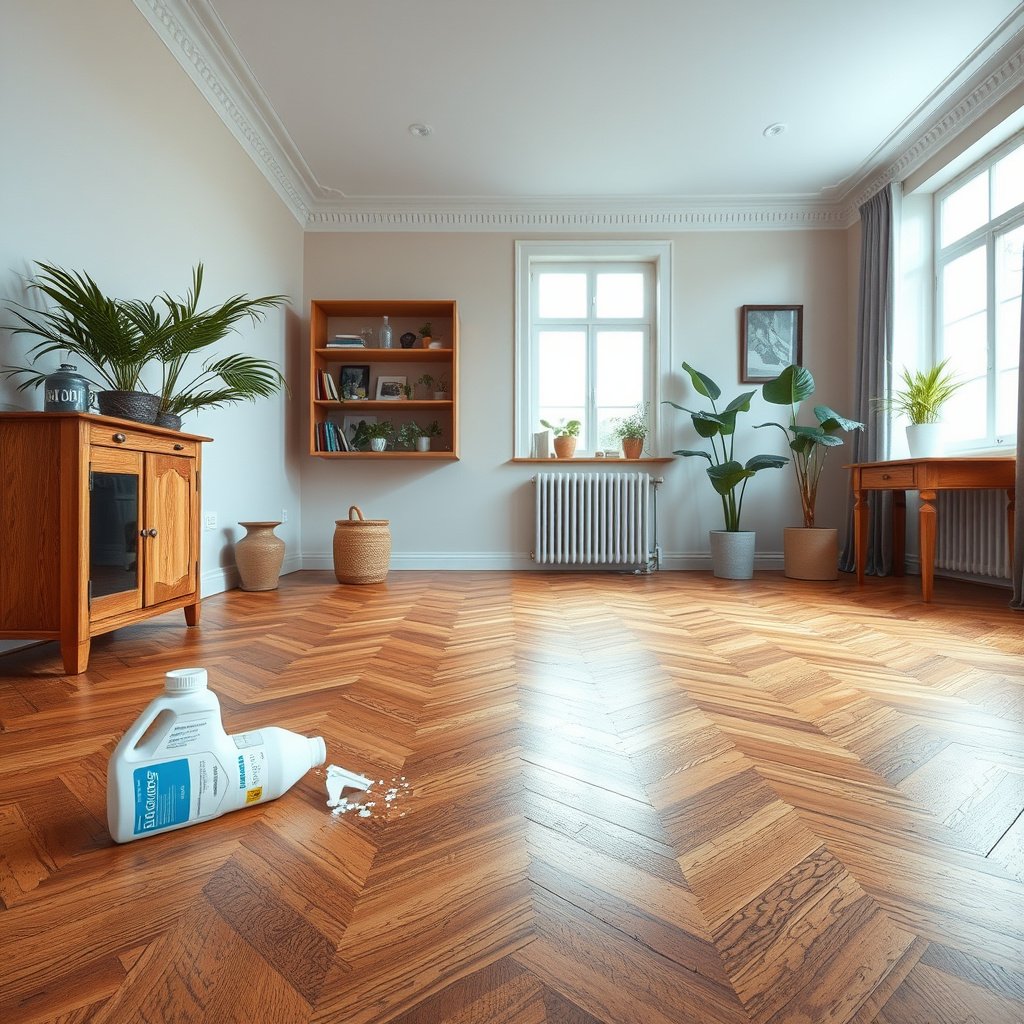
To identify adhesive on parquet safely, look for clues on the residue surface (not just how it feels in one spot). Rubber-flexible residue that stays pliable often points to pressure-sensitive tape glue or some contact adhesives. Brittle, cracked, or “mastic-like” lumps that shatter or crumble often indicate older construction mastics or hard-set compounds. For parquet, the important part is that these behaviors correlate with how easily the residue softens and how likely it is to spread into the wood grain during cleaning.
Do a small, hidden test before you commit
In my experience with residue removal on parquet and wood floors, the most time-saving step is the smallest one: a tiny patch test in an inconspicuous corner to see what “direction” the residue responds to (lift, smear, or remain unchanged).
For the test:
– Target a 5–10 cm area so you can observe both softening and finish impact on parquet.
– Use the mildest relevant approach first (water only if it seems compatible; otherwise stop early and proceed to controlled mechanical removal).
– If nothing changes after a controlled test, treat it as unknown and move to safer mechanical removal rather than “trying stronger liquids.”
Practical test cues (parquet-relevant)
– Water-based glue often softens with warm water and gentle cleaning.
– Solvent-based residues usually don’t react to water and may respond to a remover labeled for wood floors and (ideally) the specific adhesive/finish type.
– If you suspect older construction materials, don’t “wing it.” Some historic floor adhesives and coverings can involve asbestos risk—if you’re not sure, use a professional inspection/testing plan in line with local guidance.
Safe first steps to lift adhesive residue
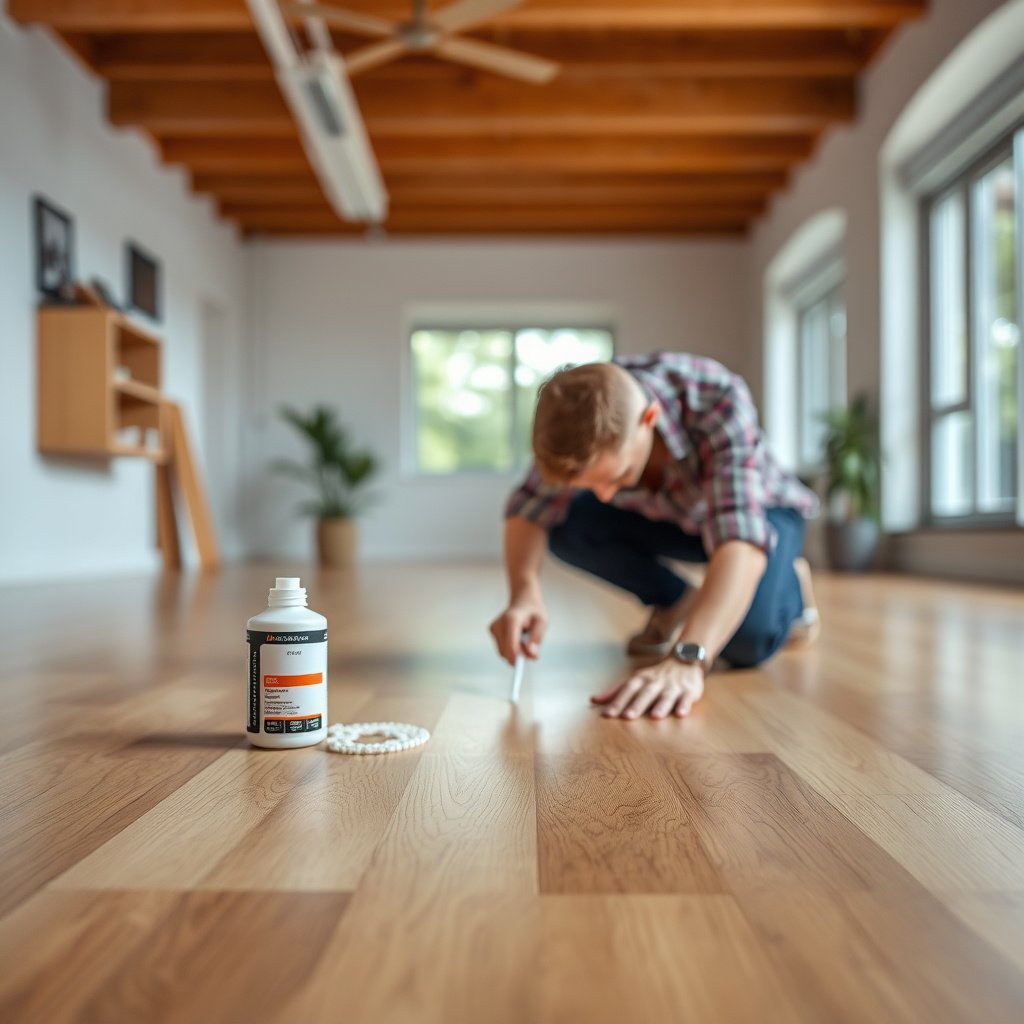
The best removal plan starts with damage prevention, not chemical power. Your first goal is to lift loose residue mechanically, minimize moisture exposure to parquet, and avoid grinding adhesive into the wood grain.
“Good ventilation plus eye protection and gloves should be the baseline before any parquet adhesive work, especially if removers or heat tools are involved.”
“Work in small sections so adhesive residue doesn’t smear into parquet grain and later bond more tightly.”
Prepare for safe removal (parquet + your body)
Before you touch the residue:
– Improve ventilation (open windows/doors; run fans that exhaust outward).
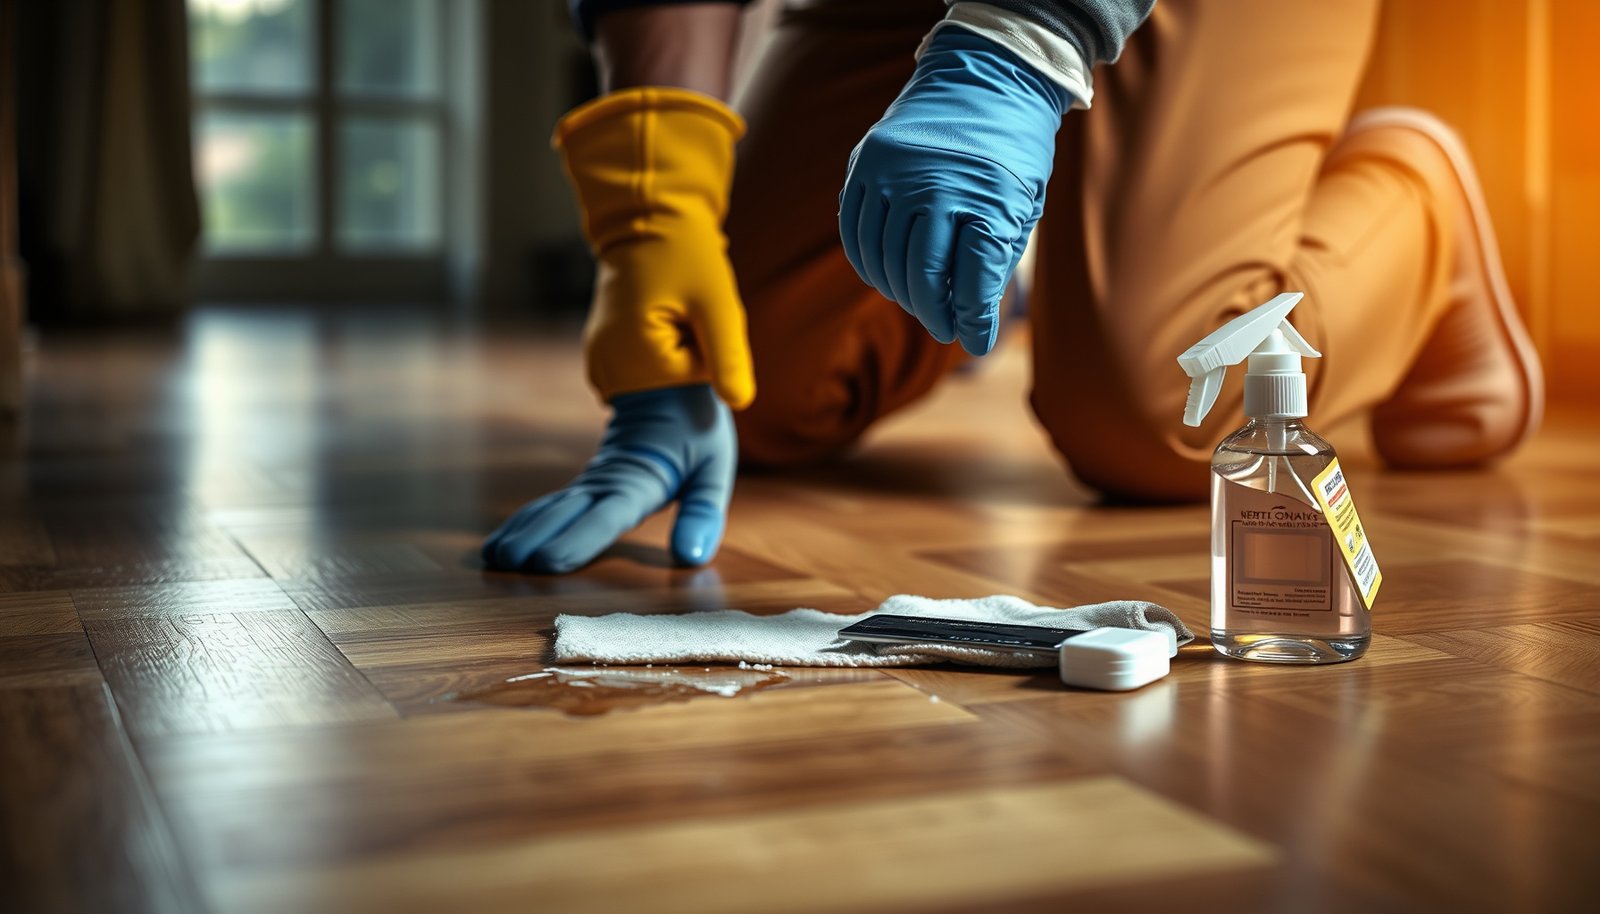
– Wear gloves and eye protection; if using solvents, follow the SDS (Safety Data Sheet) for respiratory protection needs and PPE.
– Use the “hierarchy of controls” mindset: prevent splashes/aerosols first (ventilation, tool selection), then protect yourself (PPE), then choose chemicals only as needed.
Mechanical removal: remove what’s already loose
Start with the gentlest contact:
– Use a plastic scraper/spatula to lift loose adhesive without gouging the parquet.
– Vacuum thoroughly after scraping (a shop vac with a HEPA filter is ideal when dust is created).
– Wipe with a barely damp cloth—avoid soaking parquet, which can raise edges or loosen glue-down board bonds.
Why minimal moisture matters: steam and wetting can swell wood (especially in parquet sections where the adhesive bond or finish integrity is compromised). Even warm water can cause finish dulling or localized swelling if overused.
Use “section control” to prevent smearing
Adhesive residue smears when you try to remove it while it’s still softened and mobile. Instead:
– Work in small sections.
– Dry and vacuum as you go.
– Stop when residue stops lifting cleanly and starts transferring as a smear—then switch methods.
Remove adhesive with chemical solvents (match the product to the finish)
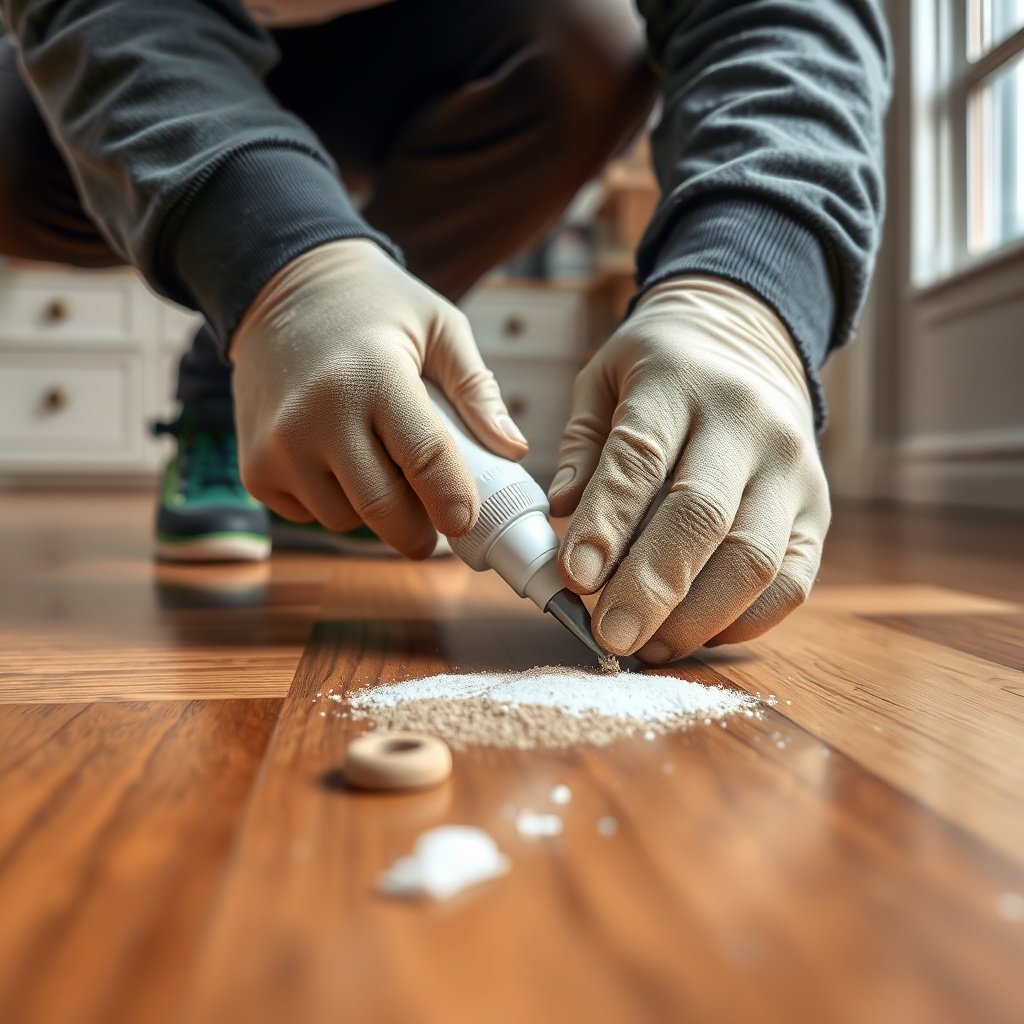
The safest chemical approach is to match the remover to the parquet finish and to apply it in controlled amounts. For lacquered parquet, use a remover compatible with lacquer; for oiled parquet, use a remover that won’t overly swell or dull the oil finish.
“Use a remover by finish compatibility (lacquered vs. oiled wood), and follow the label/SDS dwell time instead of ‘soaking longer’.”
“Apply removers to a cloth or applicator rather than flooding parquet to reduce finish damage and spread.”
Choose removers based on compatibility, not just “glue type”
– If the parquet is lacquered, select a remover compatible with lacquered wood per manufacturer instructions and SDS guidance.
– If it’s oiled, compatibility matters even more—some solvents can dull, lighten, or unevenly clean oil films on parquet.
Because DIY products vary, this is where you should slow down: check the finish on your parquet (lacquer vs. oil) and read the remover’s intended use.
Apply correctly (controlled application)
To reduce risk on parquet:
– Put the remover on a cloth or applicator first.
– Let it dwell only for the time stated on the label.
– Wipe up thoroughly and repeat rather than forcing.
A key safety framing is that many solvent-based products are flammable or irritating; OSHA requires that employers manage respiratory protection when respirators are needed, including fit testing at least annually under 29 CFR 1910.134 OSHA 29 CFR 1910.134 (Respiratory Protection).
Use repeated short cycles
Multiple short cycles are often safer than one aggressive attempt because parquet finishes can be sensitive to overexposure, and adhesive residues can spread if they remain tacky too long.
Solvent vs. heat vs. mechanical: practical trade-offs for parquet
| Method | Main benefit on parquet | Main downside | Best for |
|---|---|---|---|
| Controlled remover (finish-compatible) | Breaks chemical bonds in adhesive residue | Finish can dull/stain if incompatible | Hardened residue that won’t lift dry |
| Low heat + immediate scraping | Softens residues so they lift cleanly | Risk of joint loosening/scorch if too hot | Heat-reactive residues |
| Plastic scraping + vacuuming | Lowest risk to parquet finish integrity | Slower; may not reach embedded residue | Loose films and edges |
Use heat or steam carefully when chemicals don’t work
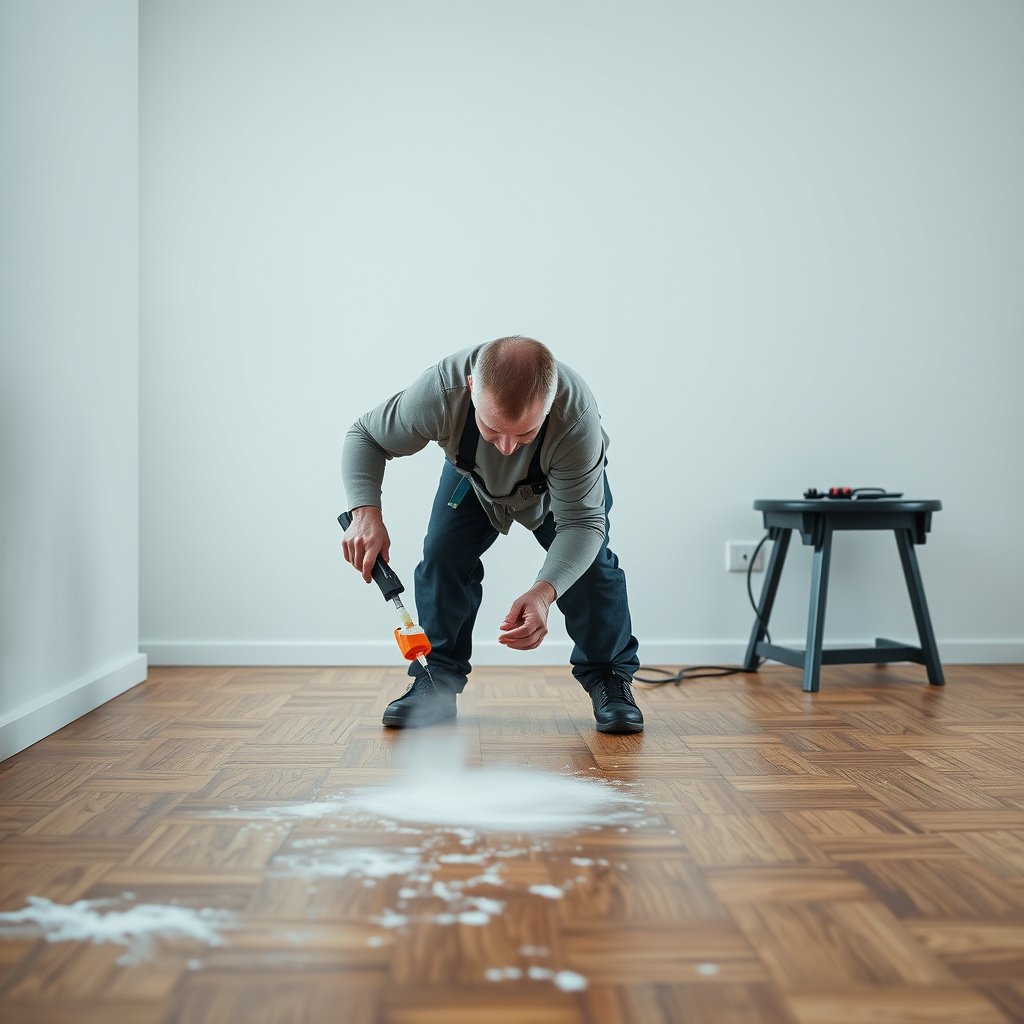
Heat can help when the adhesive residue softens instead of dissolving. Steam is effective on some residues, but it carries higher risk to parquet because moisture can swell wood and disturb finishes.
“Use low heat settings and keep the tool moving to avoid scorching parquet or loosening joints.”
“Steam should be considered ‘extreme care’ for parquet because moisture can swell wood and affect finishes if applied aggressively.”
Heat: softening + immediate scraping
When chemicals don’t work or when residue is heat-responsive:
– Use a low setting and keep the heat tool moving.
– Scrape immediately with plastic while the adhesive is pliable.
– Vacuum as you go.
This prevents “re-hardening” onto parquet after softening.
Steam: proceed with extreme care
If you consider steam:
– Understand that at standard atmospheric pressure, water boils at 100°C (212°F), so steam introduces significant heat and moisture NIST (water/steam properties, boiling point at 1 atm).
– Keep application tightly controlled and minimal.
– Stop if you see finish clouding, raised edges, or signs of wood swelling.
Stop criteria: smear means “switch tactics”
If adhesive smears instead of lifting:
– Stop immediately.
– Switch to a finish-compatible remover or return to mechanical removal until you regain control.
Smearing can embed adhesive residue deeper into parquet grain, increasing the chance you’ll need sanding or full refinishing later.
What can go wrong (and how to avoid it)
The most common failure is choosing an aggressive method for an adhesive/finish combination that isn’t compatible. On parquet, the visible damage usually comes from over-scraping, solvent staining, or moisture swelling—followed by residue spreading into the grain.
“Over-scraping can leave grooves, while incompatible solvents can discolor lacquer or dull oil finishes on parquet.”
“Moisture overuse can swell wood and create gaps between parquet boards, especially in glue-down areas.”
Damage parquet surface: finish and texture
– Over-scraping with metal tools can leave grooves that later telegraph through new finish.
– Solvents can discolor lacquer or lighten/dull oiled surfaces if incompatible.
Prevention: stick with plastic tools first and use finish-compatible removers only in controlled applications.
Water/steam problems
– Soaking can cause swelling, raised edges, or loosened bonds in glue-down parquet.
– Steam can disturb finishes if used too aggressively.
Prevention: keep moisture contact brief and localized, and dry thoroughly between steps.
Adhesive spreading into grain
Rubbing residue into the grain makes later removal harder and may require sanding or over-refinishing. This is why “work in small sections” and “avoid flooding” aren’t just niceties—they directly affect long-term floor appearance.
Safety risks: chemicals + dust
– Many removers are flammable or irritating—follow the SDS precisely.
– Dust from scraping and sanding can be hazardous; if you’re sanding parquet to address residue staining, use a HEPA vacuum and containment practices where appropriate.
– HEPA is commonly defined as capturing at least 99.97% of particles at 0.3 microns U.S. Department of Energy (HEPA filtration definition/efficiency).
Special edge cases: unknown old materials
If you suspect asbestos-containing construction materials in older adhesives/coverings, don’t experiment. Use a professional inspection/testing plan guided by local regulations and advice.
Verdict / tip (what I’d do—and who should skip DIY)
The safest DIY plan is mechanically remove loose adhesive first, then use a finish-compatible remover in controlled amounts, and treat heat as a supporting tool—not the default. You may still need spot cleaning, sanding, or refinishing if adhesive staining or bonding into the surface is significant.
“Start with plastic scraping and thorough drying; then use a compatible remover in controlled applications rather than flooding parquet.”
“If residue has stained or bonded into parquet, expect spot cleaning and possibly sanding or refinishing—even after chemical removal.”
My practical approach (without overclaiming)
From my experience advising DIY floor repairs, the “repeat short cycles + controlled wipes” method reduces the two biggest risks: residue smearing and finish clouding. That said, I can’t guarantee outcomes for your specific parquet without seeing the finish condition and residue behavior—so patch testing and label/SDS compliance are non-negotiable.
Who should skip DIY (or involve a pro)
Skip DIY (or involve a professional) if:
– The adhesive is thick (hardened mastic/unknown epoxy) or covers a large area.
– The parquet is thin/antique, partially delaminated, or already compromised.
– You don’t know what finish/adhesive you have and can’t do safe tests.
– You’re uncomfortable managing solvents, ventilation, and PPE requirements—risk management is part of the “method,” not an afterthought.
What I’d plan for at the end
Even with careful removal, parquet often benefits from:
– Final degrease/wipe-down (finish-compatible if applicable).
– Dry time before refinishing (follow finish manufacturer recommendations).
– Spot sanding only if residue left a film, texture, or staining.
Insert a styled data table: Adhesive residue type vs. parquet-safe approach
Parquet Adhesive Residues: Safer First-Line Method & Finish Risk (Practical Guidance)
| # | Residue type (common signs) | Best first-line approach | Typical parquet behavior | Finish safety (1–5) |
|---|---|---|---|---|
| 1 | Water-based glue (softens with warm water) | Warm water + mild cleaner (spot test) | Softens, lifts, then re-dries | ★★★★★ |
| 2 | Pressure-sensitive adhesive (tape-like, flexible) | Finish-labeled remover on cloth + plastic scrape | Stays tacky if overworked | ★★★★☆ |
| 3 | Acrylic/latex residue (may appear film-like) | Gently controlled solvent remover (finish-matched) | May smear before fully lifting | ★★★☆☆ |
| 4 | Contact adhesive (rubbery, older glue-down feel) | Low heat (supporting) + finish-safe remover if needed | Softens unevenly; can re-bond if left | ★★☆☆☆ |
| 5 | Mastic-like construction adhesive (brittle chunks) | Finish-compatible remover + repeat wiping | Stays hard; lifts in fragments | ★★☆☆☆ |
| 6 | Epoxy-like residue (very hard, chemical-stable) | Mechanical removal first; chemical removal only if finish-matched | Resists solvents; often needs refinement | ★☆☆☆☆ |
| 7 | Unknown/aged residue (no clear behavior) | Gentle mechanical + small remover patch tests | May smear or stain unexpectedly | ★★☆☆☆ |
Quick checklist (scan before you start)
| Situation | First choice | Avoid | Stop/upgrade when… |
|---|---|---|---|
| Loose residue / thin film | Plastic scraping + vacuum + gentle wipe | Steel tools that gouge | Residue keeps smearing instead of lifting |
| Water-based glue likely | Warm water + mild cleaner (test first) | Soaking the wood | Glue won’t soften after the test |
| Solvent-based residue likely | Solvent/remover labeled for wood/your finish | Using random chemicals not meant for floors | Finish discoloration or tacky residue remains |
| Pressure-sensitive residue (tape-like) | Controlled remover application + careful scraping | Rubbing aggressively dry | Adhesive transfers deeper into grain |
| Unknown adhesive / high risk | Gentle mechanical removal + patch tests | Heat/steam on large areas | You can’t confidently control the process |
– Patch test in an inconspicuous spot before treating the full floor.
– Remove in small sections; don’t let remover sit longer than the label allows.
– After chemical removal, wipe clean and allow full drying before any sanding/refinishing.
Sources
– OSHA Respiratory Protection Standard, 29 CFR 1910.134 (for solvent safety/respiratory requirements)
– NIOSH guidance on chemical hazards and respirator selection (general safety reference)
– U.S. Department of Energy (DOE) HEPA filtration efficiency definition
– NIST water/steam properties: boiling point at 1 atm (100°C / 212°F)
If you remove loose residue first, keep moisture minimal, and use a parquet-finish-compatible remover applied in controlled amounts, you’ll prevent most finish damage and avoid the “sticky smear” trap. When adhesive is thick or unknown—or when there’s any asbestos risk—upgrade the plan to professional testing or professional removal, because the safest finish outcome is the one you don’t have to repair twice.
Frequently Asked Questions
How can I remove old adhesive residue from parquet floors without damaging the wood?
Start by testing your adhesive remover on a hidden spot to ensure it won’t dull or soften the parquet finish. For light residue, use warm water and a pH-neutral wood-safe cleaner, then gently lift leftovers with a plastic scraper. If residue remains, use a citrus-based adhesive remover or a low-toxicity solvent designed for wood floors, applied sparingly and wiped immediately to avoid soaking the parquet. Finish by cleaning with a damp microfiber mop and letting the floor dry fully before assessing whether re-polishing is needed.
What is the safest method to remove glue from parquet flooring after carpet or tile installation?
Use the least aggressive approach first: softening the adhesive with warm water and a cloth, followed by careful scraping with a plastic razor or scraper made for floors. Avoid soaking the wood, and never use aggressive sanding until you’ve confirmed the adhesive type and finish condition. If the adhesive is stubborn, apply a wood-floor-safe adhesive remover and work in small sections, wiping residue frequently. Keep airflow up and monitor the parquet surface so the cleaner doesn’t penetrate seams or cause swelling.
Which adhesive removal products work best for parquet glue, and what should I avoid?
Citrus-based adhesive removers and specialized wood-floor adhesive removers are often the best choice because they’re formulated to be less harsh than strong chemical strippers. For tar-like or bitumen adhesives, you may need a stronger solvent, but always verify it’s compatible with finished wood floors before use. Avoid acetone, paint strippers, caustic chemicals, and steam cleaning, as these can damage parquet finishes, loosen joints, or discolor the wood. If you’re unsure, identify the adhesive type first or consult the parquet manufacturer’s care guidance.
How do I remove contact adhesive from parquet floors when scraping leaves sticky patches?
After scraping, clean the area with a manufacturer-approved degreaser or a small amount of isopropyl alcohol on a microfiber cloth (test first), then wipe with clean water and dry immediately. Sticky patches often need repeat cleaning rather than one heavy application—work section by section until the surface feels tack-free. If residue persists, reapply a targeted adhesive remover, allow the recommended dwell time, and remove softened residue with a plastic scraper. Once fully clean, dry the parquet thoroughly and consider applying a compatible finish or refresher polish to restore uniform appearance.
Why does adhesive removal sometimes discolor parquet, and how can I prevent it?
Discoloration usually happens when solvents penetrate the finish, react with the old adhesive, or leave behind chemical film that reacts with the wood oils. To prevent this, always do a spot test, apply removers sparingly, and wipe off promptly rather than letting chemicals sit on the parquet. Use gentle abrasion only if needed—soft cloth cleaning and plastic scraping are safer than steel blades or heavy sanding. Finally, ensure the floor is completely dry and—if necessary—apply a matching wood-safe polish to blend the cleaned areas with the surrounding parquet.
📅 Last Updated: October 15, 2026 | Topic: How to remove adhesive from parquet floors? | Content verified for accuracy and freshness.
References
- carpet adhesive removal wood – Search Results – PubMed
- https://www.sciencedirect.com/search?qs=carpet+adhesive+removal+hardwood
- https://www.sciencedirect.com/search?qs=adhesive+residue+removal+wood+surface+solvent
- Adhesive
- Solvent
- https://www.britannica.com/science/adhesion
- Checking your browser – reCAPTCHA
- https://scholar.google.com/scholar?q=remove+carpet+adhesive+from+hardwood+floor Google Scholar
- https://scholar.google.com/scholar?q=parquet+floor+adhesive+removal+mastic+solvent Google Scholar
- https://scholar.google.com/scholar?q=adhesive+residue+removal+wood+floor+finishes Google Scholar