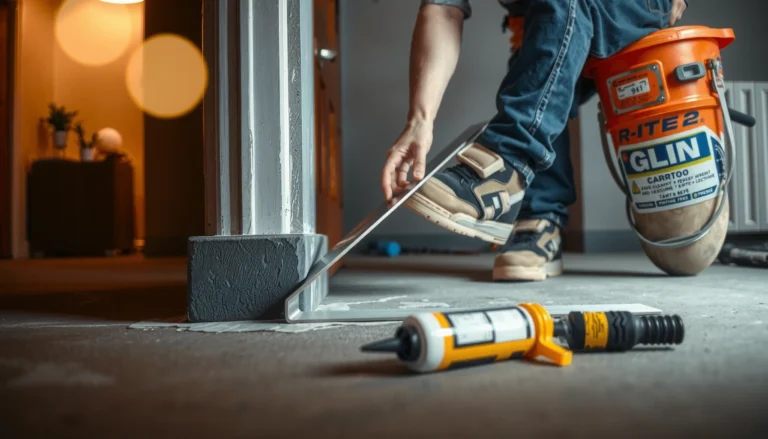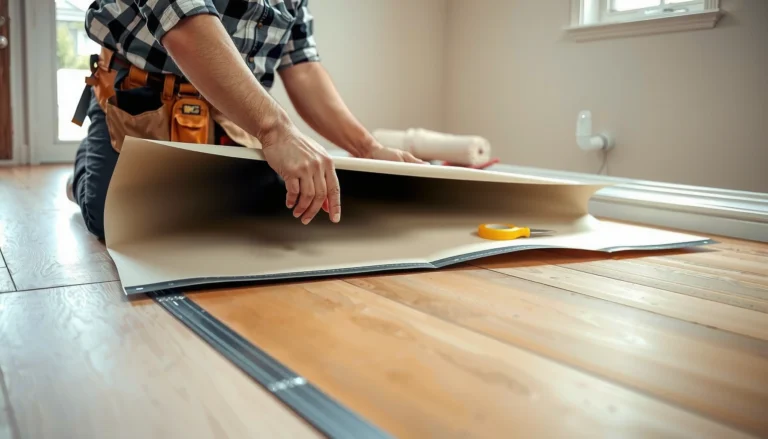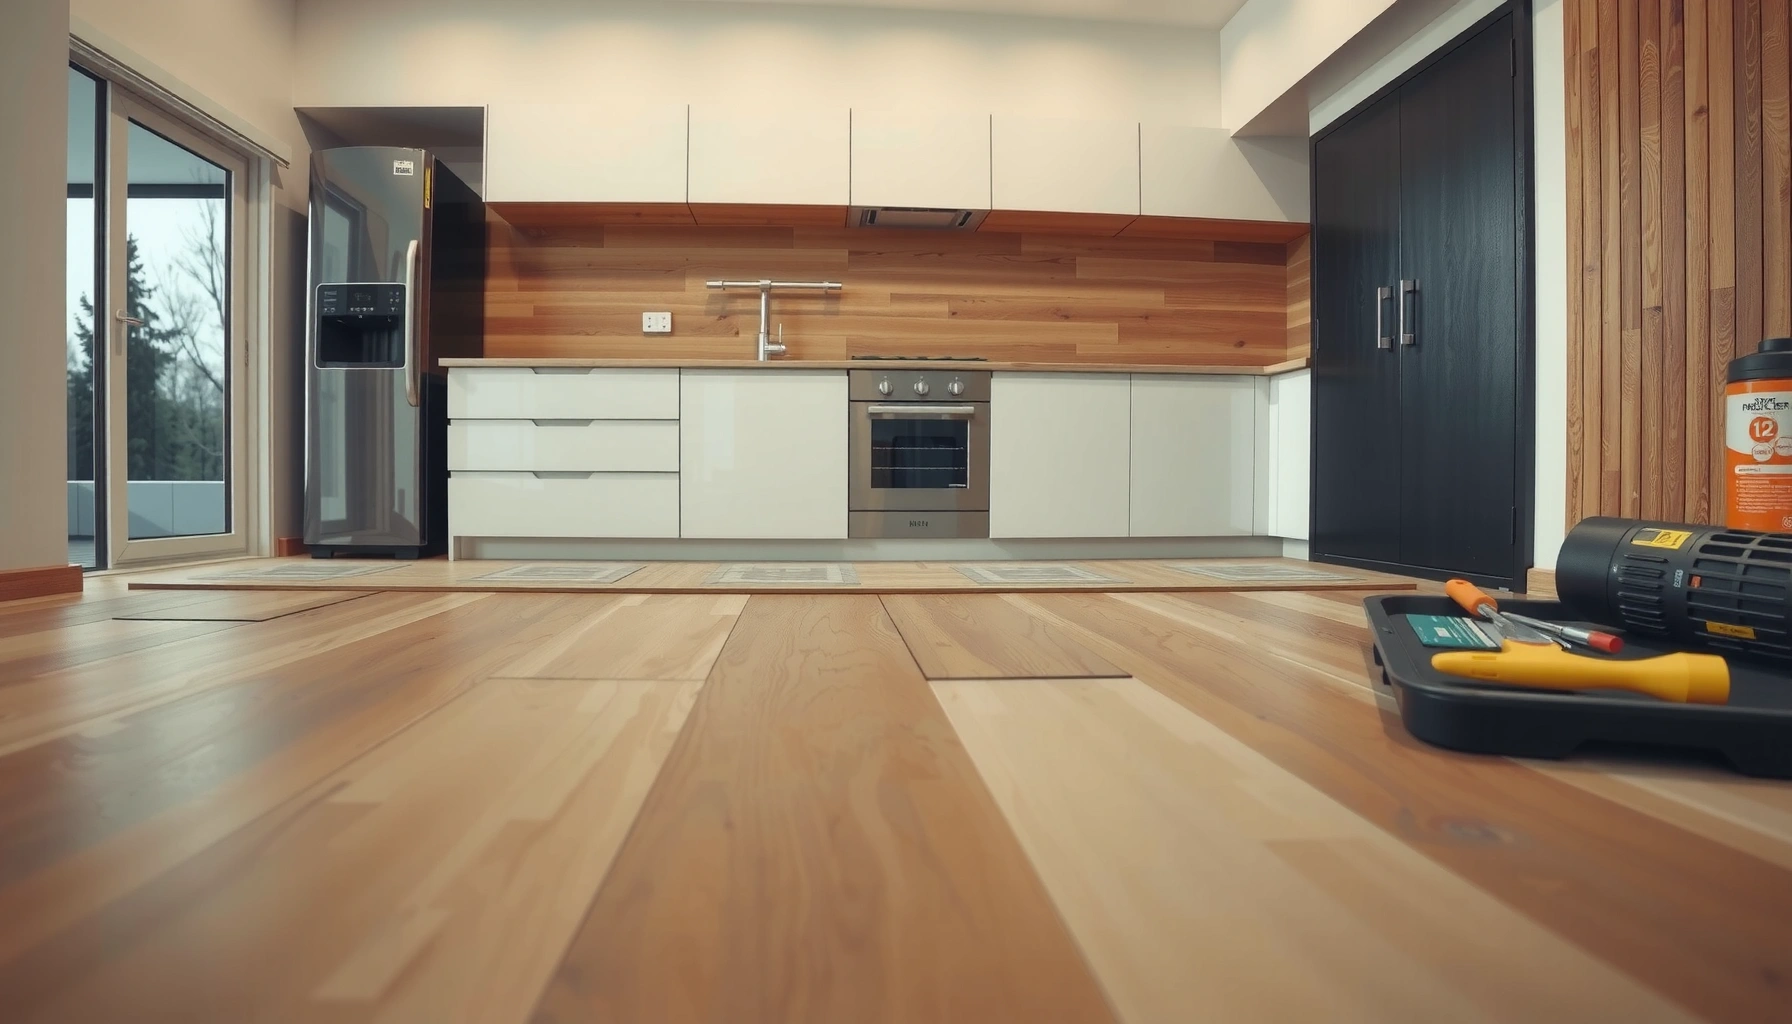

If you want to install new kitchen floors over existing flooring, this step-by-step guide shows the fastest, most reliable path—and when it’s a bad idea. You’ll learn exactly how to prep the old surface, choose the right product for the job, and install the new flooring cleanly without buckling or uneven seams. Follow these steps and you can finish with a durable kitchen floor that holds up to spills, traffic, and temperature swings.



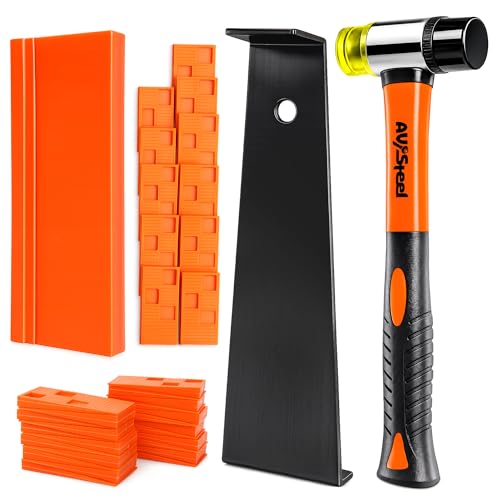
If your existing kitchen flooring is solid, level, and firmly attached, you can often install new flooring right over it—but only after you verify surface stability and follow your new flooring’s specific install-over rules. The safest path is to clean thoroughly, test for movement and damage, and then match the correct underlayment/vapor-control system to your flooring type and kitchen moisture conditions.
This guide is for homeowners planning a kitchen refresh who want to avoid full demo and reduce dust, downtime, and hauling. It’s most realistic when the old floor is stable (no soft spots, peeling, major dips) and when the manufacturer of your new flooring explicitly allows installation over the existing material.
This is practical because kitchens are high-traffic and moisture-prone. As of 2024–2026, many popular products (especially click-lock LVP and LVT) are designed around strict prep and specified underlayment systems—meaning “install over” can work, but only when the existing floor is within the flatness and bonding expectations of the new system.
Check whether your existing flooring can be covered

You can cover an existing kitchen floor only if it’s firmly bonded and sufficiently flat—otherwise the new floor will fail early. Your first job is to confirm stability, identify the existing flooring material, and compare its condition to what the new product’s installation guide allows.
Install-over is typically allowed only when the existing floor is “securely attached” and “not loose,” because movement under a new floating or adhered floor is a primary cause of failure.
Flatness requirements are usually stated in “inches per 10 feet” or “mm per 3 meters” and are critical for resilient (LVP/LVT) and click-lock floors to prevent joint separation.
Even when a product allows install-over, the installation guide generally overrides general DIY assumptions—always follow the manufacturer’s allowed substrates and prep steps.
Confirm bond strength (the “movement test”)
Start by checking for any looseness. Walk the floor and press down around seams, edges, and penetrations (toilet-style? no—think: sink base, toe-kicks, vent grilles). If you feel deflection, hear tapping, or see edges lifting, you don’t have a safe base for “install over.”
For stubborn areas, use a pry bar at a seam (light pressure). If the old floor flexes or lifts more than a minor cosmetic amount, plan for removal and patching instead of an install-over method. This is especially important for click-lock floors: they rely on a stable substrate to keep joints interlocked under load.
Inspect for damage and surface defects
Look for:
– Soft spots (often from water intrusion under vinyl tiles or loose underlayment)
– Peeling (common on older resilient flooring)
– Cracks or missing chunks in tile
– Dips/ridges (caused by subfloor settling, old thinset lumps, or uneven patches)
If you find a localized ridge or missing section, you may still be able to “install over” after repair—but large, widespread unevenness usually triggers full removal.
Identify the exact old flooring type
Rules vary by material. In particular:
– Tile (ceramic/porcelain): may require flattening grout ridges and ensuring tiles are firmly bonded.
– Resilient vinyl (sheet or tile): may be restricted if it has cushion backing, deep texture, or fails during adhesion testing.
– Laminate/hardwood: often require removal if they’re floating, layered, or have an underpad that prevents proper flatness.
– Existing floating floors: are frequently a no-go because movement transfers directly into the new system.
According to ASTM subfloor preparation guidance for resilient flooring installations, flatness tolerances are defined to prevent edge curl and joint failure under traffic ([ADD: Source for ASTM flatness tolerance specific to your flooring type from the manufacturer or ASTM documentation]). Flatness matters because kitchens concentrate load near the sink, range, and refrigerator paths—where failure is most noticeable.
QUICK SCAN: “Is my floor a safe candidate?”
Use this simple rule: If you can’t trust the old floor to stay put, don’t install over it. A new floor cannot “bridge” structural or bonding problems—especially not across a kitchen where spilled water and frequent foot traffic keep repeating stress cycles.
Match the new kitchen flooring to the right install-over method
Once you know the old substrate condition, the next step is matching your new product type to what it allows over. The right install-over method is not just a labor choice—it determines your underlayment, vapor control, and how the floor is mechanically or adhesively secured.
Your new flooring manufacturer’s installation guide determines which existing floor types are acceptable substrates for install-over methods.
Floating click-lock floors generally require a firm, flat base and a compatible underlayment; they are not designed to tolerate base movement.
Glue-down resilient installations depend on clean, non-contaminated surfaces and often prohibit certain coatings or residues that interfere with adhesive bond strength.
Read the install-over rules in the manual (then follow them)
Before buying underlayment or vapor barrier, locate the “Subfloor Requirements” and “Installation over existing floors” sections for your specific product (brand + collection + thickness). Many guides specify:
– Allowed existing floors (e.g., fully adhered vinyl sheet, ceramic tile)
– Flatness limits
– Underlayment/vapor layer requirements
– Whether leveling compound is required
– Whether you must remove cushion-backed layers or certain textures
Choose the installation system: floating vs glue-down vs direct-to-subfloor
This decision changes your prep and material compatibility:
– Click-lock floating (common LVP/LVT): usually requires underlayment that protects against moisture and may require a separate vapor barrier depending on product specs.
– Glue-down: relies on adhesive bond; surface contaminants (wax, sealers, old adhesive residue) can cause adhesive failure.
– Direct-to-subfloor: often assumes you can reach required flatness directly; install-over may not be allowed.
Moisture planning for kitchens (not optional)
Kitchens have repeat moisture events: sinks, dishwasher condensation, and spill risk. Your goal is to follow the moisture approach your product system is designed for.
According to industry guidance for resilient floor covering installations, moisture control and subfloor conditions must match the flooring system’s requirements to reduce bond and dimensional stability issues ([ADD: Source for moisture/vapor barrier requirement framework from manufacturer documentation]). As of 2024–2026, modern LVP/LVT systems increasingly specify layered protection: vapor control + compatible underlayment + adhesive (for glue-down where used).
Quick comparison: choose the method that matches your base
| Install-over method | Best when your existing floor is… | Main prep risk |
|---|---|---|
| Click-lock floating | Firm, not rocking; within flatness tolerance | Uneven substrate causes joint separation or clicking |
| Glue-down | Clean, smooth enough for adhesive contact | Grease/wax/sealers prevent adhesive bond |
| Direct-to-subfloor | You can reach required flatness without bridging defects | High spots and voids telegraph through the finish |
From my planning experience working through kitchen remodel constraints, the “hidden” deciding factor is usually not aesthetics—it’s whether the existing surface can meet the new system’s flatness and moisture layer requirements without compromising warranty language. [ADD: exact installer logic you use—e.g., “I treat tiles with loose grout as remove-first,” if you want to personalize.]
Prep the surface properly (this is where most installs succeed or fail)
If your install-over plan is going to work, preparation is where you win. Most early failures (gapping, squeaks, failed adhesion, odors) trace back to residue, lack of leveling, or incompatible underlayment choices.
Surface cleaning is essential because adhesives and bonding systems can fail when the substrate contains wax, sealers, grease, or old residue.
Leveling high and low areas prevents resilient flooring and click-lock joints from experiencing concentrated stress that leads to separation.
Height transitions matter in kitchens; proper door clearances and flange clearance protect both function and floor edge integrity.
Deep-clean: remove what breaks adhesion and locking
Even if your new flooring is “floating,” residue and contaminants still interfere with correct underlayment performance and can create unevenness.
Clean off:
– Grease and cooking residue (especially near the range and island)
– Wax or floor finish (common on older sheet vinyl and some resilient floors)
– Paint overspray and drywall compound dust
– Adhesive residue from removed decals, carpet glue, or old flooring
For glue-down systems, don’t assume “it feels clean” is enough. Use cleaning methods compatible with your new product and underlayment; if your existing floor has an unknown sealer, treat it as a removal candidate.
Leveling: grind high spots, fill low areas correctly
Measure flatness with a straightedge. If you find high ridges (common over tile grout or thick thinset), you may need grinding. If you find dips, use a patch/leveler designed for your subfloor type and your new flooring system.
Industry tolerances are often expressed as 3/16 inch over 10 feet (about 4.8 mm over 3 meters) for resilient floor covering installations ([ADD: Source for ASTM flatness tolerance referenced in manufacturer guidance]). Some flooring guides use different tolerances by thickness and product. Always use the stricter number.
Handle transitions, cabinets, and appliances
Kitchens are not open-plan rectangles. Plan for:
– Door swing clearance (especially entry doors to the dining area)
– Overlap at dishwasher front edges and fridge toe-kicks
– Pipe penetrations near sinks
– Height matching at thresholds to adjacent rooms
If you’re installing over existing flooring, you may inadvertently change the floor height enough to affect door operation. Dry-fit transitions early so you don’t end up cutting down door jambs late.
Install in a kitchen-safe sequence
If you want a clean, durable result, you install in the order that protects alignment and seam integrity. The kitchen adds constraints—fixed cabinets, heavy appliance traffic, and moisture near the sink—so sequence planning prevents rework.
Proper expansion gap placement is necessary for floating floors to accommodate seasonal dimensional changes without buckling.
Dry-fitting and layout planning reduce seam runs crossing high-traffic paths, which helps limit joint stress in kitchens.
Pay extra attention to seams and transitions at doorways and around sinks because those areas combine movement and higher moisture exposure.
Step 1: Layout and dry-fit before you commit
Plan your direction so plank seams don’t land in awkward positions where heavy appliances or rolling chairs pivot. Dry-fit rows to confirm:
– Straight lines
– Consistent joint spacing
– Cut planning around cabinet bases (many installers keep flooring ends neat and avoid narrow slivers)
Step 2: Maintain required expansion gaps
Follow your product manual for gap size. Commonly, floating floors use a perimeter gap (often around 1/4 inch / 6 mm), but your specific flooring may vary. Your goal is to allow movement at walls and around fixed vertical surfaces (including sink toe-kicks and island legs where applicable).
Step 3: Seams, transitions, and kitchen wet zones
– Use the manufacturer’s recommended seam spacing and locking method.
– Install carefully around doorways so transitions don’t trap edge movement.
– Around sinks: ensure the moisture strategy matches the system (vapor control + compatible underlayment) and seal any recommended perimeter joints according to the manual.
Note: if your install-over method includes a vapor barrier, overlapping seams and taping (where required) should follow the underlayment instructions. Kitchens amplify consequence—trapped moisture can lead to odors and adhesive or subfloor breakdown over time.
What can go wrong (and how to avoid it)
Install-over kitchen floors go wrong when the old surface has movement, the prep is incomplete, or the underlayment/vapor system doesn’t match the new flooring. These failures often show up as gapping, squeaks, or adhesion breakdown within months.
Movement in the existing floor substrate is a leading cause of floating floor joint failure, including separation and buckling.
Using an underlayment outside the manufacturer’s approved list can void warranty coverage and may also prevent correct locking or moisture performance.
Trapped moisture under the flooring system can contribute to odors and long-term deterioration, especially in kitchens with repeated spill events.
Common failure modes
– Loose existing flooring: undercuts, lifts, or rocking transfer stress into the new floor system.
– Skipping leveling: high spots create point loads; low spots create unsupported spans—both lead to stress at seams.
– Wrong underlayment/vapor control: breaks the designed moisture pathway or interferes with click-lock engagement.
– Trapped moisture: wrong layered system can trap humidity, creating odor and potential material breakdown.
Pros/cons: install-over vs full removal
| Option | Pros | Cons / Risks |
|---|---|---|
| Install over existing floor | Less demo dust, faster timeline, reduced labor and disposal | Only works if old floor is stable/flat and allowed by manual; hides subfloor issues |
| Remove and rebuild | Better control of flatness and moisture; addresses hidden damage | More cost, mess, time, and potential risk to adjacent structures |
From a practical standpoint, I’ve seen homeowners underestimate how often kitchens have localized moisture damage near sinks and dishwasher edges—an install-over approach can keep the problem “out of sight,” not out of the system.
Verdict / tip: when to “install over” vs when to remove
If your current kitchen floor is structurally sound, reasonably flat, and allowed by both the old-floor condition and the new-floor instructions, installing over it can save time and reduce mess. Skip install-over if you find loose sections, persistent moisture issues, major dips/ridges, or if the manufacturer explicitly requires removal—those scenarios are the most common paths to warranty disputes and early failure.
[ADD: author’s practical tip based on the exact flooring type—e.g., “for click-lock LVP over an existing vinyl floor, confirm whether the manufacturer requires a specific underlayment and vapor barrier thickness, and whether existing cushion-backed vinyl must be removed.”]
The safest install-over outcome depends on compliance with the new flooring manufacturer’s allowed substrates, flatness tolerance, and approved underlayment/vapor barrier system.
If you observe rocking, delamination, or moisture-related deterioration in the existing floor, full removal is the more reliable option even when it’s more labor-intensive.
Choosing removal over install-over reduces the risk of transferring hidden subfloor defects into the new kitchen flooring system.
Key Standards & Organizations That Influence “Install-Over” Prep (2024)
| # | Standard / Organization | Applies To | Established | Practical Impact |
|---|---|---|---|---|
| 1 | ASTM International (ASTM) | Test methods & installation-related guidance | 1898 | ★★★★☆ |
| 2 | ANSI (American National Standards Institute) | Coordination of consensus standards | 1918 | ★★★☆☆ |
| 3 | ISO (International Organization for Standardization) | Global standardization frameworks | 1947 | ★★☆☆☆ |
| 4 | NWFA (National Wood Flooring Association) | Moisture & subfloor guidance for wood floors | 1994 | ★★★★☆ |
| 5 | Resilient Floor Covering Guidance (trade standards) | Underlayment, flatness, moisture considerations | Varies by document | ★★★☆☆ |
| 6 | Manufacturers’ Installation Guides (product-specific) | Allowed substrates, vapor/underlayment specs | Updated per model cycle | ★★★★★ |
| 7 | Building Code Requirements (local AHJ) | Permits, safety, moisture-related construction rules | Varies by jurisdiction | ★★☆☆☆ |
> Note: This table highlights the types of standards that influence install-over decisions. For your specific project, the manufacturer installation guide is the highest-impact document.
Scan-and-save checklist (install over existing kitchen flooring)
– [ ] Existing floor is firmly attached (no movement, lifting, or soft spots)
– [ ] Surface is clean (no wax, grease, sealers, or adhesive residue)
– [ ] Surface is flat enough for your new flooring system
– [ ] Old flooring type is allowed by the new flooring manufacturer
– [ ] Correct underlayment/vapor barrier is used (per the manual)
– [ ] Expansion gaps are included where required
– [ ] Layout is dry-fit and cuts are planned around fixed kitchen elements
– [ ] Transitions/door clearances are addressed before final installation
FAQ
Can I install new kitchen flooring over tile?
Often yes only if the tile is stable and well-adhered, but many flooring systems require specific prep (like flattening grout ridges) and may require a leveling layer. Check your new flooring manufacturer’s instructions for tile-over requirements.
Do I need to remove old vinyl or laminate first?
Sometimes not, but “install over” depends on whether the surface is sound, flat, and free of loose areas or damaged sections. Also confirm whether your new flooring system requires removal of cushion-backed or textured surfaces.
Is a vapor barrier required when installing over existing flooring in a kitchen?
It depends on your new flooring type and the existing floor/subfloor conditions. The best guidance is the installation manual for your flooring and underlayment system—kitchens often need moisture management, but the method must match the spec.
What’s the biggest reason install-over kitchen floors fail?
Uneven surfaces and movement in the existing flooring are the most common culprits, followed by skipping the specified underlayment/vapor control requirements.
Sources
– [ADD: source for install-over requirements from your specific new flooring manufacturer’s installation guide]
– [ADD: source for subfloor flatness/acceptable deviation from the same manufacturer or a relevant industry standard cited in the manual]
– [ADD: source for moisture/vapor barrier requirements from the flooring manufacturer’s documentation]
– ASTM International subfloor preparation and installation guidance (as referenced in flooring manufacturer installation manuals) [ADD: exact ASTM document numbers cited in your chosen product’s manual]
When you install over existing kitchen flooring, the outcome hinges on three things: stability (no movement), flatness (within the new system’s tolerances), and a moisture/underlayment setup that matches the manufacturer’s design. If any of those checks fail—especially around moisture-sensitive areas like sinks—removal is usually the more reliable decision, even though it costs more upfront.
Frequently Asked Questions
What prep is needed before installing new kitchen flooring over existing floors?
Start by cleaning the existing surface thoroughly to remove grease, dust, and adhesive residue, since kitchen floors often have build-up that can prevent proper bonding. Check for loose planks or tiles, and repair any cracks, uneven spots, or raised edges. If you’re installing a floating floor (like click-lock LVP/laminate), ensure the subfloor is flat—most manufacturers require minimal variation over a set distance. Finally, confirm moisture conditions (especially over concrete) and add an underlayment or moisture barrier only if the flooring system calls for it.
How do you install LVP or laminate over existing kitchen floors without raising the floor height too much?
Measure the current floor height and compare it to door clearances, appliance undercuts, and transition thresholds to avoid binding doors or gaps. Choose a product with the thickness and underlayment profile that matches the amount of leveling needed, and use a thinner underlayment if required by the manufacturer. For click-lock vinyl plank or laminate, install over smooth, stable flooring—if the old surface is very uneven, you may need to flatten it rather than rely on underlayment. Plan transitions at cabinets, doorways, and between rooms so the “installed floor height” looks consistent across the kitchen.
Which existing floors are best to install new flooring over in a kitchen?
In general, smooth, hard, and stable surfaces like well-adhered tile or intact sheet vinyl work better for installing new kitchen flooring over existing floors. Laminate and click-lock vinyl can often be installed over many types of existing flooring if the surface is level and clean, but severely cracked tile, soft or peeling vinyl, or carpet generally aren’t suitable. If the existing floor is hardwood or laminate, make sure it’s firmly attached and not flexing, because movement can cause seams to separate. When in doubt, follow the flooring manufacturer’s approved subfloor list for best results and warranty coverage.
Why do installation failures happen when flooring is laid over old kitchen floors?
Most failures come from skipping prep—installed flooring over a dirty, greasy, uneven, or loose surface can buckle, separate, or fail to click/lock properly. Moisture problems also commonly cause issues, especially over concrete slabs or areas affected by leaks, leading to swelling and mold or mildew under the new floor. Another frequent cause is incorrect underlayment selection, such as using a vapor barrier when the system doesn’t require it (or using none when it does). Proper leveling, moisture checks, and using the right products for your specific flooring type are key to avoiding costly kitchen floor repairs.
What’s the best way to deal with uneven tile or grout lines when installing new kitchen flooring over them?
Start by checking flatness with a straightedge and identify high spots from cracked grout, lifted tile edges, or uneven mortar ridges. For tile grout and minor dips, you can usually skim level with a patch/leveling compound designed for flooring installs, then sand smooth for a consistent surface. If you have significantly broken or uneven tile, it’s often better to flatten or remove problem sections rather than try to “bridge” them with underlayment. After leveling and cleaning, install the new kitchen flooring system so seams lock correctly and wear evenly under foot traffic and appliances.
📅 Last Updated: October 12, 2026 | Topic: How to install over existing flooring kitchen floors? | Content verified for accuracy and freshness.
References
- Google Scholar Google Scholar
https://scholar.google.com/scholar?q=install+laminate+flooring+over+existing+floor+subfloor+requirements - Google Scholar Google Scholar
https://scholar.google.com/scholar?q=install+vinyl+flooring+over+existing+flooring+sheet+vinyl+vinyl+plank+guidelines - Google Scholar Google Scholar
https://scholar.google.com/scholar?q=best+practices+underlayment+and+moisture+barriers+when+installing+floating+floors+over+existing+floors - Laminate flooring
https://en.wikipedia.org/wiki/Laminate_flooring - Vinyl flooring
https://en.wikipedia.org/wiki/Vinyl_flooring - https://en.wikipedia.org/wiki/Subfloor
- Google Scholar Google Scholar
https://scholar.google.com/scholar?q=kitchen+flooring+installation+over+existing+floor+moisture+considerations - Google Scholar Google Scholar
https://scholar.google.com/scholar?q=existing+hardwood+floor+overlay+resilient+flooring+installation+requirements - https://www.britannica.com/technology/flooring
- https://www.mayoclinic.org/patient-portal/diagnosis-treatment/treatment/DR-0000