
Protect kitchen floors the right way with practical, proven protection tips that actually prevent scratches, spills, and moisture damage. If you want the clearest path to fewer stains and longer-lasting flooring, start with the best protection strategy for your surface type: the right mats, a slip-safe placement plan, and a cleaning routine that doesn’t wear down finishes. You’ll get straightforward guidance on what to protect, where to place protection, and what to avoid so your kitchen stays safe and looking good.
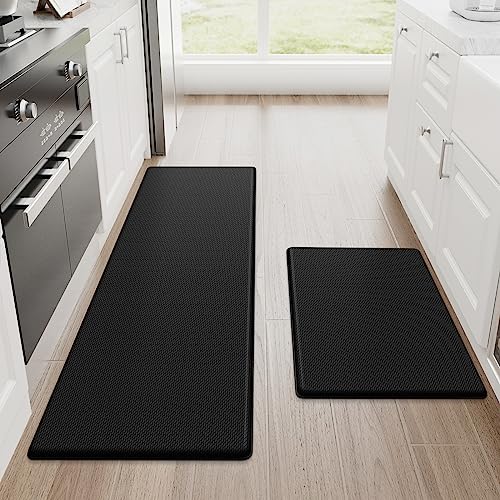



Protecting kitchen floors comes down to blocking two enemies—moisture and abrasion—at the exact spots where spills and traffic occur most. Start with a targeted mat plan (sink, dishwasher, and the main prep zone), add non-scratch protection under furniture, and then seal/finish the floor correctly for its material so liquids don’t soak in.
If you cook often, have kids/pets, or deal with dropped utensils and frequent splashes, this approach reduces the day-to-day wear that leads to dulling, staining, and costly refinishing. It’s also a smart strategy for owners trying to keep floors looking new longer—before damage becomes permanent and more expensive to reverse. As of 2024 and into 2026, manufacturers increasingly emphasize “right product, right surface, right dwell time” (how long liquids/cleaners stay on the material), which is exactly what this guide helps you implement.
Protect Against Spills First (Mats, Placement, and Timing)
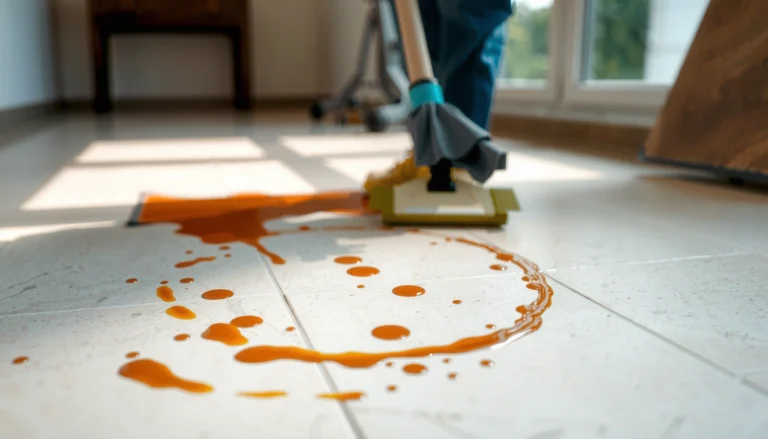
Put mats in the kitchen’s highest-wet zones first—because preventing liquid migration beats scrubbing later. Then manage timing: blot quickly so pigments and grease don’t have time to spread and set.
A kitchen floor mat should capture liquid at source areas (sink and dishwasher) to prevent water from reaching seams, grout lines, and floor edges.
For many flooring types, standing water is the primary driver of swelling, edge lifting, and staining—so reducing wet time is critical.
Here’s the practical layout that aligns with how kitchens actually get wet:
1. Under sink and dishwasher fronts (primary spill lanes).
These areas see frequent “micro-spills” (drips from washing produce, condensation, minor leaks, water used during loading/unloading). Use a mat sized to cover the likely splash footprint, not just the centered appliance area.
2. In the “work triangle” (prep zone + cook zone).
When you move between sink → prep → stove, you’re also carrying water, flour, oil, and crumbs. Place a mat where your feet naturally pause—especially the paths you take while rinsing, draining, or setting down hot pans.
3. Mat backing matters (avoid trapping moisture).
Use a water-resistant or sealed backing designed to keep spills from migrating underneath. For kitchens, breathable backing is helpful in some homes, but if your floor edges are prone to absorbing moisture (common with certain wood and some tile grout conditions), you want to ensure the backing doesn’t hold wetness in place.
4. Timing rule: blot, don’t smear.
When you blot, you reduce the amount of liquid spreading across the surface and into grout seams. This is especially important for “stain-risk” spills like wine, soy/teriyaki, tomato sauces, and strongly colored drinks.
If you’re planning an upgrade in 2026, take 30 minutes to map your kitchen’s spill zones: stand where you normally work, then note where droplets land (often 6–18 inches beyond the sink or appliance). That observation-based placement typically beats “one big runner” layouts that miss the real wet footprint.
Use Floor-Safe Barriers for Daily Wear
Barriers protect against grit abrasion and point-impact scuffs—the kind that dull finishes and create permanent wear paths. Focus on friction points: appliance bases, chair/stool legs, and any item you move frequently.
Non-scratching chair glides and appliance pads reduce abrasion from grit, which is a major cause of finish dulling on sealed surfaces.
Lift-and-place movement (instead of dragging) is the most reliable way to prevent micro-scratches that accumulate over time.
Key barrier choices that make the biggest difference:
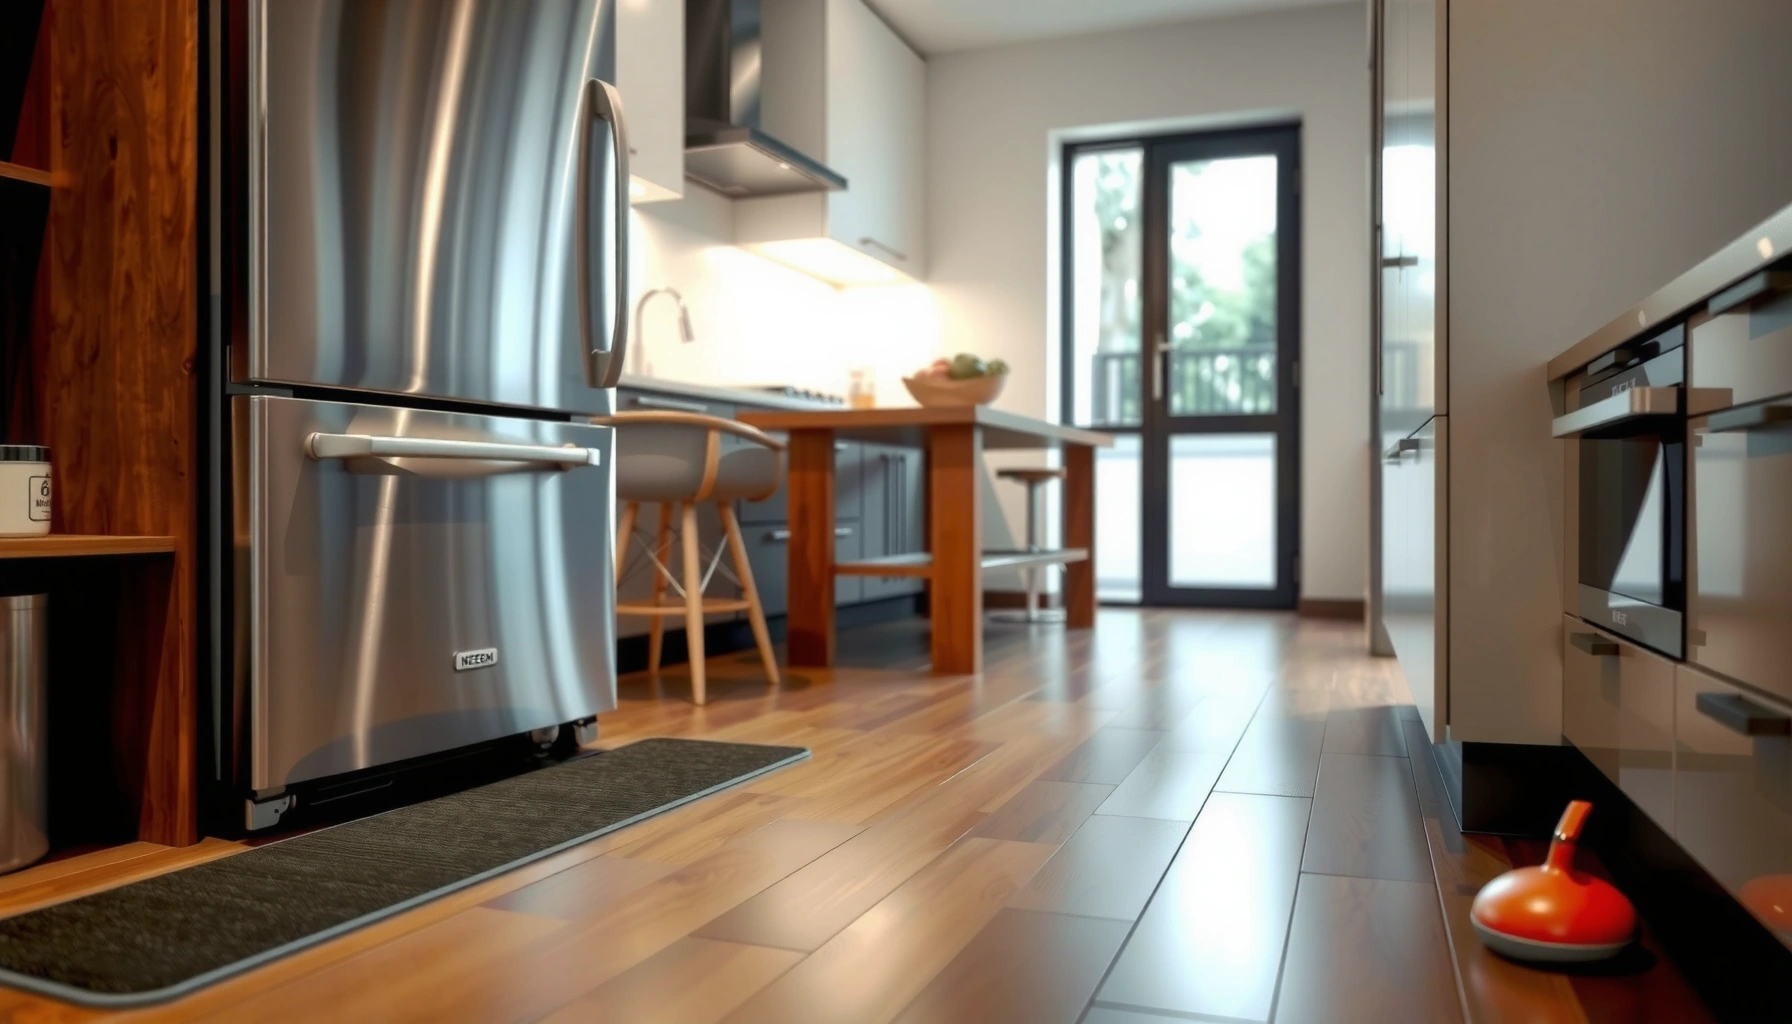
– Appliance pads under refrigerators, stoves, and dishwashers
These reduce scuffs from vibration and reduce “grit grinding” when dust accumulates beneath appliance fronts. Look for pads that are non-marking and designed for hard floors, not generic furniture felt that may shed or compress too quickly.
– Felt pads / non-scratching glides under chair legs and kitchen stools
Felt can help, but the real goal is preventing metal or hard plastic from scraping finish during turns and daily repositioning. If your stools swivel or roll slightly, consider glides that match that motion rather than a single thin felt pad.
– Lift techniques for cookware and heavy items
Even with a mat, dragging a cast-iron skillet across tile, vinyl, or wood can create visible scratches or dull spots. Use lift techniques, or store tools in a way that reduces “carry-and-scrape” movements (e.g., moving from counter to mat directly rather than across bare floor gaps).
Comparison: what barrier type typically prevents (and where it can fail)
| # | Barrier | Best for | Common failure mode |
|---|---|---|---|
| 1 | Sink/diswasher mat | Spill capture + moisture control at seams | Wrong backing that holds moisture underneath |
| 2 | Appliance pads | Scuffs from vibration + grit abrasion | Pads compress too much and stop protecting |
| 3 | Chair/stool glides | Scratch prevention on frequent repositioning | Glides wear thin, then scraping resumes |
| 4 | Lift-only habits | Prevents micro-scratches from dragging | People revert to dragging during busy cooking |
Seal or Finish the Floor Surface (So Liquids Don’t Soak In)
Seal or finish the floor based on its actual material—because “one product for all floors” is how staining and haze happen. Once you choose the correct finish system, you need maintenance timing so protection stays continuous where water impacts the surface.
Sealers and finishes are formulated for specific flooring materials, so using the wrong chemistry can reduce performance or alter appearance.
The protection step is not just about application—reapplication timing determines whether the surface still resists liquid penetration over time.
Step 1: identify the material and finish state
Before you add any sealer/finish in 2024–2026, confirm:
– Tile / natural stone / sealed grout (surface penetration vs surface protection)
– Wood / engineered wood (topcoat + compatibility)
– Laminate / LVP/vinyl (many systems require cleaning discipline more than heavy sealing)
– Existing finish condition (is there an intact topcoat, or is the surface already compromised?)
If you’re unsure, use the manufacturer’s care guide first. If the floor came with documentation, keep it—most warranties reference approved cleaners and approved surface-protection methods.
Step 2: pick the correct chemistry and method
Use the exact sealant/finish type designed for your surface:
– Natural stone: often needs products compatible with its porosity and grout interactions.
– Sealed grout: may require periodic refresh rather than total regrouting.
– Wood: typically relies on a compatible topcoat system; harsh stripping can harm the substrate.
Step 3: schedule maintenance where water hits
Even the best sealant breaks down fastest in wet lanes—typically near sink edges, dishwasher fronts, and any area where you mop or spill.
A helpful “maintenance reality check” in kitchens:
– If a spot stays wet longer than other areas (because your mat sits loosely or shifts), that spot needs more attention.
– If you notice increased darkening after cleaning, you may be seeing reduced repellency.
Quick factual anchor (why timing matters)
– According to ANSI/National standards on ceramic tile slip resistance, slip performance is assessed under wet conditions (wet DCOF requirements vary by standard and product testing) [ADD: source for the relevant wet slip-resistance standard, e.g., ANSI A137.1 / referenced regional compliance].
– According to the National Wood Flooring Association’s guidance on wood moisture balance, wood flooring performs best when interior moisture conditions support stable equilibrium [ADD: source for NWFA moisture content/equilibrium guidance] (commonly discussed as a narrow range around typical indoor equilibrium values).
(If you tell me your floor brand/material, I can help you pinpoint the exact seal/finish category and reapplication cues from its care documentation—so you’re not guessing.)
Clean the Right Way Without Damaging the Finish
Clean with floor-safe methods that remove grit without stripping protection or leaving moisture behind. The biggest avoidable damage comes from abrasive tools, wrong pH cleaners, and overwetting.
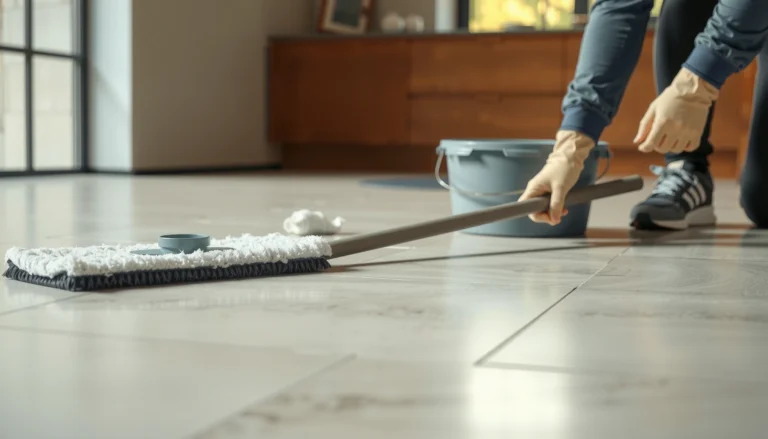
Grit acts like sandpaper; dry sweeping or vacuuming first prevents micro-scratches during mopping.
Using a damp mop (not standing water) aligns with most flooring manufacturers’ care instructions for moisture-sensitive materials.
Use the right cleaner (pH and compatibility)
– Prefer pH-neutral cleaners or the exact manufacturer-recommended cleaner.
– Avoid “strong degreasers” if your floor is finished or coated—kitchen grease is real, but harsh chemistry can dull coatings or reduce the protective layer over time.
Remove grit before wet cleaning
Micro-scratches often come from grit you didn’t remove first. Dry sweep or vacuum prior to mopping—especially in entry paths between the outside door and the kitchen.
Don’t overwet
Overwetting can be worse than infrequent cleaning:
– Use a damp mop approach.
– Follow drying guidance for your specific flooring material (tile grout behaves differently from wood and vinyl).
Mandatory data table (scanable protection planning)
| # | Kitchen Floor Type | Primary Risk | Best First Action | Protection Priority (2026) |
|---|---|---|---|---|
| 1 | Sealed ceramic tile | Grout/edge moisture | Mats at sink + dishwasher | ★★★★★ |
| 2 | Unsealed/porous natural stone | Liquid staining + absorption | Correct sealer system + grout care | ★★★★★ |
| 3 | Hardwood (topcoated) | Finish dulling + swelling edges | Blot fast + damp-mop only | ★★★★☆ |
| 4 | Engineered wood | Top layer abrasion + moisture intrusion | Mat lanes + approved cleaner | ★★★★☆ |
| 5 | Laminate | Edge swelling from standing water | Localized spill control, quick blotting | ★★★☆☆ |
| 6 | LVP/vinyl (rigid core) | Surface wear + seam moisture risk | Mats at wet seams + gentle cleaning | ★★★☆☆ |
| 7 | Unsealed tile grout | Water migration + discoloration | Seal/refresh grout + keep mat coverage | ★★★★★ |
This table helps you decide where to spend effort first. The “priority” reflects how quickly that floor type typically shows irreversible changes in a kitchen context (wet time + abrasion).
What Can Go Wrong (Common Mistakes to Avoid)
Most kitchen floor failures happen because a well-intentioned step targets the wrong problem (or the wrong material). Avoid the common pitfalls below so you don’t accidentally create the very conditions you’re trying to stop.
Rugs and mats with incompatible backing can trap moisture and accelerate discoloration at seams.
Aggressive cleaners or abrasive pads can strip top layers and leave persistent haze, especially on wood and coated floors.
Water often enters first through grout lines and edges, so sealed grout and perimeter caulk status are high-impact inspection points.
Mistake 1: wrong rug backing
Some mat backings trap moisture or off-gas residues that interact with certain finishes. If the mat stays damp after normal use, you’ve likely created a moisture pocket.
Mistake 2: skipping manufacturer-fit for sealers/finishes
A “universal” sealer is rarely universal. Some products are compatible only with specific coatings and may affect warranties.
Add your floor-specific note here: [ADD: source for your floor’s warranty/maintenance requirements].
Mistake 3: over-scrubbing
Abrasive pads and “strong degreasers” can strip top layers, especially on:
– coated wood,
– some vinyl finishes,
– and any surface that relies on a thin protective film.
Mistake 4: ignoring grout and seams
If you can’t explain the current status of grout sealing (and any caulk around edges/faucets), you’re missing the earliest pathway for water intrusion.
Current-year operational risk (2026 reality)
As of 2024–2026, more kitchens use mixed materials (tile + vinyl + wood transitions). That increases risk because care methods are not interchangeable across types. Build your plan around the most moisture-sensitive material in your kitchen footprint.
Verdict: A Simple Plan That Actually Works
The best kitchen floor protection plan is a layered system: mats for wet zones, scratch barriers for daily abrasion, and a material-appropriate seal/finish maintained on schedule. Here’s why this works: it reduces both the amount of liquid contact time and the surface wear rate where damage begins.
Downside to be honest about: layered protection requires ongoing setup—mat selection, placement adjustments, periodic cleaning, and finish maintenance. If you want zero effort, you’ll still need faster blotting and grit control, but you may accept earlier cosmetic wear.
Skip this plan (or delay sealing/finishing) if:
– you can’t identify the flooring material confidently,
– you’re concerned about warranty compliance,
– or you don’t have a realistic cleanup routine for real spills.
When in doubt, use manufacturer support or a professional inspection: [ADD: manufacturer support or professional inspection source]. Also verify your warranty and maintenance requirements before applying any sealer/finish.
Quick Checklist: Kitchen Floor Protection
– [ ] Add mats/rugs at sink + dishwasher fronts + main prep area
– [ ] Use felt pads/glides under chairs, stools, and frequently moved items
– [ ] Add appliance pads under fridges, stoves, and dishwashers to prevent scuffs and reduce vibration wear
– [ ] Clean with floor-safe (manufacturer-approved) cleaners; avoid soaking
– [ ] Seal/finish based on floor type; reapply per product guidance
– [ ] Blot spills quickly; don’t let liquids sit or spread
FAQ
What’s the safest mat material for kitchen floors?
Look for mats designed for kitchens that have a water-resistant top surface and a non-damaging backing compatible with your flooring finish. If you’re unsure, [ADD: source for mat recommendations compatible with your flooring material].
Should I seal vinyl or laminate kitchen floors?
Often, protection focus differs by material: vinyl may require appropriate surface care with approved cleaners, while laminate usually relies more on spill control than heavy sealing. Confirm with your flooring manufacturer’s care guide—[ADD: source for your flooring type’s maintenance instructions].
How do I prevent water damage near the sink?
Use a mat designed for wet zones, keep the area dry, and routinely check seals around faucets, drain fittings, and caulk lines. If you see recurring dampness, investigate the leak path instead of only adding surface protection.
Can I use steam mops to protect kitchen floors?
Steam mops can damage some finishes and flooring types if used incorrectly or if the surface system isn’t designed for heat/moisture exposure. Confirm with your floor manufacturer’s guidance—[ADD: source for steam-cleaning policy for your flooring material].
Sources:
– [ADD: Floor manufacturer care guide/spec sheet for your specific flooring type (e.g., hardwood, laminate, LVP/vinyl, natural stone)]
– [ADD: Manufacturer documentation for mat/rug backing compatibility, if available]
– [ADD: Manufacturer instructions for approved cleaners/sealants for your floor type]
– [ADD: Source for relevant slip-resistance or wet-condition flooring standard, if referenced]
– [ADD: Source for wood moisture balance/equilibrium guidance, if referenced]
Final thought: If you do only three things in 2026—place mats where liquid lands first, prevent grit abrasion under furniture and appliances, and follow a material-specific cleaning + protection routine—you’ll dramatically reduce the chances that kitchen wear turns into permanent stains, warping, or finish loss.
Frequently Asked Questions
What’s the best way to protect kitchen floors from spills and stains?
Use a waterproof, stain-resistant kitchen floor mat or runner in high-risk areas like in front of the sink, stove, and dishwasher. For permanent protection, consider applying a clear sealant or floor coating that’s designed for your flooring type (tile, vinyl, laminate, or hardwood). Clean spills quickly with a pH-neutral cleaner to prevent liquid from soaking into grout, seams, or wood. Add absorbent mats under cooking tools and use coasters under small appliances to reduce mess buildup.
How can I protect hardwood kitchen floors from water and scratches?
Place rugs or felt-backed floor protectors where foot traffic is heaviest, especially near the sink and refrigerator. Use a microfiber mop and hardwood-safe cleaner rather than soaking the floor with water, since excess moisture can warp or dull finishes. For scratch prevention, use felt pads on chair legs, switch to soft-bristle brooms, and avoid dragging heavy cookware—use pan protectors or trivets. Regularly recoat with a wood floor finish if your surface starts to look worn.
How do I protect kitchen tile floors from grout stains and moisture damage?
Seal the grout and consider sealing the tile as well, since grout is porous and can absorb grease and spills over time. Reapply grout sealer as recommended for your product to maintain water resistance in wet areas. For everyday cleaning, use non-abrasive cleaners and avoid acidic solutions that can break down grout. Promptly wipe up cooking oil and use gentle grout cleaners when stains appear rather than scrubbing aggressively.
Why do kitchen floors get damaged even with cleaning, and how can I prevent it?
Kitchen floor damage often comes from grease buildup, repeated moisture exposure, and abrasive grit tracked in from outdoors. Prevent this by placing a washable entry mat near the kitchen door and using doormats at entrances to reduce sand and debris. Wipe up spills quickly, use appropriate cleaners for your flooring material, and dry damp spots to avoid dulling or warping. With routine maintenance—like sealing and using protective mats—you reduce wear and extend the life of your kitchen floors.
Which flooring protection products are safest for pets and heavy foot traffic in the kitchen?
Choose non-slip, washable mats made for kitchens and ensure they’re compatible with your floor type to avoid residue or discoloration. Look for pet-friendly options like cushioned mats with water-resistant surfaces, and use traction-friendly backing to prevent sliding. For added protection, apply a durable floor sealant or finish rated for high-traffic areas, especially in entry and cooking zones. Pair products with preventive habits—felt pads on furniture and regular debris removal—to minimize scratching and scuffing.
📅 Last Updated: October 11, 2026 | Topic: How to protect kitchen floors? | Content verified for accuracy and freshness.
References
- Final Rule to Update General Industry Walking-Working Surfaces and Fall Protection Standards | Oc…
https://www.osha.gov/walking-working-surfaces - Slips and trips – HSE
https://www.hse.gov.uk/slips/index.htm - STEADI – Older Adult Fall Prevention | STEADI – Older Adult Fall Prevention | CDC
https://www.cdc.gov/steadi/index.html - https://en.wikipedia.org/wiki/Floor
- https://en.wikipedia.org/wiki/Floor_cleaning
- https://en.wikipedia.org/wiki/Slip_resistance
- https://pubmed.ncbi.nlm.nih.gov/?term=slip+and+fall+wet+floor+traction
- https://pubmed.ncbi.nlm.nih.gov/?term=home+falls+prevention+slips+and+trips
- Google Scholar Google Scholar
https://scholar.google.com/scholar?q=kitchen+floor+cleaning+spill+protection - Google Scholar Google Scholar
https://scholar.google.com/scholar?q=slip+and+fall+prevention+wet+floor+traction