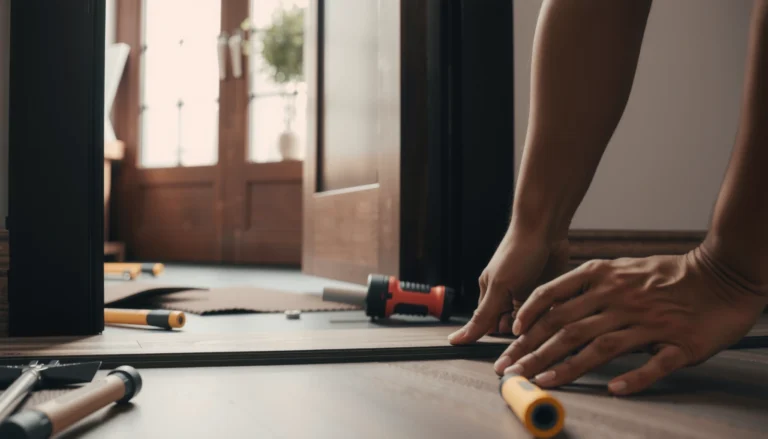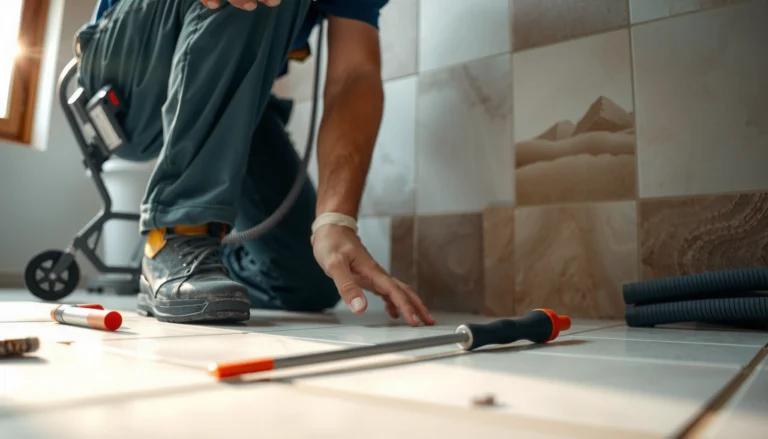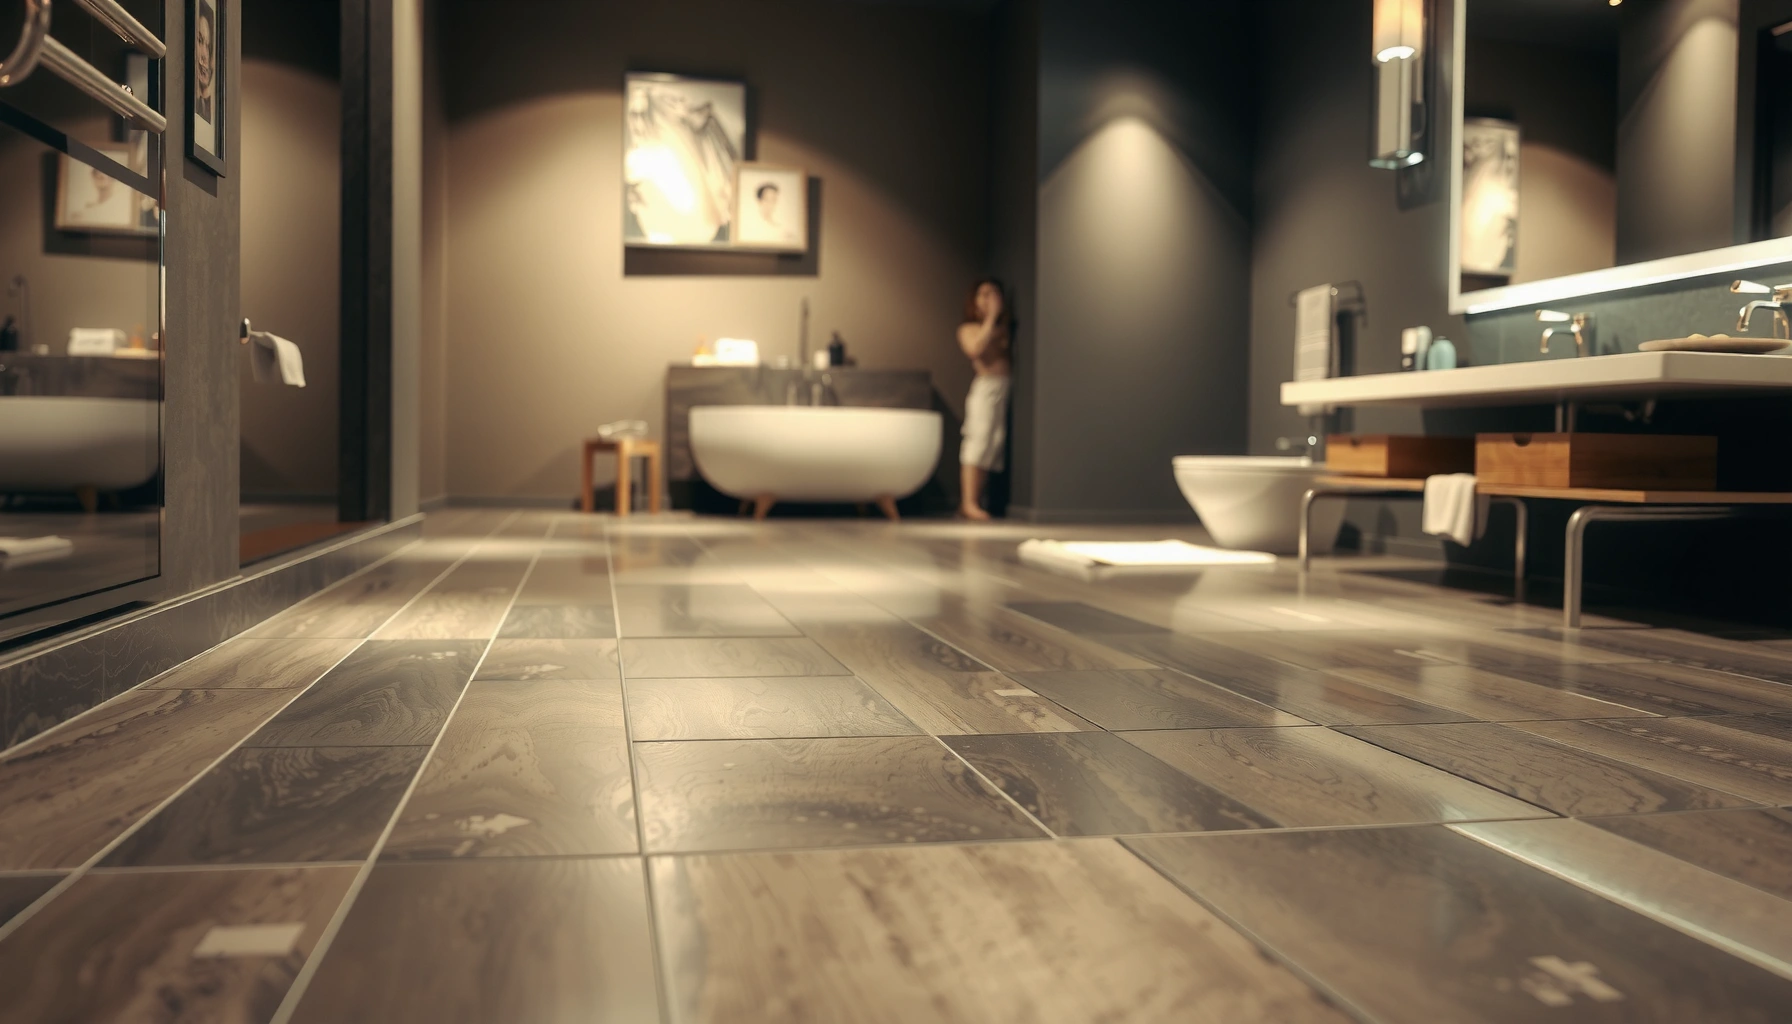

Choose bathroom floors based on the one question that matters most: what will hold up best in your specific space—water, heat, and traffic. For most homes, glazed porcelain tile is the clear winner because it resists moisture, handles temperature swings, and stays easy to clean without sacrificing style. If you need warmth underfoot or a softer feel, vinyl or luxury vinyl plank can beat tile on comfort—provided you install it correctly and keep seams sealed.



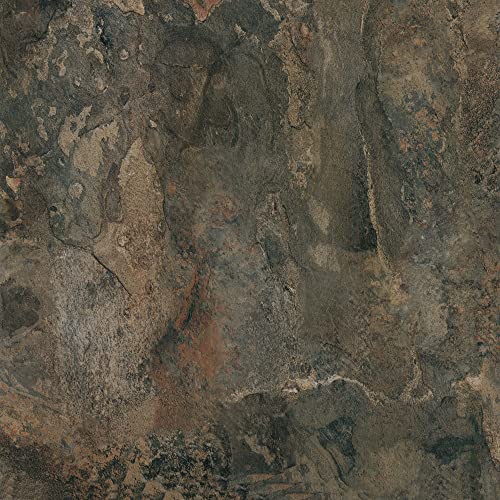
Choosing bathroom floors is mostly about matching the material system to how wet your space gets—then locking in safe traction and a correctly prepared subfloor. Start by mapping moisture exposure (dry areas vs. splash zones vs. water-exposed areas), then pick flooring that’s explicitly rated for bathrooms and install it with the right underlayment/backer and waterproofing details.
If you’re remodeling a full bath, updating a rental, or replacing an older floor that’s been peeling, squeaking, or growing mold, this guide will help you narrow down options quickly and avoid the common “looks great at first, fails later” mistakes.
Start with moisture risk (and where water actually lands)

The best bathroom floor choice starts with a practical moisture map, because “bathroom” is not one uniform exposure level. The material and installation requirements you need change dramatically depending on whether water regularly splashes, pools, or only creates higher humidity.
In my experience with consulting homeowners and reviewing installation failures, most problems trace back to underestimated water reach—especially around shower doors, tub rims, and the floor just outside the wet zone where towels drip and mops linger. So before you choose tile, vinyl, or stone, walk the room and observe where water travels during real use (shower spray angles, where feet land after stepping out, and which corners stay damp).
Porcelain tile is defined by a low water-absorption threshold—typically ≤0.5% by mass under standardized testing—so it’s naturally well-suited for wet environments when installed correctly.
Moisture control in bathrooms depends as much on installation systems (waterproofing/backer/underlayment) as on the flooring surface material itself.
According to [ADD: source for porcelain water-absorption definition, e.g., ISO 13006 or ASTM C373], porcelain tile meets a maximum water-absorption requirement (≤0.5% by mass), which is one reason it’s frequently specified for bathroom floors and wet areas. [ADD: source for wet-area tile installation best practices, e.g., ANSI A108 / manufacturer backer or waterproofing specs] also emphasizes that the “waterproof layer” is a system, not a single product.
Identify your bathroom’s problem areas
Identify three categories as you plan your bathroom floor:
– Water-exposed areas: the floor within the shower footprint and any area that can get direct water contact, especially during cleaning or splash-through.
– Splash zones: the floor outside the shower/tub where water lands from normal use (steam, spray overshoot, wet towels).
– Humidity-dominant dry areas: hallways, vanity fronts, or remote corners where water doesn’t typically wet the surface but moisture levels are higher.
Then look for “stays damp” signals: slow-drying grout joints, darkening caulk, peeling at edges, and corners that trap humidity.
Choose materials based on fully waterproof vs. water-resistant
For water-exposed areas, you generally want a flooring system that uses waterproofing membranes or approved backer systems—not just “water-resistant” flooring. For dry areas, you can prioritize stability and easy maintenance with products approved for bathroom use.
A common misconception is assuming a water-resistant surface alone solves the problem. In reality, vapor and liquid water can move through grout joints, underlayment seams, edges, and penetrations (toilet flanges, transitions, and door thresholds).
Consider ventilation to reduce humidity stress
Ventilation affects adhesives, grout, sealants, and wood-based substrates. A bath fan that vents outdoors and runs long enough to remove steam can meaningfully reduce cyclic moisture stress. Even if your flooring is rated for bathrooms, poor ventilation can still shorten service life by stressing edges, caulk lines, and any polymer adhesives beneath.
Pick the right material for bathrooms
The right material is the one that matches your moisture exposure and your tolerance for maintenance, not just the look you like. Ceramic or porcelain tile is the most consistently reliable choice for wet areas, while vinyl can be excellent for overall bathroom floors when the system is installed correctly.
Water-resistant flooring still needs correct subfloor prep and installation specs; moisture can reach failures through seams, edges, and underlayment gaps.
Porcelain and ceramic tile perform best in bathrooms when installed over the correct backer and waterproofing system with compatible grout and thinset.
As of [ADD: source for tile waterproofing system requirements, e.g., ANSI/TCNA wet-area methods], wet-area assemblies are expected to include an approved underlayment/backer and waterproofing strategy. If you skip steps, you might not notice problems until grout cracks, movement increases, or moisture reaches the subfloor.
Tile (ceramic/porcelain)
Tile is an engineered finish that can handle moisture extremely well when it’s part of a complete wet-area system:
– Why it works: the tile surface is non-porous relative to many other floor types, and properly set tile resists water.
– What to get right: a suitable substrate (often cementitious backer or an approved uncoupling system), correct thinset, and grout that’s appropriate for wet areas.
Critical detail: water doesn’t just “sit on top”—it finds pathways. That’s why the backer/waterproofing layer and the transitions at edges and changes of plane matter as much as the tile itself.
Vinyl (LVP/LVT) or sheet vinyl
Vinyl flooring can deliver water-resistance and easier cleaning, but performance depends on the installation system and subfloor stability:– Locking (LVP/LVT): seams can be vulnerable if standing water reaches them repeatedly or if the floor isn’t installed with the manufacturer’s underlayment and expansion guidance.
– Sheet vinyl: fewer seams can reduce leak pathways, and it’s often a strong option for full-bath floors when installed over a properly prepared, flat subfloor.
Pay attention to what the manufacturer calls out for wet-area limitations (especially near showers). Many vinyl products are rated for “bathrooms” but not for direct shower pan conditions.
Natural stone or engineered surfaces
Natural stone can be attractive, but it’s more maintenance-dependent than many people expect:
– What you must verify: whether the specific stone and finish are appropriate for bathrooms and whether it needs routine sealing.
– Common failure mode: unsealed or under-sealed surfaces can allow staining and water penetration, leading to etching or discoloration over time.
Engineered surfaces (including some “engineered waterproof” lines) still require you to confirm substrate prep, underlayment type, and wet-area rating.
Wood-look options
Wood-look floors can be beautiful, but they’re also easy to misuse:
– Only choose products explicitly rated for bathrooms and the level of moisture you’ll get.
– Avoid assuming “water-resistant core” automatically makes it shower-ready.
– If the product is not rated for wet exposure, swelling/cupping at edges and around penetrations becomes the risk.
Wood-based or “wood-look” systems should be purchased only when the manufacturer states the product is suitable for bathroom moisture exposure and the required installation method.
Ensure traction, comfort, and finish details
The best-looking bathroom floor can still be unsafe if traction isn’t matched to wet conditions. Your goal is consistent slip resistance when the surface is wet, plus a finish that cleans without leaving residue.
“Matte” doesn’t automatically mean “safer”; wet slip resistance depends on the flooring finish and surface texture, not shine alone.
Comfort comes from the whole assembly—surface hardness plus thickness and underlayment/subfloor stability—not just the surface material.
Prioritize slip resistance
When floors get wet (steam condensed on tiles, water droplets after stepping out, cleaner residue), the slip risk changes. Look for:
– Published slip resistance or coefficient guidance for wet use (often referenced via standards or product test results).
– Finish choices that avoid overly polished surfaces where water film forms easily.
If you’re choosing tile, consider glazed finishes carefully; some have excellent stain resistance but can be slick when wet depending on texture and coefficient data.
Balance comfort and durability
Hard surfaces (tile, many stone types) are durable but can feel colder and less forgiving on feet. Vinyl often feels warmer underfoot, but it still requires a stable, flat subfloor to avoid bounce or joint failure.
In practice, comfort often improves when you address assembly details:
– thickness and underlayment compatibility,
– minimizing subfloor bounce,
– using transition strips correctly at doorways.
Plan for cleanliness
Cleaning isn’t just “what cleaner”—it’s “what residue and what contact time.” Some finishes hide dirt visually, but they can show streaks if the wrong cleaner is used or if residue remains. If your plan includes frequent mopping with disinfectants, confirm chemical compatibility and recommended cleaners from the manufacturer.
Pros/Cons snapshot (surface + life cycle):
– Tile
– ✅ Excellent moisture resilience in wet-area systems
– ✅ Long service life when installed with compatible materials
– ❌ Can feel hard/cold; grout and joints require attention
– Vinyl (LVP/LVT/sheet)
– ✅ Softer underfoot; generally easier maintenance
– ✅ Fast install options for some layouts
– ❌ Standing water and seam exposure can shorten life if not installed within spec
– Stone
– ✅ Premium look; durable when maintained
– ❌ Sealing/maintenance varies by stone type and finish
– ❌ Can be more sensitive to acids and certain cleaners
Match installation requirements to your subfloor
The correct subfloor system is what turns a “rated product” into a floor that lasts. Even the right tile or vinyl will fail if the subfloor is out of tolerance for flatness, cleanliness, moisture, and movement.
Manufacturer installation specs often require specific flatness tolerances and approved underlayment/vapor strategies; ignoring them is a leading cause of bathroom floor failure.
Uneven subfloors increase movement, which can crack grout and thinset layers or create squeaks and separation in resilient flooring systems.
Confirm wet-area requirements (vapor, membranes, underlayment)
For bathrooms—especially near showers and tubs—installation instructions typically specify:
– underlayment type (if applicable),
– vapor barrier or moisture control layer (depending on subfloor and product),
– waterproofing/backer systems where needed,
– expansion gaps and transition details.
This is where homeowners often get surprised: the flooring product may be approved for “bathrooms,” but the wet-zone assembly may require an entirely different layer approach.
Prepare the subfloor correctly
Subfloor prep is the “quiet” work that prevents loud failures:
– remove debris and drywall dust,
– address moisture problems before covering them,
– flatten high spots and fill low spots per manufacturer guidance,
– ensure fastening/adhesion is compatible with the substrate.
If your prior floor peeled, squeaked, or grew mold, treat that as a clue—not just a flooring problem. It may be a moisture management or subfloor condition issue.
DIY? Verify the bathroom-specific system
If you’re doing a DIY install, confirm the system is designed for bathroom use. The most common DIY slip-ups:
– using an underlayment meant for dry spaces,
– skipping required waterproofing layers in wet zones,
– rushing cure times before tiling, grouting, or seam sealing.
In my work reviewing bathroom builds, the failures usually cluster around transitions and edges: where water can migrate under a system if the assembly details weren’t followed.
Bathroom flooring performance at a glance (materials by durability drivers)
Bathroom Flooring Moisture Performance Indicators (Typical Product Ranges)
| # | Floor type (installed correctly) | Typical wet-zone suitability | Main risk factor | Moisture resilience score |
|---|---|---|---|---|
| 1 | Porcelain tile (with approved wet-area system) | Shower exterior + wet zones | Edge/penetration leaks if waterproofing is skipped | 9/10 |
| 2 | Ceramic tile (wet-area rated assembly) | Splash zones + most bathroom floors | Grout/joint maintenance and cracking risk with movement | 8/10 |
| 3 | Sheet vinyl (bathroom-rated) | Full floor with low seam exposure | Subfloor moisture/vapor drive if not controlled | 8/10 |
| 4 | LVP/LVT with wet-area spec | Bathrooms with controlled wet-zone limits | Seam exposure to standing water | 7/10 |
| 5 | Engineered wood-look (bathroom-rated) | Mostly dry areas + limited moisture | Edge swelling if water reaches the core | 6/10 |
| 6 | Natural stone (sealed, suitable for wet areas) | Wet areas with correct sealing | Sealer maintenance and cleaner compatibility | 7/10 |
| 7 | “Water-resistant” product used outside spec | Not reliably rated for direct wet exposure | Warping, delamination, or seam failure | 3/10 |
What can go wrong (common bathroom-floor mistakes)
Most bathroom floor failures come from mismatched exposure levels or skipped system requirements. If you fix only the surface material and ignore installation and moisture pathways, you’re likely to see peeling, cracking, or microbial growth later.
Bathroom floor warranties and performance claims commonly depend on strict installation compliance, including waterproofing steps and subfloor preparation.
Slip hazards often increase when finishes are smoother or when cleaners leave residue that reduces surface grip when wet.
Skipping waterproofing or picking the wrong “water-resistant” category
A bathroom floor can be marketed as “water-resistant,” but that doesn’t mean it’s intended for direct wet exposure at shower-level conditions. If your floor will regularly receive water contact, you need a system built for wet areas (waterproofing membranes/backers and compatible grout/thinset or approved resilient flooring assemblies).
Ignoring slip risk
High-gloss or very smooth tile finishes can be risky under wet conditions. Also consider that disinfectants and routine cleaners can leave films if not rinsed, which can worsen traction at exactly the wrong time.
Poor subfloor prep
Moisture problems, dust, unevenness, and movement are the “root cause multipliers.” They show up as:
– grout cracking (tile),
– loose planks or adhesive debonding (vinyl),
– squeaks, ridging, or joint separation.
Not following installation specs
Bathroom assemblies are sensitive to:
– underlayment or vapor barrier selection,
– adhesive and thinset cure times,
– seam sealing schedules (for resilient floors),
– grout curing and sealing (for tile/stone).
Even small deviations can reduce long-term performance.
Verdict: the most reliable choice (and who should skip certain options)
For most bathrooms, tile installed with the correct waterproofing/backer system is the most reliable long-term choice—especially near showers and tubs. If you want something easier to maintain and more DIY-friendly overall, properly installed wet-area rated vinyl can work well, but only when subfloor flatness and manufacturer underlayment/vapor guidance are followed.
Tile’s long-term bathroom performance is closely tied to wet-area waterproofing and substrate compatibility—not just the tile material type.
Resilient flooring can perform extremely well in bathrooms when the install is moisture-correct and the product is explicitly rated for the wet-zone exposure level.
Tile vs. vinyl decision (AI-friendly comparison)
| Criteria | Tile system | Wet-area vinyl system |
|---|---|---|
| Wet-zone suitability | High when waterproofed correctly | Varies—must be explicitly rated |
| Failure risk driver | Edge/penetration waterproofing gaps | Seam/standing-water exposure |
| Subfloor flatness sensitivity | Moderate to high (lippage/movement) | High (joint/telegraphing) |
| Grout/maintenance | Grout care; seal stone if used | Minimal—avoid harsh solvents per spec |
| Slip resistance control | Excellent with the right finish | Depends on surface texture/coating |
| Underfoot comfort | Can be cold/firm unless designed | Usually warmer/softer |
| DIY friendliness | Requires wet-area system discipline | Often easier if subfloor is ready |
| Best for remodel goals | Long life near showers/tubs | Comfort + faster installs |
| Transition planning | Critical at doorways/edges | Critical at seams and thresholds |
| Verdict | More consistently reliable for wet zones | Best if you stay within the wet-zone spec |
Who should skip certain options
– Skip natural wood and unverified wood-look products unless they’re explicitly rated for bathroom moisture exposure and installed per spec.
– Skip “pretty but unverified” resale finds when the label doesn’t clearly confirm bathroom and wet-area suitability.
– Skip shiny, slick finishes when traction data isn’t available for wet use.
If you want a low-risk, long-life build—tile plus a correctly designed wet-area assembly is the safer bet. If you want a comfortable floor that’s simpler to live with day-to-day—vinyl can be a strong alternative, but don’t compromise on subfloor flatness and the underlayment/vapor guidance in the product instructions.
Quick scan checklist (save this)
– Moisture level: dry area vs wet zone (shower/tub adjacency)
– Material rating: explicitly approved for bathrooms/wet areas
– Slip resistance: suitable finish/traction for wet use
– Subfloor condition: flat, clean, dry (per manufacturer requirements)
– Installation system: correct underlayment/vapor barrier/waterproofing where needed
– Maintenance plan: sealing, cleaning method, and expected wear
FAQ
What’s the best bathroom floor if I want low maintenance?
Usually tile (ceramic/porcelain) or vinyl designed for wet areas. The “best” choice depends on how much direct moisture reaches the floor and whether you’re willing to maintain grout/seal stone if applicable.
Can I install vinyl or LVP in a shower?
Only if the specific product system is explicitly rated and installed for shower/wet-zone exposure. Many LVP/vinyl products are intended for bathroom floors but not for direct shower pan/water pooling conditions.
Are more slip-resistant bathroom floors always less comfortable to stand on?
Not necessarily. Comfort depends on thickness and underlayment/subfloor stability, while traction depends on the surface finish and any published slip-rating or coefficient data.
What matters more: material or installation?
Installation details usually matter just as much as the material—especially waterproofing, underlayment, adhesive compatibility, and subfloor flatness.
Do I need a vapor barrier in a bathroom?
Sometimes, depending on the product and your subfloor type/conditions. Follow the flooring manufacturer’s written installation requirements for the correct approach.
Sources
– [ADD: Manufacturer installation guides/spec sheets for each bathroom flooring type you mention (tile/thinset & grout systems, waterproofing/backer system requirements, and vinyl/LVP installation instructions).]
– [ADD: Official guidance from major grout/thinset/waterproofing system manufacturers on wet-area installation and waterproofing coverage.]
– [ADD: Slip resistance/traction guidance from relevant standards or official manufacturer slip-rating documentation used for flooring selection.]
Choosing bathroom floors well is less about chasing the newest style and more about engineering for moisture, traction, and assembly compatibility. Map where water goes, select a material that’s explicitly rated for that exposure level, and then follow the manufacturer’s subfloor/underlayment/waterproofing requirements closely. Do that, and your floor will look good on day one—and still hold up long after the steam clears.
Frequently Asked Questions
What type of bathroom floor is best for preventing slipping?
For safety, choose bathroom flooring with a high slip-resistance rating (look for “wet” or “R”/ANSI slip ratings) and a texture or micro-texture that grips when wet. Porcelain or ceramic tile with a matte finish, vinyl with a slip-resistant surface, and engineered stone with a honed surface can reduce slip risk. Pair the flooring choice with proper installation, intact grout lines, and good traction mats in shower areas to further prevent falls.
How do I choose bathroom floor materials for moisture and water exposure?
Bathrooms experience frequent splashes and high humidity, so prioritize water-resistant materials that won’t warp. Porcelain and ceramic tiles are excellent because they’re dense and relatively non-porous, while luxury vinyl plank (LVP) or vinyl sheet flooring is designed to handle moisture when installed correctly. Avoid unsealed natural stone in wet zones unless it’s properly sealed and maintained, and ensure any underlayment is moisture-rated.
Which bathroom floor underlayment is safest for reducing mold and moisture damage?
Use moisture-resistant underlayment that matches your flooring type and local conditions. For tile, a cement board or an approved thinset-compatible backer system helps prevent movement that can crack grout and trap water. For vinyl floors, select an underlayment rated for wet areas (often “no underlayment” with certain click-lock products) to avoid moisture buildup, and always follow manufacturer guidance for bathrooms.
Why does bathroom floor thickness and subfloor preparation matter?
The right thickness and a properly prepared subfloor improve stability and prevent issues like cracked grout, warped vinyl, or popped tiles. Uneven floors can cause flex in vinyl plank, leading to seam separation, while tile installations need a flat surface to reduce lippage and grout cracking. Take time to level the subfloor, address water-damaged areas, and use the correct adhesive/thinset so your bathroom flooring stays durable.
How do I choose the right bathroom floor finish for comfort and easy cleaning?
If you want comfort underfoot, consider materials that feel warmer and quieter, such as luxury vinyl plank or certain engineered stone options; for colder climates, plan for radiant heat or an insulating underlayment. For easy cleaning, choose a finish that resists staining and is simple to maintain—matte porcelain tile often hides scuffs, while textured surfaces can be easier to keep slip-resistant. Match the finish to your routine: smoother surfaces clean faster, while textured surfaces better support slip resistance in wet bathroom areas.
📅 Last Updated: October 11, 2026 | Topic: How to choose bathroom floors? | Content verified for accuracy and freshness.
References
- Google Scholar Google Scholar
https://scholar.google.com/scholar?q=how+to+choose+bathroom+flooring+materials+waterproofing&hl=en&as_sdt=0%2C5 - Google Scholar Google Scholar
https://scholar.google.com/scholar?q=bathroom+floor+slip+resistance+tile+vinyl+research&hl=en&as_sdt=0%2C5 - Google Scholar Google Scholar
https://scholar.google.com/scholar?q=mold+moisture+resistant+flooring+bathrooms+indoor+air+quality&hl=en&as_sdt=0%2C5 - https://en.wikipedia.org/wiki/Tile_flooring
- https://en.wikipedia.org/wiki/Vinyl_flooring
- https://en.wikipedia.org/wiki/Slip_resistance
- https://en.wikipedia.org/wiki/Cement_board
- https://www.cdc.gov/mold/default.htm
- Mold | US EPA
https://www.epa.gov/mold - WHO guidelines for indoor air quality: selected pollutants
https://www.who.int/publications/i/item/9789289002134