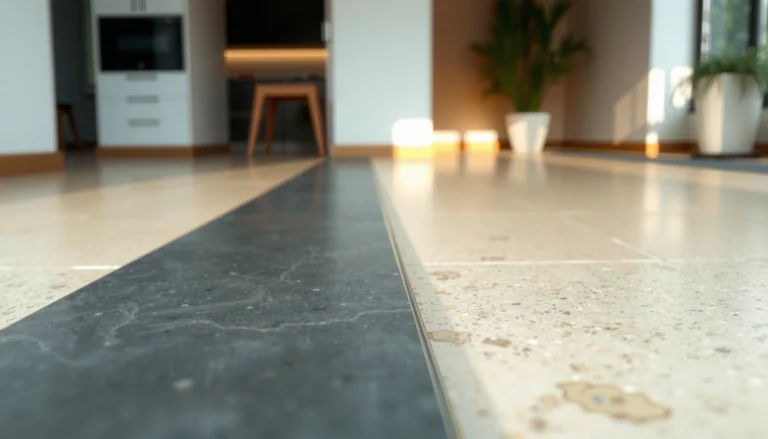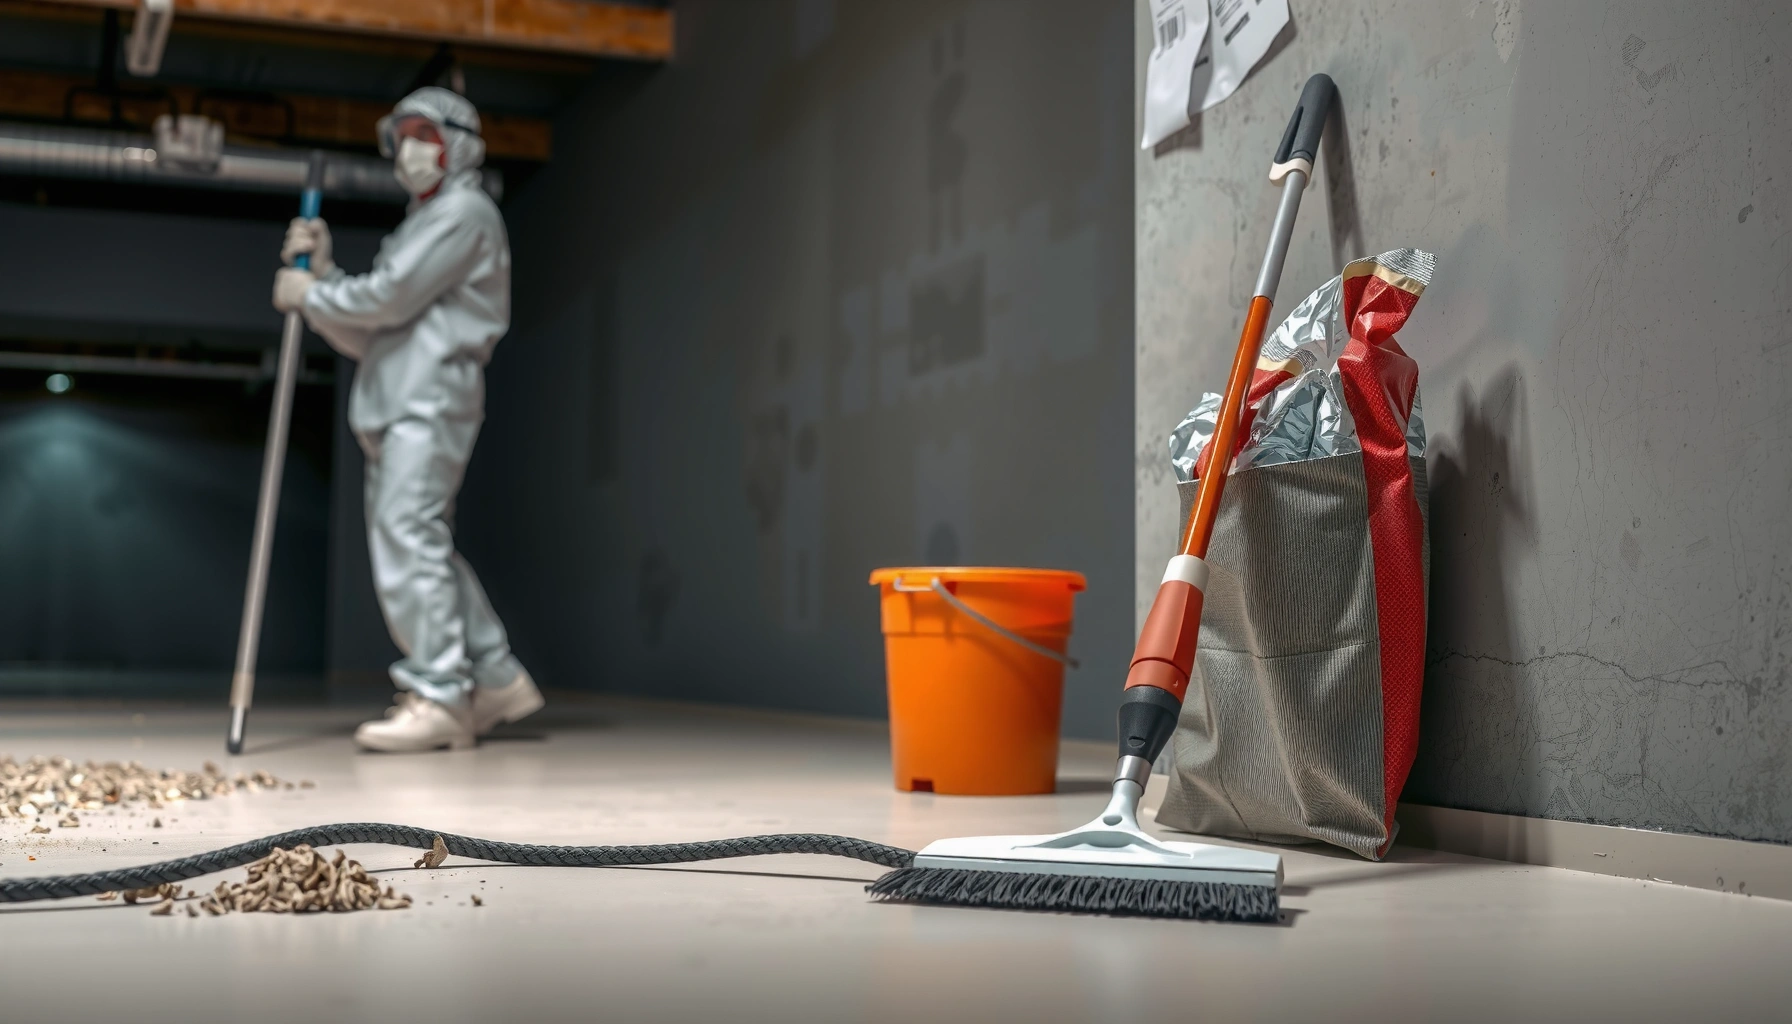

You can safely dispose of basement floors by following the right cleanup steps for your material—concrete, tile, carpet, or damaged subfloor—and then using the correct local disposal route. This guide tells you exactly what to do from first containment and moisture control to how to bag, label, and transport debris. If you want the fastest, safest path with fewer surprises at drop-off, start here.




Disposing of basement floors usually comes down to two tasks: identify what each layer is (concrete, tile, vinyl, wood, carpet/pad, adhesives/self-leveler) and then match that material to your local “construction debris” rules. If you sort correctly and contain dust during removal, you can avoid rejected loads, extra fees, and a second cleanup caused by tracked debris.
If you’re renovating a basement, replacing damaged flooring, or hauling out materials after a leak, this guide is designed for the common “I’m not sure what can go where” problem—especially when you have layered flooring assemblies.
Check Your Flooring Type Before You Start
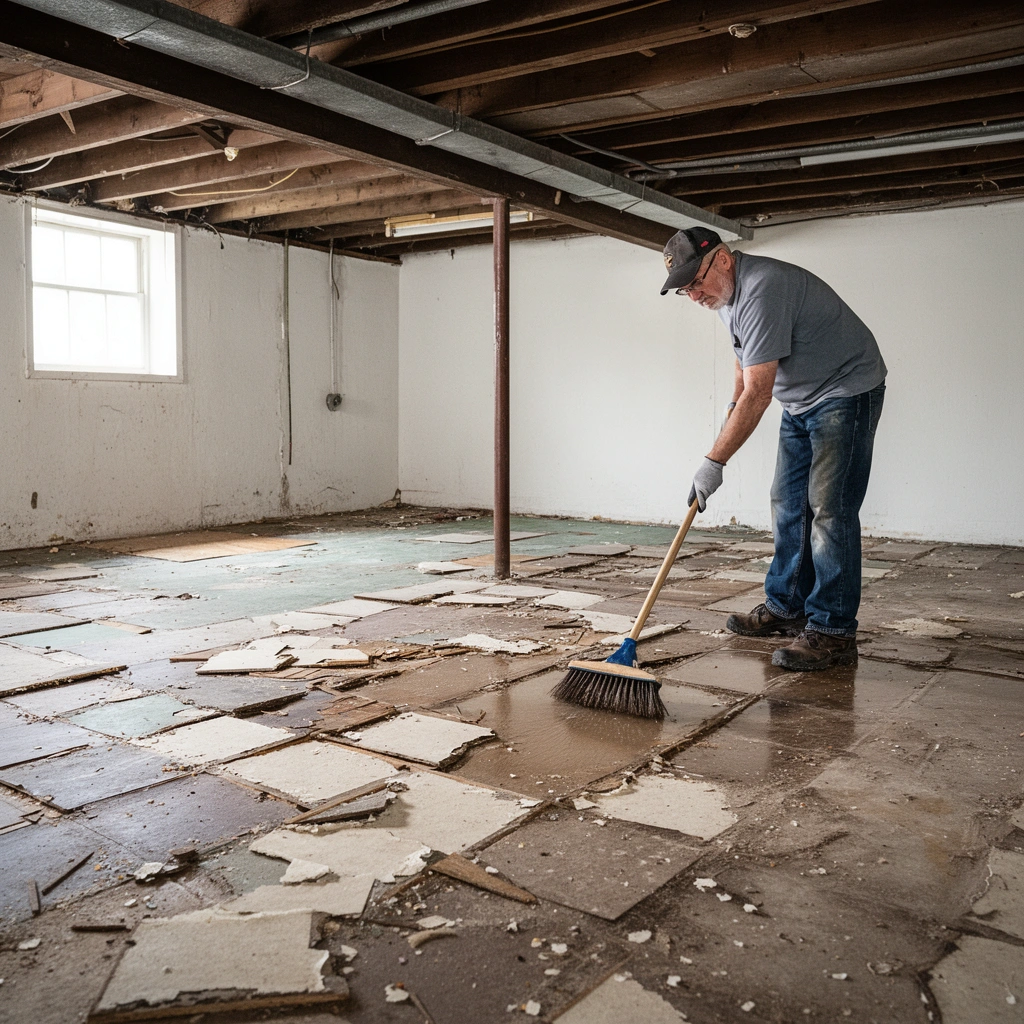
Before you remove anything, confirm what the flooring actually is—top layer and each underlayment/backing layer change disposal rules. Then, treat the entire assembly as a set of separately manageable materials instead of one mixed pile.
“Regulated waste classification often depends on material type and whether it’s considered demolition/construction debris versus household trash.” [ADD: source for local waste classification guidance]
“OSHA requires controls to prevent exposure during work that generates dust, including tasks that can produce respirable crystalline silica.” OSHA, Respirable Crystalline Silica standard
“Asbestos-related disposal requirements can change dramatically in older buildings where floor tile and certain adhesives may be regulated.” EPA, Asbestos NESHAP
– Look at the top layer and the build-up: is it concrete, tile, engineered wood, vinyl/linoleum, carpet, or multiple layers?
– Note unusual conditions that can change handling and disposal:
– Asbestos suspicion: older homes may have asbestos-containing floor tile/adhesives (the safest route is to test or follow local guidance).
– Heavy mold/mildew: damp materials can become contaminated waste requiring containment.
– Problem adhesives/coatings: removal of stuck-down adhesive, cutback mastic, paint, or coatings may produce mixed waste streams.
Key materials to identify in a basement flooring teardown
– Concrete (slab or patches)
– Tile + mortar bed/setting layer
– Vinyl/vinyl planks + adhesive
– Wood flooring + underlayment
– Carpet + pad (and sometimes tack strip or staples)
– Self-leveler (often a cementitious product)
– Adhesives/coatings (cutback mastic, thinset residue, paint, sealers)
Prepare the Area for Safe Removal and Handling
Prepare your workspace first so dust and debris don’t spread through the rest of the home. When removal creates fine dust—especially during scraping or cutting—containment directly affects both safety and how easily you can clean up after disposal.
“Ventilation and dust control reduce the amount of airborne particulate generated during demolition-related tasks.” OSHA, general construction safety guidance
“OSHA’s silica standard centers on exposure control methods when tasks generate respirable crystalline silica.” OSHA, Respirable Crystalline Silica standard
– Ventilate and control dust:
– Use fans to move air outdoors, not into other indoor areas.
– If you’re grinding/scraping concrete or thinset, use dust suppression methods recommended for the specific task and equipment you’re using (e.g., HEPA-filtered systems where applicable).
– Protect the rest of the home:
– Seal doorways with plastic sheeting when possible.
– Cover HVAC returns and keep traffic minimal.
– Plan a clear “debris path” from the work area to the exit to reduce tracking.
– Get the right containment tools ready:
– Heavy-duty contractor bags (for carpet, pad, and wood where allowed)
– Labeled bins or buckets for small debris (staples, screws, tile chips)
– A drop cloth and a HEPA vacuum for final cleanup
From my experience with basement cleanouts in older construction types, the most time-consuming problems usually aren’t the hauling—they’re the “dust migration” issues that happen because containment wasn’t treated as part of the disposal plan. When disposal is your end goal, dust control is your first step.
Dispose of Concrete, Tile, and Masonry Safely
Concrete, tile, and most masonry layers are commonly treated as construction debris, not household waste. Your job is to keep them separated enough that the receiving facility can process them correctly without rejecting the load.
“Broken concrete is typically handled as demolition/construction debris at transfer stations or landfills, subject to local rules.” [ADD: source for construction-debris acceptance categories from your municipality]
“Tile with mortar or thinset is usually treated as construction debris because it includes masonry and cementitious material.” [ADD: source for facility waste acceptance guidance]
For concrete slabs or chunks
– Treat as construction debris and confirm acceptance at your local landfill/transfer station.
– If you only have small patches (not a full slab), facilities may still require that the debris is unloaded under their “masonry” category.
For tile and mortar
– Separate what you can (tile pieces vs. large mortar clumps) so you can describe waste accurately to the disposal site.
– Keep tile mixed with mortar in a single “masonry/floor tile” stream when the facility expects that category, but don’t dump tile into a load intended for carpet/pad.
Practical handling tips:
– Break tiles down into manageable pieces to reduce voids in bags and to fit the load better.
– Avoid sweeping dry dust into the air; bag and contain debris whenever possible.
Dispose of Vinyl, Linoleum, and Flooring Layers
Vinyl and linoleum disposal often hinges on whether it’s clean material or mixed waste (vinyl plus adhesive, backing, underlayment, or thinset). That distinction matters because many facilities sort and route based on material composition.
“Disposal facilities often treat mixed construction waste differently than single-material loads.” [ADD: source for load acceptance and contamination rules from your transfer station]
“Containment and bagging help prevent particulate tracking when removing vinyl flooring and bonded backing.” OSHA, housekeeping and particulate control guidance
– Remove in sections and keep layers together when possible so you can describe the waste accurately:
– For example: “vinyl + backing” as one stream (if that matches your facility’s instructions).
– Watch for adhesive residue:
– Vinyl with significant adhesive or residue may be treated differently than vinyl planks removed with minimal backing/adhesive.
If you’re unsure how your local facility defines “mixed waste,” contact them with clear details like:
– flooring type (sheet vinyl vs. LVP/vinyl planks),
– presence of backing,
– whether adhesive came up with the flooring,
– and whether any leveling compound or thinset is attached.
Dispose of Wood, Carpet, Pad, and Mixed Debris
Wood, carpet, pad, and mixed debris are usually the most “bag-and-sort” categories because they can spread fibers, contain fasteners, and are more likely to be rejected if too contaminated.
“Carpet and pad are commonly managed as special bulk or construction-related waste streams, depending on local acceptance rules.” [ADD: source for your local facility’s carpet/soft waste policy]
“Mold contamination changes how affected materials should be contained and removed to avoid spreading spores.” CDC, mold remediation guidance
Wood flooring
– Bag or bundle clean sections where allowed (especially if the receiving site accepts wood as bulk).
– Heavily contaminated pieces (water-soaked, mildew-embedded, or strongly suspected mold) may require special handling or may be directed to a different stream. When in doubt, treat it as contaminated debris and contain it in sealed bags or wrap.
Carpet and pad
– Keep it bagged to prevent fiber spread.
– Remove with care so pad fragments and dust don’t blow through the basement.
– Confirm whether your local program accepts carpet as bulk trash or requires a separate drop-off category.
Mixed debris (the “real life” scenario)
Basements rarely stay perfectly sorted. If you must mix, at least separate the largest material logic groups first:
– “masonry/concrete” stream (concrete, self-leveler/cementitious residue, tile, mortar)
– “finish flooring/soft goods” stream (vinyl, wood, carpet/pad, underlayment, tack strips)
This approach reduces the chance your load is rejected due to cross-contamination.
What Can Go Wrong (and How to Avoid It)
Most disposal problems come from mis-sorted loads, uncontrolled dust, and hidden hazardous materials in older homes. When you prevent those issues upfront, you protect both your schedule and your disposal costs.
“OSHA’s respirable crystalline silica limits are intended to reduce lung exposure during dust-generating concrete or masonry tasks.” OSHA, Respirable Crystalline Silica standard
“EPA asbestos regulations (NESHAP) impose specific notice and work-practice requirements for asbestos-containing materials in certain conditions.” EPA, Asbestos NESHAP
Common mistakes
– Mixing materials into one load: If you combine masonry and soft goods in the same stream, a site may reject the entire batch or charge a higher disposal category.
– Ignoring dust containment: Even if your debris is accepted, tracked dust can turn the job into a whole-home cleanup.
– DIY removal when hazardous materials may be present:
– If asbestos is suspected (commonly older tile and certain adhesives), you should not rely on “general demolition cleanup” practices. Follow regulated guidance or get qualified help.
– If extensive mold is present and moisture is ongoing, address the moisture source and handle remediation/disposal using appropriate safety practices.
Specific caution for silica dust (concrete/self-leveler tasks)
According to OSHA, the permissible exposure limit (PEL) for respirable crystalline silica is 50 micrograms per cubic meter (µg/m³) as an 8-hour time-weighted average (OSHA, Respirable Crystalline Silica standard). That’s one reason why concrete grinding/scraping needs controls—not just “a shop-vac.”
Specific caution for asbestos notifications (older homes)
EPA’s Asbestos NESHAP includes notification requirements for certain asbestos work scenarios, including advance notice (often 10 working days depending on circumstances). EPA, Asbestos NESHAP
Because the triggering conditions are technical, [ADD: source for your local/state interpretation or your disposal site’s asbestos policy] if you suspect asbestos.
Verdict: A Simple Plan That Works for Most Basements
The safest, most cost-effective approach is to treat basement floor disposal like construction-debris management: identify each flooring layer, contain dust, split waste into compatible streams, and confirm acceptance rules before you haul. The downside is time—sorting and transport often take longer than tossing everything together—but it’s usually what prevents load rejection and repeat cleanup.
“Better sorting before transport reduces the risk of rejection at landfills/transfer stations that separate construction debris from other waste streams.” [ADD: source for typical load acceptance practices]
“OSHA emphasizes exposure controls where dust hazards exist, including during concrete-related demolition tasks.” OSHA, Respirable Crystalline Silica standard
Who should consider professional help (or delay DIY removal)
– You suspect asbestos and can’t confirm what’s present.
– You’re dealing with extensive mold and ongoing moisture.
– The job is large enough that dust control and containment aren’t realistically manageable with homeowner tools.
– You need hauling volume estimates and compliance guidance for multiple waste categories.
Quick comparison: DIY sorting vs. professional handling
Definition list format for clarity:
- DIY sorting + haul-off
- Pros: typically lower direct labor costs; you control timing and dust containment.
Cons: higher risk of rejected loads if materials are miscategorized; more time spent labeling and separating waste. - Professional demo + compliant hauling
- Pros: better odds of correct waste classification; safer dust controls; less time coordinating bins and disposal sites.
Cons: higher cost; you must still communicate material layers clearly and verify licensing/insurance where required.
Verdict Table: Use This to Plan Loads and Sorting
Below is a planning-oriented estimate (not a guarantee of facility acceptance). It helps you reason about how much debris you might generate when you’re sorting basement floor disposal into practical streams—especially when you’re deciding between a small pickup, a bulk trailer, or a roll-off bin.
Basement Floor Debris Planning Estimates (Per 100 sq ft)
| # | Debris Type (Basement Floors) | Est. Thickness Assumption | Density Used | Est. Weight per 100 sq ft | Sorting Priority |
|---|---|---|---|---|---|
| 1 | Concrete slab / broken concrete chunks | 4 in | 150 lb/ft³ | ~50,000 lb | ★★★★★ |
| 2 | Tile + mortar/thinset | ~3/4 in | 150 lb/ft³ (cementitious + tile mix) | ~9,400 lb | ★★★★☆ |
| 3 | Self-leveler / cementitious underlayment | 1/4 in | 150 lb/ft³ | ~3,750 lb | ★★★★☆ |
| 4 | Vinyl flooring + attached backing (typical teardown) | ~1/8 in | 110 lb/ft³ (vinyl + backing estimate) | ~1,375 lb | ★★★☆☆ |
| 5 | Engineered/wood flooring + underlayment | ~1/2 in | 45 lb/ft³ (wood-rich assembly) | ~1,875 lb | ★★★☆☆ |
| 6 | Carpet + pad (bagged for fiber control) | ~3/8 in (combined) | 35 lb/ft³ (soft goods estimate) | ~1,094 lb | ★★★☆☆ |
| 7 | Adhesive/mastic and mixed residue (when unavoidable) | Variable (residue) | Varies by product | Capacity-driven | ★★★★★ |
How to use this table: treat heavy streams (concrete/tile/self-leveler) as separate disposal categories from softer streams (carpet/pad/wood/vinyl). Even when weights look manageable, mixed residue can still trigger “mixed waste” rules at the facility.
Important note: If you’re planning a roll-off, your bin weight is often dominated by masonry streams; verify exact densities/thicknesses for your actual materials and ask your disposal site for load limits.
Quick Checklist (Scan This Before You Haul Anything Away)
– [ ] Identify flooring type(s): concrete, tile, vinyl, wood, carpet/pad, adhesives/coatings
– [ ] Confirm local acceptance: construction debris vs. household trash (and any special categories)
– [ ] Contain dust and protect the rest of the home
– [ ] Separate loads (at minimum: masonry/concrete vs. finish flooring/misc.)
– [ ] Bag or bundle soft materials (carpet/pad) to reduce fiber spread
– [ ] Label mixed waste so the disposal site can process it correctly
FAQ
Can basement flooring go in regular household trash?
Often it’s treated as construction debris, especially if you’re removing flooring as part of a renovation. Check your local waste rules for whether flooring and underlayment are accepted in regular trash or require a separate bulk/construction stream.
What should I do with adhesive and thinset residue?
Adhesives and mortar usually create “mixed” waste, and many disposal sites have specific acceptance rules for that kind of debris. Keep residue with the associated flooring layer when removal is unavoidable, but separate major material types when possible.
Do I need to separate loads by material?
In many places, yes—masonry/concrete may be accepted separately from other flooring debris. If you don’t separate, the site may reject the load or route it differently than you expect.
What if I find mold or water damage under the flooring?
Mold and water-damaged materials can change how the waste should be handled and contained. For large contamination or ongoing moisture issues, address the source and follow safer remediation/disposal guidance rather than rushing to haul everything out.
Where can I confirm the exact disposal requirements?
Use your local landfill/transfer station and municipality waste guidelines for accepted materials and load rules. If you’re in an older home or unsure about hazardous materials, seek guidance before removing anything that could be regulated.
Disposing of basement floors is mostly about doing two things right: identify what you’re removing, and follow your local facility’s rules for that material as construction debris. Plan for dust control, separate waste streams when possible, and confirm acceptance requirements before hauling. If you want, tell me what type of basement flooring you have (concrete, tile, vinyl, wood, carpet, and approximate layers), and I’ll help you map a safer disposal approach for your specific materials.
Sources
– OSHA, Respirable Crystalline Silica standard (official OSHA regulatory text and compliance guidance).
– EPA, Asbestos NESHAP (National Emission Standards for Hazardous Air Pollutants) (official EPA asbestos regulatory guidance).
– CDC, Mold guidance (official CDC recommendations for mold remediation safety and containment).
– [ADD: source for local construction-debris vs. household-trash acceptance categories from your municipality/transfer station] (needed to confirm your exact disposal stream rules).
Frequently Asked Questions
How do I dispose of old basement floor flooring like carpet, tile, or vinyl?
Start by removing the top layer carefully—cut carpet into small rolls, pry loose tile sections, and lift vinyl sheets without scattering debris. Sort materials as you go: recyclables (some tile/clean concrete chunks), trash-bound waste (vinyl, carpet padding), and hazardous items if present (moldy subflooring, adhesives with questionable composition). Bag and label waste by type so your local disposal site can accept it correctly. If the floor includes asbestos-containing materials (common in older basements), hire a licensed professional before disposal.
What is the safest way to dispose of basement floor debris after demo?
Use protective gear and contain dust by sealing the work area and using a HEPA vacuum for fine particles. Bag debris in sturdy contractor bags or rent a dumpster, and keep sharp fragments like broken tile secured to prevent injuries. For concrete, plaster, or heavy rubble, check whether your hauler accepts it separately because many facilities have weight limits and material sorting rules. If you suspect mold, treat the waste as contaminated and follow local guidance for disposal.
Why do basement floor disposal rules vary by material and age?
Disposal requirements depend on whether the basement floor is normal construction waste or contains regulated substances like asbestos or lead-based coatings. Older basements may have hazardous floor tiles, mastic, or underlayment that require special handling and documentation. Even “normal” materials can be restricted if they’re contaminated by moisture, sewage, or mold, making them unsuitable for standard trash. Always verify acceptance rules with your local landfill, transfer station, or waste management provider.
Which basement floor materials can be recycled, and how should I prepare them?
Some materials may be recyclable or accepted for reuse when they’re clean and sorted, such as certain concrete pieces, stone tile, and uncontaminated metal floor transition strips. Remove tack strips, nails, and adhesives as much as possible, and keep demolition waste dry to avoid contamination. For concrete and masonry, break into manageable sizes and follow facility size/weight requirements. If your basement has moisture damage, don’t assume recycling is allowed—ask about contamination rules first.
What’s the best way to dispose of a concrete basement floor slab?
In many cases, the best approach is to break the slab into smaller pieces and dispose of it as concrete rubble, either via a rented dumpster or through a contractor hauling service that accepts masonry. Call ahead to confirm slab dimensions, maximum weight, and whether the facility requires separation from other debris like drywall or tile. If you plan to reuse concrete, crush it for fill or aggregate only if it’s uncontaminated and suitable for your intended use. If the slab is sealed with chemicals or shows signs of hazardous contamination, test or consult a pro before disposal.
📅 Last Updated: October 11, 2026 | Topic: How to dispose of basement floors? | Content verified for accuracy and freshness.
References
- Google Scholar Google Scholar
https://scholar.google.com/scholar?q=basement+floor+disposal+demolition+debris+guidance - Google Scholar Google Scholar
https://scholar.google.com/scholar?q=asbestos+floor+tile+removal+disposal+EPA+guidance - Google Scholar Google Scholar
https://scholar.google.com/scholar?q=moldy+basement+flooring+removal+disposal+cleaning+guidelines - https://www.epa.gov/asbestos/asbestos-building-demolition-and-renovation
- Asbestos | US EPA
https://www.epa.gov/asbestos - https://www.epa.gov/smm/sustainable-management-materials-construction-and-demolition-debris
- Mold | US EPA
https://www.epa.gov/mold - Asbestos – Overview | Occupational Safety and Health Administration
https://www.osha.gov/asbestos - https://www.cdc.gov/nceh/lead/default.htm
- Google Scholar Google Scholar
https://scholar.google.com/scholar?q=How+to+dispose+of+basement+floors?