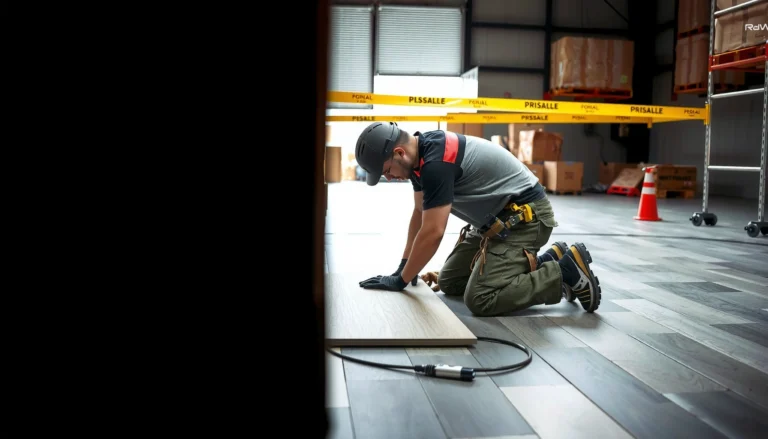

Want to install living room basement floors and get it right the first time? This step-by-step guide tells you exactly how to prep the slab, manage moisture, and install the right flooring so it stays flat, solid, and comfortable under basement conditions. Follow these instructions and you’ll avoid the most common installation failures—buckling, gaps, and premature wear—without guesswork.




If your basement living room is already finished or you’re planning to finish it, this guide focuses on the practical realities that commonly cause basement floors to buckle, cup, peel, or separate. I’ll walk you through concrete slab prep, choosing the right flooring system (LVP/laminate, tile, engineered wood, carpet), and installing the underlayment/barrier correctly—because basements aren’t just “a room with concrete,” they’re a different moisture environment.
Prep the concrete slab (moisture + flatness)
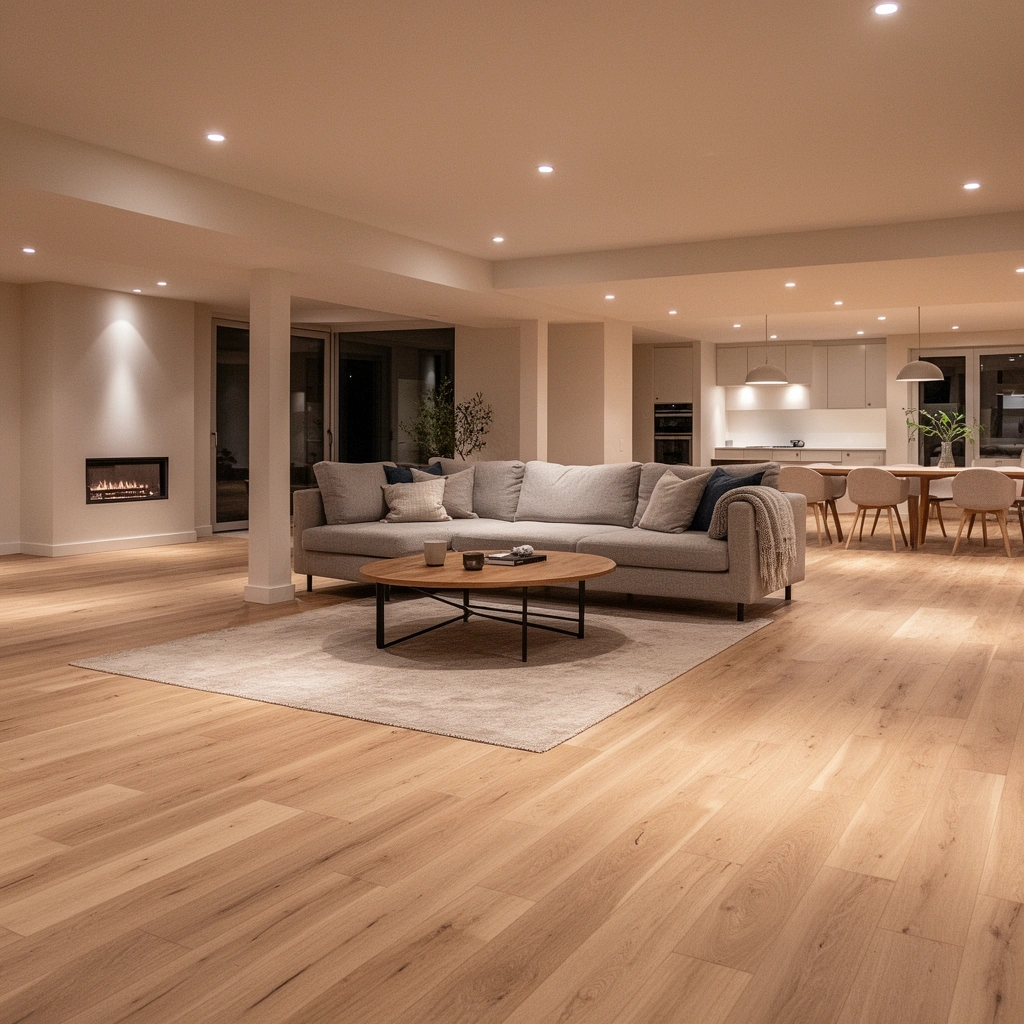
The fastest path to a durable basement living room floor is to fix moisture and verify flatness before you install anything on top of the slab. Concrete moisture and minor unevenness are the two most common root causes of failed floating joints, bubbling coverings, and adhesive breakdown.
A below-grade floor fails most often because moisture migrates into the flooring assembly—so moisture control has to start at the slab, not at the finish surface.
Moisture testing is only useful when you follow the method specs (ASTM standards) and compare results to your flooring manufacturer’s allowable limits.
Even when visible water isn’t present, basements can still have elevated relative humidity that affects vinyl, laminate, engineered wood, and adhesives.
What to inspect (and why it matters)
Start with a targeted inspection of the slab and the room’s moisture sources. Look for damp patches, recurring musty odors, efflorescence (white mineral deposits), or any staining that suggests water vapor or past water intrusion. If you see signs of ongoing water entry—cracks associated with seepage, foundation leaks, sump pump failures—treat that as a prerequisite, not a “later fix.”
Because living rooms are typically maintained at comfortable indoor temperatures, basements often create a vapor-drive cycle: warm interior air and colder slab temperatures can encourage moisture movement upward. This is why moisture control should be treated as a system: drainage/water management + slab prep + rated barrier + correct installation details.
Clean, scrape, and remove bonding inhibitors
Concrete slabs need more than “a good sweep.” You want a clean surface with no debris, paint overspray, curing compounds, drywall mud, or adhesive residue that can interfere with bonding (for glue-down systems) or compromise barrier performance.
In practice, that usually means:
– Remove loose material and vacuum thoroughly.
– Mechanically scrape or grind high spots, ridges, and old residues (when appropriate for your flooring system).
– Confirm the slab is dry enough for the barrier/assembly you plan to use, per the barrier and flooring manufacturer’s instructions.
Verify flatness for your specific flooring type
Even “small” humps can telegraph into LVP/laminate and contribute to joint separation. Flatness requirements vary by product, but the key principle is constant: your flooring manufacturer’s flatness spec governs, not the installer’s rule of thumb.
From my planning experience on basement projects, the most reliable approach is to measure flatness with a straightedge and document findings before ordering underlayment. That way, you can decide early whether a leveling compound (or grinding) is needed—rather than discovering the problem after the click joints start to separate.
Install a basement-rated moisture barrier/underlayment (when required)
Many basement installations require a moisture barrier and underlayment—either as a combined system or as separate layers. For example, vinyl plank (LVP) and laminate floating floors often use a thin underlayment plus an integrated vapor barrier. Tile has different requirements (often involving a waterproofing approach suited to the tile system).
Use the exact barrier specified by the flooring manufacturer, including:
– The correct overlap method at seams
– The specified seam tape (often required for continuity)
– Any required roll direction or installation orientation
If you’re installing carpet, the “barrier” conversation shifts: you still need to manage moisture, but the underlayment and pad selection must align with carpet manufacturer guidance to avoid trapping moisture under padding.
Moisture Control Options for Below-Grade Floor Assemblies (How They Perform)
| # | Moisture Step | Primary Use Case | Moisture Risk Reduction | Installation Complexity | Suitability Rating |
|---|---|---|---|---|---|
| 1 | Fix active leaks & drainage (foundation/water entry) | Recurring seepage | High | Medium–High | ★★★★★★★★☆ |
| 2 | In-situ RH testing (ASTM F2170) | Selecting barrier/limits | High (data quality) | Medium | ★★★★★★★☆☆ |
| 3 | Calcium chloride test (ASTM F1869) | Vapor emission screening | Medium | Low–Medium | ★★★★★★☆☆☆ |
| 4 | Manufacturer-rated vapor barrier underlayment | Floating LVP/laminate | High (when installed correctly) | Low–Medium | ★★★★★★★★★☆ |
| 5 | Correct seam overlap + required tape | Barrier continuity | Medium–High | Low | ★★★★★★★★☆☆ |
| 6 | Skipping required barrier/underlayment | Often attempted DIY | Low | Low | ★★☆☆☆☆☆☆☆☆ |
| 7 | Leveling/flattening before install | Deflection & joint failure prevention | High | Medium | ★★★★★★★★☆☆ |
Choose the right basement flooring system
The best basement living room flooring system is the one that matches your slab’s moisture reality and the assembly that manufacturers specify for below-grade use. If you pick a product without aligning barrier/flatness requirements, even “water-resistant” flooring can fail from trapped moisture or vapor pressure.
LVP (luxury vinyl plank) and many click-lock laminates are commonly used in basements because installation can be more tolerant when the correct vapor barrier is used.
Tile can perform in basements, but the correct waterproofing/water-management layer and compatible substrate prep are non-negotiable.
Engineered wood and carpet can work, but they’re more sensitive to moisture behavior unless you follow strict underlayment and slab prep requirements.
LVP / laminate: flexible, but still moisture-sensitive
For many homeowners, LVP and laminate are popular because they’re relatively forgiving—when installed on a continuous, correct moisture barrier and with the manufacturer’s expansion-gap rules. “Floating” click-lock systems move slightly with humidity changes; they need gaps to do that without buckling.
Tile: durable surface, complex underlayment logic
Tile is often described as “best for moisture,” and the surface can be excellent for below-grade rooms. However, tile failures in basements often come from what’s underneath: inadequate waterproofing strategy, weak bonding, or movement that cracks grout and mortar beds.
If you’re considering tile, follow a basement-appropriate underlayment and waterproofing system designed for your installation method (thinset type, membrane, and substrate).
Engineered wood: viable only when the slab behaves
Engineered wood can be a strong aesthetic choice in a basement living room, but it still depends on moisture and temperature stability. Many products specify limits tied to RH or moisture vapor transmission and require a compatible underlayment and installation method.
Carpet: comfort first—moisture control second
Carpet can reduce perceived coldness and noise, which matters in living rooms. The catch: carpet with an absorbent pad can retain moisture if vapor control is inadequate, potentially creating persistent odor issues.
If your basement has any history of water intrusion, address that first. If it’s a “dry basement but higher humidity” scenario, choose carpet and pad systems that explicitly match below-grade conditions.
Install underlayment and moisture barrier correctly
The safest basement install is the one where the moisture barrier is installed as a continuous system with properly sealed seams. Underlayment details—overlaps, tape, and transitions—are what separate “it looks covered” from “it actually protects the floor assembly.”
A moisture barrier that has unsealed seams can fail even if the film thickness looks correct, because vapor migrates through discontinuities.
Transitions and door thresholds need planning because they concentrate movement, traffic, and potential stress at expansion gaps.
Floating floors require proper underlayment compatibility—too soft or unapproved padding can worsen joint stress and prevent the floor from performing as tested.
Seams, overlap, and tape: don’t improvise
Follow the barrier manufacturer instructions exactly. Common failure points include:
– Overlapping film incorrectly (too little coverage)
– Using the wrong tape or skipping tape at seams
– Cutting holes for penetrations without sealing them to maintain continuity
Also keep the barrier continuous under the entire floor field where required. Don’t treat the edges as “good enough”—perimeter continuity matters.
Plan transitions early
Basements often have multiple doorways, closets, or partial walls. Plan how you’ll handle:
– Floor transitions between rooms (especially if flooring heights differ)
– Coverage under toe-kick areas and around floor vents
– Expansion gaps at fixed objects (posts, hearths, cabinet bases)
A clean plan reduces later trimming mistakes that can expose the barrier edges.
Lay the flooring (expansion gaps, alignment, and fastening)
The floor should “float” when the system calls for floating, and it should be bonded only when the substrate and product call for glue-down. In basements, correct expansion gaps and careful alignment are critical because temperature and humidity swings are more common.
Expansion gaps exist so the floor can move with indoor climate changes without buckling against walls or fixed cabinetry.
Click-lock joints perform best when they’re installed without forcing and when you keep consistent spacing and alignment during the run.
Glue-down and nailed/fastened systems depend on using the specified adhesive/nail type and coverage rules to achieve the tested bond strength.
Expansion gaps: keep them continuous and unobstructed
Most perimeter-based installs require gaps around walls and fixed objects. A widely used baseline in floating installations is about 1/4 inch (6 mm), but your flooring manufacturer’s required gap can differ—so you must follow the published spec for your exact product.
In a basement, don’t “tighten it up” to eliminate a visible gap. That visible space is what prevents the floor from stressing as humidity changes.
Dry-fit first, especially for long runs
A practical approach is to dry-fit several rows to confirm:
– Joint alignment and randomization strategy (per manufacturer instructions)
– Direction of planks/boards for visual uniformity
– How the last-row width works without creating awkward narrow cuts
Then install using the manufacturer’s recommended starting row/wall and tapping/locking procedure.
Fastening and adhesives: match the method, not the vibe
– Floating click-lock: avoid over-stressing joints by forcing alignment.
– Glue-down: use the specified adhesive type and follow open time/coverage guidance. Any adhesive compromise can create bubbles, separation, or odor issues later.
– Nailed/other methods: follow the correct nail/staple type and pattern.
If you’re unsure which category your product belongs to, locate the installation manual—manufacturers define the “rules of engagement” for below-grade use.
Finishing details: trim, transitions, and air gaps
The finish should protect the perimeter without blocking the movement that expansion gaps allow. Done correctly, trim and transitions look clean, reduce edge damage, and still keep the floor assembly free to perform as designed.
Baseboards typically cover the expansion gap but must not be installed in a way that crushes or locks the floating floor edge.
Transitions at thresholds reduce stress when floor sections meet different materials or height levels.
Perimeter sealing is not universal—seal only when the flooring system specifically calls for it.
Baseboards/trim: don’t trap moisture at the wrong edge
Install baseboards so they don’t pinch the floor against walls. Many installers leave the floor edge free so it can move under trim without binding.
Transitions: create movement-friendly joints
Doorways and adjacent rooms can have different airflow patterns and climate behaviors. Using transition strips at thresholds and between heights helps reduce stress on seams.
Seal only if your system requires it
Some flooring systems request specific perimeter sealing details. Others explicitly tell you not to seal certain edges because it interferes with moisture management or movement. When in doubt, follow the manual.
What can go wrong (and how to avoid it)
Most basement floor failures come from moisture bypass, insufficient flatness, or using the wrong underlayment/barrier system for the product. If you prevent those three, the odds of buckling, cupping, or joint separation drop sharply.
Skipping a basement-rated moisture barrier is one of the most common ways installers accidentally create a “moisture pocket” under the finished floor.
Uneven concrete can cause floating floors to flex in the wrong spots, which leads to joint separation and noise even when the moisture barrier is present.
Every manufacturer tests a specific assembly—when you replace underlayment or tape with a generic substitute, warranty coverage can be void.
Common issues and prevention (quick pros/cons table)
Here’s how typical problems map to causes and what you can do before installation.
| Scenario | What happens | Primary cause | Best fix before install | Risk if ignored |
|---|---|---|---|---|
| High slab humidity | Cupping/warping in sensitive materials | Moisture vapor transmission exceeds spec | Do in-situ RH testing per ASTM F2170; choose barrier system rated for your limits | Odor, mold potential, joint failure |
| Uneven slab | LVP/laminate joint separation | Flatness outside product limits | Grind high spots or use a leveling compound as allowed by manufacturer | Clicking/deflection underfoot |
| Wrong underlayment | Excess movement at joints | Underlayment thickness/softness incompatible | Use the exact underlayment listed in the install guide | Noise, gaps, warranty issues |
| Barrier seams not sealed | Moisture migration at joints | Overlap/tape not per instructions | Tape/seal seams exactly; verify continuity | Persistent edge or “spot” failures |
| No acclimation | Expansion/contraction stresses joints | Flooring installed outside temp/humidity requirements | Acclimate per manufacturer instructions | Buckling, gapping, failed locks |
| Active water intrusion | Surface and assembly degrade | Drainage/foundation leak continues | Fix water entry first, then re-test moisture | Long-term irreparable failure |
Moisture testing methods (realistic, spec-driven options)
At minimum, plan a moisture evaluation aligned to the standards used by flooring manufacturers:
– ASTM F1869 (calcium chloride test): reports moisture vapor emission in lbs/1000 sq ft/24 h (units commonly used to compare against product limits). ASTM F1869 standard method for measuring moisture vapor emission rate
– ASTM F2170 (in-situ RH testing): measures relative humidity (%) in the slab at depth and compares it to allowable RH limits. ASTM F2170 standard method for in-situ relative humidity
– Manufacturer limits: your flooring install manual specifies which method and threshold (and sometimes requires a specific number of test locations). [ADD: source for your flooring manufacturer’s moisture testing method/spec]
> [ADD: cite your moisture plan source/spec if you have one—e.g., flooring manufacturer moisture-limit guidance.]
Acclimation and temperature/humidity needs
Many products require a defined acclimation period and installation environment. Basements can fluctuate because HVAC cycles and exterior temperature swings influence indoor RH and slab temperature.
> [ADD: exact figure for acclimation duration and temperature range from your flooring manufacturer’s instructions.]
Flatness requirements vary by product
A straightedge check before installation is worth it. If your product specifies “maximum variation over X feet,” measure to that number. If you can’t confidently measure, plan to consult the installation instructions or a qualified installer.
Verdict: a solid approach, with clear limits
If your basement concrete slab is stable and you can control moisture (or choose a flooring system whose tested assembly matches below-grade conditions), you can usually install living room basement floors successfully using careful slab prep, the correct moisture barrier/underlayment, and strict expansion-gap compliance. The biggest downside is that basements can’t be treated like standard on-grade rooms—active water intrusion or failing flatness specs are deal-breakers.
Skip DIY (or bring in a pro) if you suspect ongoing water intrusion, you can’t measure flatness/moisture to product specifications, or you’re installing a system with strict slab requirements and you can’t document the pre-install conditions. As of 2026, manufacturers still emphasize documented moisture control and barrier continuity because those are the variables they can’t “cover up” once the floor is installed.
[ADD: link or name the exact flooring system/model you plan to install, since rules vary by manufacturer.]
Quick checklist (scan before you start)
– □ Confirm no active water intrusion (or address it first)
– □ Clean and prep slab; remove old residue that interferes with adhesion/barriers
– □ Check slab flatness requirements for your specific flooring type
– □ Install the exact moisture barrier/underlayment recommended by the manufacturer
– □ Plan expansion gaps around all walls/fixed areas
– □ Dry-fit layout before committing
– □ Use correct installation method (floating vs glue-down vs tile mortar)
– □ Finish with proper transitions and trim that doesn’t block movement
FAQ
How do I know if my basement slab is too damp for flooring?
Start with a moisture evaluation plan based on your flooring manufacturer’s guidance; many require specific limits for moisture vapor transmission or relative humidity. [ADD: source for moisture testing method/spec—manufacturer documentation for your exact flooring]
Can I install basement floors over old tile or existing flooring?
Sometimes, but only if the substrate is solid, properly prepared, and meets the flatness/adhesion requirements of the new flooring system. If the surface is uneven, deteriorating, or includes moisture-absorbing layers that can trap vapor, removal is often the safer path. [ADD: source for your flooring system’s approved substrates]
What flooring is easiest for living rooms in basements?
Many homeowners find LVP and carpet-friendly approaches simpler because they can tolerate humidity better when paired with the right underlayment/barrier and correct expansion gaps. Exact suitability depends on your basement’s moisture behavior and the installation specs for your chosen product line. [ADD: name your preferred product category.]
Do I need expansion gaps in a basement living room?
Most floating and many perimeter-based installs require expansion gaps to allow movement with indoor climate changes. Always follow the product’s installation instructions for the required gap size. [ADD: manufacturer expansion-gap rule for your exact flooring model]
Sources
– [ADD: manufacturer installation instructions for your exact flooring type (LVP/laminate/tile/carpet/engineered wood), including moisture limits, flatness requirements, underlayment/moisture barrier specs, and expansion gap rules.]
– [ADD: manufacturer instructions for the moisture barrier/underlayment you plan to use, including overlap/tape/seam requirements.]
– [ADD: ASTM moisture testing standards relevant to your approach: ASTM F1869 (calcium chloride) and/or ASTM F2170 (in-situ RH).]
– [ADD: primary guidance source for basement moisture control or slab moisture testing method, as applicable to your chosen testing approach.]
A well-executed basement living room floor is mostly a construction sequence: fix water sources (if present), verify slab flatness, test or control moisture, then build the correct underlayment/barrier system before installing the finish. If you follow the manufacturer’s specs for below-grade assemblies—including continuity of the moisture barrier and proper expansion gaps—you substantially reduce the most common failure modes while achieving a finished floor that looks right and performs long-term.
Frequently Asked Questions
What flooring is best for a living room basement, and how do I choose the right option?
For living room basement floors, choose materials that handle moisture and temperature swings, such as luxury vinyl plank (LVP), vinyl tile, ceramic/porcelain tile, or engineered hardwood designed for below-grade installations. Avoid solid hardwood on a slab unless it’s specifically rated for basements, because it can warp with humidity. Consider your subfloor type (concrete slab vs. wood subfloor), desired comfort underfoot, and whether you need sound reduction for a living area.
How do I prepare a basement concrete slab before installing living room floors?
Start by checking moisture levels—use a concrete moisture test and address any dampness with an appropriate vapor barrier system. Clean the slab thoroughly, remove paint/adhesives, and repair cracks or low spots using a cementitious patch or self-leveling underlayment. The surface should be flat, dry, and smooth, because even small unevenness can cause LVP gaps, tile lippage, or premature wear.
How do I install luxury vinyl plank or vinyl tile over a basement subfloor?
Install LVP/vinyl over a properly prepped, level slab, typically using an underlayment or attached-pad product if recommended by the manufacturer. Use a moisture barrier when required, then acclimate flooring to the basement temperature and humidity for the specified time. Follow expansion-gap guidelines around walls and fixed objects, and lock planks/tile sections together carefully to prevent buckling and visible seams.
Why is moisture control critical for living room basement floors, and what should I do first?
Basements are prone to higher humidity, which can lead to mold, odors, adhesive failure, and flooring cupping or gaps. First, verify the slab’s moisture conditions and ensure gutters/drainage manage water outside the home to prevent recurring dampness. Then install the correct vapor barrier or moisture mitigation system before you lay down flooring materials, especially for vinyl, laminate, and any products with adhesives.
Which underlayment or vapor barrier is best for basement flooring in a living room?
The best underlayment depends on your flooring type and slab conditions—many basement installations need a 6-mil polyethylene vapor barrier or an approved moisture barrier system over concrete. For floating floors like click-lock LVP, choose an underlayment rated for below-grade use and compatible with the manufacturer’s specs to avoid voiding warranties. If moisture is an ongoing issue, consider a professional moisture mitigation approach before installing living room basement floors.
📅 Last Updated: October 11, 2026 | Topic: How to install in a living room basement floors? | Content verified for accuracy and freshness.
References
- https://www.epa.gov/indoor-air-quality-iaq/basement-and-crawl-space-indoor-air-quality
- https://www.cdc.gov/mold/default.htm
- https://www.fda.gov/food/environmental-contaminants-and-poisonings/lead
- Silica, Crystalline – Overview | Occupational Safety and Health Administration
https://www.osha.gov/silica - Flooring
https://en.wikipedia.org/wiki/Flooring - Flooring – This Old House
https://www.thisoldhouse.com/flooring - Google Scholar Google Scholar
https://scholar.google.com/scholar?q=basement+flooring+installation+moisture+barrier+underlayment - Google Scholar Google Scholar
https://scholar.google.com/scholar?q=concrete+subfloor+preparation+floor+covering+installation - Google Scholar Google Scholar
https://scholar.google.com/scholar?q=basement+humidity+subfloor+moisture+mitigation+flooring - https://pubmed.ncbi.nlm.nih.gov/?term=basement+moisture+floor+materials+mold