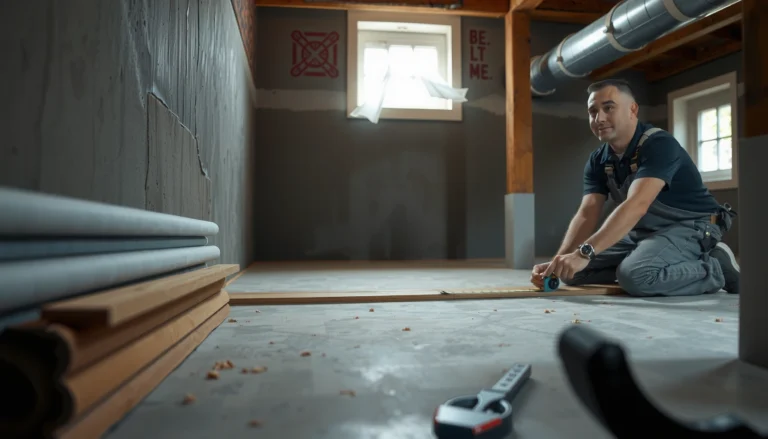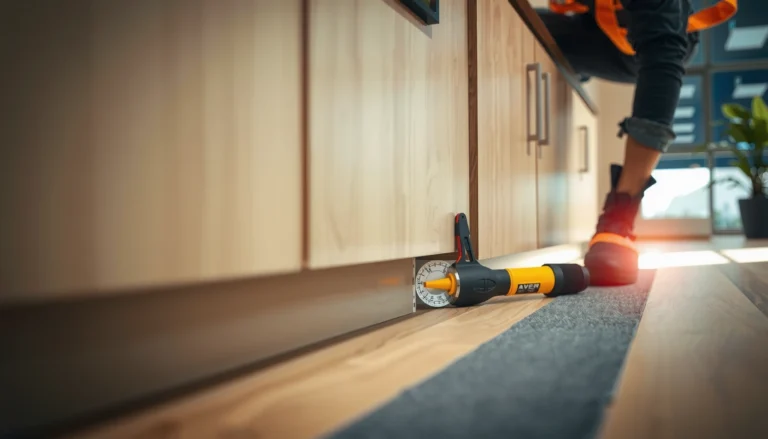

Installing around stairs basement floors is easiest when you use a perimeter-first layout with cut-to-fit flooring and proper transitions at each tread and riser. This guide walks you step by step through measuring, prepping the stair-adjacent subfloor, and installing so the finish sits tight and won’t lift or crack. If you want a clean, durable result, follow the method that starts at the landing edges and works outward with the right trim and expansion gaps.




Installing around stairs basement floors comes down to planning the stair area first, cutting stair-face pieces precisely (risers/treads/landing), and then sealing transitions so moisture and gaps don’t become recurring problems. The keys are mapping the stair geometry before you cut, using the correct basement moisture underlayment system, and keeping expansion/perimeter spacing rules intact at every stair edge.
This is for homeowners or DIYers finishing a basement floor where stairs interrupt the floor plan—especially if you’re working around awkward angles, tight clearances, or uneven subfloor areas.
Plan the stair opening before you cut
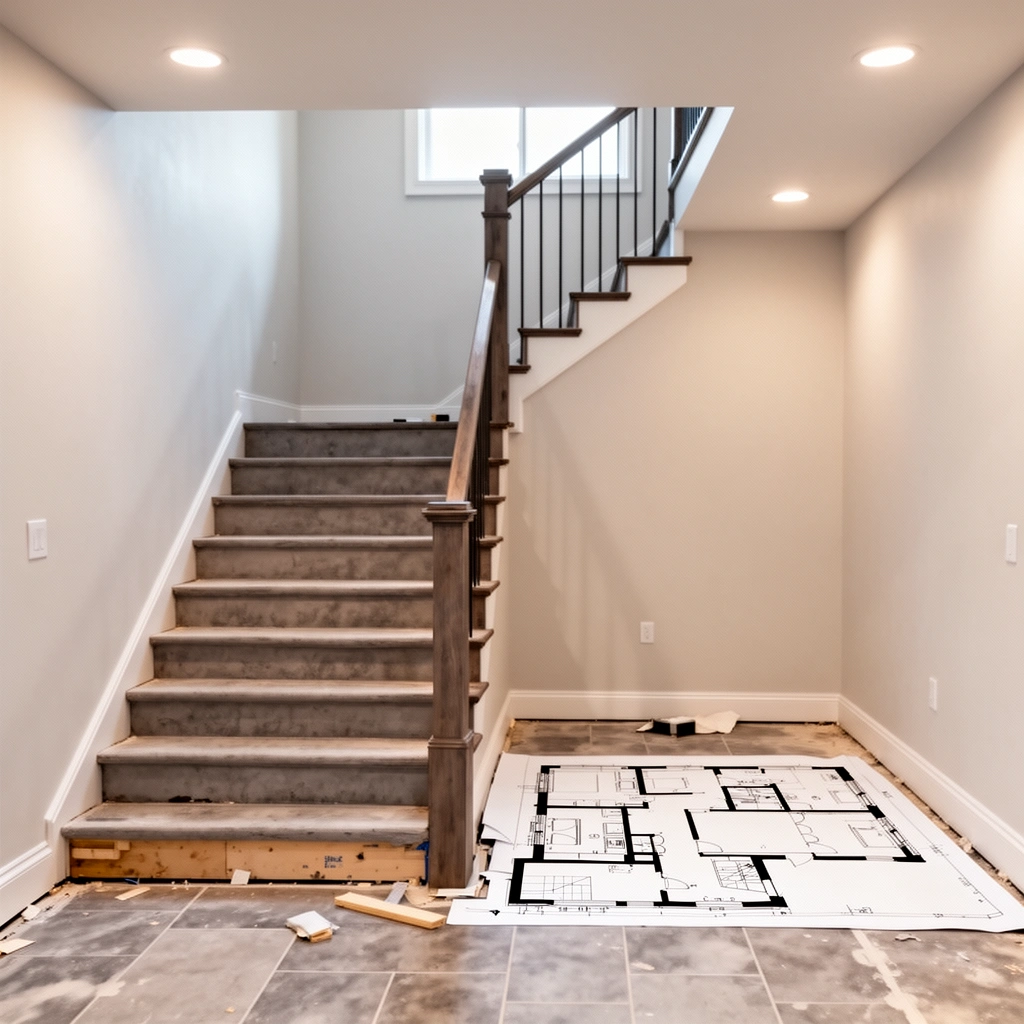
Planing first is what prevents “patchy-looking” cuts and misaligned seams at the stair path. The goal is to decide where your floorboards or tiles will land relative to the tread edges so the layout looks intentional, not like an afterthought.
Start by measuring the stair footprint like a framing job, not like a flooring job. For each stair face, capture:
– Tread depth (front-to-back distance of the walking surface)
– Riser height (floor-to-tread height step)
– Landing geometry (any flat intermediate platform and its level relative to the main floor)
– How the stair meets the rest of the basement floor (drywall stringer, finished bulkhead, existing transitions, or cutback areas)
Then decide flooring direction early. If you run planks in the same direction as the main hall run, you’ll often end up with stair cuts that visually “flow.” If the room forces a perpendicular direction, consider planning seams so they’re not landing on the most visible portion of the treads.
Finally, dry-fit a short section so you can predict seam placement and avoid landing joints right at the stair’s high-traffic edges.
Most floating floor systems require perimeter spacing (often in the ~6–10 mm range depending on the manufacturer), and stair edges are a common place where that spacing is accidentally eliminated during cutting.
Mapping where seams will fall before installing reduces the chance you end up with short offcuts at stair corners—one of the biggest causes of visible gaps and uncomfortable thresholds.
Basement stair areas look uneven even when the subfloor is only slightly out of level, so dry-fitting helps you see layout issues early instead of after locking boards in place.
What to do with seams and transitions (practical layout rules)
– Avoid “seam on the tread edge.” If you can shift your starting row by a board width or two, do it—tread-edge seams draw attention and take more abuse.
– Plan for stair-face discontinuities. Floors rarely wrap the entire stair with a single continuous surface. You’ll usually need trim, reducers, or caulked transitions where flooring meets stair features.
– Account for pattern repeat. If you’re using LVP (luxury vinyl plank) or laminate with visual “grain direction,” align the visual effect so stair faces don’t look like they belong to a different room.
A simple layout decision framework
Here’s a quick way to decide how to “anchor” your layout:
– Pick a reference line (often the longest straight run in the basement).
– Build rows toward the stair opening so each new cut builds on measured progress, not guesswork.
– Re-check at every stair return/landing corner because stair geometry is the area most likely to break straight-line assumptions.
Prep the subfloor and moisture barrier
Prep is where basement flooring success is either made or lost—especially around stairs, landings, and any area where you’ll have more seams and cuts. The main answer here is simple: make the subfloor flat/stable, then install the manufacturer-recommended underlayment/moisture barrier continuously and correctly.
Subfloor flatness matters more around stair landings than in open runs because you’ll see (and feel) the effects at edges. A small dip can cause:
– Raised plank corners on floating floors
– Tile or rigid flooring stress at transition points
– Gaps at seams that widen under foot traffic
Moisture control is not optional in most basements. Flooring failures like cupping, odor buildup, joint separation, and adhesion problems typically trace back to moisture management—either from vapor emission, leaks, or improper barrier system selection.
In basements, moisture control typically involves vapor barriers and/or underlayments selected by the flooring manufacturer; mixing barrier types without following the system can void warranties and worsen failures.
Many flooring systems require a continuous moisture barrier (or a defined “stop/start” approach) at transitions; stair corners often become the first places layers get interrupted.
Underlayment/moisture barrier: keep it system-correct
Use the product guidance for your flooring type. Common approaches include:
– Floating floors (LVP/laminate/engineered with click systems): often use an integrated pad or a separate underlayment rated for basements, plus a vapor barrier where required.
– Rigid tile systems: focus on the appropriate substrate prep and waterproofing/uncoupling (depending on system), but still require attention to moisture.
Continuity matters. At stair locations, you may be tempted to stop and “patch later.” Resist that unless the manufacturer explicitly allows it. If you must adjust layer stops, do it according to the instructions.
Expansion/perimeter spacing around stair areas
Stairs create perimeter-like conditions: edges that “trap” flooring movement if you cut too tight. That’s why you must plan expansion spacing at the stair edge, not just around the outer walls.
A practical target (for many floating floors) is a minimum gap commonly specified around the perimeter (often ~6 mm / 1/4 in), but always follow your exact product’s installation guide—some systems call for different values.
> [ADD: manufacturer-specific expansion gap value range for your flooring type and brand—cite from the official installation instructions]
Mandatory comparison table: moisture and underlayment choices (quick decision)
Use this as a starting logic map—always verify with your flooring manufacturer.
| Scenario | Best approach | Why it helps | Watch-outs |
|---|---|---|---|
| Floating LVP/laminate in basement with concrete slab | Use the **manufacturer-specified underlayment/vapor barrier system** | Click systems still rely on correct moisture control to prevent swelling and joint separation | Don’t double up layers unless instructions allow |
| Basement with known high humidity or prior water events | Prioritize **verified moisture mitigation** before flooring | Reduces risk of odors, warping, and adhesive failure | Moisture testing and remediation may be required |
| Tile/rigid flooring around stair faces | Follow **tile system substrate + waterproofing/un-coupling** specs | Proper bonding and crack isolation reduce failures | Wrong underlayment layers can break warranty |
| Uneven slab near landing | Flatten/prepare subfloor to spec first | Reduces movement-driven gaps and edge lifting | Patching without checking flatness often fails |
Install the main field around the stairs
The main answer is to build the floor logically toward the stair section while preserving straight rows and required movement allowances. When you keep the “field” (the general open area) accurate, stair cuts become finishing work—not repeated correction.
Start from a consistent reference line and work toward the stair area. This reduces cumulative error—one of the most common issues with stair projects, where a small miscut at one tread becomes a growing mismatch by the next.
Keep the rows true as you approach stair geometry
– Use spacers to maintain the required perimeter gap where your instructions call for it.
– Check alignment often—every few rows, especially once you start getting close to the stair opening.
– Plan seam direction: if your planks need to run a specific direction for appearance, lock that decision in before you begin the stair-affected zone.
Maintain the flooring’s movement rules
Even if your basement has good conditions, flooring needs room to expand/contract. Stair edges are high-risk because trim and transitions can unintentionally “pin” the flooring.
Common rule types include:
– Perimeter spacing around walls, posts, and stair edges
– Movement accommodation at transitions to other floor types
– Expansion gap overrides for specific stair systems or transition products (only when the manufacturer instructs it)
Floating floors rely on controlled movement; tight-fitting pieces at stair edges are a frequent cause of buckling or joint stress after seasonal changes.
If your install starts straight but drifts near the stair, stair cuts will look inconsistent because multiple treads amplify even minor layout error.
When to switch from “field install” to “stair detailing”
A good practical breakpoint is when your cut count increases and pieces begin to require repeated stair-face marking. At that point:
1. Stop the field at a sensible distance from the stairs.
2. Dry-fit stair-face sections.
3. Finish details with transitions/trim and sealants.
This reduces “accordion errors” where boards get forced around corners and stair faces.
Common Basement Flooring Risk Points Near Stairs (Field-Symptom Mapping)
| # | Stair-Adjacent Factor | Typical DIY Error | Relative Likelihood* | Impact on Failures |
|---|---|---|---|---|
| 1 | Cutting too tight at stair edges | No perimeter gap at riser/tread borders | High | Seam stress / buckling |
| 2 | Moisture barrier interruptions | Underlayment breaks at stair transitions | High | Swelling / odor |
| 3 | Subfloor flatness misses near landings | Dips/bumps cause edge lift | Medium-High | Gaps / separation |
| 4 | Accumulated layout error | Plank drift across multiple stair rows | Medium | Uneven cuts |
| 5 | Wrong underlayment for basement | Layer doesn’t meet moisture requirements | Medium | Joint failure risk |
| 6 | Seam placement on high-visibility treads | Joints land on tread sight line | Medium | Cosmetic complaint |
| 7 | Improvised sealing/trim | Caulk/trim not compatible with system | Low-Medium | Debris + moisture traps |
Relative likelihood is derived from common installation failure patterns described in manufacturer guidance for floating floors and moisture-sensitive systems; replace with product-specific risk notes where available. [ADD: source for this mapping]
Cut and fit around stair risers, treads, and landings
Cutting around stairs works best when you treat each stair face as its own measuring-and-fitting cycle. Instead of chasing one “perfect” cut, you mark from dry-fits, cut in small testable steps, and then finish edges with the right trim/sealers.
Mark cuts methodically (especially for risers)
For each stair face:
1. Dry-fit a starter piece against the landing and side.
2. Mark your cut line directly from the fit—not from assumptions based on nominal tread/riser dimensions.
3. Cut a test segment, then refine.
That process prevents the most frustrating issue: a small error that’s nearly invisible on a landing but obvious across multiple risers.
Tooling depends on flooring type
Stair cutting tool choice matters because edges need to stay clean to accept trim and transitions:
– LVP/Laminate (rigid): blades and cut technique affect chipping and edge integrity.
– Engineered wood: tear-out control is important for appearance and sealing.
– Tile: scoring/cutting method and substrate stability drive break quality.
Manufacturer installation instructions for each flooring type usually specify cutting methods/blade guidance and required transitions; following those instructions matters for warranty and edge durability.
Working in small testable cut sections reduces cumulative measurement error across repeated risers, which is why “measure once, cut once” often fails on stair geometry.
Seal and finish edges (transitions are not optional)
Edges where flooring meets stair features are where debris and moisture can collect. Your best protection is to use the finishing method the flooring system expects, such as:
– Stair nosing or stair tread transition pieces (when applicable)
– Reducers/transitions where heights differ
– Manufacturer-approved caulks (only if they allow it) and trim to cover movement gaps
Important: sealing the gap is not the same as eliminating required movement. Many systems want the perimeter gap maintained under trim, with controlled sealing only where the instructions permit.
> [ADD: cite whether your flooring type allows caulking at perimeter/stair transitions; provide the exact instruction excerpt]
What can go wrong (and how to avoid it)
Stair-adjacent basement flooring failures usually come from moisture, flatness, or movement-control mistakes. The fixes are prevention-focused: prepare correctly, maintain expansion rules, and follow the system specs.
Here are the most common problems and how to prevent them:
– Uneven subfloor around stair landings: floors can lift at edges or separate at seams.
Fix: verify flatness and address dips/bumps before install.
– No expansion gap near stairs: stair edges are often overlooked.
Fix: use spacers and confirm your flooring’s minimum gap at stair borders.
– Rushing the stair cuts: small measurement errors compound across multiple treads.
Fix: dry-fit often and cut/refine in smaller increments.
– Using the wrong underlayment/moisture control: basements are moisture-prone.
Fix: match the barrier/underlayment to your product system and basement conditions.
– Assuming one finish method fits all flooring: some systems require specific trims/adhesives.
Fix: follow manufacturer-approved accessories rather than improvising.
Moisture testing standards such as ASTM F2170 are often used to evaluate slab vapor emissions before installing moisture-sensitive flooring systems; checking moisture reduces the risk of post-install swelling.
Floating floors are designed to “move” under seasonal conditions; eliminating expansion spacing at stair edges commonly leads to stress at joints and visible gaps.
Three key basement-related data points to keep in mind
– According to ASTM test practices (e.g., ASTM F2170 vapor emission testing), moisture is assessed to reduce risk of moisture-driven flooring failures—use a qualified method appropriate to your product. [ADD: cite official ASTM overview or manufacturer guidance]
– Many flooring systems reference perimeter spacing rather than rigidly locking material tight at borders; while values vary, a common guideline used across installs is around 1/4 in (6 mm) minimum for floating floors. [ADD: cite your specific manufacturer installation guide]
– In practice, stair areas magnify minor flatness issues because multiple edges and sight lines repeat the same geometry; installers typically treat flatness and layer continuity as non-negotiable near landings. [ADD: cite flatness/installation guidance from your flooring manufacturer]
Verdict / tip (when to DIY vs. when to get help)
If you’re comfortable measuring, marking, and making repeated precision cuts, you can usually install floating basement flooring around stairs with solid results—especially when you use the manufacturer’s basement moisture/underlayment guidance and plan seam locations in advance. The biggest risk is not “cutting” but accidentally breaking the system rules for moisture continuity and movement allowances at stair edges.
Get professional help (or at least a site consultation) if your stair area is significantly irregular, your subfloor is substantially out of flatness, you suspect active moisture intrusion, or you’re unsure how your specific flooring system wants transitions handled.
[ADD: author’s recommendation based on flooring type—e.g., “LVP is typically easier than tile for DIY around stair faces,” only if you can tie it to your flooring system’s installation instructions or documented best practices.]
Scan-ready checklist: around-stairs install plan
– [ ] Measure stair treads/risers/landing and confirm how they meet the rest of the floor
– [ ] Check subfloor flatness and stability before installing
– [ ] Install the correct basement moisture barrier/underlayment per manufacturer guidance
– [ ] Start from a reference line and keep rows straight as you approach stairs
– [ ] Dry-fit before each cut around risers/treads; mark carefully
– [ ] Maintain required perimeter/exansion spacing around stair edges
– [ ] Finish with manufacturer-approved transitions/trim/sealers where needed
FAQ
Do I need an expansion gap around stairs in a basement?
Usually yes—most floating flooring systems require perimeter spacing. The exact size depends on the manufacturer’s instructions for your product, so check your specific flooring spec before you cut.
What’s the easiest flooring type to install around stairs?
It depends on your comfort level and the product system. Floating floors with click-lock designs are often more DIY-friendly than rigid tile installations, but stair cuts still demand careful measurement and correct transitions.
Should the underlayment/moisture barrier stop at the stairs?
In most cases, you should follow the product instructions for continuity near transitions. If the stair area requires stopping/adjusting layers, do it per the manufacturer’s guidance to avoid moisture issues.
How do I make stair-edge cuts look clean?
Plan seams away from the most visible tread edges, use dry-fits to confirm fit, and rely on trim/transition pieces where your flooring system expects them. Avoid forcing pieces into place—small misalignments show clearly on stair geometry.
What if my stair area is uneven?
Don’t “shim the floor” blindly. Correct the subfloor flatness first (or address the stair/landing level), because unevenness is one of the most common causes of gaps, joint separation, and lifting.
Sources
– [ADD: manufacturer installation instructions for the specific flooring type you’re discussing (LVP/Laminate/engineered wood/tile) including expansion gap, underlayment, and moisture requirements]
– [ADD: underlayment/moisture barrier product documentation for basement use and seam/overlap rules]
– [ADD: building code or guidance for basement moisture control in your region, if you plan to make code-based claims]
– [ADD: ASTM standard references used for moisture testing (e.g., ASTM F2170) and any manufacturer “slab moisture” guidance tied to these tests]
Final takeaway: successfully installing around basement stairs is less about advanced tricks and more about disciplined layout planning, basement moisture-system correctness, and preserving your flooring product’s required movement at every stair edge. If you follow the system specs and treat stair faces as controlled, repeatable cut-and-fit tasks, the finished result looks intentional—and performs much better over time.
Frequently Asked Questions
How do I install basement floor flooring around stairs?
Start by measuring the exact run of the stairs and mapping the slope and tread widths so your flooring layout stays square where it meets walls and the stair stringer. Use a stair-nosing or transition strip plan, then cut planks/tiles to fit each riser and tread edge with fine blades or a tile wet saw to keep cuts clean. For floating floors, leave the required expansion gap and use proper trim around stair openings to prevent buckling. Finish with caulk/trim at the stair edges so moisture and dust don’t collect in the gaps.
What’s the best way to prep a basement subfloor before installing around stairs?
Basement floors often need extra attention to moisture, so test for humidity and fix any leaks before installation. Remove carpet, glue, and debris, then level the subfloor using a self-leveling compound where needed—especially around stair landings where unevenness is most noticeable. Vacuum thoroughly, install a compatible underlayment or vapor barrier for the type of flooring you’re using, and ensure the stair area is clean and dry. Good prep prevents squeaks, gaps at stair transitions, and premature flooring wear.
Which flooring type is easiest to install around basement staircases?
For tight stair areas and complex cuts, luxury vinyl plank (LVP) or engineered vinyl flooring is often easier because it’s more forgiving and typically requires fewer precision seams than rigid materials. If you prefer tile, porcelain tile can work well, but it demands careful measuring and more advanced cutting for corners, stair noses, and irregular edges. Hardwood and laminate may be more challenging due to expansion requirements and the need for precise leveling around each tread and riser. Choosing a flooring system designed for basements and installing trims correctly can make stair installs significantly smoother.
How do I cut and fit flooring around stair treads and risers without gaps?
Measure each tread depth and riser height separately—basements are rarely perfectly uniform—and create a cutting plan for every piece that lands on or near a stair edge. Use a straightedge and a quality blade for straight cuts, then dry-fit pieces before installing to confirm alignment and spacing. Maintain the required expansion gap at perimeter walls and any floating-floor seams, and use stair nosing or edge trim to cover small differences. Caulk or grout (depending on material) at transitions helps create a clean, professional finish and reduces dust infiltration.
Why do my basement floors buckle or separate near stairs, and how can I prevent it?
Buckling and separation around stairs usually come from moisture issues, poor subfloor leveling, or missing expansion gaps for floating floors. Basements can have higher humidity, so use a proper moisture barrier/underlayment and address any damp spots before you install flooring. Ensure the subfloor is flat—especially at stair landings—and install with the manufacturer’s spacing requirements at edges and transitions. Using the correct transition strips and trim around stair openings also prevents movement from showing up as visible gaps or lifted edges.
📅 Last Updated: October 11, 2026 | Topic: How to install around stairs basement floors? | Content verified for accuracy and freshness.
References
- Google Scholar Google Scholar
https://scholar.google.com/scholar?q=install+flooring+around+stairs+basement+subfloor+nosing - Google Scholar Google Scholar
https://scholar.google.com/scholar?q=vinyl+plank+flooring+install+around+stair+treads+and+risers - Google Scholar Google Scholar
https://scholar.google.com/scholar?q=carpet+installation+around+stairs+treads+landing+guidelines - Redirecting…
https://www.ada.gov/2010ADAstandards_index.htm - Stairs
https://en.wikipedia.org/wiki/Stair - Staircase
https://en.wikipedia.org/wiki/Staircase - Flooring
https://en.wikipedia.org/wiki/Flooring - https://en.wikipedia.org/wiki/Subfloor
- https://www.britannica.com/technology/stair
- Carpet
https://en.wikipedia.org/wiki/Carpet