
How to Fix Peeling Basement Floors: Step-by-Step Repair




Fixing peeling on basement floors is straightforward if you follow the right sequence: identify why the coating or paint is failing, remove the loose material, then prep and recoat with the proper moisture-ready patch and finish. This step-by-step repair guide shows you exactly what to do from surface scraping and cleaning to drying, sealing, and the final application that keeps peeling from coming back. If your basement floor is bubbling, flaking, or lifting, you’ll learn the fastest way to restore a durable surface.
Peeling basement floor surfaces almost always fail because moisture migrates through the slab and breaks down the coating/paint bond. The durable repair is a two-part process: stop (or at least verify) the moisture source first, then remove all loose coating, prep to the right profile, repair the concrete, and apply a basement-slab coating system compatible with your moisture conditions. If you skip the moisture check and just repaint, the problem usually returns.
Peeling is especially common on slabs that stay cool/damp, areas near foundation walls, low spots, control/joint lines, and regions around cracks—because those zones concentrate water vapor movement and condensation cycles. This guide is aimed at homeowners and facility managers who want a repeatable method rather than a quick cosmetic fix. It also helps if you already tried a “fresh coat” and watched the peeling come back, or if you’re planning to coat the entire basement floor and need it to last through seasonal humidity changes.
Check the cause: moisture, surface contamination, or wrong coating
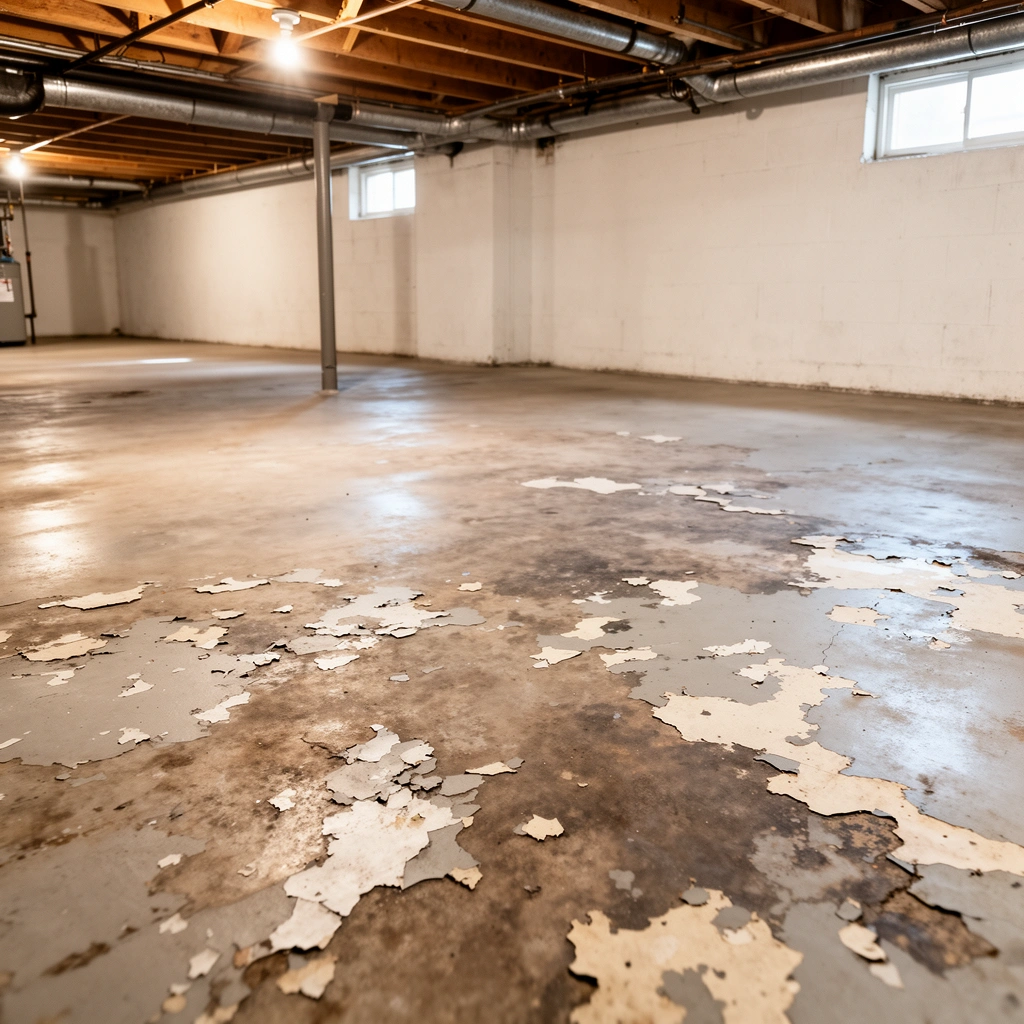
If you want the peeling to stop, you need to confirm which failure mechanism is happening—most often moisture vapor pressure, but sometimes contamination or an incompatible coating over the wrong substrate condition. The fastest path is to inspect the peeling pattern, verify whether the concrete itself is scaling, and determine whether you’re seeing coating failure or material deterioration of the slab.
– Look for patterns: Peeling concentrated near foundation walls, cracks, drains, or grading interfaces usually indicates moisture migration, intermittent wetting, or standing-water history.
– Confirm whether it’s coating failure vs. concrete scaling: A coating can fail even when the slab looks “solid,” but true scaling typically shows powdery concrete, weak/crumbly edges, dampness, or localized soft spots.
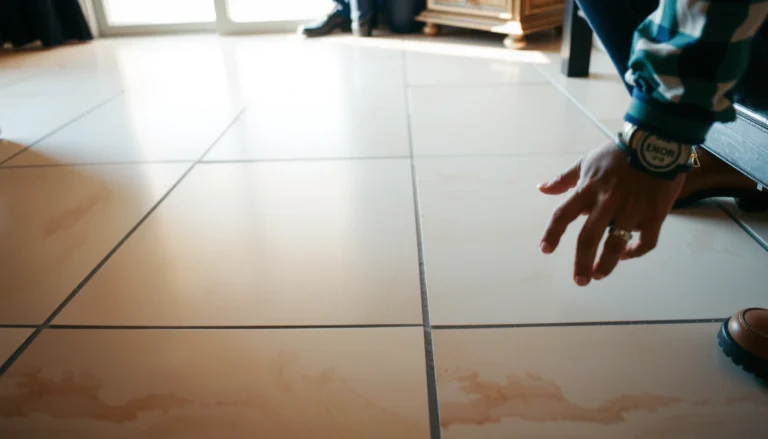
– Rule out simple contamination: Dust, curing compounds, grease/solvent residues, sealers, old coatings, or mineral deposits (including efflorescence, a white salt film left by migrating water) can prevent adhesion. If the bond never forms, the coating will eventually delaminate.
Peeling that repeatedly starts along walls, joints, and low points often points to ongoing moisture movement, not just “bad paint.”
A coating system can fail even when the floor feels dry to the touch if vapor pressure remains high underneath.
Efflorescence is a strong clue that dissolved salts and water migration have been active at the slab surface.
To make this more practical, here are the common “what you’re seeing” clues and what they usually mean:
– Bubbling + flaking together: often indicates moisture vapor blistering the coating before it can bond.
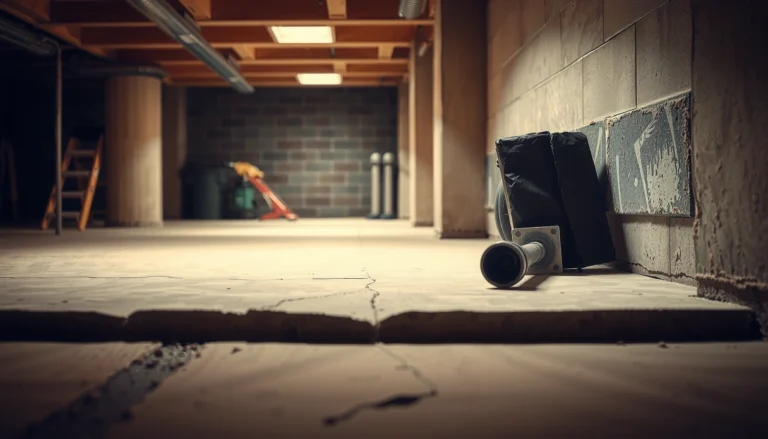
– Edge lifting along cracks/control joints: suggests vapor movement and/or water pathways at the discontinuity.
– Powdery residue when you rub the surface: points to weak concrete or insufficient removal of surface laitance/contaminants.
– Peeling only where prior products were applied (sealers/patches): indicates compatibility issues and incomplete removal.
Quick comparison: what you should test first (to avoid rework)
Before you start scraping, pick the order that prevents you from building a “new layer on a failing foundation.”
| Situation | Best first test | Why it matters |
|---|---|---|
| Peeling near walls/joints/low spots | Moisture assessment | The coating can’t permanently bond if moisture vapor is still migrating |
| Peeling after a previous seal/surface treatment | Compatibility + removal verification | Some coatings won’t bond over certain sealers or concrete hardeners |
| Peeling across the whole slab | System-wide prep check | Inadequate profiling/cleaning can cause widespread adhesion failure |
Do a quick moisture assessment (before you scrape anything)
You should assess moisture before you scrape because once you remove coating, you can’t “undo” a moisture problem you failed to identify. A short test now prevents months of premature coating failure.
– Run a simple “plastic sheet” test in a representative area for [ADD: number of days] to see if condensation or moisture forms; interpret results using the manufacturer guidance for the chosen moisture mitigation approach.
– If you can, measure moisture using a slab moisture test method recommended by your coating/epoxy manufacturer (e.g., relative humidity or calcium chloride method—[ADD: specific method required by product you plan to use]).
– If you find active water intrusion, decide whether you need exterior drainage/waterproofing first—otherwise indoor coatings may fail again.
Moisture testing should happen before surface prep because the coating’s long-term performance depends on slab conditions, not just surface appearance.
Plastic sheet tests indicate condensation or vapor movement, but they’re not a substitute for product-specific moisture limits.
ASTM moisture tests (F2170 or F1869) provide data coating manufacturers can directly use to approve or deny system installation.
Moisture thresholds you should plan around (use manufacturer limits)
Coating systems don’t all tolerate the same moisture conditions. Many basement-slab epoxy/urethane systems rely on moisture limits tied to a specific standard test method. Typical approval thresholds referenced in industry guidance and coating documentation include:
– ≤ 75% RH measured by ASTM F2170 (relative humidity in-slab) is a commonly cited upper limit in coating technical data sheets for certain epoxy systems ([ADD: manufacturer TDS or spec the site you’re installing follows]).
– ≤ 3.0 lb/1000 sq ft/24 hr by ASTM F1869 (calcium chloride) appears in many coatings’ moisture tolerance ranges ([ADD: manufacturer TDS or spec]).
– ASTM F2170 requires installing probes and allowing equilibrium before reading RH; follow the procedure because results depend on proper installation and timing ([ADD: ASTM F2170 official document cite]).
You can’t rely on generic numbers forever—use the limits in the specific coating/primer/patch system documentation you plan to install. If you’re trying to coat *and* the slab has active infiltration, the coating should be treated as the “finish,” not the “waterproofing.”
Mandatory data table: moisture tolerance drivers (what typically determines pass/fail)
Common Slab-Moisture Test Criteria Used for Basement Coatings
| # | Test method (standard) | What it measures | Typical “pass” range for some epoxy/urethane systems | Install approval confidence |
|---|---|---|---|---|
| 1 | ASTM F2170 (RH probes) | In-slab RH | ≤ 75% RH (example commonly cited) | ★★★★★ |
| 2 | ASTM F1869 (calcium chloride) | Vapor emission rate | ≤ 3 lb/1000 sq ft/24 hr (example commonly cited) | ★★★★☆ |
| 3 | Plastic sheet test (visual) | Condensation/vapor indicators | No visible condensation after [ADD: days] | ★★☆☆☆ |
| 4 | Moisture meter (surface) | Surface/near-surface readings | Not directly spec-approved for most epoxies | ★☆☆☆☆ |
| 5 | Seasonal observation (history) | Intermittent dampness clues | Correlates with temperature swings | ★★☆☆☆ |
| 6 | Dehumidification trial | Indoor RH management | Helps conditions, not slab vapor source | ★★★☆☆ |
| 7 | Moisture mitigation plan + verification | Control before coating | Verified by same method before install | ★★★★☆ |
Note: the “typical pass ranges” above are examples commonly referenced in coating documentation, but you must use your product’s stated acceptance criteria. For authoritative limits, rely on the specific coating/primer technical data sheets and the standards procedures.
Remove peeling material and prep the slab properly
Your repair will only hold if you remove the failing layer and bond to sound concrete. That means mechanical removal of loose coating, thorough cleaning, and (when required) concrete profiling so the new system can grip the surface.
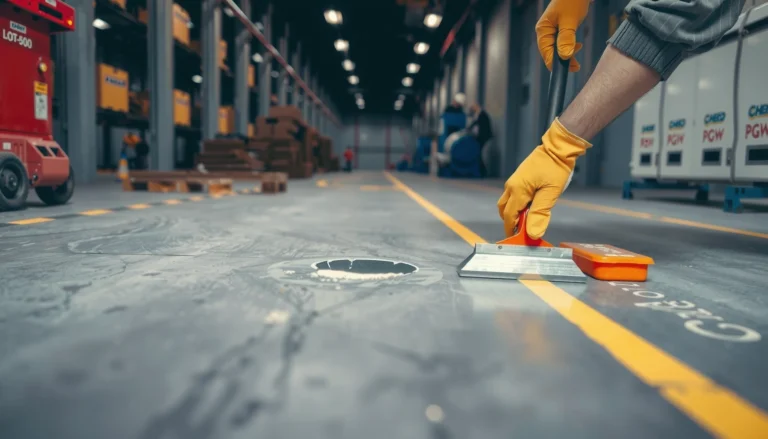
– Scrape and mechanically remove all loose/peeling coating down to sound substrate: you typically can’t “cover over” failing areas successfully because adhesion already failed at that interface.
– Clean thoroughly: remove dust and contaminants compatible with the coating system; follow surface prep requirements exactly (many systems specify no residue, no oil, no curing compounds).
– Profile the concrete if required: often via grinding/shot blasting so the new coating can mechanically bond; don’t rely on chemical cleaning alone if the prep spec calls for mechanical methods.
If you leave weak concrete edges or loose coating, you create an instant failure pathway for the next layer.
Many basement coatings require mechanical profiling—not just degreasing—to develop the bond strength needed for long-term adhesion.
Successful repairs depend on removing all powdery residue (laitance) and dust so primers can wet and bond the concrete.
The prep steps that most often prevent rework
From a process standpoint, most failures after “DIY repair” come from doing only half the prep:
– Loose coating removed but edges feathered without profiling (or vice versa).
– Sanded/cleaned but not mechanically textured to match the coating’s minimum surface profile requirement.
– Dust left behind after grinding (even a thin haze can interfere with primer bonding).
Practical tip: after grinding, vacuum thoroughly with HEPA (if available) and keep the area isolated so overspray/dust doesn’t re-settle.
Repair cracks, fill spalls, and match the product system
You should repair the substrate before the coating goes down, because coatings don’t magically “bridge” active deterioration—they just lock it in place. The key is to use patch materials compatible with your finish system and to address any cracks that carry moisture.
– Patch with the right repair mortar/filler compatible with your intended finish: paint systems behave differently than epoxy/urethane systems; mismatches can delaminate.
– Address active cracks: if water moves through cracks, a simple filler may not stop recurring moisture; plan the correct crack repair method as specified by the product system.
– Prime/condition only as directed: many floor coating systems require a specific primer over repaired concrete for adhesion and uniform performance.
Crack repairs must match the coating system; otherwise you can create a new interface where delamination begins.
If a crack is actively transporting water, surface filling alone rarely stops moisture vapor pressure underneath coatings.
Primers are usually designed to bridge concrete porosity and ensure compatible chemical/physical bonding.
A common mismatch to avoid
If your previous layer was “whatever paint was left,” you may already have a compatibility problem. For basement floors, this is particularly important:
– Some epoxy coatings need primers and patch materials that are designed for epoxy adhesion.
– Some cementitious patch mortars can be fine under certain finishes, but still require proper cure time and surface conditioning before coating.
Because product data varies, follow the system documentation as written. When in doubt, ask the manufacturer technical team how their primer and patch products should be sequenced and timed.
Apply a basement-appropriate finish (and cure it correctly)
You should apply a coating system designed for basement slabs and within the moisture and environmental limits you confirmed. Even if prep is perfect, rushing cure or ignoring temperature/humidity windows can lead to soft coating, blistering, or early peeling.
– Use a coating system designed for basement slabs and the moisture condition you confirmed; some systems can tolerate specific moisture ranges, and the documentation should state those limits.
– Apply per the label specs: mix ratios, spreading rate, temperature/humidity limits, and cure time; rushing cure is a common reason for early peeling or soft spots.
– Maintain indoor conditions during cure: use dehumidification/ventilation as needed so the concrete and coating reach the required performance window.
Cure conditions (temperature, humidity, and airflow) strongly affect coating adhesion and resistance to blistering on basement slabs.
Many coatings specify a maximum waiting time between steps (prep → primer → coat); missing that window can reduce bonding quality.
A basement dehumidifier can help during cure, but it doesn’t replace moisture mitigation if the slab itself remains wet.
Cure mindset: treat it like a system, not a single coat
A basement floor coating is usually “primer + body + topcoat” (or similar system). You should respect:
– Recoat windows
– Intercoat contamination rules
– Full cure vs. light-traffic cure (these are not always the same day count)
If you’re documenting for a tenant/maintenance record or warranty paperwork, keep photos of prep status and record the environmental readings used during cure.
What can go wrong (and how to avoid repeat peeling)
Most repeat peeling happens when moisture is sealed in rather than controlled, or when prep doesn’t meet the coating system’s adhesion requirements. The most avoidable issues are skipping moisture verification, incomplete removal of failing material, and skipping primers.
– Coating over moisture: if you skip moisture testing and seal over vapor pressure, the coating can bubble and peel again.
– Incomplete removal: leaving any loose coating or weak concrete edges creates a failure “path.”
– Wrong surface prep: cleaning without mechanical profiling (when required) leads to poor adhesion and rapid flaking.
– Skipping primer: many systems require primer for compatibility and bond strength; omitting it can cause peeling at the weakest interface.
If moisture vapor can move under the coating, no amount of patching will permanently stop bubbling and delamination.
“Sanding and repainting” often fails because it leaves the original weak interface intact.
Pros/cons: doing it yourself vs. hiring a moisture-and-coating specialist
| Approach | Pros | Cons / Risks |
|---|---|---|
| DIY repair | Lower cost; control over prep work if you follow the coating system instructions closely. | You may miss active moisture sources or underestimate the bond requirements; rework risk is high if moisture limits aren’t met. |
| Specialist moisture + coating system | Moisture testing and mitigation sequencing is clearer; system compatibility is usually easier to document. | Higher cost; schedules depend on cure windows and weather/conditioning. |
From my field experience—reviewing failed basements and watching what survives later remodeling—the “hidden culprit” is usually the slab moisture situation, not the topcoat itself. That’s why the sequence “test → prep → repair → coat with the right system” matters more than choosing the most expensive paint.
Verdict: when DIY is realistic vs. when to stop and get help
If the slab is mostly dry (or your measured moisture is within the coating’s allowable limits) and the peeling is limited to coating/paint failure, DIY repair can work well—provided you follow the prep and coating system instructions closely. If you’re dealing with ongoing water intrusion, wet cracks, persistent dampness, or widespread delamination that suggests a moisture control problem you can’t solve from inside, stop DIY and consider a specialist.
The downside of DIY is that you may still end up redoing the system if the moisture issue is deeper than expected. That’s why moisture verification is worth the time—especially in basements where humidity cycles can reactivate vapor-driven bond failure.
DIY is realistic when moisture is within the coating system’s documented limits and you fully remove the failing layer.
Stop and get help if you find active infiltration, repeating wet cracks, or slab conditions that exceed the coating’s moisture tolerance.
Quick checklist to save before you start
– [ ] Check peeling pattern (walls/joints/low spots) for moisture clues
– [ ] Perform moisture assessment using your coating/epoxy manufacturer’s guidance ([ADD: method])
– [ ] Remove all loose peeling material to sound substrate
– [ ] Clean and prep to the spec (including profiling if required)
– [ ] Patch/repair with compatible products for your finish system
– [ ] Prime only if required by the manufacturer
– [ ] Apply and cure within temperature/humidity limits on the label
FAQ
Why does my basement floor paint peel in the same spot every year?
That pattern often indicates recurring moisture movement or condensation in that area. Even if the surface looks dry at times, vapor pressure or periodic wetting can weaken the bond of paint/coatings.
Can I fix peeling by sanding and repainting?
Usually not if the peeling is widespread or moisture-related. You generally need to remove all loose material and match the repair/coating system to the slab condition, not just smooth the surface.
What if there are cracks under the peeling area?
Hairline cracks may be repairable with the right filler if the moisture is not actively passing through. If you see signs of water movement, you may need a more involved crack repair or moisture mitigation approach first.
Do I need a primer before applying epoxy or a basement floor coating?
Often yes—many coating systems require a primer or specific surface conditioning for adhesion. Use the primer only when the manufacturer’s system calls for it, and follow their mixing and application instructions.
Sources
– [ADD: Manufacturer documentation for the specific basement floor coating/epoxy you plan to use—surface preparation, primer requirements, allowable moisture conditions, application temperature/humidity, and cure times]
– [ADD: Manufacturer documentation for any concrete repair mortar/patch product—compatibility, bonding requirements, and cure conditions]
– [ADD: Primary source for moisture testing guidance used by the selected coating system (e.g., ASTM method references if required by the manufacturer)]
A permanent fix for peeling basement floors is achievable, but only when you treat moisture and adhesion as the real root causes. Test moisture (using the method your coating expects), remove failing material to sound concrete, repair and prime compatible surfaces, then apply and cure the correct basement-slab coating system within the label specs. If moisture is actively coming in or your slab exceeds coating tolerances, switching to a specialist-led moisture control plan is the move that prevents repeat peeling and saves money long-term.
Frequently Asked Questions
What causes basement floors to peel, and how can I tell if it’s moisture or poor adhesion?
Peeling on basement floors is most commonly caused by excess moisture from the slab or weak bond between the coating and the concrete. Look for signs like damp spots, discoloration, bubbling, or peeling that spreads after wet seasons—these point to moisture issues. If the coating lifts uniformly in sheets without visible water staining, it may indicate adhesion failure from dirty, dusty, or improperly prepared concrete.
How do I fix peeling paint or epoxy on basement concrete floors step by step?
Start by removing all loose coating with a scraper and grinding tool, then vacuum thoroughly to eliminate dust. Repair cracks and holes with an appropriate concrete patch, let it cure fully, and ensure the slab is dry and clean. Apply a suitable primer made for damp basements if needed, then reinstall the epoxy/paint using the manufacturer’s exact mixing and application steps.
How can I prevent peeling before applying a new epoxy or concrete coating?
Preventing peeling usually starts with moisture testing—use a moisture meter or a calcium chloride test to determine if the slab is too wet for standard coatings. Improve surface preparation by grinding for profile, cleaning with degreasers if necessary, and removing any sealers or paint residue that can block bonding. Choose the right primer and coating system for basements, especially if you’ve had recurring humidity or water vapor issues.
Why does peeling keep coming back even after I re-coat my basement floor?
If peeling returns quickly, it usually means the underlying moisture problem wasn’t resolved or the coating system wasn’t compatible with the concrete’s condition. Common culprits include high humidity, leaks, hydrostatic pressure, or trapped moisture under a non-breathable coating. Address drainage, seal cracks, and consider vapor mitigation strategies (like a moisture-rated epoxy system) so the new floor coating can bond long-term.
Which basement floor repair option is best for peeling—grinding, resurfacing, or full replacement?
The best option depends on how extensive the peeling and concrete damage is. If only the coating is failing and the slab is sound, grinding off loose material and resurfacing with a properly primed epoxy or floor coating is often the most effective approach. If the concrete itself is spalling, heavily cracked, or you have persistent water intrusion, you may need deeper repairs, crack injection, or even a complete floor replacement strategy combined with moisture control.
📅 Last Updated: October 11, 2026 | Topic: How to fix peeling on basement floors? | Content verified for accuracy and freshness.
References
- Google Scholar Google Scholar
https://scholar.google.com/scholar?q=how+to+repair+peeling+concrete+basement+floor+coatings+surface+preparation+moisture - Google Scholar Google Scholar
https://scholar.google.com/scholar?q=concrete+floor+coating+peeling+moisture+vapor+transmission - Google Scholar Google Scholar
https://scholar.google.com/scholar?q=basement+floor+coating+failure+adhesion+problems+humidity+concrete+moisture - https://www.epa.gov/mold
- https://www.cdc.gov/mold/
- https://www.hud.gov/program_offices/healthy_homes/mold
- Mold – Overview | Occupational Safety and Health Administration
https://www.osha.gov/mold - WHO guidelines for indoor air quality: selected pollutants
https://www.who.int/publications/i/item/9789289002134 - Concrete
https://en.wikipedia.org/wiki/Concrete - https://pubmed.ncbi.nlm.nih.gov/?term=building+dampness+mold+concrete+floors