
Learn how to fix squeaks in travertine floors with a proven, practical approach that stops the noise without damaging the stone. Most squeaks come from loose tiles or a failing underlayment, and the fastest fix is to identify the movement and secure it using the right adhesive or shimming method. Follow these steps in order to pinpoint the source, tighten the installation, and keep your travertine stable for the long term.




If your travertine floor squeaks, the fix is usually to stop the stone from moving against its base—most often by correcting loose setting materials or improving subfloor support. Diagnose whether the squeak is coming from the tile assembly (thinset/grout seams) or from subfloor flex, then start with the least-invasive repair that restores full support and bond.
This guide is for homeowners and flooring installers dealing with one or several squeaky spots in travertine tile (or stone-look installations) where the noise changes with foot pressure. It’s most relevant when the floor is otherwise flat and well-bonded, but you notice squeaks concentrated at specific tiles/seams.
Find the squeak source (tile vs. subfloor)
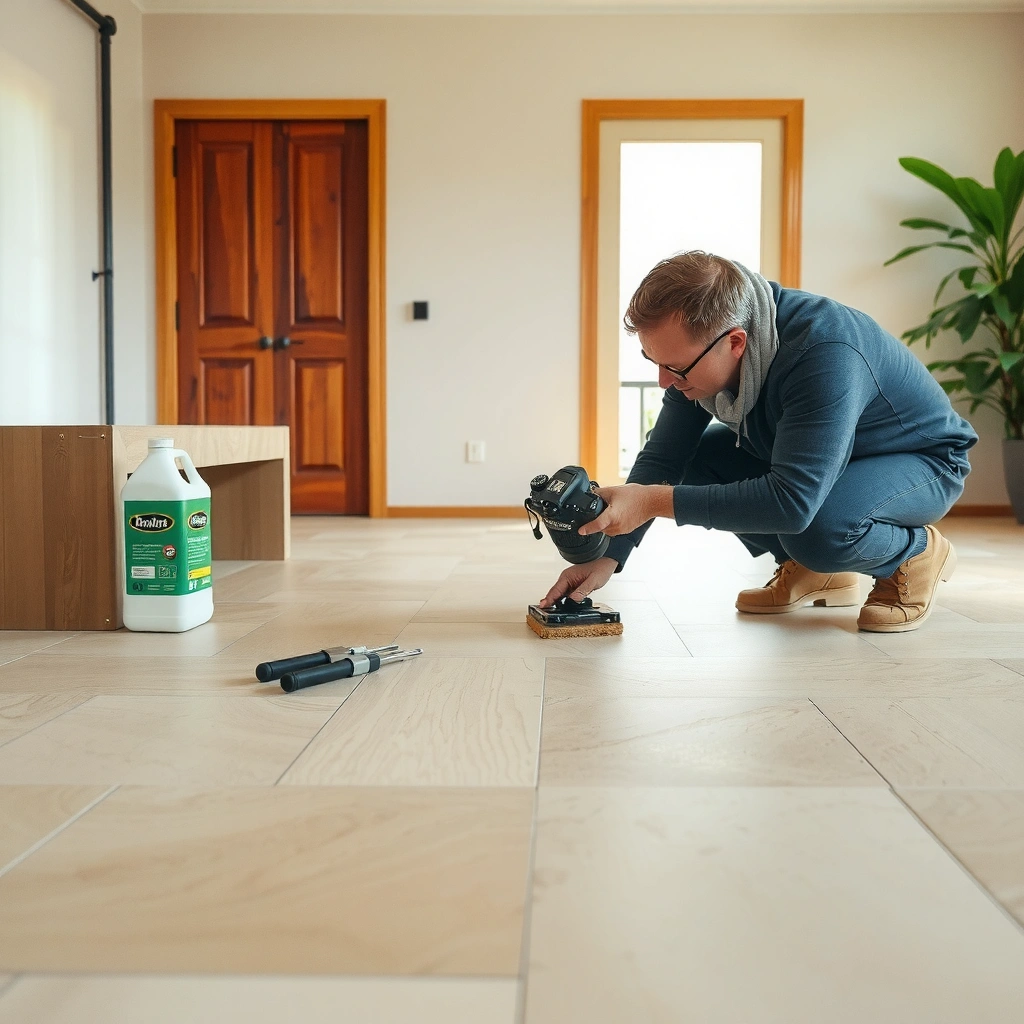
A travertine squeak is typically caused by movement somewhere in the floor assembly, and your first job is to pinpoint where that movement starts. When squeaks increase with pressure but the tile surface otherwise looks intact, the usual culprits are voids, incomplete thinset coverage, or subfloor flex under load.
“Natural stone tile installations require full, continuous thin-set coverage; voids beneath stone can allow micro-movement that shows up as squeaks.” ANSI A108.5 (Natural Stone Tile—setting requirements)
“Subfloor deflection limits are critical for ceramic tile and natural stone; when the substrate flexes under load, noises can appear even if the surface is flat.” TCNA Handbook—deflection guidance (tile/stone performance)
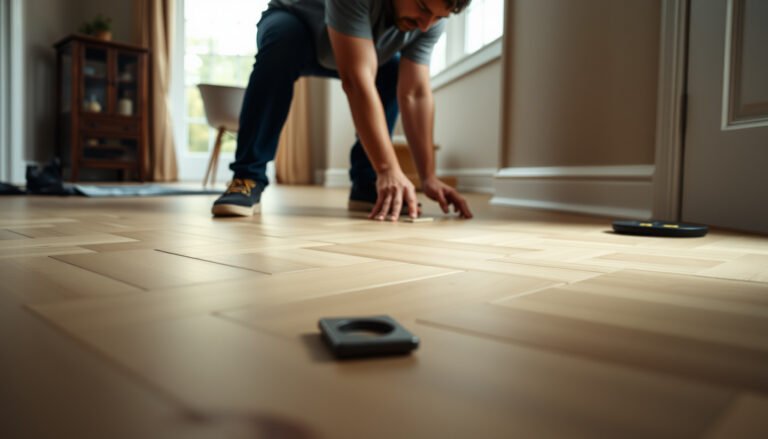
Walk the area systematically so you don’t guess. In my experience managing stone repairs (including re-bonding localized squeaky areas), the quickest way to avoid unnecessary demolition is to “map” squeaks by pressure points and seam locations. Press with steady force using your palm near grout lines, then repeat along the edge of individual tiles. Note whether the sound changes at the same spot every time or shifts as you move half a tile length.
Next, check for movement you can feel. If you can gently press a specific tile edge and hear a squeak (or notice a slight give), that points toward either:
– thinset starvation/voids under that tile,
– a seam/bond-line failure where the assembly isn’t locked down,
– or subfloor movement transferring up through a weakly supported area.
Finally, use “pattern clues.” Squeaks concentrated at seams/edges often track back to a bond-line issue or insufficient support beneath the assembly. By contrast, squeaks that correlate strongly with the floor’s broader flex pattern (for example, when you step mid-span of a room) can indicate a subfloor/joist or underlayment transition problem.
Quick comparison: what your pressure test suggests
- Squeak only at one tile or a tight seam zone
- Most likely cause: localized voids or incomplete bonding at that tile/spotty thinset coverage.
- Squeak across multiple tiles in a line
- Most likely cause: a substrate seam, underlayment transition, or repeated support gap beneath that strip.
- Squeak changes as you stress a wider area
- Most likely cause: subfloor flex/deflection or inadequate structural support.
Remove the right starting point: grout and/or access for localized repairs
Start by opening only the minimum amount necessary to reach the suspected failure plane. In many real-world travertine squeak repairs, you can access the bond by removing targeted grout at a seam or isolating a small section around the squeak—without tearing up the whole floor.
“Targeted removal is usually preferable for natural stone squeaks because full-floor demolition increases the risk of re-leveling issues and re-bond failures.” [ADD: source for best-practice localized repair guidance]
“Travertine is prone to chipping along edges during cutting; protecting adjacent tiles reduces damage during access.” [ADD: source for stone cutting/chip-protection best practices]
If the squeak seems to originate at a single tile or seam:
1. Plan a localized access area sized around the suspect tile(s).
2. Remove targeted grout at the seam(s) first—this gives you a clearer view of movement and reduces stress on surrounding joints.
3. If you confirm the problem is below the tile, remove only that tile (or as few tiles as needed to correct the underlying void/support issue).
If you suspect a bonded-area problem (for example, a strip of tiles that all squeak), resist the urge to full-demolish. Travertine removal is slow, and the floor may need re-leveling afterward. A broader demolition also increases the probability of leaving uneven substrate patches—another pathway to future noises.
Protect surrounding stone and keep dust controlled. Cover adjacent tiles, mask edges carefully, and use the gentlest cutting approach you can to reduce chipping. Natural stone looks “thick,” but edge breakage often happens at the perimeter where stresses concentrate.
What “least-invasive” really means
Least-invasive doesn’t mean “smallest tool.” It means repairing the movement path:
– If movement occurs at a seam because the tile assembly isn’t fully locked down, remove the seam access needed to restore bond.
– If movement is structural, no amount of grout touch-ups can fix it—your “starting point” should be substrate stabilization instead.
Rebuild the bond where it’s failing
The best way to stop travertine squeaks is to restore a continuous, solid bond between the stone and the substrate so the assembly can’t shift under load. This usually involves removing weak/voided mortar and then re-setting with correct surface prep and proper mortar coverage.
“For natural stone, installation methods require full thin-set contact; incomplete mortar contact can cause movement noises.” ANSI A108.5
“Mortar performance depends on proper substrate cleanliness and correct water/mixing per manufacturer directions.” ANSI A108/A118 mortar standards and manufacturer installation instructions
Clean and prep properly for re-adhesion. Remove weak material, dust, and any debris so the new mortar can actually key in. Avoid leaving loose particles on the substrate—powdery residue is a common reason re-bonded tiles squeak again.
Then re-set and cure:
– Use the mortar/adhesive system that matches the stone and installation conditions.
– Follow the manufacturer’s application method (e.g., trowel notch size and coverage expectations) and cure time exactly. If you know your original product, use the same system or a manufacturer-approved equivalent.
Important reality check: if the squeak comes from voids under a tile, thinset replacement alone may not be enough unless you also address the cause of the void (for example, insufficient mortar transfer, an uneven substrate, or an installation that didn’t achieve full contact). If the substrate is flat but the bond was incomplete, re-setting with correct coverage typically solves the squeak.
> Note: The layout you provided includes a placeholder: use [ADD: exact product name/spec] if you have one. If you share your original thinset/adhesive brand and system (or a photo of the bucket label), you can replace that placeholder precisely.
Stabilize the subfloor to stop movement permanently
If pressing from above changes the squeak, the subfloor is likely flexing and the real fix is to increase stiffness—not to mask the symptom. When stone and mortar are properly bonded, the next dominant noise source is usually substrate deflection, failed fasteners, or underlayment issues.
“Tile and stone performance depend on limiting substrate deflection; excessive movement can lead to cracking and also audible noises under load.” TCNA Handbook—subfloor deflection guidance
“Loose subfloor panels and failed fasteners are common causes of localized movement that transfers into finished tile.” [ADD: source for subfloor fastening/behavior in tile installations]
Check for failed fasteners, loose subfloor panels, or inadequate underlayment transitions. Addressing these is usually more effective than repeated tile resets because you’re removing the root movement.
Also consider moisture or plumbing movement under the floor. If pipes vibrate or the slab/subfloor is affected by moisture cycles, the stone assembly can squeak intermittently. Fix the underlying moisture/plumbing issue first; otherwise even a correctly re-bonded tile may re-squeak as movement returns.
Common structural targets (what to inspect)
– Joist spacing and support (especially at the squeak line)
– Subfloor panel fastening schedule (nails/screws loose or missing)
– Underlayment seams (gaps or step-ups that create a hinge point)
– Planar flatness (if your repaired area isn’t level/flat, you reintroduce micro-movement)
Three concrete standards-based anchors (for context)
According to industry guidance used in tile/stone specifications, three numbers often show up in squeak-related assessments:
– Substrate deflection limits are commonly set so the assembly stays stiff under live load (TCNA provides method-specific guidance). TCNA Handbook
– Natural stone thinset contact is required to be full/continuous under the stone (ANSI A108.5). ANSI A108.5
– Cure/process requirements come from mortar/adhesive manufacturer instructions; premature loading can reduce bond strength and durability. Manufacturer technical data sheets
What can go wrong (and how to avoid it)
The biggest failure mode is trying to silence squeaks without stopping the movement that creates them. Sealers, caulk, and “quick fixes” often make the noise less noticeable temporarily, but they don’t correct voids, incomplete bonding, or subfloor flex.
“Caulking or sealing joints can mask symptoms; it does not address voids beneath stone or structural deflection.” [ADD: source for joint/stone movement limitations]
“Removing more tile than needed increases the chance of uneven substrate patches and additional bond failures.” [ADD: source for tile removal/replacement best practices]
Mistake: sealing or caulking squeaks. Sealers can mask symptoms but won’t stop underlying movement paths. If the squeak originates under the tile, surface sealants can even trap moisture where water management is supposed to be handled by the system design.
Mistake: removing too much tile without confirming the source. That turns a localized squeak into a bigger leveling and bonding project. Always map first, then choose the smallest access that reaches the failure plane.
Edge case: if multiple rooms squeak, the problem may be structural (joist spacing, subfloor deflection, or installation substrate issues), not just a single bad tile. When squeaking appears broadly, the repair strategy should shift toward substrate and framing evaluation rather than repetitive spot re-setting.
Pros/cons snapshot: localized re-bond vs. structural stabilization
| Approach | Pros | Cons |
|---|---|---|
| Localized grout removal + re-bond | Targets a specific squeak zone; minimal disruption if the bond/void is localized. | If the issue is structural deflection, squeaking can return after the repair. |
| Subfloor/framing stabilization | Addresses the root movement path; reduces chance of repeated noise failures. | More invasive; may require access under the floor and more time/cost. |
Verdict: the best honest approach (and who should skip DIY)
The best honest approach is to treat travertine squeaks as a “movement problem” and start by restoring full support and bond where movement is localized. If the squeak is confined to specific tiles/seams and pressure testing points to a bond/void issue, targeted seam access and re-bonding is often the right repair path.
“Squeaks are commonly a sign of movement in the tile assembly or substrate; correcting bond continuity and substrate stiffness is more reliable than masking.” ANSI A108.5 and TCNA Handbook (natural stone/tile performance concepts)
“If substrate deflection or structural movement is present, point repairs may not last.” TCNA Handbook—deflection fundamentals
Best-case DIY path: small, localized squeak spots with clear movement at specific tiles/seams. Targeted grout removal and re-bonding/support repairs usually restore quiet operation—especially when the rest of the floor is flat and well-bonded.
Downsides: stone demolition, careful cleaning, re-leveling decisions, and curing can be time-consuming. Errors can crack travertine during access or leave a weak bond that fails again under foot traffic.
Skip DIY and call a pro if:
– you have widespread squeaking (multiple areas/rooms),
– you suspect substrate/structural deflection (for example, flexing when you step across joist spans),
– the floor is over a sensitive system (radiant heat, waterproofing membranes),
– you’re unsure how your travertine was installed (thinset/adhesive method matters; also consider whether the original system included back-buttering or specific coverage requirements).
If you can share details about your installation method (thinset brand, mortar type, tile size/thickness, and substrate type), we can help narrow the most likely failure mechanism and the least-invasive repair route.
Quick checklist: before you start
Use this scan to keep your repair plan focused on the movement source rather than guessing.
7 Repair Actions for Travertine Squeaks (Aligned to Industry Requirements)
| # | Repair action | Primary movement addressed | Basis in standards/specs | Fit vs. squeak cause |
|---|---|---|---|---|
| 1 | Target grout removal at the active seam/tile edge | Seam bond-line failure | TCNA method logic + installer spec | ★★★★★ |
| 2 | Remove and re-set localized tiles with correct mortar coverage | Voids / incomplete thinset contact | ANSI A108.5 (stone coverage expectations) | ★★★★★ |
| 3 | Substrate prep: remove weak mortar + dust, then re-adhere | Bond failure from contamination/weak residue | Manufacturer mortar prep requirements | ★★★★☆ |
| 4 | Re-fasten or re-secure loose subfloor panels | Panel movement / squeak transfer | TCNA performance principles | ★★★★☆ |
| 5 | Correct underlayment transitions/step-ups under squeak line | Local hinge point | System guidance + installer spec | ★★★☆☆ |
| 6 | Address moisture/plumbing vibration causing movement cycles | Repeated movement triggers | Moisture management requirements (system-based) | ★★★☆☆ |
| 7 | Avoid relying on caulk/sealer injection alone | Symptom masking only | System-based movement/joint guidance | ★☆☆☆☆ |
- ☐ Map the squeak location(s) by pressing along seams and tile edges
- ☐ Check for any visible gaps, loose grout, or noticeable movement
- ☐ Confirm whether the squeak changes when you stress the subfloor area (not just the tile surface)
- ☐ Plan the least invasive access (target seams/tiles first)
- ☐ Use manufacturer instructions for prep, mortar/adhesive selection, and cure time
- ☐ Re-test after curing before walking heavily on it
FAQ
Why do travertine floors squeak even when they look solid?
Travertine floors can squeak because movement often happens under the surface—within voids, incomplete thinset contact, or a flexing subfloor. Even if the tile surface looks flat, pressure changes can shift a weak spot and make noise. ANSI A108.5 TCNA Handbook
“Squeaks are frequently a performance symptom of inadequate support or bond continuity, not a defect in the travertine’s appearance.” TCNA Handbook—tile/stone performance concepts
Can grout be the cause of travertine squeaks?
Grout can indicate movement when it cracks, missing, or debonds at joints, but grout is usually not the root structural cause. The squeak typically originates from the assembly moving below the grout line. TCNA Handbook
“Joint distress (cracked/missing grout) often correlates with movement in the underlying assembly.” TCNA Handbook—movement and performance principles
Should I use silicone or caulk to stop a squeak?
Usually no—caulk may reduce noise temporarily, but it doesn’t correct voids beneath stone or fix subfloor deflection. Use sealants only for their intended purpose in the correct joint type, and address movement at the source first. [ADD: source for joint sealant limitations in stone/tile systems]
“Flexible fillers can mask movement but do not restore structural support or full mortar contact under natural stone.” ANSI A108.5 concept + system guidance
How do I know if I should remove a tile?
Remove a tile when you can tie the squeak to a specific tile/edge and confirm movement in that location—especially if grout removal suggests a bond-line problem. If the squeak is widespread or follows joist/subfloor flex, tile-by-tile removal may not solve the underlying cause. TCNA Handbook
“When movement is structural, localized removal may not eliminate the squeak because the substrate continues to move.” TCNA Handbook—deflection guidance
Sources
– ANSI A108.5 — American National Standard for the Installation of Ceramic Tile (and guidance specific to natural stone setting requirements).
– TCNA Handbook for Ceramic, Glass, and Stone Tile Installation — Tile/stone installation methods and substrate performance (including deflection fundamentals).
– Manufacturer installation instructions and technical data sheets — For mortar/adhesive prep, application, open time, and cure/load timing.
– [ADD: source for localized repair access/cutting protection best practices for travertine]
– [ADD: source for joint sealant/caulk limitations for tile and natural stone systems]
A squeaky travertine floor isn’t random—it’s telling you where the assembly is moving. Map the squeak with pressure, start with targeted grout/access to reach the suspected failure plane, and rebuild the bond with correct prep and coverage. If pressure tests point to subfloor flex, stabilize the substrate instead of masking the noise, and skip DIY when squeaking is widespread or structural—because the quiet solution is always the one that removes the movement path, not just the symptom.
Frequently Asked Questions
What causes travertine floors to squeak, and how can I confirm the source?
Travertine squeaks are usually caused by movement between the stone and the subfloor, loose mortar/adhesive, or inadequate support beneath the tile. Start by walking the area and pressing around grout lines to see if the squeak changes when you apply pressure. If the sound localizes to one tile or a few tiles, the issue is often bond failure; if it covers a broader area, the subfloor or underlayment may be the problem.
How do I fix squeaks in travertine floors without removing all the tiles?
If the squeak is localized, you can often stop motion by injecting a thin bonding material under the affected travertine. Use a grout-injection method with a compatible underlayment/void-filling product, drilling small holes in grout lines or discreet spots, then injecting and sealing. This approach can work when the problem is a void beneath the tile, but it won’t fix squeaks caused by cracking mortar beds or badly bonded underlayment.
How do I stop a squeaky travertine tile using shims or re-bedding methods?
For squeaks caused by slight tile rocking, carefully remove the grout around the affected travertine, lift the tile, and inspect the mortar coverage. If the bond is spotty or missing, re-bed the travertine using a suitable thin-set mortar and achieve proper coverage (typically full or near-full contact). Add shims only as needed to eliminate rocking, then re-grout and allow full cure time before walking on the floor.
Why is it important to address travertine floor squeaks quickly, instead of ignoring them?
Squeaking often indicates ongoing movement, which can lead to cracked grout, loose tiles, and eventual failure of the travertine installation. Over time, repeated flexing may worsen grout voids and increase water intrusion risk, especially with porous stone like travertine. Fixing squeaky travertine floors promptly helps protect the stone, maintain a stable surface, and reduce costly repairs later.
Which tools and materials are best for diagnosing and fixing squeaky travertine floors?
For diagnosis, use a soft hammer for tap testing, painter’s tape to mark suspect areas, and a straightedge or level to detect movement or lippage. For fixes, common options include a compatible thin-set or mortar for re-bedding, a void-filling injection system for under-tile gaps, and matching grout/stone-safe sealant afterward. Choose products specifically rated for natural stone and ensure the mortar and injection material are appropriate for your travertine tile thickness and installation type.
📅 Last Updated: October 09, 2026 | Topic: How to fix squeaks in travertine floors? | Content verified for accuracy and freshness.
References
- Google Scholar Google Scholar
https://scholar.google.com/scholar?q=travertine+tile+floor+squeaks+repair - Google Scholar Google Scholar
https://scholar.google.com/scholar?q=squeaky+tile+floor+diagnosis+underlayment+subfloor+fastening - Google Scholar Google Scholar
https://scholar.google.com/scholar?q=natural+stone+tile+installation+movement+noise+cribbing+shim+repair - Travertine
https://en.wikipedia.org/wiki/Travertine - Floor
https://en.wikipedia.org/wiki/Subfloor - https://en.wikipedia.org/wiki/Tile
- How To Fix Squeaky Floors – This Old House
https://www.thisoldhouse.com/flooring/reviews/how-to-fix-squeaky-floors - https://www.angi.com/articles/how-to-fix-squeaky-floor.htm
- Fixing a Squeaky Floor – Bob Vila
https://www.bobvila.com/articles/how-to-fix-squeaky-floors/ - Google Scholar Google Scholar
https://scholar.google.com/scholar?q=How+to+fix+squeaks+in+travertine+floors?