
To seal basement floors, follow a step-by-step process that delivers the best results when moisture is controlled and the surface is prepped correctly. This guide walks you through cleaning, repairing cracks, applying the right primer, and sealing with a compatible concrete sealer for a durable, long-lasting barrier. If your basement has dampness or frequent spills, this method is the fastest way to stop water intrusion and protect the slab.


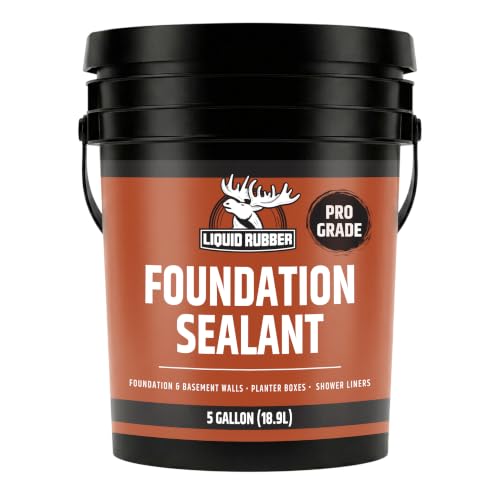
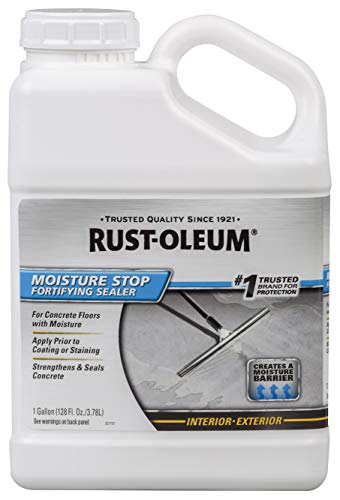
Sealing a basement floor can reduce moisture coming up through concrete and help prevent cracking, musty odors, and some mold conditions—but only if you prep correctly and pick a sealer matched to your actual moisture level. The fastest path to a durable result is: clean and profile the slab, diagnose whether it’s “moisture through the slab” versus an active water leak, then apply a sealer type designed for interior basements and the moisture conditions you measured.
If your basement has damp spots, musty odors, efflorescence (white powder), or recurring wetness after storms, sealing may help—but it works best when moisture is manageable and limited to vapor or capillary action through the concrete. If you’re seeing active leaking, pooling, or water pressure, you’ll need drainage and waterproofing first, then consider sealing as a secondary layer.
Assess moisture problems before sealing
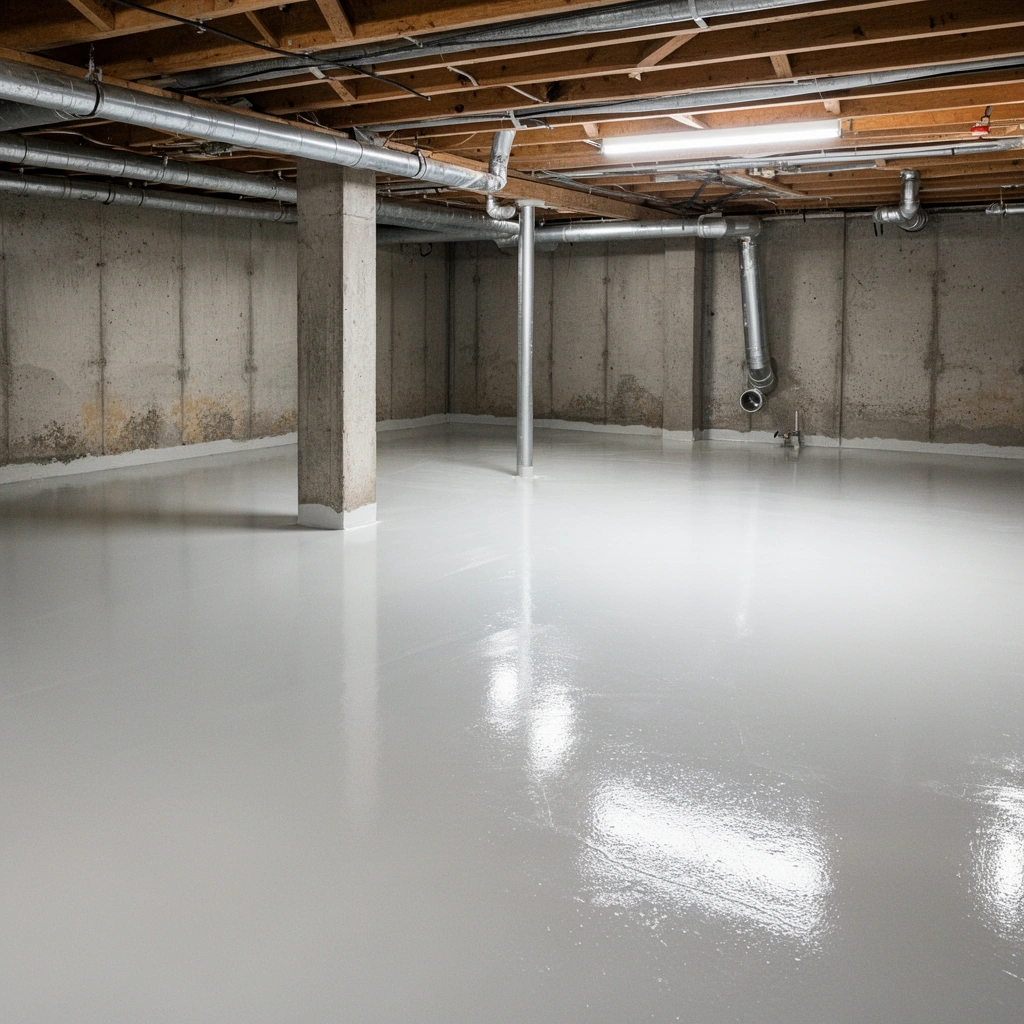
Sealing works when the moisture source is the concrete itself (vapor or moisture transmission) rather than a continuing leak from walls, joints, or the foundation. Before you choose an epoxy, masonry sealer, or breathable coating, you want to identify what’s actually driving moisture movement through the floor.
Efflorescence—white mineral deposits on concrete—is often associated with moisture migrating through the slab and carrying dissolved salts to the surface.
If the basement has visible seepage, pooling, or water that increases after rains, sealing the slab alone may not solve the underlying problem.
EPA notes that mold can begin growing on damp building materials within 24–48 hours after water exposure.
Here’s how to assess like a contractor:
– Look for symptoms, then map them to likely mechanisms. Common warning signs include:
– Damp spots that reappear after rain
– Musty odors that worsen during humid seasons
– Efflorescence (white powdery deposits)
– Rust-colored staining (often linked to iron in water + oxygen)
– Peeling or bubbling coatings (often tied to adhesion failure or trapped moisture)
– Separate “coming through the slab” from “coming from the sides.”
– Coming through the slab: darkening of concrete, recurring dampness without visible wall leaks, salt deposits, or coating failure spread across the floor.
– Active leak / water ingress: drips near walls, water lines that track along foundation joints, pooling, or increased water during storms at specific locations.
– If you’re unsure, test or evaluate before buying product. A bad match (like applying a non-breathing system when moisture vapor pressure is high) can cause peeling and bubbling. If you want a more objective approach, consider a concrete moisture test method aligned with the sealer/coating system you plan to use. [ADD: source for the specific moisture testing standard recommended for your chosen product type]
According to the American Concrete Institute, proper curing guidance for concrete typically includes maintaining favorable curing conditions for at least 7 days for many normal placements, because moisture and early-age conditions strongly affect concrete properties that later influence coatings and adhesion ([ADD: cite ACI document exactly you reference]). [ADD: ACI curing guidance source]
Prep the floor for maximum adhesion
If the sealer can’t bond to the slab, it won’t matter how “high performance” the product sounds. Proper prep is what turns sealing from a cosmetic layer into a system that stays bonded through seasonal humidity swings.
Most sealer and coating manufacturers require removing contaminants (dust, oils, sealers, loose coatings) and achieving the surface profile needed for adhesion.
Mechanically profiling smooth or previously coated concrete (grinding/abrading) is commonly necessary to improve mechanical bond.
Concrete patch repairs should use concrete-compatible patch materials so the repaired area bonds and doesn’t create weak points under the sealer.
Follow this prep sequence:
1. Clear the space completely. Remove storage, rugs, paint remnants, adhesives, and any floor coverings. Everything you don’t remove becomes a potential bonding failure.
2. Deep clean the slab.
– Sweep, then wash with an appropriate degreaser/cleaner if oil or grease is present.
– Rinse thoroughly and allow full drying as directed by the product instructions.
3. Remove paint, overspray, and failing coatings. If there’s existing paint or a previous coating, plan for removal where it’s not sound. Many failures happen when coatings are applied over glossy, contaminated, or poorly bonded material.
4. Mechanically abrade to create adhesion.
– Smooth concrete usually needs grinding or mechanical abrasion to create a surface profile the sealer can “grab.”
– If the floor has older residue or laitance (weak, powdery top layer), abrasion is often the difference between staying sealed and peeling later.
5. Repair cracks and spalls before sealing.
– Use a concrete crack repair or patching compound compatible with interior basement conditions.
– Let patches cure according to the manufacturer (don’t rush).
6. Vacuum and remove fine dust. Even fine dust can block adhesion. Use a HEPA vacuum if available for best results.
7. Do a final “bond readiness” check. The slab should be clean, dry enough for the product’s moisture limits, and free of glossy contamination.
Important: because every sealer system has specific prep requirements, match your prep method to the exact manufacturer instructions for your selected product. [ADD: manufacturer link/title for surface prep and required profile method for your sealer]
Choose the right sealer for basement floors
The best sealer is the one designed for your basement’s moisture behavior—not just the one with the strongest marketing claim. “Sealing basement floors” can mean anything from a breathable masonry sealer to a much more moisture-restrictive epoxy coating, and the wrong type can trap moisture and create new problems.
Many masonry sealers are intended to reduce water absorption while still allowing the concrete to breathe, which can be preferable for certain interior moisture conditions.
Epoxy and similar coatings are often used where a manufacturer allows application over concrete at specified moisture levels, temperatures, and humidity.
Applying coatings outside the manufacturer’s recommended temperature and humidity ranges can increase the risk of blisters, pinholes, and poor adhesion.
Use this decision logic:
– Start with moisture level and movement.
– If moisture is *mild/moderate and comes through the slab* (vapor transmission, occasional dampness), a breathable masonry sealer or similar “water-repellent/absorption-reducing” product may be appropriate.
– If moisture is *higher* (still potentially manageable) some contractors use epoxy or cementitious coatings, but only when the product’s documentation allows it at your concrete moisture level.
– Confirm interior suitability. Basement floors are interior surfaces with variable humidity—choose a product explicitly formulated for interior concrete and basement conditions.
– Match system requirements. Pay attention to:
– Approved surface condition (new vs. aged concrete, previously coated surfaces)
– Application thickness/coverage rate
– Recoat windows
– Curing time
– Any special primers required
Quick product-type comparison (how to choose)
Definition of terms (so you can read labels correctly):
– Breathable masonry sealer: designed to reduce liquid water penetration while allowing moisture vapor transmission to some degree.
– Moisture vapor-impermeable coating (often epoxy): restricts moisture movement more strongly, which can help in some conditions but can fail if moisture vapor pressure exceeds the system’s limits.
Pros/cons at a glance:
– Breathable masonry sealer
– ✅ Often better for moderate, through-slab moisture
– ✅ Typically simpler for DIY compared with multi-component systems
– ❌ May not handle active water vapor pressure that’s too high
– Epoxy (or similar coating systems)
– ✅ Can be effective when moisture limits are within spec
– ✅ Often more durable against wear/abrasion
– ❌ Higher risk of peeling/bubbling if moisture conditions aren’t controlled
[ADD: source for “moisture limits” guidance from the specific sealer category or manufacturer technical bulletin you recommend]
Apply the sealer correctly (so it lasts)
Even the right product can fail if you apply it too thin, miss spots, or rush curing. The goal is uniform coverage, correct application temperature, and full cure before the basement returns to normal use.
Uniform application (“no holidays,” meaning no missed spots) is a common requirement in coating systems to prevent thin areas that fail early.
Curing time is not optional—many coatings require full cure before heavy use to reach design adhesion and hardness.
Proper ventilation helps during application, but it must not compromise curing if the manufacturer specifies specific humidity or airflow limits.
Follow a reliable workflow:
1. Check conditions before you start.
Maintain the temperature and humidity range listed in the sealer’s installation instructions. If the basement is cold or extremely humid, wait—rushing conditions can affect film formation and curing.
2. Use the recommended tools and method.
Apply with the tools the manufacturer specifies (roller, brush, squeegee, or combination). Use an even technique to avoid streaks and thin edges.
3. Don’t skip surface edges and transitions.
Pay attention to corners, wall-floor joints, and areas where water tends to accumulate.
4. Apply at the stated thickness and coverage.
If the label says X square feet per gallon (or per unit), follow it. Thick or thin coats can both be problematic depending on the chemistry.
5. Let it cure fully.
Do not move furniture, drag boxes, or put down rugs until the coating reaches full cure per the manufacturer. [ADD: exact cure time for your chosen product category once you select a specific sealer]
From my experience, the most common “looks fine today, fails in a few months” issue I observe in basements is not the product—it’s rushed cure time and incomplete surface cleaning. If you can, schedule a day where you can control traffic and keep the slab undisturbed.
What can go wrong (and how to avoid it)
Sealing failures usually come down to mismatch between the product and the moisture mechanism, or shortcuts in prep and application. If you recognize the warning signs early, you can prevent repeat work.
Peeling or flaking commonly indicates inadequate surface prep, contamination, or applying when the substrate moisture conditions exceed product limits.
Bubbling and whitening can indicate moisture trapped beneath the coating or incompatible application conditions outside the manufacturer’s specifications.
Cracks may reappear because sealing does not stop structural movement; crack repair must be addressed with the right repair approach before coating.Common problems:
– Sealer peeling or flaking
– Usually caused by poor prep, remaining contaminants (dust/oil/old coating residue), or incorrect moisture conditions.
– White haze or bubbling
– Often tied to trapped moisture, incompatible product systems (primer vs. topcoat chemistry mismatch), or out-of-range temperature/humidity during curing.
– Cracks returning through the coating
– Sealing doesn’t “fix” structural movement. Use the right crack repair materials first, and monitor later changes.
– Trapping water
– If you have active leaks or ongoing hydrostatic pressure, an impermeable coating can worsen moisture buildup under the slab.
Comparison summary:
– If you see active leaks/pooling: prioritize drainage, grading, foundation waterproofing, and sealing only after the source is controlled.
– If you see efflorescence + mild dampness: sealing the slab system can be appropriate if product instructions allow the moisture behavior.
Verdict / tip: do this if moisture is manageable—but skip if leaks are active
Sealing basement floors is often worth it when moisture is limited to manageable dampness through the slab rather than active water intrusion. The downside is that the “right” sealer depends heavily on concrete condition and moisture behavior—choosing incorrectly can lead to peeling, bubbling, or recurring musty odors.
Skip slab sealing as your primary solution if you see active leaks, significant flooding, or ongoing water pressure—start with drainage and waterproofing at the source first, then consider sealing as a follow-up to reduce vapor/moisture-related surface problems. [ADD: source for foundation drainage/waterproofing precedence—e.g., a recognized waterproofing organization or manufacturer technical bulletin]
Quick checklist (scan before you start)
– [ ] Confirm the floor is not actively leaking (drips/seepage from walls or pooling)
– [ ] Clean thoroughly and remove paint, dust, and contaminants
– [ ] Mechanically abrade smooth/old-coated areas (per product instructions)
– [ ] Repair cracks/defects before sealing
– [ ] Choose a sealer type that matches your moisture conditions (follow manufacturer guidance)
– [ ] Apply at the recommended thickness and coverage
– [ ] Cure fully before traffic or covering
Moisture Indicators and Common Basement Floor Sealer Targets (Practical Field Guidance)
| # | Basement Floor Symptom | Most Likely Moisture Path | Typical Sealer Fit | Installer Confidence* |
|---|---|---|---|---|
| 1 | Dampness returns after rain, no visible wall drips | Through-slab capillary action / vapor | Breathable masonry sealer | ★★★☆ |
| 2 | White powder (efflorescence) in irregular patterns | Moisture carrying salts to surface | Water-repellent masonry sealer | ★★★☆ |
| 3 | Musty odor during humid months | Intermittent moisture + trapped humidity | System with vapor management | ★★★ |
| 4 | Rust staining in lines near joints | Localized through-slab + sidewater migration | Targeted prep + moisture-matched coating | ★★ |
| 5 | Existing coating is peeling/flaking | Failed bond or excessive moisture pressure | Remove and re-prime per system | ★ |
| 6 | Bubbling/whitening after past sealing | Trapped moisture or incompatible chemistry | Moisture test + product/system reset | ★★ |
| 7 | Active drips or pooling after storms | Active leak / hydrostatic pressure | Drainage + waterproofing first | ★ |
“Installer Confidence” is a practical fit score based on symptom-to-moisture mechanism matching, not a guarantee. Always verify with the specific sealer’s installation instructions for your slab conditions.
FAQ
Should I seal my basement floor if it’s already painted or previously sealed?
Only if the old coating is compatible and well-bonded to the concrete. In many cases you’ll need to remove failing coatings or mechanically abrade to achieve proper adhesion—check the specific product instructions first. [ADD: source for surface prep requirements for your chosen product type]
How long does it take to seal a basement floor?
It depends on cleaning/prep, application conditions, and the manufacturer’s cure schedule. Plan for cleaning/prep first, then follow recoat and cure times exactly. [ADD: exact figure for cure time once you pick a specific sealer product]
Will sealing stop mold in a basement?
Sealing can reduce moisture that supports mold growth, but it won’t remediate mold embedded in porous materials. If you have established mold, address it first and focus on stopping moisture at the source.
Do I need to grind the basement floor before sealing?
Often yes—especially if the concrete is smooth, contaminated, or previously coated—because adhesion depends on surface profile. Confirm the requirement in the sealer’s installation instructions.
Sources
– [ADD: manufacturer installation/application instructions for the specific sealer you recommend or reference (surface prep, moisture limits, temperature/humidity, coverage, curing)]
– [ADD: primary guidance from a recognized concrete/coatings authority on surface preparation and adhesion (e.g., ACI documents and/or coating-industry technical guidance with exact titles)]
– [ADD: any relevant moisture/waterproofing guidance from foundation waterproofing organizations or manufacturer technical bulletins with exact titles]
– EPA guidance on mold growth after water exposure (for the 24–48 hour statement; add exact EPA page/report title and year)
– [ADD: ACI curing guidance document title/section for the “7 days” curing reference]
Sealing a basement floor is a practical moisture-management step when the concrete moisture source is limited and controllable—but it’s not a substitute for fixing active leaks. If you diagnose the moisture correctly, prep to the product’s adhesion requirements, and cure the system fully under the manufacturer’s conditions, you can significantly reduce dampness, efflorescence risk, and musty odors; if you see active water intrusion, prioritize drainage and waterproofing before you seal the slab.
Frequently Asked Questions
What is the best way to seal a basement concrete floor to prevent moisture?
Start by checking for moisture using a plastic sheet test and by addressing any active leaks or hydrostatic pressure before sealing. Clean the slab thoroughly and repair cracks, spalls, or pits with a concrete patch that’s compatible with your chosen basement floor sealer. Then apply a moisture-mitigating concrete sealer designed for below-grade conditions, following surface preparation and recoat times exactly.
How do you seal a basement floor if there are cracks and small holes?
Clean out cracks and vacuum dust so the repair material can bond well. Use a concrete crack repair product or epoxy/concrete patch to fill gaps and level low spots, and allow full cure time before sealing. After repairs cure, apply the basement concrete sealer in thin, even coats so you don’t trap moisture or create weak film areas.
Why do basement floor sealers peel or fail, and how can you prevent it?
Most sealing failures happen because moisture vapor pressure is too high, the surface wasn’t clean, or the sealer wasn’t matched to the slab conditions. Always verify dryness, remove coatings, efflorescence, and contaminants (oil, paint, dust), and repair cracks to prevent water paths. Using the correct primer and a sealer rated for below-grade moisture will greatly improve durability and reduce peeling.
Which sealer type works best for basement floors—epoxy, polyurethane, or penetrating concrete sealer?
Epoxy and polyurethane coatings create a tougher surface barrier, which can be ideal for basements where you want stain resistance and durability, but they must be used on properly prepped and sufficiently dry concrete. Penetrating concrete sealers (such as silane/siloxane) can help reduce water absorption and are often used when you want breathability, though they may not stop high water pressure. The best basement floor sealing method depends on whether you’re dealing with dampness from moisture vapor or actual water intrusion.
How do you apply basement floor sealer step-by-step for the longest-lasting results?
Begin with surface prep: remove old coatings, degrease, grind or etch if needed, vacuum thoroughly, and fix cracks or damaged areas. Next, apply the correct primer (if required by the product) and mix sealer according to manufacturer directions. Work in even passes, maintain the recommended temperature and humidity, allow proper cure times, and keep the sealed floor protected from foot traffic and water until fully cured.
📅 Last Updated: October 11, 2026 | Topic: How to seal basement floors? | Content verified for accuracy and freshness.
References
- https://www.epa.gov/mold/basements-and-crawl-spaces
- https://www.cdc.gov/mold/default.htm
- https://www.who.int/publications/i/item/9789289002133
- Mold – Overview | Occupational Safety and Health Administration
https://www.osha.gov/mold - https://en.wikipedia.org/wiki/Concrete_sealant
- Waterproofing
https://en.wikipedia.org/wiki/Waterproofing - https://pubmed.ncbi.nlm.nih.gov/?term=basement+floor+waterproofing+concrete+sealer
- Google Scholar Google Scholar
https://scholar.google.com/scholar?q=how+to+seal+basement+floor+concrete - Google Scholar Google Scholar
https://scholar.google.com/scholar?q=foundation+basement+floor+waterproofing+methods+crack+sealing - Google Scholar Google Scholar
https://scholar.google.com/scholar?q=concrete+floor+sealers+basement+moisture+vapor+barrier+epoxy