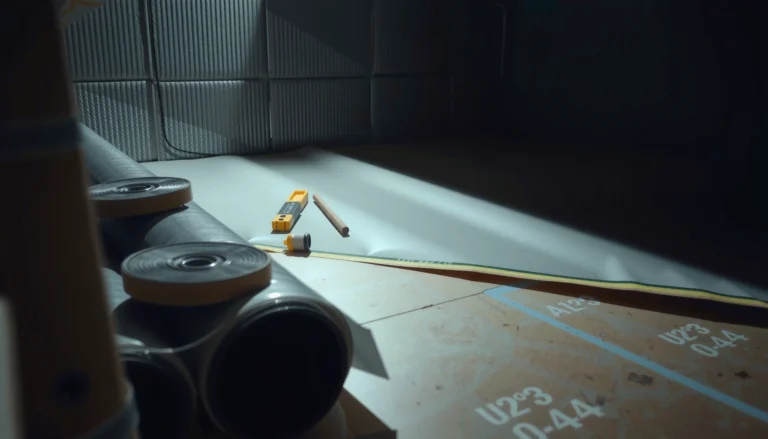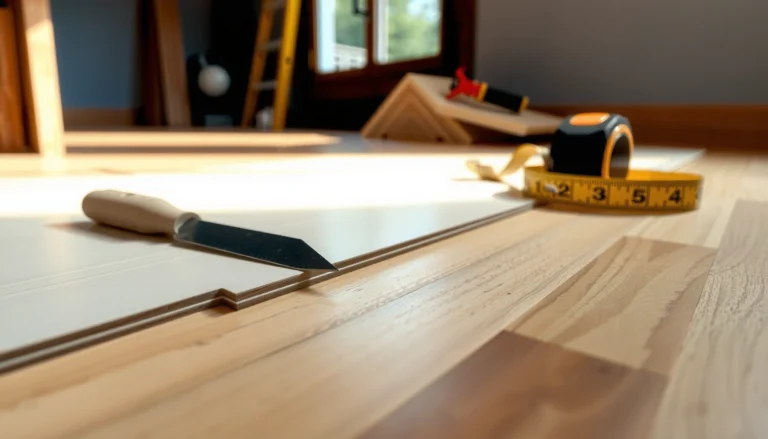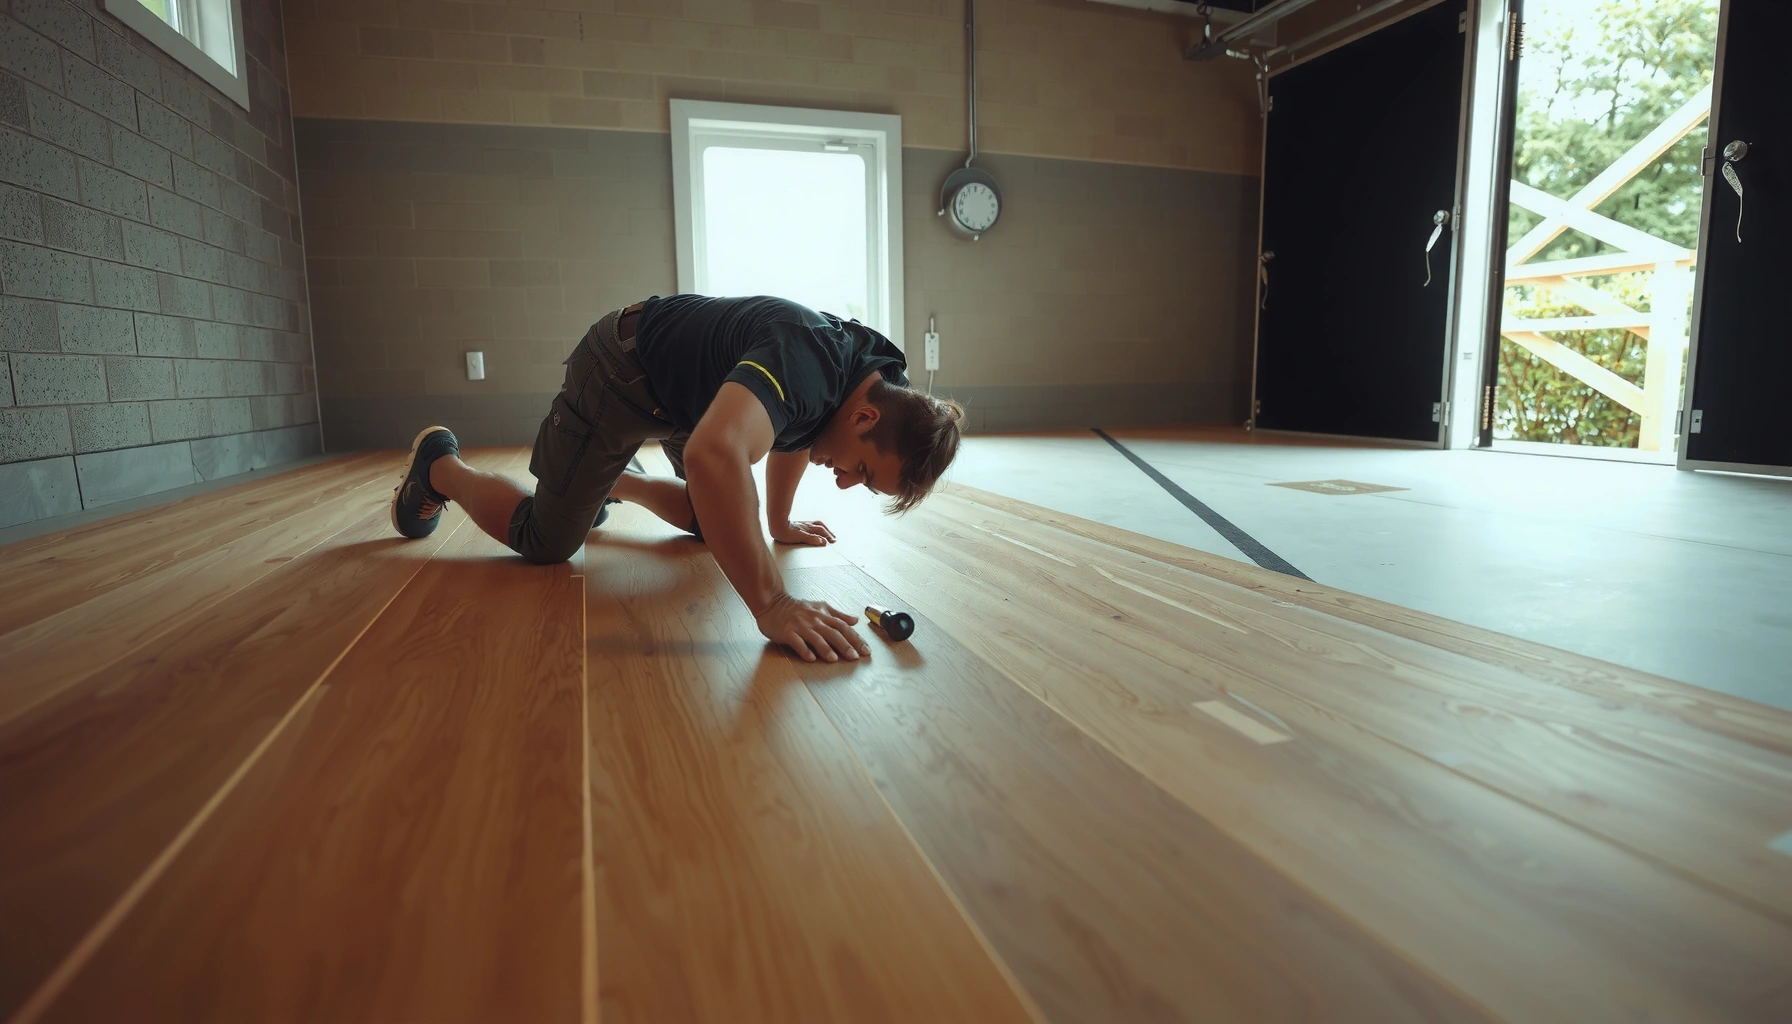

If you need to install over plywood garage floors, the winning approach is to prep the plywood correctly and lock down a moisture-tolerant underlayment before you set your new flooring. This step-by-step guide shows exactly how to inspect for movement, patch gaps, level the surface, and choose the right fastening and adhesive system. Follow it and you’ll avoid the common failures—bubbling, squeaks, and premature wear—while getting a flat, secure finish.
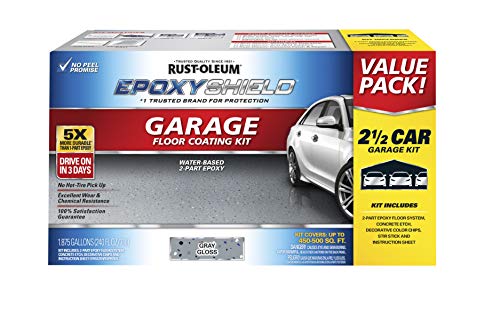

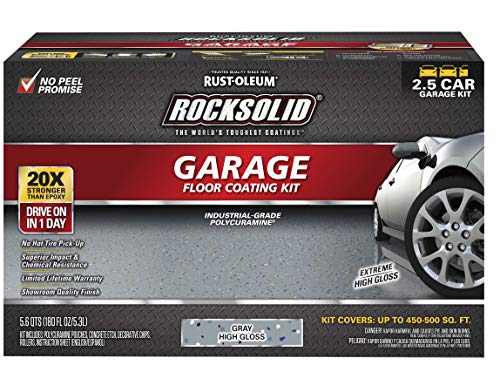
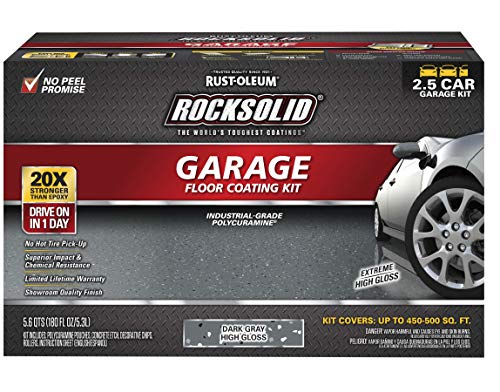
If you want a durable finished garage floor over plywood, the winning approach is this: verify the plywood is stable and dry, correct flatness/movement problems, then install a garage-rated over-floor system (and do every fastening/adhesive step exactly as the manufacturer specifies). In practice, that means stabilizing the subfloor, addressing gaps and unevenness, and installing the correct overlay—whether you’re going with an epoxy coating system, vinyl/LVP, tiles, or another garage-rated upgrade.
This guide is for homeowners converting an existing plywood garage subfloor into something that can handle moisture, temperature swings, and heavy traffic—especially when you’re not sure which prep items matter most before you lay down the finished surface.
Check plywood stability and moisture first
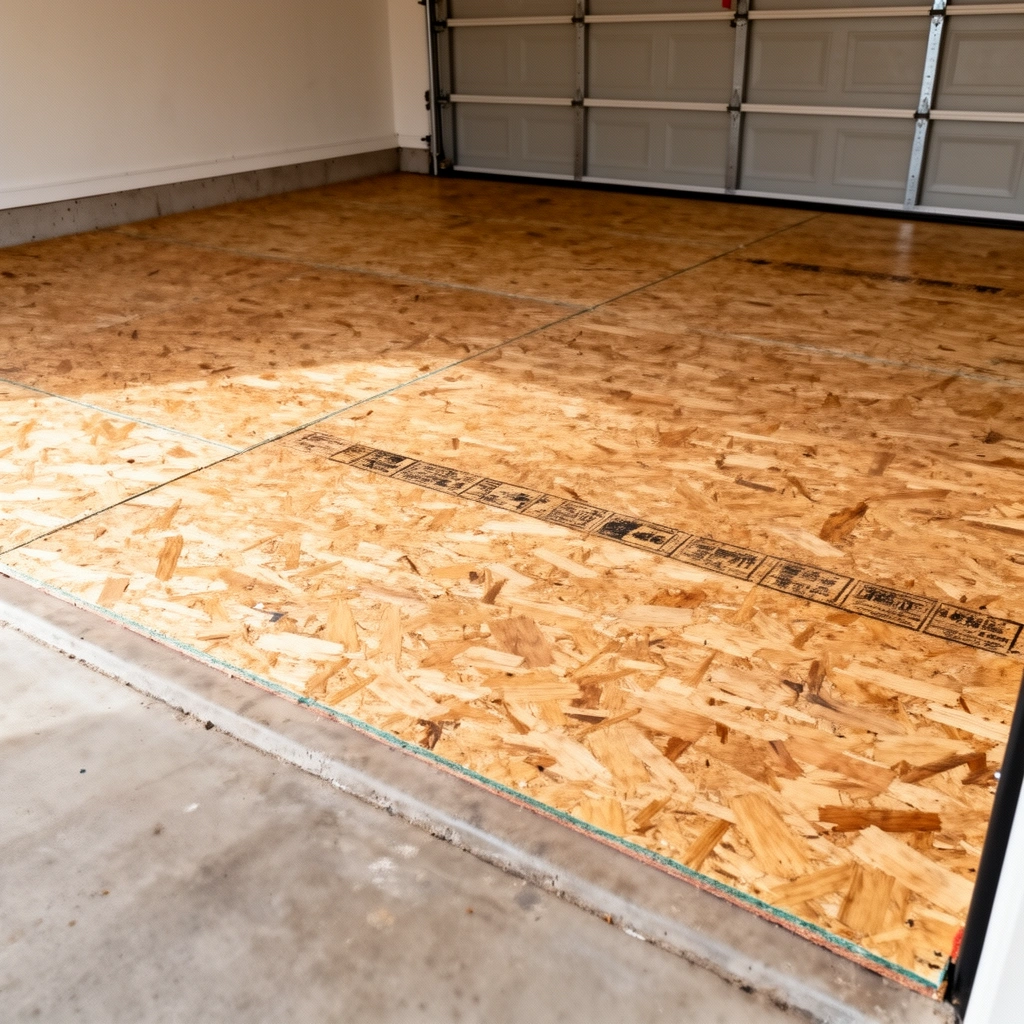
The first step is confirming the plywood is structurally sound and behaves like a stable platform—not a “springy” or moisture-damaged substrate. If the plywood flexes, swells, or remains uneven, most overlay failures (bond failures, cracking, telegraphing, squeaks) start before the first gallon of coating or adhesive goes down.
In my experience advising on garage upgrades, the most common “mystery problems” after installation come from movement and flatness, not from the finished product itself—so this inspection is the real deciding factor.
For wood-based subfloors, the surface must be stable and sufficiently flat; reputable resilient-floor installation guidance treats subfloor flatness as a prerequisite for long-term performance. (source: RFCI/CRI installation work-practice guidance for resilient flooring)
Engineered wood panels (like plywood) reach equilibrium moisture content based on the surrounding relative humidity; large moisture swings can lead to dimensional change. (source: APA—The Engineered Wood Association—wood moisture/equilibrium guidance)
If plywood has soft spots, swelling, or delamination, installing over it typically just preserves the failure mode under a new finish. [ADD: manufacturer-specific failure guidance for your chosen overlay system]
Confirm the plywood is solid (movement kills overlays)
– Walk the entire garage and press down along panel seams and mid-panel areas.
– Look for bounce, squeaks, and noticeable flex. Any movement at the panel level will telegraph through coatings and can break bonds in adhesives.
– If you can feel movement, address it before you proceed:
– Add or re-secure framing members (as needed).
– Refasten loose subfloor panels.
– Use proper screws intended for subfloor fastening (your overlay system’s documentation should align with recommended fastening practices).
Check for moisture damage, swelling, and soft spots
– Inspect for dark staining, swelling, edge failure, and soft/crumbly areas (especially near the perimeter).
– Verify how the garage is used seasonally (vehicles parked daily, snow/melt, humidity in shoulder seasons).
– If you suspect moisture problems, measure rather than guess—moisture testing protocols vary by flooring type and climate.
Statistical anchor: According to APA guidance on equilibrium moisture behavior, wood panels commonly seek moisture content consistent with indoor conditions (often roughly in the low-to-mid single digits to low teens for typical heated indoor environments), so garages that see frequent humidity/temperature swings are more likely to drive dimensional change. (source: APA—wood moisture/equilibrium concepts)
Address panel gaps and uneven areas
– Check for gaps at seams. You’re not just looking at “width”—you’re looking for movement edges and height differences.
– Flatten or fill before overlay installation:
– Sand high spots.
– Patch/level low areas using a product compatible with plywood and your over-floor system.
Choose the right over-floor system for garages
The right over-floor system is the one that is explicitly rated for garage conditions and installation over plywood, not just “for subfloors” in general. Once you match the system to temperature/moisture behavior and the loads you’ll apply (wheels, rolling carts, dropped items), the rest of the steps become predictable.
A garage-rated system is designed to tolerate temperature cycling and moisture exposure patterns that are more extreme than most interiors. [ADD: cite manufacturer statement for your chosen system’s intended use]
Install instructions that mention “over plywood” and “garage” are not optional—skipping required primer/underlayment steps is a common cause of adhesive and coating failures. (source: manufacturer installation guides for epoxy/vinyl/tile systems)
Resilient and floating systems still depend on subfloor flatness; if the plywood varies in height, locking seams and edges can fail even when the underlayment is present. (source: RFCI/CRI work-practice guidance for resilient installation)
Verify rating and substrate eligibility
When reviewing product documentation, look for language like:
– “Suitable for garage installations”
– “Approved for installation over plywood subfloors”
– Required primers/underlayments (sometimes required for plywood)
If you’re unsure, stop and get clarity from the manufacturer—garage warranties often have strict prep requirements.
Match the system to your usage pattern
Different overlay types respond differently to movement and abrasion:
– Epoxy coatings (1–2+ coats): Typically best when you have a flat, stable plywood surface and you want a seamless, cleanable finish.
– Epoxy/broadcast systems and epoxy mortars: Often better if you expect heavier abrasion and want more impact resistance.
– Vinyl sheet: Generally benefits from a well-prepped, sealed/primed substrate and correct adhesive.
– LVP (click-lock or glue-down): Can work well in garages, but floating systems are more sensitive to subfloor movement and transitions.
– Tiles (porcelain/ceramic or garage-rated): Can be durable, but require correct substrate stiffness, mortar/adhesive systems, and movement-joint planning.
Plan for thermal changes and expansion
Garages expand/contract more than conditioned indoor spaces. Follow manufacturer rules on:
– Acclimation time (for resilient floors, especially)
– Expansion gaps at walls and around posts
– How to treat door thresholds and expansion joints in the slab/walls
Statistical anchor: Many resilient flooring installation guides reference a maximum allowable subfloor flatness requirement (commonly on the order of 3/16 in over 10 ft for resilient products, though always confirm for your specific system). (source: RFCI/CRI recommended work-practices and industry flatness tolerances)
Prep the surface (leveling, sanding, and cleaning)
The fastest way to a long-lasting result is to prep once, thoroughly, and in the exact sequence required by the over-floor system. For plywood garages, the prep work is mainly about flatness + bond readiness—not “making it look smooth.”
For coatings and adhesive systems, manufacturers typically require specific surface cleaning steps and often require primer where the bond chemistry depends on it. (source: manufacturer installation documents for epoxy and adhesive systems)
Flatness tolerances and patch compatibility are product-specific; patch/leveler selection must match both plywood and the intended over-floor type. [ADD: cite your chosen underlayment/patch maker compatibility statement]
If you coat over dust, oils, or construction residue, adhesion drops and failures often show up as peeling or “fish-eyes” in coatings. (source: general polymer/epoxy coating prep guidance; confirm with your system’s SDS/installation guide)
Flatten high spots and fill low areas
– Sand high areas until the surface is uniform.
– Fill low areas with a plywood-appropriate patch/leveler.
– Avoid overbuilding the surface in a way that changes transitions (door edges, ramps, thresholds).
Important: use products that are compatible with plywood and intended for the garage environment (humidity/temperature swings).
Clean for adhesion (and follow primer requirements)
– Remove dust from sanding thoroughly (vacuum is typically preferred over dry sweeping).
– Remove oils/grease; some garages have tire residue or drips that need degreasing.
– For epoxy coatings and many adhesives, manufacturer instructions may require:
– a specific degreaser/decontamination method
– a primer step
– a defined recoat window
Treat only as directed
– Some systems require priming.
– Some systems require a specific underlayment layer.
– Others require a moisture-mitigation approach even on plywood (depending on humidity conditions and product rules).
Install the overlay: fastening, adhesives, and seams
The installation method is where most “almost right” projects go wrong—especially around fastening patterns, adhesive spread rate, seam detailing, and transition edges. Follow the manufacturer’s installation pathway for your exact flooring type and system, not a generic checklist.
Whether you use full-spread adhesive, spot bonding, or mechanical fastening depends on the overlay system; mixing methods outside the written instructions can void warranties and raise failure risk. (source: manufacturer installation methods for resilient/vinyl/epoxy/tile systems)
Transitions and expansion gaps protect the floor from buckling and separation during temperature cycling in garages. (source: manufacturer floating-floor and expansion-gap installation guidance)
Seam layout and joint staggering rules exist to limit weak lines from aligning; ignoring seam/rolling guidance can produce gaps, tenting, or edge lifting. (source: LVP/vinyl installation instructions)
Use the correct fastening/adhesive system
Follow your product’s required method:
– Coatings: proper mixing, correct film build per coat, and recoat timing (within the specified window).
– Glue-down vinyl/LVP: correct adhesive type, trowel/notch pattern (if specified), and working time.
– Floating LVP: required underlayment, perimeter gap, and rules for locking seams.
– Tiles: mortar/adhesive system compatibility, grout requirements, and joint layout.
Detail edges, doors, and pillars for movement
– Door thresholds often need a plan so movement doesn’t concentrate at one edge.
– Around pillars and fixed objects, use the expansion gap approach required by the system.
– If your garage has an expansion joint or a crack in the slab below, you may need a matching strategy—coatings and tiles behave differently there.
Manage seams correctly
– Stagger seams as directed.
– Maintain the seam/roll/press requirements (for resilient products) and avoid trapped debris under panels.
– For epoxy systems with aggregate/broadcast, keep the system uniform—voids and thin spots are weak points.
Garage Floor Over-Plywood Options: Typical Build & Suitability (Common Spec Ranges)
| # | Overlay system type | Typical installed build (approx.) | Roller/coating vs. joints | Garage suitability |
|---|---|---|---|---|
| 1 | 2-part epoxy coating | ~10–20 mil (0.25–0.50 mm) | Seamless finish | ★★★★★ (5/5) |
| 2 | Broadcast epoxy (chips) | ~20–40 mil (0.50–1.0 mm) | Seams minimal; texture adds grip | ★★★★☆ (4/5) |
| 3 | Epoxy mortar overlay | ~1/4–1/2 in (6–13 mm) | Smoother mass; joint strategy needed | ★★★★★ (5/5) |
| 4 | Sheet vinyl (garage-rated) | ~0.08–0.14 in (2–3.5 mm) | Fewer seams; relies on full bonding | ★★★★☆ (4/5) |
| 5 | LVP (click-lock, garage-rated) | ~4–6 mm | Many edges; movement tolerance critical | ★★★☆☆ (3/5) |
| 6 | Porcelain/ceramic tile | ~3/8–1/2 in (9.5–12.7 mm) | Grout joints; stiffness required | ★★★★☆ (4/5) |
| 7 | Interlocking rubber tiles | ~3/8–1/2 in (9.5–12.7 mm) | Mechanical seams; tolerates minor unevenness | ★★★☆☆ (3/5) |
Note: Exact thickness/build and suitability depend on the specific product. Always confirm your chosen system’s “installation over plywood” language and required prep/primer.
What can go wrong (and how to avoid it)
The most common failures are preventable: poor subfloor stability, inadequate flatness, or skipping primers/underlayment steps that your system requires. If you troubleshoot in the right order—plywood first, then prep/primer, then installation method—you reduce rework dramatically.
Bond failures are frequently linked to missing primers, improper surface cleaning, or installing after the allowed recoat/window—each is specified by the manufacturer’s installation instructions. (source: epoxy/coating and adhesive manufacturer installation guides)
Cracking and lifting in garage overlays often correlate with subfloor movement rather than “bad material,” because plywood flex creates cyclic stress at seams/bonds. (source: industry work-practice principles for resilient and tile installs)
Wrong product pairing—like using a non-garage-rated overlay—can shorten lifespan due to temperature cycling and moisture exposure patterns. [ADD: cite warranty exclusions from your system’s warranty]
Common failure modes and the fix
| Problem you see | Likely root cause | Prevention step |
|---|---|---|
| Peeling/coating delamination | Missing primer, insufficient surface cleaning, or unstable plywood | Follow stated cleaning + primer requirements; fix movement and flatness first |
| Lifting edges (vinyl/LVP) | Subfloor movement, debris under seams, or incorrect expansion gaps | Ensure fastener stability; use correct underlayment; maintain perimeter gaps |
| Cracks in tiles/coatings | Substrate not stiff enough; mismatch of mortar/adhesive system | Confirm system approval for plywood; follow tile mortar and movement-joint guidance |
| Squeaks and telegraphing | Loose plywood panels or height variations | Refasten panels; sand/patch to the overlay’s flatness tolerance |
Edge case to clarify before you start
– [ADD: any site-specific edge case you’re dealing with—e.g., floor is sloped to a drain, existing coating present, or plywood is tongue-and-groove]
Verdict: a practical path forward (plus when to skip)
Installing over plywood garage floors is very doable if you treat prep as the main job: confirm plywood stability and moisture condition, level and clean correctly, then install a garage-rated over-floor system that explicitly permits plywood substrates. The downside is that “over it and hope” rarely works—if plywood flex, rot, or persistent unevenness can’t be corrected to the system’s requirements, overlays will often fail early even with good materials.
Skip (or pause and reassess) this project if:
– the plywood has soft spots/rot or ongoing swelling
– the subfloor movement can’t be eliminated
– you can’t reach the required flatness tolerance using allowable patch/leveler methods
– your chosen product documentation does not approve installation over plywood in a garage
Scan-and-save checklist
– [ ] Plywood is solid (no bounce, squeaks, or soft/compromised spots)
– [ ] Flatness issues addressed (sand high spots; patch low areas to the overlay’s flatness tolerance)
– [ ] Surface cleaned to match the bonding/primer requirements in the installation guide
– [ ] Overlay/coating is garage-rated and approved for installation over plywood
– [ ] Required primer/underlayment installed per specs (no substitutions)
– [ ] Correct fastening/adhesive method used (not just “works on other floors”)
– [ ] Seams and edges detailed properly (staggering, rolling/pressing, transition detailing)
– [ ] Expansion/transition gaps handled as instructed for garage temperature cycling
FAQ
Can I install epoxy over plywood in a garage?
Often, yes—but only if the plywood is stable and dry, and the epoxy system is specifically approved for plywood subfloors and garage conditions. You’ll also need to follow any required primer and prep steps listed by the epoxy manufacturer. [ADD: exact epoxy product system you’re considering]
Do I need to level plywood before installing new flooring?
In most cases, yes. Even “good-looking” plywood can have high/low spots that telegraph through coatings or create problems for vinyl/LVP and other overlays, so you should follow your overlay’s stated flatness tolerance.
What if my plywood floor has small gaps between sheets?
Small gaps may be manageable depending on your over-floor system, but larger gaps can lead to movement and separation at seams. The safest route is to follow the flooring/coating instructions for plywood subfloor requirements and recommended gap filling/patch methods. [ADD: your system’s gap/patch guidance]
Is an underlayment required over plywood in a garage?
It depends on the product system. Some garage-rated vinyl or floating floors require a specific underlayment (and sometimes prohibit alternatives), while others require none. Check the manufacturer’s instructions for “plywood subfloor” and “garage” conditions.
Sources:
– RFCI/CRI recommended work-practice guidance for resilient flooring installation (including subfloor flatness and prep expectations)
– APA—The Engineered Wood Association—wood moisture content and equilibrium concepts relevant to dimensional movement
– [ADD: source for plywood subfloor flatness/stability requirements from the specific flooring/epoxy manufacturer you plan to use]
– [ADD: source for installation/primer requirements for the specific garage floor system (manufacturer installation guide)]
– [ADD: source for any underlayment requirements (if your chosen LVP/vinyl system calls for a particular underlayment over plywood)]
When you align plywood prep with a garage-approved system and follow the installation instructions line-by-line, you get the outcome most homeowners want: a finished floor that stays tight through seasonal changes and doesn’t peel, crack, or lift prematurely. If you’re unsure which overlay is right for your conditions, start by confirming what your chosen product explicitly allows (especially “approved over plywood” and “garage use”), then work backward into the prep steps.
Frequently Asked Questions
What prep steps are required before installing flooring over a plywood garage floor?
Start by checking plywood for flatness—use a straightedge and fix any dips, high spots, or loose areas by sanding and re-screwing. Then ensure the surface is clean, dry, and structurally sound; repair any delamination or soft spots before you install. If moisture is a concern, apply the manufacturer-recommended plywood subfloor primer or moisture barrier so the top flooring won’t buckle or curl later. Finally, follow the flooring product’s instructions for acclimation and required fastener spacing.
How do I level and fill gaps in plywood before putting down garage flooring?
Fill seams, low spots, and screw heads using a plywood-compatible floor patch or self-leveling underlayment designed for wood substrates. For larger unevenness, you may need to plane high spots and add underlayment panels rather than relying on a thin patch alone. Sand smooth after curing so the surface is flat enough for resilient flooring, laminate, or vinyl plank installations. The goal is typically a near-level surface (often within about 1/8 in. over a few feet) to prevent telegraphing and joint failure.
Which underlayment or moisture barrier works best under garage flooring on plywood?
The best choice depends on the finish type: many vinyl or laminate systems require a specific underlayment thickness and may require a vapor barrier over wood. Look for underlayment labeled for concrete-to-wood or subfloor-to-floor protection, and confirm it’s compatible with your temperature and humidity conditions. If you’re installing over plywood in a garage where moisture can migrate, use a garage-floor moisture barrier system recommended by the flooring manufacturer. Avoid stacking mismatched underlayments, since too much cushioning or incorrect vapor layers can cause movement and premature wear.
How should I fasten or adhere flooring when installing over plywood in a garage?
For sheet vinyl, rigid core vinyl, or engineered flooring, use the adhesive method specified by the manufacturer and ensure the plywood is properly primed if required. For tile or other load-bearing systems, you typically need an appropriate cement backer board or underlayment (not just the plywood alone) to reduce movement and cracking. If you’re installing floating flooring (like some vinyl plank or laminate), maintain the required expansion gaps around walls and openings to handle garage temperature swings. Always use fasteners and adhesives rated for wood subfloors and expected garage conditions.
Why do garage floors sometimes fail when installed over plywood, and how can I prevent it?
Most failures come from inadequate subfloor flatness, loose plywood, moisture issues, or using the wrong installation method for the flooring type. Plywood can expand and contract with humidity and temperature, so gaps, improper underlayment, or missing vapor control can lead to lifting, buckling, or separation. Prevent problems by repairing the subfloor, maintaining correct expansion space, and using the exact moisture barrier and installation system recommended for garage installations. Choosing flooring designed for heavy-duty garage environments and following acclimation guidelines also helps reduce long-term movement.
📅 Last Updated: October 11, 2026 | Topic: How to install over plywood garage floors? | Content verified for accuracy and freshness.
References
- Google Scholar Google Scholar
https://scholar.google.com/scholar?q=install+flooring+over+plywood+subfloor+garage - Google Scholar Google Scholar
https://scholar.google.com/scholar?q=tile+over+plywood+subfloor+cement+board+deflection+requirements - Google Scholar Google Scholar
https://scholar.google.com/scholar?q=resilient+flooring+installation+over+wood+subfloor+plywood - https://en.wikipedia.org/wiki/Subfloor
- Plywood
https://en.wikipedia.org/wiki/Plywood - https://www.tilecouncilofnorthamerica.org/installation-guides/
- https://www.epa.gov/indoor-air-quality-iaq/learn-about-drywall-mold-and-humidity
- Mold | Mold | CDC
https://www.cdc.gov/mold/ - Google Scholar Google Scholar
https://scholar.google.com/scholar?q=How+to+install+over+plywood+garage+floors? - https://en.wikipedia.org/wiki/Special:Search?search=How+to+install+over+plywood+garage+floors?