
Want to remove paint from garage floors without damaging the concrete—then use the right solvent-and-scrape method first, because it delivers the fastest clean-up with the fewest surprises. This step-by-step guide walks you through identifying the paint type, choosing the best remover, and safely lifting layers until the floor is ready to seal. By the end, you’ll know exactly what to do on day one and what to avoid so the stain doesn’t spread.


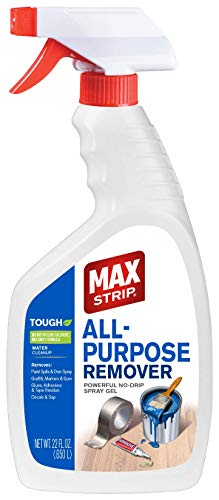

If you want the job done efficiently, first identify whether the paint is latex (water-based) or epoxy/oil (chemically cured), because the removal method depends on the chemistry. For most garage slabs, the fastest path is typically to soften or lift the paint with a concrete-compatible stripper (or controlled heat for small areas), then scrape carefully and finish with thorough cleaning so the slab can be coated again later.
This guide is written for homeowners and small workshop users handling paint drips, overspray, or peeling coatings on concrete garage floors. It focuses on practical options, safer prep, and the common failure points that keep DIY removals from working—especially when the next step is re-coating.
Assess the Paint Type (Latex vs. Epoxy/Oil)
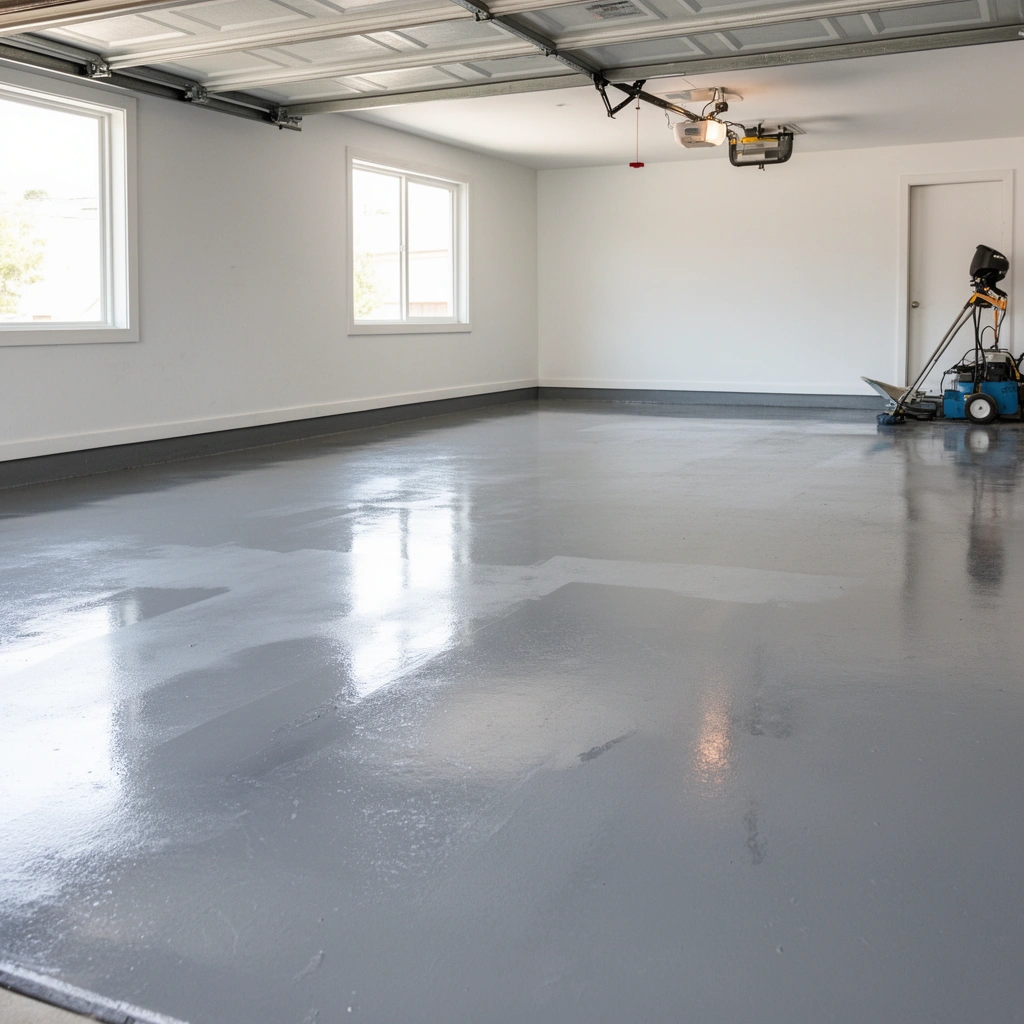
Latex paint (water-based) usually softens and loosens more readily with water-based cleaners and light abrasion, while epoxy/oil coatings typically require stronger chemical strippers or mechanical removal. The quicker you classify the coating, the fewer wasted hours you’ll spend fighting the wrong method.
Here’s the key logic: removal works when the chemistry that “bonds” the coating is interrupted. Latex relies largely on water-dispersion chemistry and generally releases more easily when you reintroduce compatible cleaning action. Epoxy and many oil-modified coatings form tougher, more chemically resistant films that do not respond well to simple washing once fully cured.
Latex paint is generally water-based and tends to soften with compatible water-based cleaning approaches, making it easier to scrape than fully cured epoxy/oil coatings.
Epoxy and many oil-modified concrete coatings cure into more chemically resistant films, so chemical stripping labeled for epoxy-type coatings or mechanical removal is usually required.
When paint is already flaking or peeling, removal is significantly faster because you’re working with a partially debonded layer rather than fully adhered material.
How to tell in the real world (quick checks that actually help)
A “look and behavior” check is often enough to choose a direction:
– Latex (water-based) indicators
– Often looks more matte and may show softer edges.
– When tested, latex overspray frequently scrapes more easily after the surface is dampened or cleaned with a compatible cleaner.
– Epoxy/oil indicators
– Often appears tougher, glossier, and “sealed” against the concrete.
– May remain intact even after aggressive scraping—meaning you’ll likely need epoxy-rated stripper or grinding.
From a practical standpoint: I recommend spending 5–10 minutes on a small test patch rather than committing to a full-area chemical treatment—because the wrong stripper can leave behind residue that interferes with future adhesion. ([ADD: author’s experience with a specific test patch outcome—if you want to include your own case, insert it here])
Also, remember that coatings can be layered. For example, a garage slab may have been painted with latex over a previously sealed surface (or an epoxy chip system over concrete sealer). If the paint behaves inconsistently across the floor, treat the harder section as the “base truth” and plan for epoxy/oil removal techniques.
Time matters because cure changes everything
As of 2026, the safety reality hasn’t changed: once a coating is fully cured, you’re removing film chemistry—not just surface dust. For any paint stripper you choose, follow the manufacturer’s instructions on dwell time and mechanical follow-up, because cure resistance varies by formulation.
For anchoring: According to the U.S. EPA, residential lead-based paint was banned in 1978, which is why older buildings can require additional precautions if you suspect legacy coatings contain hazardous constituents. U.S. EPA (lead-based paint program background) (See “What can go wrong” for what to do with unknown/hazard suspicions.)
Prep the Garage Floor for Safe Removal
Your safest first step is preparing the garage so you control exposure (fumes and dust) and prevent damage to nearby surfaces. Once protection and ventilation are handled, removal itself is usually straightforward.
Garage slabs are unforgiving: you can’t “patch” chemistry after the fact. If you skip PPE or ventilation, the “best” removal method becomes the one you can safely operate.
Proper ventilation and PPE are critical when using chemical paint strippers because vapors and skin/eye contact risks depend on the product formulation.
Dust control matters during grinding or sanding of coatings because fine particulate can carry paint residues and concrete dust into the breathing zone.
Avoid working near ignition sources when using solvent-based strippers; many stripping chemicals are flammable or produce flammable vapors.
Ventilation + PPE (don’t guess—match the product label)
At minimum, plan for:
– Chemical-resistant gloves
– Eye protection (sealed safety goggles are better than loose glasses)
– Respiratory protection: use a respirator type specified by the stripper’s Safety Data Sheet (SDS) and label (for example, cartridge respirators vs. air-purifying vs. supplied-air)
Because labels vary by active ingredients, the correct respirator depends on the exact product. Insert the respirator requirement based on the chosen product’s label here: [ADD: respirator type if using specific solvent/stripper—based on the product’s label].
Protect the rest of the garage
– Remove loose debris (grit can scratch the slab and contaminate future bonding).
– Cover walls, shelves, garage doors, and adjacent equipment using plastic sheeting and painter’s tape.
– Keep a shop vacuum with a proper dust filter handy if you anticipate scraping that turns into dust.
Concrete safety note: don’t treat it like “just paint”
Concrete is porous. Solvent or stripper residue can migrate into pores and create adhesion problems later. That’s why you’ll often see “clean + neutralize + rinse” steps in SDS instructions—follow them instead of improvising.
Choose a Removal Method (Chemical, Heat, or Mechanical)
For garage floors, chemical removal is usually the most time-efficient for bonded paint, heat can work for small areas, and mechanical removal is the most controllable option when you can manage dust. Your best choice depends on the coating type, how well it’s bonded, and how much area you’re working.
For coatings bonded to concrete, chemical strippers labeled for concrete and the specific coating type can soften the film so scraping removes it more efficiently.
For small drips or partially debonded paint, careful scraping and light grinding or sanding can be more practical than full chemical treatment.
Aggressive mechanical methods can damage concrete surface profile—creating a rough or smeared finish that still requires proper prep before re-coating.
Chemical/stripper route (fast when the coating is truly bonded)
Use only products:
– Labeled for concrete, and
– Labeled for the coating type you identified (latex vs. epoxy/oil)
What to do:
1. Apply stripper according to the label.
2. Wait the required dwell time (the time your product needs to chemically soften the coating).
3. Scrape residue while softened.
4. Clean/neutralize as specified so bonding isn’t compromised.
Dwell time placeholder: [ADD: exact dwell time once you choose a product]
Heat route (controlled, small-area strategy)
Heat can help for localized paint drips or small overspray patches—especially if the film softens before it chars. However:
– Heat can increase odor and sometimes spread fumes.
– It can also drive contaminants deeper if the coating doesn’t lift cleanly.
If you try heat, keep it controlled and follow tool guidance: [ADD: reference to tool/manual guidance once you specify equipment].
Mechanical route (reliable when you can manage mess)
Mechanical removal is often the “best you can do” when:
– chemical use is impractical,
– the area is small,
– or you must avoid strong solvents in a poorly ventilated space.
Start with:
– scraper/blade work,
– then escalate to grinding or sanding only if the coating remains.
Avoid aggressive methods that alter concrete texture beyond what your future coating system expects.
Step-by-Step Removal Process
For chemical stripping, the winning sequence is apply → dwell exactly → scrape while softened → clean/neutralize thoroughly. For mechanical removal, the winning sequence is scrape gently → grind only where needed → vacuum and wash so no residue remains.
Chemical stripping success depends on following the label dwell time so the coating softens before scraping.
After coating removal, residue left in concrete pores can reduce adhesion and cause peeling of the next layer.
With mechanical removal, controlling dust and using a thorough vacuum and detergent wash improves cleanliness for re-coating.
For chemical removal (latex and epoxy/oil both, when labeled correctly)
1. Test a small patch first
Confirm you’re lifting the film instead of smearing it.
2. Apply stripper per instructions
Use the label’s application method (brush/roller/gel, thickness guidance, etc.).
3. Keep the coating wet for the required dwell time
[ADD: exact dwell time once you choose a product]
4. Scrape residue
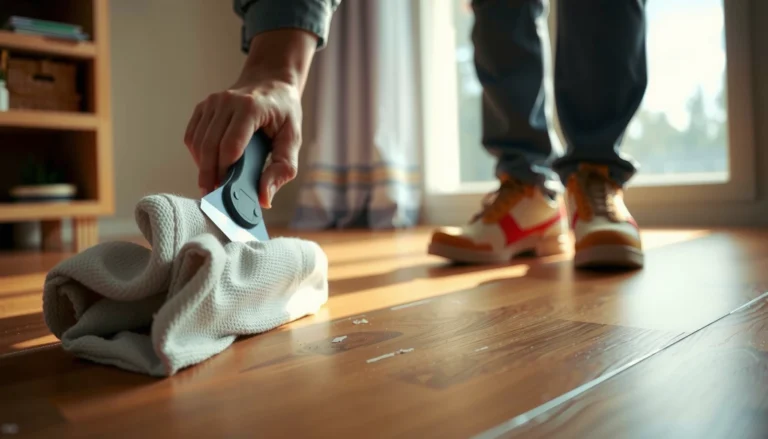
Use a floor scraper or carbide scraper; remove softened film and pastes.
5. Remove remaining residue with the correct cleaner/neutralizer
Many products require neutralization/rinsing steps to stop chemical action.
6. Rinse/neutralize fully, then let concrete dry completely
Re-coating too soon can trap moisture and reduce bonding.
For mechanical removal (small areas or when stripping isn’t viable)
1. Begin with the least aggressive approach
Use a sharp scraper to lift peeling paint or overspray.
2. Escalate only as needed
If paint remains bonded, switch to controlled grinding or sanding.
3. Dust control
Vacuum frequently. If you see visible dust clouds, stop and improve dust capture.
4. Finish with thorough vacuuming + detergent washing
This step is what prevents “ghost contamination,” where residue remains in pores even after you remove visible paint.
5. Let the slab fully dry
Dryness is not optional before any coating or primer.
Safety statistics that matter during this stage
If you use solvent-heavy strippers, you’re often dealing with regulated vapors. For example:
– According to OSHA (29 CFR 1910.1052), the PEL for methylene chloride is 25 ppm (8-hour TWA).
– According to OSHA (29 CFR 1910.1000), the PEL for toluene is typically 200 ppm (8-hour TWA).
– According to U.S. EPA guidance on HEPA filtration, HEPA filters capture 99.97% of particles at 0.3 microns or larger (useful for dust control during mechanical removal).
(If your stripper’s SDS lists different chemicals, follow those limits for the specific products you’re using.)
What Can Go Wrong (and How to Avoid It)
The most common failure is assuming “paint removal” automatically means “surface ready for the next coating.” The coating often fails because residue remains, the surface profile is wrong, or the wrong product was used for the paint type.
Using a stripper that’s not compatible with the coating type can leave behind a thin residue film that interferes with primer and topcoat adhesion.
Over-grinding or over-sanding can create an uneven concrete profile and may require additional surface-prep work before re-coating.
Skipping the label’s neutralizing/rinsing steps can trap stripper residues in concrete pores, leading to adhesion or cure issues later.
Mistake #1: picking the wrong product for the paint type
Latex and epoxy/oil coatings respond differently. If you apply the wrong stripper, you might remove the “top layer” but leave a shadow residue. That residue can prevent primer from bonding.
Compatibility note placeholder:
[ADD: your chosen coating compatibility note or cite manufacturer guidance once selected]
Mistake #2: damaging the concrete surface profile
Aggressive grinding can:
– expose inconsistent texture,
– smear the surface (creating a burnished, hard-to-bond finish),
– or create low spots that affect coating thickness.
If re-coating is planned, your next steps should follow the coating manufacturer’s surface-prep requirements (often involving cleanliness, profile, and dryness thresholds):
[ADD: source for those requirements once you choose a product]
Mistake #3: leaving residue behind
Strippers can leave chemical residue if you don’t rinse/neutralize as directed. When that happens, coatings may fail by:
– reduced adhesion,
– bubbling (in some systems),
– or premature peeling at edges and traffic lines.
Always follow the label’s cleanup sequence; don’t “half rinse and hope.”
Mistake #4: ignoring hazardous or unknown coatings
Skip or escalate to professional testing if you suspect hazardous materials (commonly in older homes or areas with unclear coating history). This is especially important if you suspect:
– lead-based paint,
– asbestos-containing materials (more common in certain older materials than paint films, but unknown coatings should be treated cautiously),
– or contamination you can’t identify.
Use local guidance and/or professional evaluation:
[ADD: specify circumstances like unknown lead/asbestos—use local guidance]
Where DIY often struggles (practical constraints)
– Large, fully bonded epoxy floors can be too slow to scrape and too messy to grind without proper dust control systems.
– Temperature and humidity can slow chemical action or extend dry times—delaying the project and sometimes causing uneven results.
– Ventilation limits: solvent-heavy chemicals in a sealed garage are a poor match for DIY.
Verdict: What Works Best for Most Garage Floors
For most homeowners, the best approach is to correctly identify the coating type first, then use a labeled stripper (chemical) for bonded paint and scraping followed by detergent wash for cleanup. If the paint is already peeling or only a few drips are present, start with gentler mechanical removal and avoid stronger chemicals unless needed.
If the paint is latex and the coating is partially debonded, starting with gentle cleaning and scraping is usually faster and safer than chemical stripping.
If the paint is epoxy/oil or appears fully bonded, chemical stripping labeled for that coating type plus careful mechanical follow-up is typically the most reliable DIY path.
Don’t DIY if you can’t meet the ventilation and PPE requirements listed on the product label—especially when dealing with unknown coatings in older garages.
A practical decision path (simple and honest)
– Latex overspray / fresh drips: try gentler cleaning + careful scraping first.
– Epoxy/oil coatings or tough bonded layers: expect stripper + scraping, then surface prep.
– If you can’t safely ventilate or wear the required respirator: switch to mechanical methods with dust control or stop and bring in a pro.
Downsides to acknowledge
– Chemical stripping can be smelly, regulated, and time-consuming to neutralize and rinse properly.
– Mechanical removal creates dust and can alter concrete texture if you overdo grinding.
– Either route can still fail if residue remains or if the slab isn’t fully dry before the next coating.
Who should skip the DIY route
– If you suspect hazardous legacy coatings (unknown lead/asbestos risk), or
– If you can’t meet ventilation/PPE requirements from the SDS/label, or
– If the entire floor needs removal and you lack dust/containment capability.
Quick Checklist (Save This)
– [ ] Identify paint type (latex vs. epoxy/oil) and condition (peeling vs fully bonded)
– [ ] Ventilate + wear PPE (gloves, eye protection, [ADD: respirator per label])
– [ ] Protect nearby surfaces and remove loose debris
– [ ] Pick a removal method: chemical stripper / heat (small areas) / mechanical abrasion
– [ ] Follow dwell time and scraping method exactly from the product label ([ADD: exact dwell time once you choose a product])
– [ ] Clean and rinse/neutralize properly so residue doesn’t remain
– [ ] Let the concrete dry fully before any repainting or coating
Selected OSHA PELs for Common Solvents in Paint Strippers (8-hour TWA)
| # | Solvent vapor | OSHA PEL | Typical system note | Practical risk level |
|---|---|---|---|---|
| 1 | Methylene chloride | 25 ppm | Often used in some strippers | High |
| 2 | Toluene | 200 ppm | Common in solvent blends | Medium–High |
| 3 | Xylene (mixed) | 100 ppm | Frequent in aromatic solvents | Medium–High |
| 4 | Ethylbenzene | 100 ppm | Found in some solvent systems | Medium |
| 5 | n-Hexane | 500 ppm | Sometimes in industrial cleaners | Medium |
| 6 | Acetone | 1,000 ppm | Common in some degreasers | Moderate |
| 7 | Methyl ethyl ketone (MEK) | 200 ppm | Solvent used in some formulations | Medium–High |
Note: These are selected OSHA PEL (8-hour TWA) values for common solvent vapors that can appear in stripping/cleaning products; always use the specific chemical list on your chosen product’s SDS to determine the correct respiratory protection and controls. OSHA, 29 CFR 1910.1000 and relevant substance-specific standards
FAQ
Can I remove paint from garage concrete without chemicals?
Yes. Mechanical methods (scraping, sanding, grinding) can work well for small spots or peeling layers, but they tend to be messier due to dust and may require additional vacuuming and detergent washing to prevent residue.
What if the paint leaves a thin film after scraping?
A thin “residue” layer usually needs additional cleaning or a second pass with the correct remover/cleaner. It can prevent new paint or coatings from bonding, so use the label’s cleanup and neutralizing steps rather than guessing.
Is heat safe for garage floor paint?
Heat can help on small areas, but it also changes the risk profile: fumes, odor, and the possibility of worsening residue if the film doesn’t release cleanly. If you try heat, keep it controlled and follow the tool and safety guidance for your specific equipment: [ADD: reference to tool/manual guidance once you specify equipment].
How do I prep the floor after paint removal?
After the paint is removed, clean thoroughly and let the concrete dry fully. Then evaluate the surface profile (smooth vs. rough) because the next coating typically has specific requirements for cleanliness, dryness, and substrate profile. Follow the coating manufacturer’s surface-prep instructions: [ADD: source for those requirements once you choose a product].
Sources
– OSHA (29 CFR 1910.134), Respiratory Protection—requirements for respirator use and protection programs
– OSHA (29 CFR 1910.1000 and relevant substance-specific standards), Permissible Exposure Limits (PELs) for chemical vapors relevant to many solvent-based stripping products
– U.S. EPA, Lead-based paint program background (including the 1978 ban on residential lead-based paint)
– U.S. EPA guidance on HEPA filtration, HEPA particle capture efficiency used for dust control planning
– [ADD: manufacturer label/spec sheet for the stripper or cleaner you plan to use—follow application instructions and dwell time from the label]
– [ADD: concrete coating manufacturer surface-prep guidance (e.g., required cleanliness/dryness/profile) once you know the next coating]
– [ADD: tool manufacturer safety/data sheet] for grinding/heat dust control guidance once you choose specific equipment
When you remove paint from a garage floor, the “best” method is the one matched to the coating type and executed with label-based dwell time, cleanup/neutralization, and full drying before re-coating. Treat the slab like a system—chemistry, cleanliness, and surface profile all have to line up—so the next primer or coating can actually bond and stay put.
Frequently Asked Questions
What’s the best way to remove paint from a concrete garage floor?
The best approach depends on whether the paint is latex or oil-based and how thick it is. For small areas or latex paint, a pressure washer plus a concrete-safe paint remover often works well. For thicker or older coatings, chemical stripping agents, scraping with a floor scraper, and possibly a mechanical method like grinding may be necessary to fully remove paint from the garage floor.
How do I remove latex paint from garage floors without damaging the concrete?
Start by scraping up any loose paint and then apply a gel-based, concrete-safe paint remover to the affected area. Let it dwell according to the product directions, then scrape again and rinse thoroughly. Avoid harsh acids or aggressive wire brushes that can etch or roughen the concrete; instead, use tools designed for concrete paint removal and follow up with a water rinse and drying time.
How do I remove oil-based paint or epoxy paint from a garage floor?
Oil-based paint and epoxy coatings are usually more stubborn and often require chemical stripping that’s specifically labeled for epoxy or industrial coatings. Apply the stripper, allow proper dwell time, and use a heavy-duty scraper to lift the paint; repeat if needed. If chemical stripping doesn’t fully remove the paint, you may need mechanical abrasion such as sanding or grinding to achieve clean, bare concrete.
Why does paint keep coming back or peeling after I remove it from the garage floor?
Paint can re-peel when the coating is not fully removed down to a sound surface, or when contaminants like oil, dust, or moisture remain. After you remove paint from the garage floor, thoroughly clean the area with a degreaser or concrete cleaner and rinse well to remove residues from the stripper. Let the concrete dry completely before applying any new coating to prevent adhesion problems.
Which tools and safety gear should I use when stripping paint from a garage floor?
Use a rigid floor scraper, nylon brush, and a shop vacuum or stiff broom for debris cleanup; for heavy coatings, consider a floor grinder or sander. Wear chemical-resistant gloves, eye protection, and a respirator rated for paint fumes, especially when using chemical paint removers. Work with ventilation, protect nearby surfaces with plastic sheeting, and keep water and absorbent materials on hand for safe cleanup during garage floor paint removal.
📅 Last Updated: October 11, 2026 | Topic: How to remove paint from garage floors? | Content verified for accuracy and freshness.
References
- Google Scholar Google Scholar
https://scholar.google.com/scholar?q=remove+paint+from+concrete+floor+methods - Google Scholar Google Scholar
https://scholar.google.com/scholar?q=paint+removal+from+concrete+mechanical+chemical+thermal - Google Scholar Google Scholar
https://scholar.google.com/scholar?q=lead+based+paint+removal+concrete+work+practices - https://en.wikipedia.org/wiki/Paint_removal
- Lead Renovation, Repair and Painting Program | US EPA
https://www.epa.gov/lead/renovation-repair-and-painting-program - https://www.epa.gov/lead/lead-based-paint
- Lead – Overview | Occupational Safety and Health Administration
https://www.osha.gov/lead - About Childhood Lead Poisoning Prevention | Childhood Lead Poisoning Prevention | CDC
https://www.cdc.gov/nceh/lead/ - https://www.nps.gov/subjects/tps/briefs.htm
- https://www.hud.gov/program_offices/healthy_homes/rad/lead/pam