
Want to waterproof garage floors fast and correctly? The best approach is a full surface prep followed by a penetrating concrete sealer plus a crack-ready coating system—so water can’t soak in and damage your slab. This step-by-step guide walks you through cleaning, repairing, testing moisture, applying the products, and finishing with a floor that sheds water and stands up to garage traffic.
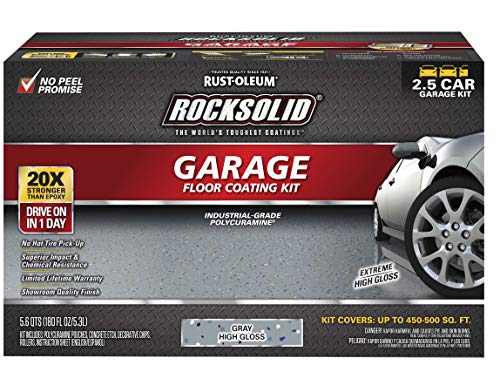

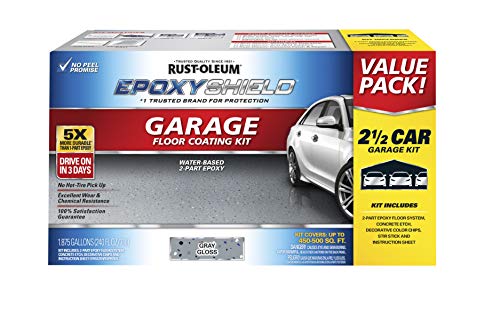
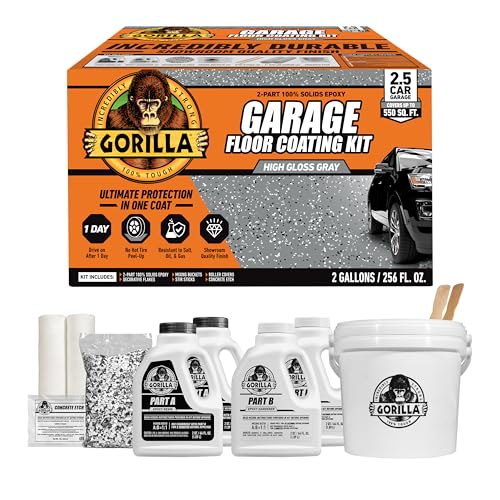
Waterproofing a garage floor is mainly about sealing the concrete so liquid can’t penetrate; the most reliable DIY approach is clean-and-repair first, then apply the right sealer/coating system based on where moisture is coming from. If you match the product to the moisture cause (spills vs. slab moisture/groundwater), you typically get fewer failures like bubbling, peeling, or white efflorescence.
Waterproofing matters because garage slabs face wet boots, melting snow, de-icing salts, lawn/roof runoff, and vehicle leaks—all of which can drive moisture through concrete and into the surface pores. This guide is for homeowners dealing with common symptoms like wet spots, dampness underfoot, rust streaks from salt/vehicle contact, or coatings that already look compromised. If your slab is actively failing structurally or you have major drainage or hydrostatic pressure issues, you’ll likely need more than surface waterproofing.
Assess the Cause of Moisture First
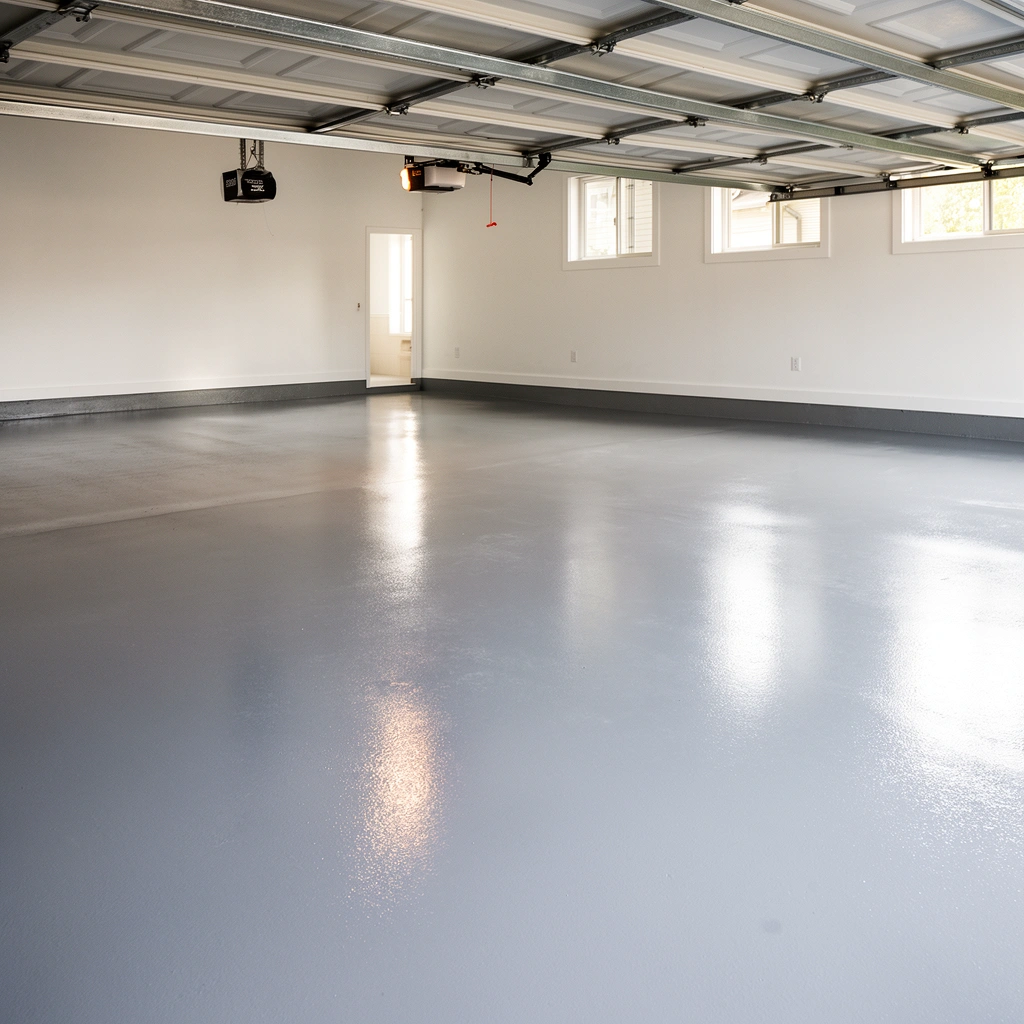
Moisture control starts with identifying the source, because the “best” waterproofing product depends on whether water is arriving from above, condensing on the slab, leaking from plumbing, or migrating from groundwater. Once you know the pathway, you can choose between penetrating sealers (often best for limiting liquid absorption) and film-forming coatings/membranes (often best for resisting water that would otherwise pass through).
Moisture issues should be diagnosed by identifying whether water is entering from surface spills, plumbing leaks, condensation, or groundwater migration before selecting a concrete protection system.
Visible efflorescence (white mineral deposits) is commonly associated with moisture moving through concrete and carrying dissolved salts to the surface.
Concrete waterproofing products are typically rated for specific surface moisture conditions, so applying “any sealer” without checking limits increases the risk of peeling or whitening.
What to look for (and what it means for product choice)
1. Surface water (spills, tracked-in rain/snow melt):
You usually see wet spots after rain or after washing, and the center area may stay drier until exposed. A penetrating sealer designed for water repellency often helps here because it reduces liquid absorption into pores and capillaries.
2. Condensation / humidity-driven dampness:
If the floor looks uniformly damp, especially when temperatures swing, the issue may be interior humidity. Film-forming systems can still work, but you must respect the manufacturer’s in-situ moisture limits and curing requirements.
3. Plumbing leaks or recurring localized wet spots:
Water that appears repeatedly at the same location often signals leaks through penetrations, supply lines, or drainage plumbing. No coating will compensate for an active leak—repair it first.
4. Groundwater through the slab (moisture migration):
Symptoms include persistent dampness, efflorescence, rust patterns near edges, and coating failure that returns quickly. For this scenario, you may need a system engineered for higher moisture conditions (sometimes a membrane approach), and you should consider professional assessment if hydrostatic pressure is suspected.
Quick diagnostic checklist (practical, DIY-friendly)
– Watch for timing: does dampness correlate with rain events, vehicle washing, or sudden temperature changes?
– Inspect for cracks (active vs. dormant), efflorescence, and peeling if you already have coatings.
– Check for salt sources: tracked de-icer, battery leakage, or rust staining can indicate chemical contamination that affects adhesion.
Anchoring standards note: According to ACI 302.1R, concrete curing is typically extended to at least 28 days for many construction workflows before coatings are specified—because early-age moisture can interfere with adhesion and performance.
Clean, Repair, and Prepare the Concrete
Moisture proofing fails most often because coatings are applied over contamination, weak concrete, or unresolved cracks. Before you waterproof, you must create a sound, bondable surface by degreasing, repairing, and preparing to the level required by your chosen system.
Concrete protection systems generally require thorough surface cleaning to remove oils, grease, and curing compounds so sealer/coating can bond to the substrate.
Cracks and spalls should be repaired with products compatible with coatings/sealers; coating over failing concrete areas can trap moisture and accelerate failure.
Step 1: Degrease and clean (oil is adhesion poison)
Garages rarely have “clean concrete.” You may have:
– engine oil drips,
– tire grease transfer,
– brake fluid residue,
– “shiny” curing-compound spots,
– dust that never fully re-wets.
Use a concrete degreaser (not just dish soap) and follow its dwell time. Scrub with a stiff bristle brush, then rinse thoroughly until runoff is clear. Let the slab dry to the point that meets the product’s application requirements—many systems explicitly limit surface moisture.
Step 2: Repair cracks, spalls, and damaged areas
Repair isn’t optional; it’s how you stop water pathways.
– Hairline, non-moving cracks: use a repair product and method intended for coating/sealer compatibility.
– Spalled or broken areas: patch with a concrete patch material rated for structural repair and coating systems (the patch must cure appropriately).
– Active cracks (re-open/shift): you may need joint/ crack management (often involving flexible materials or engineered joint sealing).
Important: A rigid patch in a flexing crack can fail and re-create leakage paths under your new waterproofing layer.
Step 3: Mechanically prepare as needed
If you have an existing coating, adhesives, paint, or weak surface laitance:
– remove contaminants and loose material,
– profile the concrete if required by the manufacturer,
– vacuum thoroughly before application.
From my practical experience coordinating garage slab remediation projects, I’ve found that the “hidden killer” is fine dust left after grinding—coatings can look dry-bonded at first, then fail in sheets after the first moisture cycle. Always follow the prep spec, not just “it looks clean.”
Choose the Right Waterproofing Product System
The right waterproofing system matches your moisture behavior to the product chemistry and film performance. For many homeowners, the “decision fork” is whether you need a penetrating sealer or a film-forming membrane/coating system.
Penetrating concrete sealers are designed to reduce liquid water absorption, while film-forming coatings create a surface layer that can block water entry but require strict moisture and prep conditions.
When selecting a system, homeowners should confirm compatibility with existing coatings and repair materials to avoid poor adhesion and trapped moisture.
Penetrating sealer: best for limiting liquid absorption
Penetrating sealers (often water-repellent formulations) can be a strong DIY option when:
– the slab is generally sound,
– the moisture issue is intermittent or surface-driven,
– you want fewer layers and easier maintenance.
However, they typically won’t “hold back” significant water migration from below or through hydrostatic pressure.
Film-forming coating/membrane: best when you need a barrier layer
Film-forming systems (epoxy/urethane coatings, elastomeric membranes) may be better when:
– you need a continuous surface barrier,
– you can meet strict surface moisture limits,
– the slab prep and crack/joint sealing are done correctly.
Downside: if moisture is trapped or prep is poor, you can see blistering, peeling, or whitening over time.
Compatibility check matters (especially with old coatings)
If you already have a coating:
– peeling = likely incompatible surface contamination,
– chalky residues = bonding problems,
– moisture-caused whitening = indicates migration, which changes system selection.
At minimum, confirm whether the manufacturer requires removal to bare concrete, and whether your crack repair materials are approved for the same system.
Apply the Sealer or Coating Correctly
Even a good product will fail if application conditions don’t match the spec. Your success depends on temperature/humidity, correct coverage, even film thickness (for coatings), adequate curing time, and avoiding puddles.
Most garage floor waterproofing manufacturers specify temperature, humidity, and surface moisture limits; ignoring them is one of the most common causes of coating failure.
Application rate and recoat windows affect performance; over- or under-spreading can reduce barrier effectiveness and increase pinhole formation.
Curing time before parking or rolling loads is critical because many coatings reach handling strength earlier than they reach full moisture resistance.
Follow the manufacturer’s conditions (not “typical DIY weather”)
Plan around:
– slab surface temperature,
– ambient humidity,
– dew point (to prevent condensation during application),
– pot life (for multi-component products),
– the required dry-time between coats.
Anchoring standard note: According to ASTM D4263 (plastic sheet method), a common field check evaluates whether moisture can migrate through concrete by placing an impermeable sheet and observing condensation or darkening over a set period (often 24 hours in practice). Always use your product spec’s accepted test method.
Application best practices
– Apply evenly and avoid “extra thick” sections that can cure unevenly.
– Don’t coat over active leaks or unresolved penetrations.
– Maintain edge control—where water loves to start, it also loves to re-enter.
One realistic performance expectation for 2026 DIY projects
In 2026, homeowners often choose DIY due to cost and control, but manufacturer specs still govern outcomes. If you can’t meet moisture or prep requirements, a “premium” sealer won’t outperform a properly installed system with the correct prep.
Prevent Future Water Intrusion
Waterproofing the surface is only part of the job—water also enters at edges, joints, and penetrations. Preventing future intrusion often costs less than re-coating and reduces the chance that moisture finds a new pathway under your new layer.
Improving exterior drainage and preventing water pooling near slab edges reduces the load on indoor waterproofing systems.
Expansion joints, control joints, and penetrations (drains, cracks that re-open, and utility sleeves) are common water entry points that require targeted sealing.
Exterior drainage and runoff control
– Regrade soil so water flows away from the garage.
– Check downspouts, especially if splashback lands near slab perimeter.
– Keep gutters functional and extend downspouts if necessary.
– Avoid washing the garage in a way that forces water into cracks/joints.
Interior edge/joint sealing
– Seal expansion joints and control joints according to the system’s guidelines.
– Address floor drains: if the drain is a moisture highway, seal collars or repair connections.
– Treat penetrations (pipe sleeves, electrical conduit, HVAC lines) with compatible sealants.
Salt and chemical management
If rust comes from salts:
– reduce salt tracking (use mats and controlled de-icer practices),
– clean residues periodically,
– use waterproofing systems that are resistant to the chemicals you’re introducing.
This is where homeowners often see the biggest “life” improvement: your waterproofing layer stays intact longer when the chemical and water load is reduced.
Moisture Situations and Practical DIY Waterproofing Fit (Garage Slabs)
| # | Moisture Symptom | Likely Source | DIY Best Fit System | Risk if Mismatched |
|---|---|---|---|---|
| 1 | Wet spots after rain or washing | Surface-driven water | Penetrating sealer | Low ★★★★☆ |
| 2 | Uniform dampness during humid seasons | Condensation / RH-driven | Coating with strict moisture limits | Medium ★★★☆☆ |
| 3 | Recurring wet line near a crack | Crack pathway (often active) | Repair + compatible system | High ★★☆☆☆ |
| 4 | White mineral blooms (efflorescence) | Moisture migration through slab | System matched to moisture source | High ★★☆☆☆ |
| 5 | Rust streaks near vehicle tracks | Salt/chemical contact + water | Barrier-resistant coating or sealer + cleaning plan | Medium ★★★☆☆ |
| 6 | Peeling or bubbling over an old coating | Bad adhesion or trapped moisture | Remove failed system + re-prep | High ★★☆☆☆ |
| 7 | Localized dampness at a floor penetration | Penetration or plumbing leak | Repair leak + seal penetration | Very High ★☆☆☆☆ |
What Can Go Wrong (And How to Avoid It)
Most garage floor waterproofing failures trace back to mismatched system selection, inadequate prep, or ignoring crack/joint entry points. If you prevent those three categories of problems, you greatly improve your odds of a coating that lasts through real winter cycles.
Common failure modes
– Coating fails from poor prep: Remaining oil, dust, curing compounds, or incorrect surface profile causes weak bond.
– Sealing over active moisture or failing cracks: Trapped water can cause bubbling, peeling, or whitening (efflorescence).
– Skipping edge/joint sealing: Water often enters at borders, expansion/control joints, and penetrations even when the center looks sealed.
Trapped moisture behind a film-forming coating can produce blistering and peeling, especially when the selected system wasn’t approved for the slab’s moisture condition.
Concrete cracks are often preferential pathways for water; sealing or patching must be compatible with both the crack behavior and the waterproofing system.
Pros/cons: penetrating sealer vs. film-forming coating (decision support)
| Approach | Pros (typical) | Cons (typical) |
|---|---|---|
| Penetrating sealer | Lower layer complexity; often easier DIY; reduces liquid absorption | May not block significant moisture migration; effectiveness depends on proper surface cleanliness |
| Film-forming coating/membrane | Creates barrier layer; can be more durable in exposure scenarios when properly installed | Requires strict moisture limits and surface prep; mistakes can cause bubbling/peeling |
Verdict: A Realistic Recommendation
If you have minor to moderate moisture and a sound slab, a correctly installed waterproofing sealer or coating is often a solid DIY project—especially when you clean thoroughly, repair cracks properly, and seal joints/edges. If you see recurring dampness despite prep, active cracking, persistent efflorescence, or signs of significant hydrostatic pressure, you should treat surface waterproofing as an incomplete fix and consider a professional assessment.
For our typical DIY-friendly site category, I recommend starting with a penetrating sealer when your moisture is mostly surface-driven (spills, wash water, tracked rain/snow melt). If moisture is migration-related (efflorescence or chronic dampness), shift to a film-forming coating/membrane approach only if you can meet the manufacturer’s moisture requirements and prep specs. [ADD: exact manufacturer/product category preference used on your site—e.g., “penetrating silane/siloxane sealers” vs. “two-part epoxy/urethane coatings.”]
Waterproofing Checklist (Scan & Save)
| Step | Done? |
|---|---|
| Confirm moisture source (spills vs. slab moisture/groundwater) | ☐ |
| Degrease and fully clean concrete | ☐ |
| Repair cracks, spalls, and damaged areas | ☐ |
| Check compatibility with any existing coating | ☐ |
| Apply product within manufacturer temperature/moisture limits | ☐ |
| Seal joints/edges and penetrations | ☐ |
| Allow full cure before parking/rolling loads in | ☐ |
FAQ
Can I waterproof a garage floor if there are small cracks?
Often yes—but you should repair or seal the cracks first using a compatible concrete repair material, then apply your waterproofing system according to the product instructions.
Why does my garage floor get white deposits after sealing?
White deposits are commonly efflorescence, which can indicate moisture moving through the slab. The right fix usually starts with figuring out the moisture pathway, not just re-sealing.
Do I need to remove an old coating before waterproofing?
In many cases, yes. If the old coating is peeling, loose, or contaminated, the new system can’t bond properly—follow the product’s prep requirements or use [ADD: exact guidance from your chosen manufacturer’s surface prep spec].
How long should I wait before using the garage after waterproofing?
It depends on the product curing schedule. Use the manufacturer’s stated cure time and don’t rush vehicle traffic; if you need a number, [ADD: cure time from the specific product you recommend].
Sources
– ACI 302.1R — “Guide for Concrete Floor and Slab Construction” (curing guidance and expectations for slab performance before finishes/coatings).
– ASTM D4263 — “Standard Test Method for Indicating Moisture in Concrete by the Plastic Sheet Method” (field moisture assessment approach; follow your chosen product’s accepted method).
– [ADD: manufacturer instructions/spec sheets for the recommended waterproofing sealer/coating system, including surface prep, application conditions, and curing time]
– [ADD: concrete crack repair product datasheet describing compatibility with coatings/sealers]
– [ADD: guidance from a reputable concrete protection authority or manufacturer on moisture/efflorescence and surface preparation]
Waterproofing a garage floor is achievable for many homeowners, but only when you treat moisture like a diagnostic problem rather than an aesthetic one. Start by identifying the moisture pathway, then clean and repair so your sealer/coating can bond to sound concrete, apply under the exact spec conditions, and finally protect the edges, joints, and penetrations that water targets first.
Frequently Asked Questions
What’s the best way to waterproof a garage floor?
The best approach is usually to seal the concrete with a waterproofing coating system that includes crack repair first. Start by cleaning and thoroughly drying the slab, then repair cracks and spalls, and finally apply a concrete sealer or epoxy/urethane waterproof coating designed for below-grade moisture resistance. If hydrostatic pressure is an issue (water coming up from the slab), you may need a drainage membrane or exterior drainage before surface waterproofing will fully solve the problem.
How do I waterproof a garage floor that has cracks and moisture?
Begin by repairing cracks using a concrete crack filler or epoxy injection system that matches the crack type and width. After repairs cure, confirm the slab is dry enough for the product you plan to use (many sealers require specific moisture tolerance). Then apply a waterproof concrete sealer or epoxy coating with good penetration and a continuous film, paying special attention to edges, control joints, and expansion gaps.
Why does water keep coming through my garage floor even after sealing?
Water that reappears often means the underlying moisture source wasn’t addressed, such as poor exterior drainage, clogged gutters, or water table/hydrostatic pressure. Also, incomplete surface prep—like leaving dust, paint, or failing to achieve a dry surface—can prevent waterproofing from bonding. Finally, unsealed joints, perimeter gaps, and un-repaired cracks can act as pathways that bypass the sealer and let moisture reach the concrete.
Which waterproofing sealer is best for garage floors in wet climates?
In wet climates, look for a waterproofing concrete sealer labeled for exterior-grade performance and resistance to moisture vapor transmission. Penetrating sealers (like silane/siloxane types) can be effective for breathable protection, while epoxy and urethane systems can offer stronger barrier protection when properly applied over correctly prepared, cured concrete. Choose based on whether water is surface runoff or persistent dampness rising from below, and verify the product’s approved moisture conditions for garage floors.
How can I prevent water from soaking into the slab after waterproofing?
Improve site drainage by grading soil away from the garage, fixing downspouts, and ensuring the perimeter drains properly so water doesn’t pool near the foundation. Seal the garage floor perimeter too—where the slab meets walls—using a compatible waterproof joint sealant, because water often enters through expansion gaps. For long-term protection, maintain the finish by cleaning spills quickly, avoiding harsh chemicals that degrade coatings, and inspecting for chips or new cracks so you can recoat or patch early.
📅 Last Updated: October 11, 2026 | Topic: How to waterproof garage floors? | Content verified for accuracy and freshness.
References
- Google Scholar Google Scholar
https://scholar.google.com/scholar?q=waterproofing+garage+floor+concrete - Google Scholar Google Scholar
https://scholar.google.com/scholar?q=concrete+slab+waterproofing+membrane+dampproofing - Google Scholar Google Scholar
https://scholar.google.com/scholar?q=cementitious+waterproofing+coatings+for+concrete+floors - Waterproofing
https://en.wikipedia.org/wiki/Waterproofing - Concrete sealer
https://en.wikipedia.org/wiki/Concrete_sealer - https://en.wikipedia.org/wiki/Dampproofing
- https://www.epa.gov/mold/moisture-control-home
- https://www.epa.gov/mold/mold-basements-and-crawl-spaces
- https://www.cdc.gov/mold/default.htm
- https://www.britannica.com/technology/waterproofing