
Learn how to seal garage floors with a step-by-step process that produces a durable, stain-resistant surface. If you want the clearest results and the longest-lasting protection, follow this guide to clean, repair cracks, etch the concrete, and apply the right sealer in the correct coats and cure times. By the end, you’ll know exactly what to do—and what to avoid—so your sealed floor actually holds up to oil, water, and daily wear.
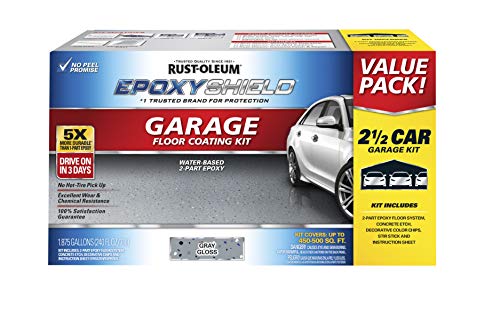

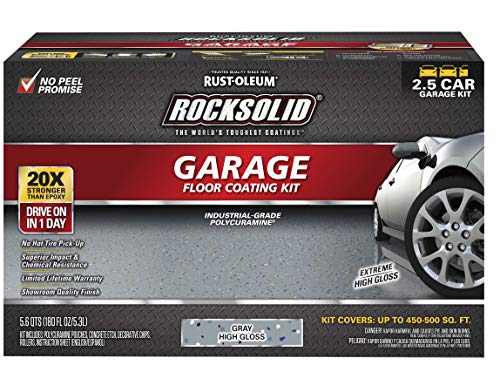
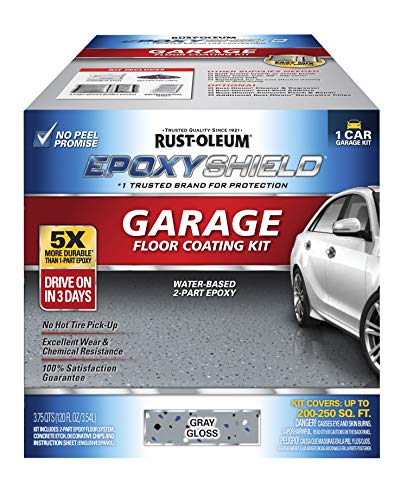
Sealing a garage floor protects against water, oil stains, and dust—but it only works when the concrete is cleaned to near “bond-ready” condition and any moisture or damage is addressed first. Below is a practical walkthrough so you can select the right concrete sealer system and apply it in a way that reduces the most common failure modes (peeling, bubbling, and tacky spots).
If your garage floor is stained, dusty, or you want easier cleanup from spills and road salts, this guide is for you. It’s also useful when you’re comparing common options like epoxy coatings vs. concrete sealers and want to avoid expensive rework.
Check moisture and surface condition first
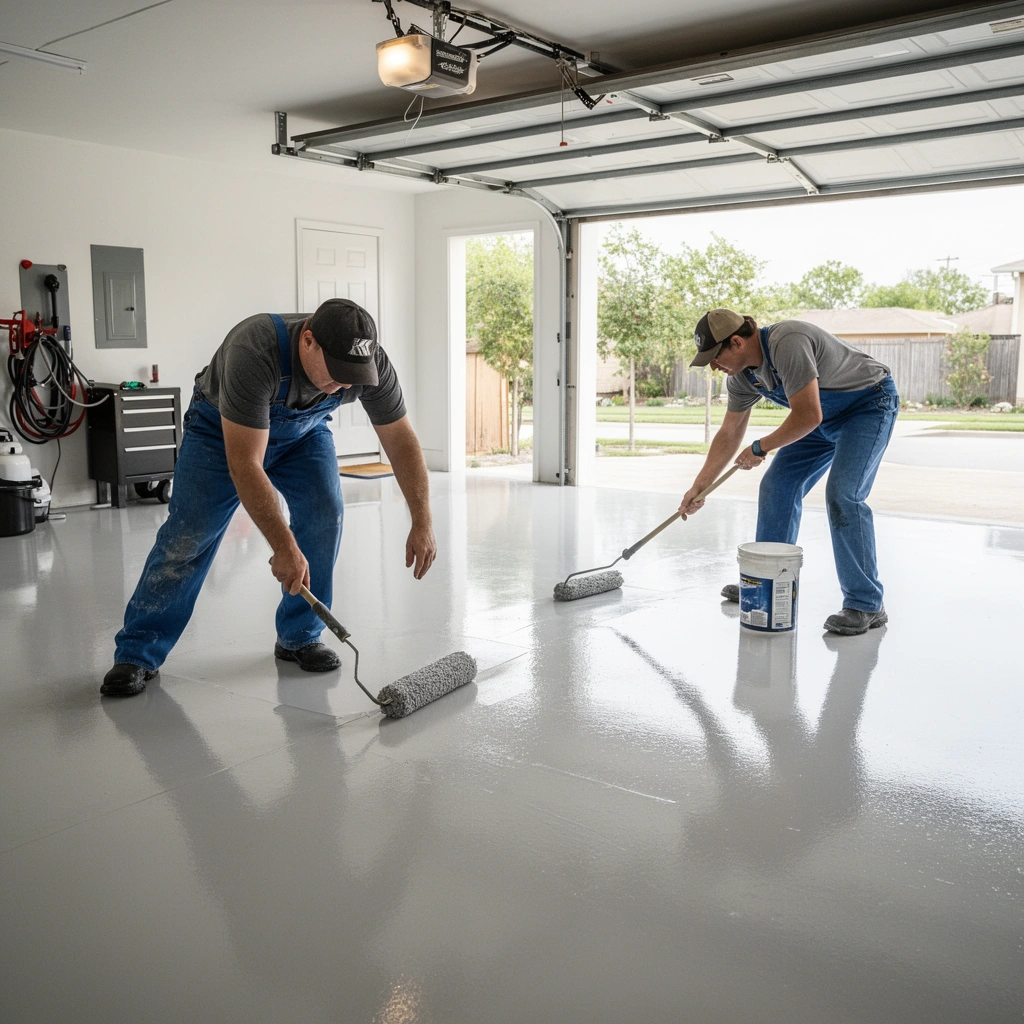
The best time to prevent garage-floor sealing problems is before you mix products—verify concrete soundness and moisture behavior first. If the slab is failing (spalling, flaking, active scaling) or moisture is still moving, sealing may look fine initially but won’t last.
Moisture-related coating failures commonly show up as bubbling, blistering, or peeling when sealers are applied over contaminated or moisture-vapor–active concrete.
Most coating manufacturers require the slab to meet specific moisture limits and conditioning steps, and those limits vary by product system and test method.
ASTM moisture tests (such as ASTM F2170 for in-situ RH or ASTM F1869 for MVER) are often used to determine whether concrete is dry enough for epoxy or other cementitious-bond systems.
– Confirm the concrete is sound (no flaking, scaling, or active spalling). If the surface is failing, sealing won’t fix the underlying problem.
– Address moisture concerns before sealing—trapped moisture can cause bubbling, peeling, or cloudy spots.
– Determine what you’re sealing over (bare concrete, old sealer, coatings), because compatibility depends on existing layers.
What “sound concrete” means in practice
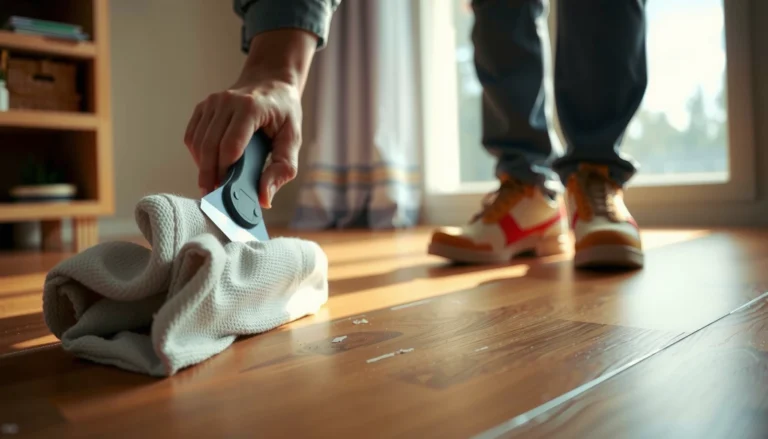
Concrete that’s “good to seal” typically has strong surface cohesion—when you scrape with a putty knife or abrade lightly, it doesn’t create loose powdery material (dust) or flaky aggregates. If you see active scaling, white powdering that keeps returning, or crumbling edges at expansion joints, your next step is addressing the root cause (drainage, hydrostatic pressure, surface deterioration, or previous coating failure), not adding another layer.
Moisture limits: why they matter
Many epoxy and coating systems are sensitive to moisture vapor transmission. A commonly referenced industry guideline is that moisture vapor emission rates must be below 3 lb/1000 sq. ft. per 24 hours (as measured by ASTM F1869) for many epoxy systems—however, you must confirm the exact threshold in your chosen manufacturer’s technical data sheet (TDS). [ADD: manufacturer TDS specifying allowable MVER limit and test standard]
Additionally, relative humidity (RH) testing per ASTM F2170 is often used to determine in-slab readiness; acceptable RH thresholds vary by product. [ADD: ASTM F2170 overview / manufacturer spec]
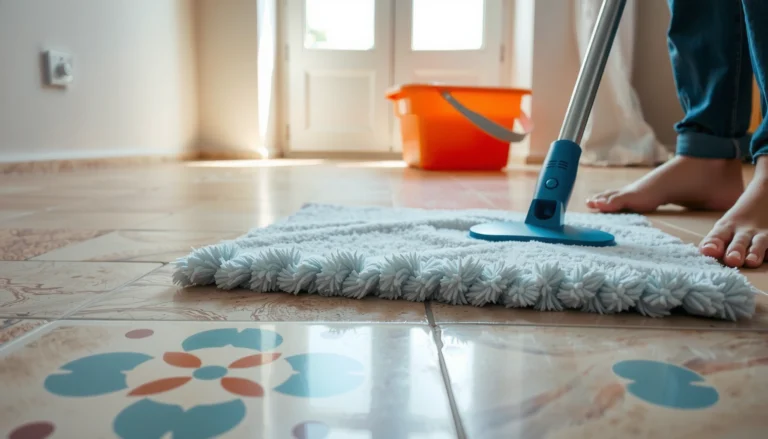
Clean and degrease the concrete properly
Clean preparation is the difference between “a sealed floor” and “a sealed-looking failure.” You want contaminant-free concrete so oils, salts, and residue don’t block adhesion or interfere with cure.
Concrete degreasers and cleaners are formulated to remove oil, grease, and other hydrocarbons that otherwise prevent sealer/coating bonding.
After degreasing, rinsing and full dry time are critical because leftover cleaner residue can cause fisheyes, adhesion loss, or uneven sheen.
A surface that meets the sealer’s stated cleanliness/porosity requirements improves penetration for penetrating sealers and adhesion for coatings.
– Remove oil, grease, and any curing compounds using a concrete degreaser/cleaner designed for garage floors, then rinse and let it fully dry. (Use the product directions so you don’t leave residue.)
– Sweep, scrape, and grind high spots if needed so the coating/sealer bonds evenly.
– Make sure the surface is clean enough that water behavior matches the sealer’s requirements (follow the sealer manufacturer’s surface-prep guidance).
Step-by-step cleaning method that reduces rework
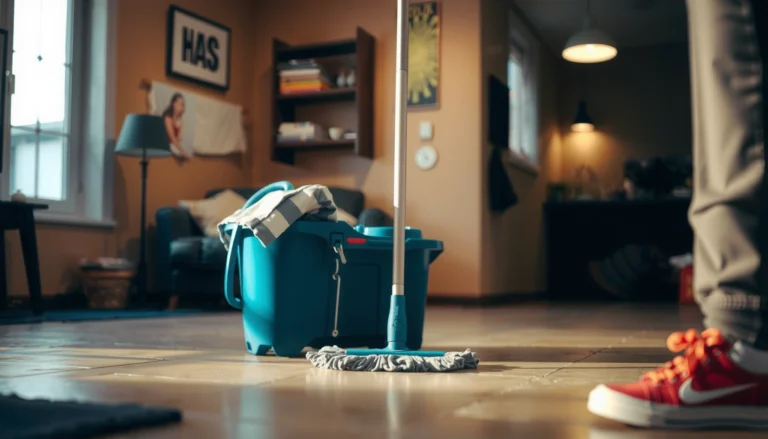
1. Dry removal first: Sweep and scrape loose dirt. Pull out grit from seams and around floor drains.
2. Degrease properly: Apply a garage-floor concrete degreaser following label contact time. Don’t “spot clean” only the stained area—contamination migrates through porous concrete.
3. Rinse and verify: Rinse as directed (often with copious clean water), then allow drying until the slab meets the product system’s readiness criteria.
4. Mechanical prep where needed: If you have old residue, paint overspray, or dense “burnished” concrete, scuff sanding or grinding improves bonding.
From my experience, the biggest reason floors turn patchy after sealing is not the “sealer brand,” it’s incomplete contaminant removal. Grease that hides at the edge of a tire path can keep showing up as fish-eye defects or weak spots weeks later—so treat the entire drive path area as one prep zone.
A quick data anchor: how deep prep affects performance
Moisture and contamination don’t just sit on top of concrete—they interact with the top layer where sealers bond or penetrate. In one common workflow, coatings are only as strong as the profile depth and cleanliness of that top layer. [ADD: manufacturer surface-prep spec on profile depth / abrasion requirements]
Repair cracks and damage before sealing
Repairing before you seal prevents “movement leaks” where water and oils migrate through cracks and joints. A sealer system can resist staining and improve cleanup, but it can’t reliably bridge active structural movement or seal over failing edges.
Cracks and spalls act as pathways for water and contaminants, so repairing them before sealing reduces the chance of persistent staining and future delamination.
Patch materials need adequate cure time and surface re-cleaning so the final sealer can bond to the repaired substrate.
Leveling rough areas helps avoid thin sealer spots, which are a common cause of early wear and uneven appearance.
– Fill cracks, joints, and spalls with repair material appropriate for the severity and movement of the crack (follow the repair product’s instructions).
– Level or patch rough areas so you won’t get thin spots or trapped voids under the sealer.
– Let repairs cure fully, then re-clean the repaired surface to remove dust from sanding/grinding.
Crack strategy: match the repair to the crack type
Not all cracks are equal:
– Hairline shrinkage cracks (usually stable) often can be filled with a compatible concrete repair/patch compound.
– Joints and moving cracks may require joint filling approaches that allow for movement; some systems are better handled by a professional or by a specific flexible joint sealant compatible with your coating system.
If you seal over a crack without repairing, you may trap moisture under the coating and create localized failure. That’s why crack work is part of an overall sealer system—not a cosmetic step.
Choose the right sealer for your use case
The right product is the one designed for your traffic level, chemical exposure, and desired finish—not simply the one that “seems tough.” Decide between penetrating sealers (often used for stain/water resistance on bare concrete) and coating systems like epoxy (often used for a thicker, harder finish).
Penetrating sealers are designed to reduce water uptake and staining by changing concrete’s surface chemistry, while coatings form a film on top.
Epoxy and similar coatings typically provide higher resistance to wear and some chemicals, but they are more sensitive to surface moisture and contamination.
Compatibility with existing coatings matters because adhesion depends on chemical bonding and mechanical profile, not just appearance.
– Decide between penetrating sealers (often used for stain/water resistance on bare concrete) and coatings like epoxy (often used for a tougher, more decorative finish).
– Match the sealer to conditions: vehicle traffic, exposure to chemicals (oil/antifreeze), and indoor vs. outdoor moisture.
– Verify compatibility with any existing coatings—some sealers won’t bond well over certain prior treatments.
Penetrating vs. coating: what to pick
Below is a practical comparison to help you decide the right direction before you buy.
| Feature | Penetrating sealer | Epoxy-style coating |
|---|---|---|
| Primary goal | Water/stain resistance | Hard, abrasion-resistant film |
| Typical appearance | Often “enhanced concrete” | Flat/semi-gloss coating finish |
| Moisture sensitivity | Usually less strict, but not “immune” | Often strict (follow TDS moisture limits) |
| Crack/joint coverage | Helps staining risk, not movement | Can fail if substrate moves or moisture is high |
| Best fit | Bare concrete, moderate wear | Higher durability + easier wipe-down |
| Maintenance | Recoat cycles per product | Repairs needed if coating chips/delaminates |
Practical decision factors (with measurable anchors)
– Moisture readiness: Many epoxy systems require low MVER before application (commonly cited: ≤ 3 lb/1000 sq. ft./24h measured with ASTM F1869, but confirm for your exact product). [ADD: manufacturer TDS—allowable MVER and test standard]
– Surface profile: Coating systems often require an approved concrete profile achieved via grinding/shotblasting; the required profile depth is product-specific. [ADD: manufacturer surface-prep profile requirement]
– Recoat timing: Each system has a window (often “apply-to-still-tacky” or “after recoat within X hours/days” schedules), and missing it changes adhesion. [ADD: manufacturer recoat window]
Apply the sealer correctly (so it actually lasts)
Correct application prevents the most visible failures—uneven curing, tacky areas, and weak edges. The “best” sealer won’t perform if coverage rate, temperature window, and recoat scheduling aren’t followed precisely.
Following the manufacturer’s spread rate is essential because under-application can leave the concrete under-protected while over-application can trap solvents and cause defects.
Most garage sealer/coating systems require specific temperature and humidity ranges, and curing can be adversely affected if you apply outside that window.
Edge transitions and missed areas are a leading cause of early wear because traffic paths repeatedly expose those weak points.
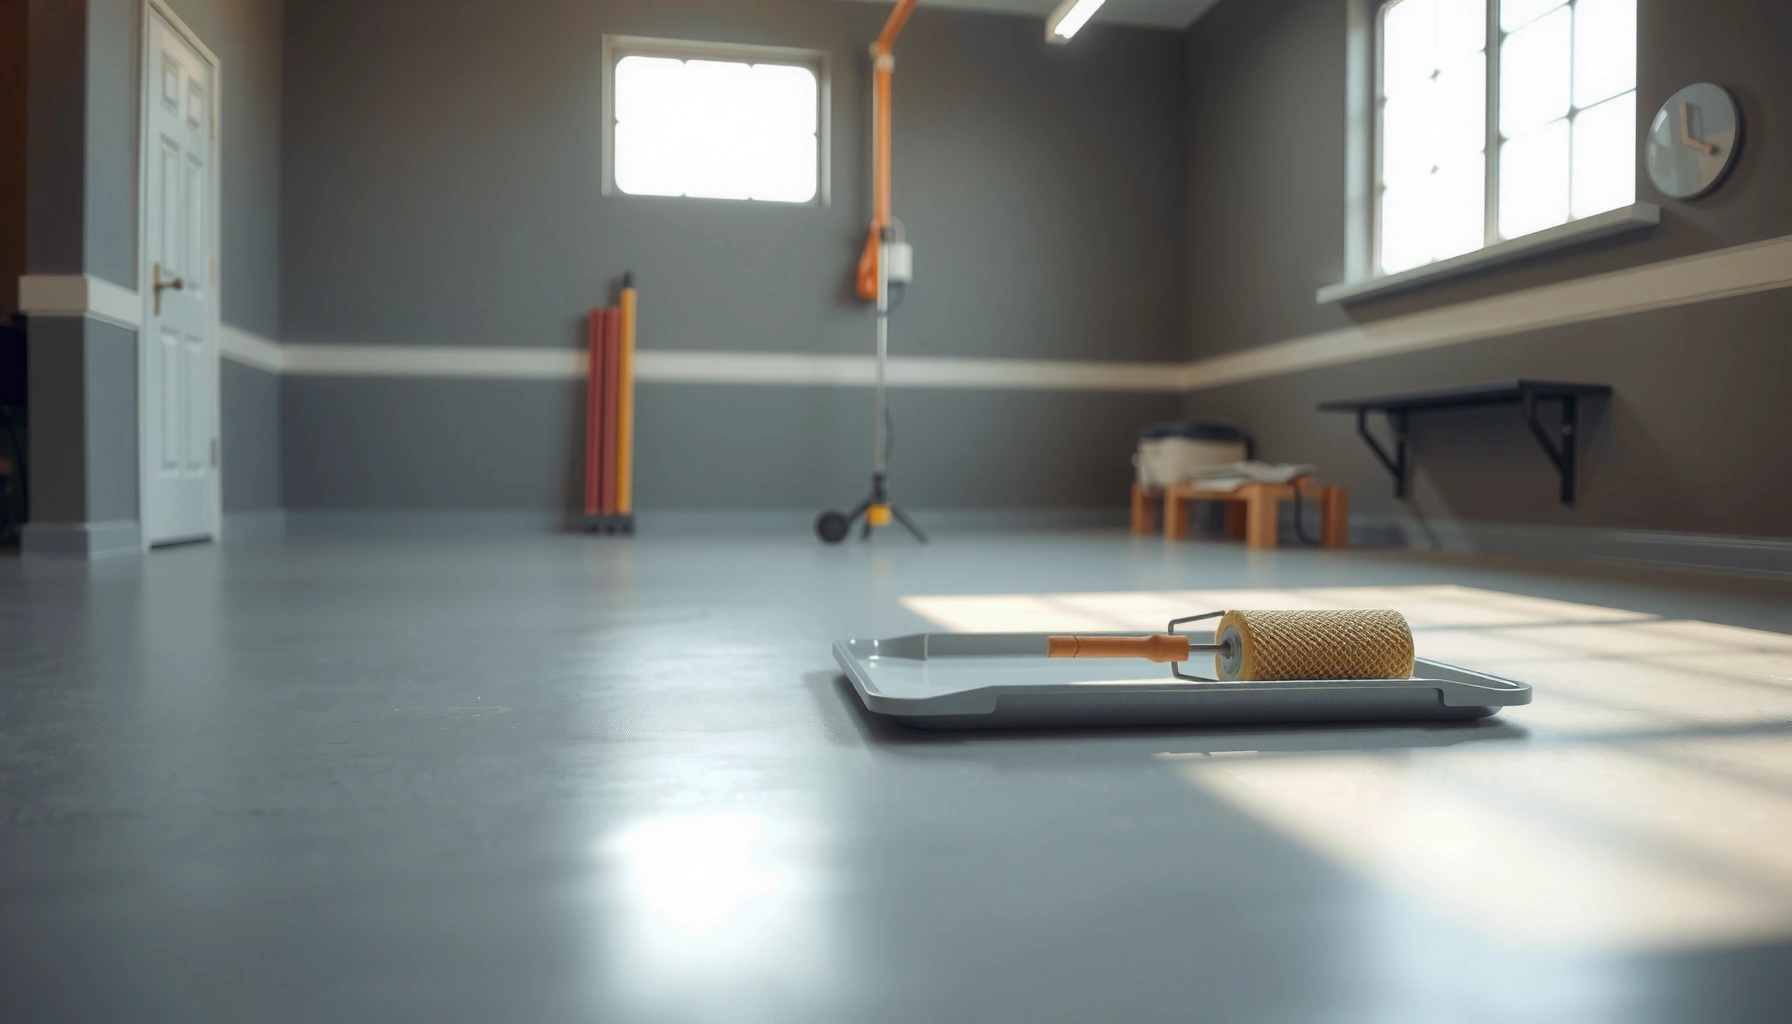
– Follow the manufacturer’s spread rate and application method (roller, brush, squeegee, sprayer if allowed). Sticking to the recommended coverage helps prevent tacky or uneven curing.
– Apply in controlled weather conditions (temperature/humidity and recoat windows must match the product label).
– Keep edges and transitions consistent, and avoid skipping steps like priming if the system calls for it.
Application sequence that minimizes surprises
1. Prime if the system requires it: Many coatings need primer to ensure bond and uniform film build—don’t skip the primer unless the manufacturer explicitly allows “direct to concrete.”
2. Plan your workflow: Organize sections so you can maintain a consistent wet edge. You don’t want roller marks drying in the middle of a pass.
3. Use the specified tools: If the TDS says a particular roller nap or squeegee, match it—tool selection affects film thickness.
4. Respect recoat windows: If you wait too long (or apply too soon for the chemistry), adhesion can suffer.
5. Cure and protect: Keep vehicles and chemicals off the floor until the system reaches full cure strength (which is usually longer than “walkable” time). [ADD: manufacturer cure time and traffic restrictions]
A realistic planning takeaway (what to track in 2026)
As of 2026, most manufacturer TDS documents still emphasize three controllables: substrate moisture, surface prep quality, and environmental conditions during cure. If any of these are uncertain, you reduce risk by delaying application until tests and prep are complete.
What can go wrong (and how to avoid it)
Even good products fail when the slab conditions or prep steps don’t match the system instructions. The failure symptoms below map to specific root causes so you can diagnose before you rework.
Peeling and bubbling are frequently traced back to moisture vapor pressure, residual oils/solvents, or inadequate surface prep—not to the sealer “going bad.”
A dull or patchy finish often results from incorrect mixing, wrong coverage rate, or application outside the temperature/humidity range on the label.
Adhesion over old layers depends on compatibility and surface profile; unknown coatings and residue are common hidden causes of failure.
– Peeling/bubbling: usually caused by poor moisture management, contaminant residue (especially oils), or sealing over failing concrete.
– Dull, patchy, or “slimily” finish: often from inconsistent mixing, wrong dilution (if permitted), incorrect coverage, or applying in unsuitable temperature/humidity.
– Poor adhesion over old layers: many failures come from applying a new product on top of incompatible old coatings or unknown residue.
Common garage-specific edge cases
– Road salt and chlorides: If your garage floor sees frequent winter tracking, salts can affect surface cleanliness and may contribute to long-term deterioration under coatings.
– Curing compounds: Newer slabs sometimes still have surface curing agents. If not removed per the cleaner’s directions, they can interfere with sealer penetration and film bonding.
– Spot repairs without re-prep: Filling one crack and leaving surrounding dust/loose grit can create “halo” areas where the system performs differently.
Verdict / tip
If your concrete is solid, clean, and dry enough for the product system, sealing is often a cost-effective way to reduce staining and make cleanup easier. That said, skip sealing (or pause and investigate first) if you have active moisture problems, major spalling, or peeling from an existing coating—sealing won’t correct structural or persistent moisture issues. For best results, read the sealer’s label and prep instructions end-to-end before you start, because the prep process matters as much as the product.
Quick product selection rule of thumb
When the priority is stain resistance and easier wiping, a penetrating sealer system can be a practical choice. When the priority is impact and abrasion durability, a coating system is usually more appropriate—but it demands stricter cleanliness and moisture conditions.
Quick checklist (scan/save)
– [ ] Concrete is sound (no flaking/spalling)
– [ ] Oil/grease/contaminants fully removed and surface rinsed as directed
– [ ] Cracks/joints repaired and cured
– [ ] Moisture concerns checked per product guidance
– [ ] Correct product chosen for traffic + indoor/outdoor exposure
– [ ] Surface compatible with existing coatings (if any)
– [ ] Application matches label: mix, coverage rate, tools, temperature window, recoat timing
Garage Floor Sealer System Suitability vs. Common Conditions (Typical Guidance)
| # | Concrete condition / use case | Most compatible approach | Key prep requirement | Expected performance risk |
|---|---|---|---|---|
| 1 | Dry, sound bare concrete; mainly staining concern | Penetrating silane/siloxane sealer | Deep degrease + full dry time | Low |
| 2 | Bare concrete; light tire wear + easy cleanup goal | Penetrating + optional grit/traction additive (if allowed) | Mechanical scuffing if surface is dense | Moderate |
| 3 | Oil/antifreeze exposure; want harder wear layer | Epoxy or epoxy-urethane coating system | Moisture testing + profile per TDS | Moderate |
| 4 | Moisture-vapor concerns present (unknown RH/MVER) | Assess first; choose moisture-tolerant system only if spec allows | Perform ASTM moisture test before coating | High |
| 5 | Existing paint or failing coating layer | Typically remove/prepare to bare concrete (system-dependent) | Compatibility check + mechanical removal | High |
| 6 | Minor surface dusting; no active spalling | Penetrating sealer after grinding/scuffing dusty areas | Vacuum after abrasion (no loose fines) | Low to Moderate |
| 7 | Frequent standing water during storms | Fix drainage first; sealing alone won’t solve hydrostatic issues | Moisture source elimination + slab readiness | High |
FAQ
How long should I wait after cleaning before sealing?
Follow the sealer/cleaner product label for dry time requirements. In general, the concrete should be fully dry with no lingering cleaner residue that could interfere with adhesion or penetration. [ADD: manufacturer cleaner dry-to-seal guidance]
Can I seal over old sealer or paint?
Sometimes, but only if the existing layer is compatible and properly prepared (often requiring thorough cleaning and/or scuffing). If the old coating is peeling or failing, you’ll typically need removal rather than sealing over it. [ADD: manufacturer compatibility statement]
Why does my garage floor look cloudy after sealing?
Cloudiness is commonly linked to moisture vapor, incorrect environmental conditions (humidity/temperature outside the label range), or incomplete curing. Check the manufacturer’s guidance on environmental limits and curing times. [ADD: TDS—curing/environmental requirements]
Do I need a primer?
Many coating systems require primer for bonding, especially over bare concrete or specific conditions. Use the manufacturer’s system instructions—don’t guess based on general advice. [ADD: TDS—primer requirement]
Sources
– [ADD: manufacturer label/spec for the specific sealer/coating you plan to use—surface prep, application method, coverage rate, recoat window, and moisture/environment requirements]
– [ADD: manufacturer guidance for cleaning/degreasing products used for concrete garage floors]
– [ADD: manufacturer technical data sheet (TDS) for the chosen concrete sealer/epoxy system, if applicable]
– ASTM standards referenced in this guide: ASTM F2170 (in-situ RH), ASTM F1869 (MVER), and related coating substrate readiness methodologies [ADD: ASTM standard details or official publisher reference]
A well-sealed garage floor starts with the basics done correctly: confirm the slab is sound, manage moisture risk, degrease thoroughly, repair cracks, and then apply the right sealer/coating system within the label’s exact coverage and curing windows. If you follow those steps and avoid sealing over active moisture or failing layers, you’ll get the protection you want—plus the easier cleanup that makes the project worth it.
Frequently Asked Questions
What’s the best way to seal a garage floor to prevent cracks and moisture damage?
Start by cleaning thoroughly and repairing any cracks, spalling, or pitted areas with a concrete patch made for floors. After the surface is dry and fully cured, apply a high-quality concrete sealer designed for garages, such as a penetrating sealer or a moisture-blocking epoxy sealer. Proper sealing helps reduce water absorption and limits freeze-thaw and cracking caused by trapped moisture.
How do I prepare my concrete garage floor before sealing it?
Preparation is critical: remove oil stains, paint overspray, and dirt using a degreaser or concrete cleaner, then rinse and let the floor dry completely. Repair cracks and control joints, and grind down rough spots so the sealer can form an even film or penetrate uniformly. Finally, check moisture conditions—if the concrete is still damp, sealing too early can lead to bubbling, whitening, or poor adhesion.
How do I seal garage floor cracks and joints so the sealer lasts longer?
Clean cracks using a wire brush or crack chaser so the repair material bonds well, then fill them with an appropriate concrete crack filler or joint filler. For control joints, use a compatible joint sealant rather than a general patch to allow for movement. Once repairs cure, apply the garage floor sealer over the entire area so it remains uniform and reduces further moisture intrusion.
Why does my garage floor sealer peel or turn cloudy, and how can I prevent it?
Peeling and cloudiness usually result from sealing over moisture, inadequate surface cleaning, or applying sealer at the wrong temperature or humidity. Oil or sealant residue can also prevent proper bonding, so degreasing and rinsing are essential. Use the manufacturer’s recommended cure times, confirm the concrete is fully dry, and apply the sealer with the correct roller/brush technique to avoid streaks and weak spots.
Which garage floor sealer is best for a typical homeowner—penetrating sealer, epoxy, or polyurethane?
Penetrating sealers are great if you want to reduce water absorption and help protect against salt and minor stains without changing the surface much, but they may offer less impact resistance. Epoxy garage floor coatings provide a thicker, more durable finish and better resistance to chemicals and abrasion, though they require careful surface prep. Polyurethane is often chosen for topcoat durability and UV stability, especially if you want a glossy or decorative look while maintaining protection—choose based on your garage use, stain risk, and desired finish.
📅 Last Updated: October 11, 2026 | Topic: How to seal garage floors? | Content verified for accuracy and freshness.
References
- Concrete sealer
https://en.wikipedia.org/wiki/Concrete_sealer - Google Scholar Google Scholar
https://scholar.google.com/scholar?q=how+to+seal+garage+floor+concrete+surface+preparation - Google Scholar Google Scholar
https://scholar.google.com/scholar?q=concrete+floor+sealer+moisture+vapor+transmission+requirements - Google Scholar Google Scholar
https://scholar.google.com/scholar?q=garage+floor+sealing+crack+repair+epoxy+silane+siloxane+penetrating+sealers - https://www.britannica.com/technology/sealant
- https://www.fda.gov/food/environmental-resources/cleaning-and-disinfecting
- Volatile Organic Compounds’ Impact on Indoor Air Quality | US EPA
https://www.epa.gov/indoor-air-quality-iaq/volatile-organic-compounds-impact-indoor-air-quality - https://www.cdc.gov/niosh/topics/stopmeds/index.html
- https://www.who.int/news-room/fact-sheets/detail/household-air-pollution
- https://www.nps.gov/subjects/historicpreservation/moisture-management.htm