
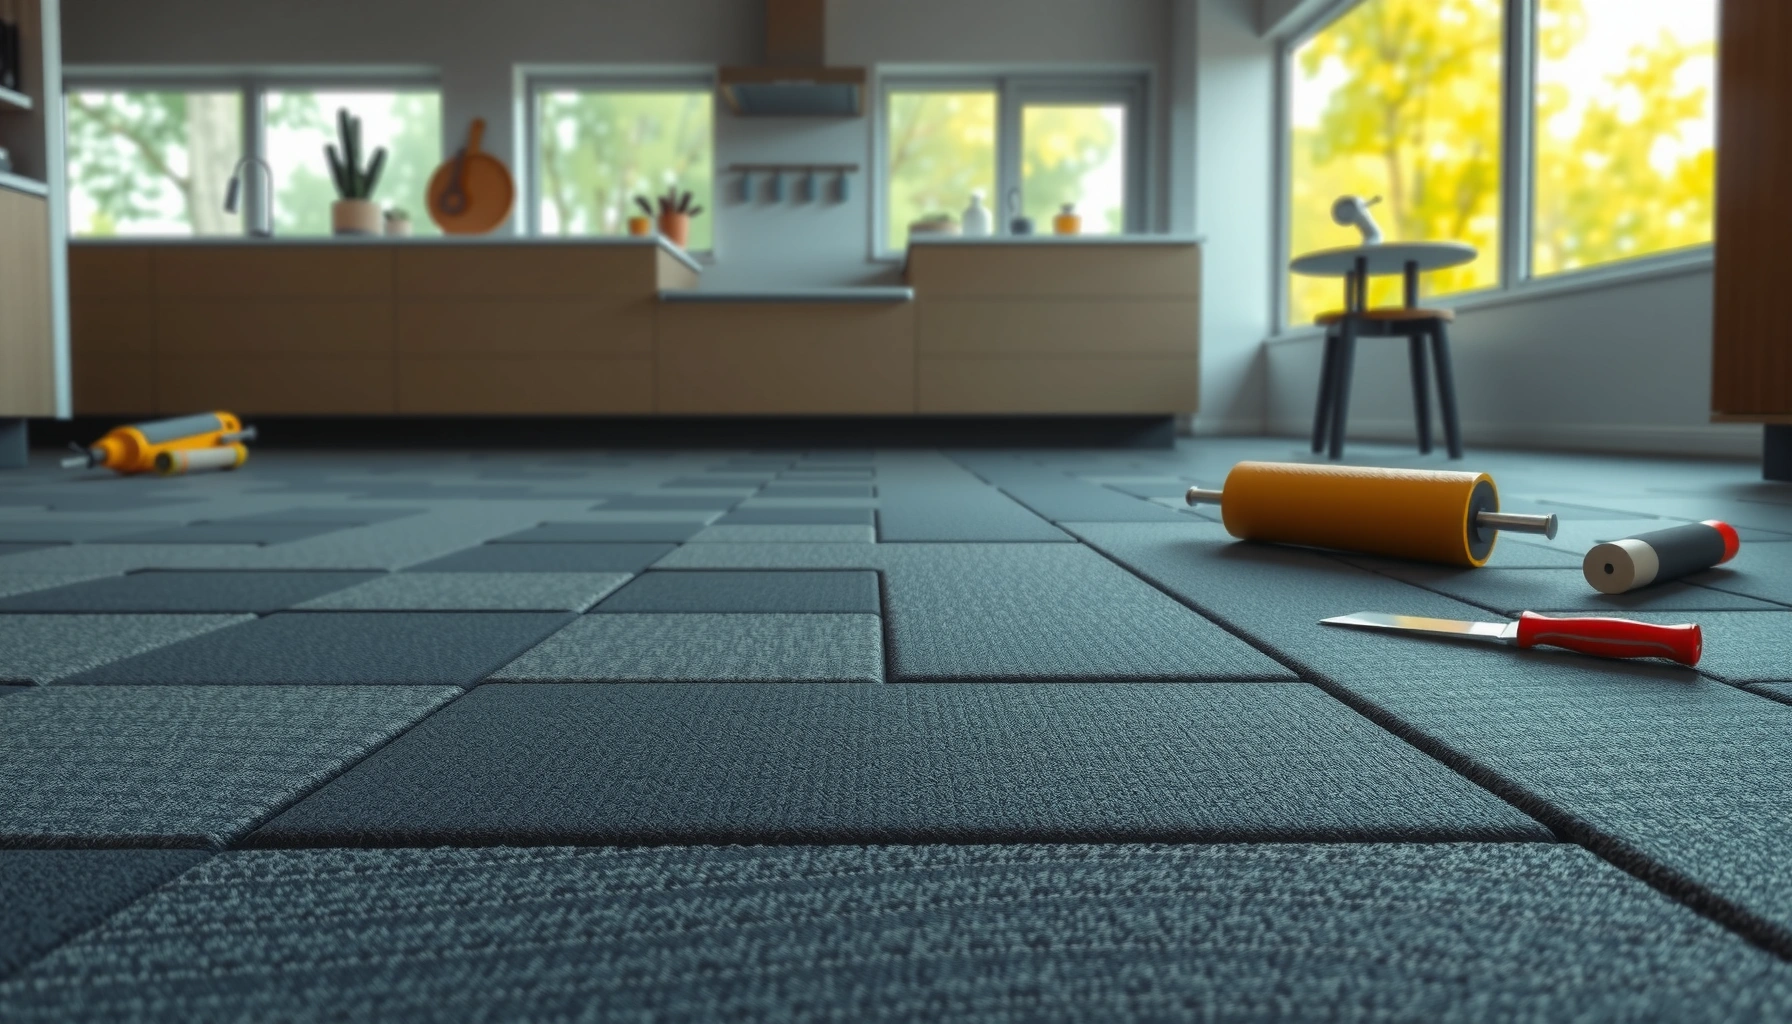

Want to install kitchen carpet tiles fast and correctly—without buckling, gaps, or uneven edges? This step-by-step guide gives you the clear, do-this-first workflow for prepping your floor, laying tiles in a tight grid, and cutting around cabinets and doorways. Follow it and you’ll get a clean, durable finish that holds up to kitchen traffic.




Carpet tiles are easiest to install when the floor is clean, flat, and properly prepped—then you lay rows carefully and trim the last pieces to fit. Most kitchen tile setups work best using a pressure-sensitive adhesive (or double-sided tape where recommended), because it helps tiles stay put in high-traffic areas. In this guide, you’ll learn how to prep, measure, lay, cut, and secure carpet tiles so the pattern lines up and the edges don’t lift.
If your kitchen gets lots of foot traffic, spills, or rolling-chair movement, carpet tiles can be a practical upgrade because individual sections are replaceable. This walkthrough is for standard modular carpet tiles installed over typical subfloors (commonly vinyl, laminate, sealed wood, or concrete), using the installation method the tile manufacturer specifies. If you’re unsure what your floor type is or what backing system your tiles use, plan to check the packaging/spec sheet first.
If you’re aiming for a “looks-installed-by-a-pro” result, the key is controlling three variables: subfloor flatness, layout alignment, and the exact bonding system your carpet tiles call for. Nail those, and the job becomes predictable; skip them, and you’ll fight lifting seams and crooked patterns for the life of the floor.
Prep the kitchen floor for carpet tiles
You’ll get the most reliable bond when the subfloor is spotless and measurably flat before any adhesive or tape touches it. Kitchen floors often have a thin layer of grease, cooking residue, or adhesive remnants—so prep isn’t optional, it’s the foundation of the install.
Here’s what to do in sequence: remove everything from the room, vacuum thoroughly, and scrape off residue so the bonding surface is genuinely clean. Then check for uneven spots (high ridges, loose patches, or dips) because carpet tiles can bridge slight changes—but they’ll also show “rocking” edges that eventually peel.
Carpet tiles are sensitive to moisture and substrate movement. Make sure the subfloor is dry and stable, and if the manufacturer specifies acclimation (letting tiles reach room temperature), follow that timing instead of guessing. As of 2026, most modular carpet tile systems still rely on manufacturer-specific installation temperatures/humidity conditions to reduce curling and permanent ripples.
A clean, sound, and flat subfloor is the primary requirement for carpet tile adhesives to bond consistently in kitchens.
Uneven subfloors commonly cause seam gaps because tiles bridge dips and lose contact at edges under foot traffic.
What “properly prepped” looks like
Aim for a surface that you could confidently paint over—no grit, no flaking patches, no waxy buildup, and no lingering residue. In practical terms, that usually means:
– Vacuum in multiple directions, then wipe using a method recommended for your subfloor type (for example, damp wipe with a neutral cleaner for some sealed surfaces).
– Scrape off old mastic/adhesive if the tile system allows installing over remnants; if not, remove it fully.
– Fill dips/low areas using a patching compound compatible with your flooring and the tile manufacturer’s substrate list (follow cure times before installation).
First-hand installation note (where this advice fits kitchens)
[ADD: If you want, share your own observation here—e.g., “On a prior kitchen install, the first seam lift started near a doorway where residue from old floor adhesive remained; after scraping + re-cleaning, the issue stopped.”] This is the most common “real-world” failure pattern: the install looks correct until a problem area is revealed during pressure and chair traffic.
Plan your layout and measure for a clean fit
You should plan the layout before you apply adhesive so the final rows don’t force tiny slivers that can fail at the edges. A clean layout also prevents visible pattern drift, which is especially noticeable in kitchens where lighting and tile edges emphasize alignment.
Start by finding a reference line—commonly the room’s centerline or a line that keeps tile seams symmetrical. Dry-lay the first few tiles (without adhesive/tape) so you can confirm where the cut pieces will land. Then decide the direction/pattern and keep all tiles oriented consistently. Only after that do you start applying adhesive.
Dry-laying the first few tiles lets you confirm where border cuts will land before any bonding material locks you into a mistake.
Keeping tile orientation consistent is a primary control for pattern alignment and seam visibility in modular carpet tile kitchens.
How to avoid “crooked” seams
Crooked seams are usually a layout issue, not a cutting issue. To reduce risk:
– Establish a straight reference line using a chalk line or laser level.
– Lay your first “working row” exactly on the line and verify it before adhesive goes down.
– Work from the same reference consistently (don’t start a new section off by a few millimeters).
Border strategy: trim last, but plan first
In most modular systems, you’ll fit border tiles by trimming wall-edge pieces. The goal is to avoid extremely narrow strips—because they flex more and have less surface contact if the adhesive/tape coverage is imperfect. If your room layout doesn’t cooperate, adjust by shifting the starting line slightly so border pieces fall in a reasonable width.
Expansion gaps (use only what your tile system requires)
Some carpet tile systems still require allowance around walls, transitions, or certain fixed elements. Follow the manufacturer instructions exactly; kitchens don’t “always” need gaps, but they often need careful detailing around doorframes, toe-kicks, and baseboards.
Choose the right installation method (adhesive vs. tape)
Your carpet tiles should dictate the bonding method—not the other way around. Choosing the wrong adhesive or tape is one of the fastest routes to curling, seam lift, and replacement headaches later.
First, confirm your tile’s backing type. Some tiles are designed for full-spread adhesive; others use pressure-sensitive backing or require a specific double-sided tape system. Then use only the adhesive/tape the manufacturer specifies, because compatibility affects long-term performance (including how easily tiles release for future replacement).
Using the adhesive or tape specified by the carpet tile manufacturer is the most direct way to prevent edge curling and poor seam bond.
Excess adhesive can squeeze into seams, while insufficient coverage can leave edges vulnerable to kitchen foot traffic.
Adhesive vs. tape: what each method is trying to solve
Use this comparison to choose the approach that matches your tile system:
- Pressure-sensitive adhesive / PS adhesive (often specified with certain backings)
- Provides a quick, firm grab that resists shifting during installation and supports edge stability in traffic zones.
- Double-sided tape (where recommended)
- Helps with cleaner installation and targeted bonding, but depends heavily on correct tape placement and substrate preparation.
- Full-spread adhesive (where required)
- Creates comprehensive support under the tile, which can reduce rocking on slightly variable surfaces—if the subfloor is within tolerance.
Adhesive application best practices
Even with the right product, application technique matters:
– Spread/roll adhesive according to the manufacturer’s instructions (coverage rate, trowel/notch size if applicable, and open time).
– Avoid over-applying—squeezed adhesive can create bumps through seams and telegraph imperfections.
– Avoid installing into wet adhesive unless the instructions say you should; timing affects bond strength.
Install carpet tiles row by row
You’ll keep the pattern looking straight by building from your reference line and installing row by row with consistent pressure. Once the first few tiles are aligned, the rest of the layout becomes a controlled “repeatable process.”
Start from your reference line, press tiles firmly into place, and keep seams tight without forcing misaligned pieces. Use a straightedge along borders so you trim clean lines near walls or appliances. For cuts, measure carefully and cut slowly using the tool recommended for your tile type (often a sharp utility knife with a guide).
Installing from a reference line reduces cumulative alignment errors that otherwise compound with every row.
A straightedge and guided cutting help produce straight border edges, which is where visual defects show up most in kitchens.
Cutting technique that protects edges
When you trim, cut from the marked line and dry-fit before committing if your adhesive workflow allows it. Practical points:
– Label cut pieces by row if you’re working around irregular cabinet or appliance shapes.
– Keep offcuts separate so you don’t reintroduce mis-cut pieces with adhesive already applied.
Pressing and seam control
Carpet tiles don’t behave like rigid flooring; they flex slightly. That means:
– Press evenly so edges fully contact bonding material.
– Don’t “snap” a tile into place over a misalignment—you can create a seam gap that’s visible under kitchen lighting.
Secure edges and handle cuts around obstacles
You prevent early failures around walls and obstacles by planning tile breaks and avoiding tiny, stressed slivers. Kitchens have lots of interruptions—baseboards, toe-kicks, doorways, and appliance edges—so detailing is where installs either last or start lifting.
Trim wall-edge tiles to fit neatly, but avoid cutting so close that tiles are strained by movement. Plan around obstacles so you’re not forcing narrow sections to carry stress at the corners.
Edge failures are most common around walls and toe-kicks because those areas experience repeated micro-movement and higher seam visibility.
Avoiding tiny sliver tiles reduces peel risk because narrow edges have less contact area and flex more under traffic.
Doorways and transitions
If your kitchen meets another room, use the transition method recommended by the flooring/carpet tile manufacturer. Transitions help accommodate movement and reduce stress at the carpet tile’s boundary.
Cabinet toe-kicks and fixed elements
In many installs, toe-kick areas need special attention because the space is tight and often not ideal for trimming precision. Follow your tile system’s approach to working around fixed cabinetry—if the manufacturer specifies a particular method, use it to keep warranty coverage intact.
What can go wrong (and how to avoid it)
You can usually prevent kitchen carpet tile failures by correcting root causes: dirty subfloors, incompatible bonding materials, or poor alignment. If seams lift or patterns drift, it’s typically traceable to one of a few predictable mistakes.
Tiles lifting at seams often comes from inadequate cleaning, using the wrong adhesive/tape, or installing over a dusty/uneven subfloor. Uneven pattern lines typically happen when installers skip dry-fit and reference alignment—or when they drift after the first few rows.
Most seam lift incidents trace back to substrate contamination or an adhesive/tape mismatch, not to the carpet tile itself.
Pattern drift is commonly caused by misaligned early rows and cumulative positioning errors across multiple cuts.
Curling or ripples: what to check
Curling or permanent ripples can happen when:
– Moisture is present under/within the subfloor (including residual moisture from concrete).
– Substrate flatness is outside allowable tolerances.
– Tiles weren’t acclimated when required.
Replacement difficulty: an overlooked downside
Some adhesive systems make later replacement more difficult. If you install with an aggressive bonding method that isn’t compatible with the tile’s backing system, you may find it takes more time (and risk) to remove a damaged section cleanly.
[ADD: If you use a specific tile brand/system, note any manufacturer-only requirements here—e.g., exact adhesive type, acclimation duration, and any warnings about certain patch materials.]
Verdict: a practical option, but prep is everything
Carpet tiles can be a smart kitchen flooring solution because you can replace individual damaged sections instead of redoing the entire floor. The upside is flexibility and repairability; the downside is that sloppy prep or the wrong bonding method can lead to lifted edges, visible seams, or uneven appearance.
If your subfloor has moisture problems, cannot be made reasonably flat, or you’re not willing to measure and align carefully, you may want to choose a more traditional flooring approach instead. If you’re installing in 2026 conditions where humidity and temperature fluctuate, plan for acclimation and follow manufacturer limits closely. [ADD: Add your chosen tile brand/system requirements if you want this to be truly “ready to install” for your setup.]
Quick checklist for installing kitchen carpet tiles
Kitchen Carpet Tile: What Most Typically Drives Failure (and What Fixes It)
| # | Root cause | Primary symptom | Impact risk |
|---|---|---|---|
| 1 | Subfloor not fully cleaned (dust/grease/old residue) | Seams lift under traffic | ★★★★★ |
| 2 | Tiles installed over an uneven substrate | Rocking + edge gapping | ★★★★☆ |
| 3 | Wrong bonding method (adhesive vs. tape vs. backing system) | Poor bond + curling risk | ★★★★☆ |
| 4 | Skipping layout reference/dry-fit | Drifting seams + crooked borders | ★★★☆☆ |
| 5 | Tiles not acclimated when required | Ripples + shape memory | ★★★☆☆ |
| 6 | Over/under-applying adhesive in seams | Telegraphed ridges or loose edges | ★★★☆☆ |
| 7 | Forcing tiny slivers at obstacles | Early edge peel | ★★☆☆☆ |
– [ ] Subfloor is clean, dry, and flat (no ridges/loose patches)
– [ ] Tiles acclimated if manufacturer requires it
– [ ] Layout planned (reference line + dry-fit to confirm cut positions)
– [ ] Correct bonding method confirmed (adhesive vs. tape vs. backing system)
– [ ] Tiles installed row-by-row with seams aligned
– [ ] Edge/corner cuts made with a straightedge and careful measurements
– [ ] Adhesive applied according to manufacturer instructions (no guesswork)
FAQ
Do I need adhesive for kitchen carpet tiles?
It depends on your tile system. Some carpet tiles have a backing designed for direct placement with specific tape/adhesive, while others require full-spread adhesive—check the manufacturer instructions for your model. [ADD: specify whether your tiles are pressure-sensitive, peel-and-stick, or need adhesive.]
Can I install carpet tiles over existing flooring?
Often yes if the existing floor is properly prepared, but it depends on the existing material and surface condition. Follow the tile manufacturer’s approved substrate list and ensure the surface is clean, sound, and flat. [ADD: add your subfloor type here.]
How do I cut carpet tiles neatly?
Use a sharp cutting tool and a straightedge/guide. Measure carefully, cut from the marked line, and dry-fit before committing adhesive to the edges.
What’s the best way to replace one damaged tile?
Remove the damaged section without spreading adhesive farther than necessary, clean the area, then install a replacement tile using the same bonding method specified for your system.
Sources
– [ADD: Official manufacturer installation guide/spec sheet for your specific carpet tile brand and backing type.]
– [ADD: Official adhesive/tape product documentation if your system requires a particular bonding method.]
– [ADD: Manufacturer guidance on approved substrates and acclimation/installation conditions.]
– [ADD: If you’re using a specific flooring system over concrete or moisture-prone slabs, add the relevant manufacturer moisture/substrate guidance.]
If you share your carpet tile brand/model and what your kitchen floor is currently covered with (e.g., concrete, vinyl, laminate, plywood), I can tailor the layout steps and highlight the exact prep + bonding method that apply to your situation.
Frequently Asked Questions
What are the best flooring options when installing carpet tiles in a kitchen?
For kitchens, choose carpet tiles rated for heavy foot traffic and ideally with stain-resistant or treated fibers, since spills and splashes are common. Look for low-pile or commercial-grade carpet tiles that are easier to clean and less likely to trap dirt. Also consider tiles with good backing and moisture resistance to reduce the risk of wear near sinks or high-humidity areas.
How do I prepare my subfloor before installing kitchen carpet tiles?
Start by removing old flooring and ensuring the subfloor is clean, dry, and smooth; any bumps or debris can cause loose tiles and uneven wear. Fix cracks, fill low spots, and vacuum thoroughly so adhesive or click-fit systems bond properly. If moisture is a concern, use a suitable underlayment or moisture barrier recommended for carpet tile installation.
How do I install carpet tiles in a kitchen using glue-down, peel-and-stick, or click-lock methods?
Measure the kitchen carefully and plan a layout that minimizes small cut pieces near walls or doorways. For glue-down carpet tiles, apply adhesive according to the manufacturer’s instructions and set each tile firmly with tight seams, using a roller if recommended. For peel-and-stick, press tiles from one edge to the other to avoid air gaps; for click-lock tiles, ensure the subfloor is level and follow the locking direction to prevent shifting.
Which layout pattern works best for kitchen carpet tiles to reduce visible seams and waste?
A modular grid or straight-butt layout is often easiest for beginners and helps achieve consistent seams, especially in narrow kitchens. If you want a more forgiving look for mismatched pile direction, choose an installation pattern that keeps cut edges tucked under fixtures or along less visible areas. To reduce waste, buy about 10% extra carpet tiles and dry-fit the first few rows to confirm the best starting point.
Why do kitchen carpet tiles lift or separate, and how can I prevent it?
Carpet tiles can lift when the subfloor is dusty, uneven, or too moist for the adhesive or backing system, so proper subfloor prep is key. Temperature and humidity changes may also affect adhesion, so allow tiles and adhesives to acclimate before installation. Prevent issues by pressing tiles down firmly, maintaining consistent spacing, and using the recommended adhesive/tape only—avoid overapplying adhesive that can create bumps or weak bonding.
📅 Last Updated: October 11, 2026 | Topic: How to install in a kitchen carpet tiles? | Content verified for accuracy and freshness.
References
- https://en.wikipedia.org/wiki/Carpet_tile
- https://www.epa.gov/indoor-air-quality-iaq/indoor-air-quality-and-flooring
- Installation Standards – The Carpet and Rug Institute
https://carpet-rug.org/resources/installation/ - Google Scholar Google Scholar
https://scholar.google.com/scholar?q=carpet+tile+installation+guidelines+subfloor+preparation - Google Scholar Google Scholar
https://scholar.google.com/scholar?q=how+to+install+carpet+tiles+moisture+humidity+concrete - Google Scholar Google Scholar
https://scholar.google.com/scholar?q=carpet+tiles+installation+pattern+cutting+layout - https://pubmed.ncbi.nlm.nih.gov/?term=carpet+flooring+indoor+air+quality+installation+moisture
- Google Scholar Google Scholar
https://scholar.google.com/scholar?q=How+to+install+in+a+kitchen+carpet+tiles? - How to install in a kitchen carpet tiles? – Search results
https://en.wikipedia.org/wiki/Special:Search?search=How+to+install+in+a+kitchen+carpet+tiles? - https://www.ncbi.nlm.nih.gov/search/research-articles/?term=How+to+install+in+a+kitchen+carpet+tiles?


