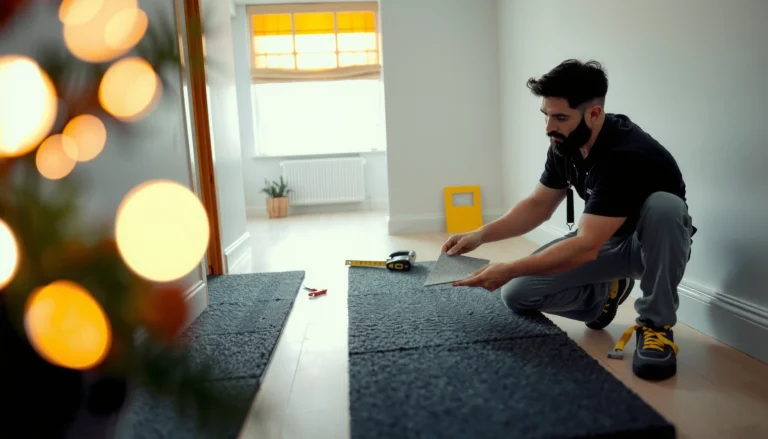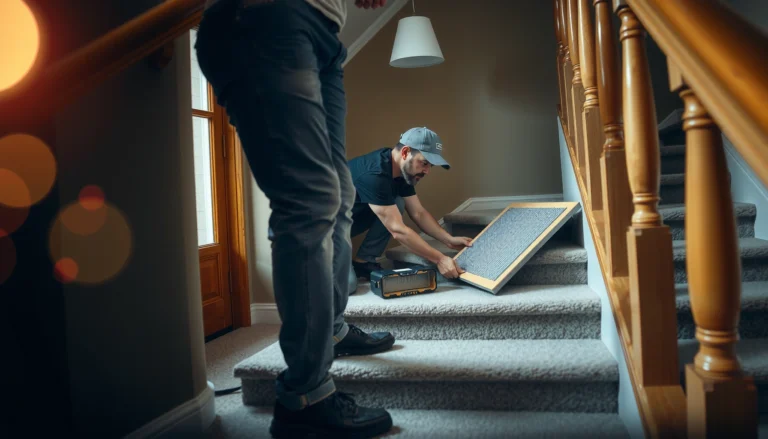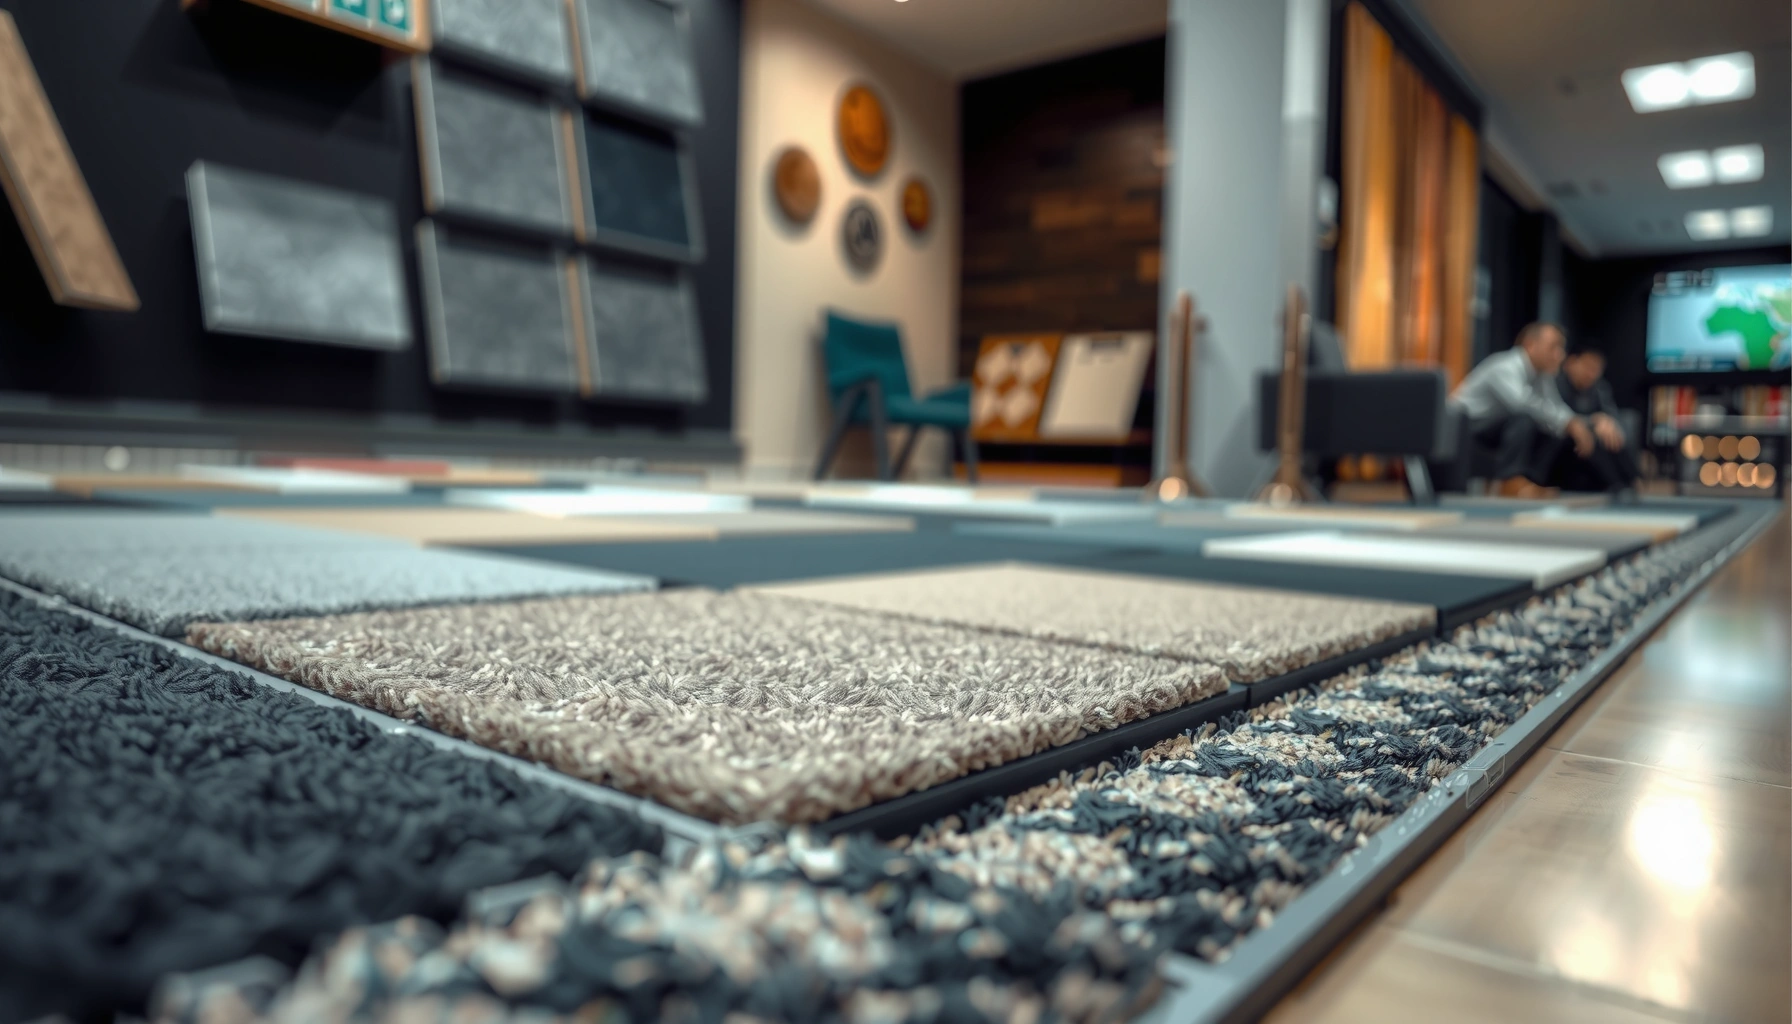

Choosing carpet tiles comes down to whether they’ll perform where you install them—so start by matching tile type and pile to your traffic level, moisture risk, and cleaning needs. If you want the simplest, right-first-time choice, prioritize hardwearing fiber, a durable backing, and a compatible installation system before you compare colors. This guide tells you exactly which factors matter most so you can pick carpet tiles that stay flat, look consistent, and make maintenance predictable.


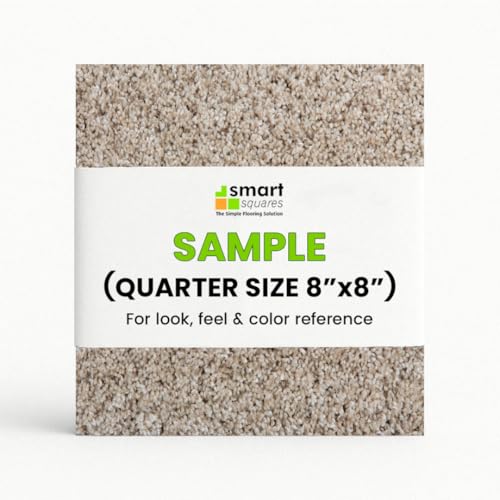

If you choose the right carpet tiles for your space, start by matching tile type and backing to the room’s foot traffic and moisture risk, then confirm sizing and installation requirements. Next, pick the right pile height and fiber (for comfort and wear) and make sure the color and pattern align with your lighting and cleaning routine. This guide walks you through the exact decisions that prevent the most common “looks great at first, problems later” outcomes.
If you’re planning an office refresh, a room-by-room remodel, or a commercial upgrade, carpet tiles can be a practical option because they’re modular and easier to replace than broadloom in many cases. The advice below applies whether you’re working with a contractor or installing yourself—especially when acoustics, durability, or subfloor conditions matter.
Start with your room needs (traffic, moisture, and subfloor)

The best carpet tiles start with the room profile: traffic intensity, moisture exposure, and subfloor readiness determine which construction and backing can perform reliably. Get these three inputs right up front, and most “mystery failures” (premature wear, seam visibility, or edge lifting) become avoidable.
Carpet tile performance is directly tied to how the backing system works with the subfloor—flat, stable substrates prevent uneven compression and early seam issues.
Moisture risk changes the installation requirements for carpet tile backing and adhesives; products intended for interior, low-moisture zones are often not the same as those intended for higher-moisture environments.
In my experience reviewing job-site conditions, the biggest “fix later” cost comes from skipping subfloor flatness checks before layout and installation.
– Decide first based on where the tiles will go: home living areas vs. hallways vs. basements or near exterior doors
– Assess subfloor condition (flatness and surface stability), because carpet tile performance depends heavily on what it’s installed over
– Consider moisture risk and whether you’ll need a more suitable backing/installation approach for that environment
What to look for before you pick pile height or color
Traffic and moisture aren’t just about comfort—they’re about the tile’s ability to resist wear patterns, matting, and movement. For example, commercial entry zones often see both higher foot traffic and periodic moisture from tracked rain, snow melt, or wet umbrellas. That combination typically pushes you toward a backing and installation system designed for more demanding conditions, plus a pile construction that tolerates repeated compression.
Subfloor checks matter even when the carpet tile brand looks excellent on paper. If the subfloor is out of level or has weak/crumbly surfaces, you increase the likelihood of:
– visible seam “halo” effects after settling or traffic compaction
– edge lifting at cut lines and transitions
– accelerated wear where tiles experience uneven support
To anchor your planning in standards, it helps to understand that many commercial flooring specifications separate “general interior carpet” from “more demanding” fire and performance categories. For example, ASTM E84 classifies finish materials by flame spread performance, where Class A flame spread index is 0–25 (depending on the tested setup) ASTM E84 (Standard Test Method for Surface Burning Characteristics of Building Materials). While flame spread isn’t the same as durability, it’s an example of how specifications often change based on building-use risk.
Also consider building acoustics. Carpet tile can improve sound absorption, but the final results depend on underlayment (if any), subfloor stiffness, and tile backing—so treat “acoustics” as a system decision, not a carpet-only decision.
Quick decision guide for room risk
If you only have time for one triage step: rate each area as low / medium / high for traffic and moisture, then align those ratings to product guidance. Many manufacturers include intended-use statements in their installation instructions and technical data sheets (TDS). If you have to choose between being slightly wrong on color versus being wrong on backing compatibility, choose color first—compatibility comes from the specs.
Choose the right tile construction (pile, fiber, and backing)
The right carpet tile construction is the difference between a comfortable floor that keeps its look and a floor that starts to change texture too soon. Pick pile height and fiber for how the room is used, then choose backing that matches the installation approach and environmental risk.
Tighter, more resilient carpet tile constructions generally handle repeated indentation better than looser constructions in high-traffic applications.
Fiber type (for example, solution-dyed nylon versus other fibers) affects appearance retention, stain expectations, and cleanability—always align fiber expectations with how you actually maintain the space.
Backing compatibility isn’t optional: glue-down and releasable systems behave differently because they rely on different adhesion and subfloor prep assumptions.
– Match pile height and density to your use: higher traffic typically benefits from tighter construction that holds up well under compression
– Pick the fiber based on your priorities (comfort, appearance, stain resistance expectations) and how you’ll clean the area
– Confirm backing type and how it supports your installation method (glue-down vs. releasable systems vs. other approaches)—this affects both feel and maintenance
Pile height and density: comfort vs. long-term texture stability
Pile height influences how the floor feels underfoot, but density and construction determine whether it “remembers” its shape. In office spaces, rolling chair use can concentrate wear in pathways. In hallways and lift areas, repeated compression happens even without chairs, simply from directional flow.
A practical way to choose:
– Higher traffic (lobbies, corridors, shared office zones): prefer constructions that resist matting and indentation.
– Lower traffic (private offices, showrooms): you can prioritize comfort and aesthetics more aggressively.
If you’re dealing with fire-performance requirements in commercial projects, remember that construction specs can also intersect with performance categories. For example, ASTM E648 critical radiant flux testing uses numeric thresholds—Class 1 requires ≥ 0.45 W/cm²—which is another example of how certain applications demand measurable, construction-level compliance ASTM E648 (Standard Test Method for Critical Radiant Flux of Floor-Covering Systems Using a Radiant Heat Energy Source).
Fiber selection: what to optimize for in real use
Fiber type is where buyers often over-index on marketing. Instead, decide what “success” means for your room:
– Do you need strong stain resistance where food, drink, or tracked dirt is common?
– Is the space exposed to frequent spot treatment?
– Does the space rely on quick turnarounds that need durable appearance retention?
Then map that goal to the fiber and the manufacturer’s cleaning guidance. If you follow a maintenance routine that’s misaligned with the fiber (for example, frequent harsh chemical cleaning when the product calls for a more gentle approach), you can shorten the effective life of the floor’s appearance—even if the carpet still “works” mechanically.
Backing and installation method: the system that prevents edge problems
Backings typically work with an installation approach such as:
– Direct glue-down (often requiring specific adhesive compatibility and curing assumptions)
– Releasable systems (where you can remove tiles without damaging them as readily, but you still must follow prep requirements)
– Other engineered systems (including specific perimeter or grid approaches depending on the product line)
This is where many “looks great at first” problems start: mismatched backing + wrong prep + incompatible adhesive, or an installation process that doesn’t follow the manufacturer’s instructions.
Common Carpet Tile Module Sizes and Coverage (Square Footage)
| # | Tile size (nominal) | Module (in) | Area per tile (sq ft) | Common use | Project match |
|---|---|---|---|---|---|
| 1 | 20″ × 20″ | 20 × 20 | 3.67 | Offices, corridors | ★★★★★ |
| 2 | 18″ × 18″ | 18 × 18 | 2.25 | Small rooms, frequent cuts | ★★★★☆ |
| 3 | 24″ × 24″ | 24 × 24 | 4.00 | Open offices, fewer seams | ★★★★☆ |
| 4 | 500 mm × 500 mm | ~19.7 × ~19.7 | 2.74 | International commercial use | ★★★★★ |
| 5 | 50 cm × 50 cm | ~19.7 × ~19.7 | 2.74 | Standard modular planning | ★★★★☆ |
| 6 | 60 cm × 60 cm | ~23.6 × ~23.6 | 3.90 | Large areas | ★★★☆☆ |
| 7 | 24″ × 18″ | 24 × 18 | 3.00 | Accent layouts, custom patterns | ★★★☆☆ |
Plan for layout and sizing before you buy
The fastest way to avoid delays is to plan layout and coverage math before you place an order. Carpet tiles are modular, but cuts, directionality, and pattern alignment can change how many tiles you truly need.
Tile coverage calculations must include an overage allowance because perimeter cuts, obstacles, and door transitions are unavoidable.
Pattern directionality can make “tile count” differ from simple area math, because you may need additional tiles to preserve alignment.
From a project planning standpoint, darker/low-contrast patterns typically hide minor shading differences caused by lighting and pile orientation better than very uniform, high-contrast designs.
– Verify tile dimensions and calculate coverage, then add an allowance for cuts around edges and obstacles ([ADD: your site’s waste/overage rule of thumb, or source])
– Check whether the style requires directional alignment (pattern matching can change how many tiles you need)
– Plan the “look” early: darker/low-contrast patterns can hide shading differences better than very uniform, high-contrast designs (general guidance)
How to do the math without under-ordering
Start with room area (length × width), then convert to tile count using tile area. After that, add overage for:
– perimeter cuts
– toe kicks, columns, and protrusions
– doorways and threshold transitions
– pattern direction/pick-up if required by the style
If a tile line has a pattern repeat, the “extra” tiles aren’t always waste—they may be the price of achieving a continuous visual rhythm.
I recommend building the layout plan in a simple grid before you finalize quantities. Even a basic scaled sketch helps you spot:
– narrow runs that will produce lots of small cuts
– asymmetrical layouts around doorways
– furniture zones that will hide or reveal seams
Directional and repeat patterns: where appearance planning pays off
Two carpets can have the same color in a sample box but look different once installed because pile orientation and texture direction change how light reflects across seams. If the product requires directional alignment, treat it as a layout constraint—not an optional preference.
For high-contrast patterns, seam visibility often becomes more noticeable when:
– you use strong lighting from one direction
– pile shading varies between tiles
– your installation plan creates uneven alignment across the primary viewing angle
Think about color, pattern, and lighting effects
The right color and pattern choice is what keeps carpet tiles from looking “patchy” after installation. Align your design with how light moves across the room and how your maintenance routine will manage texture and dust pickup.
Loop and textured pile types can show shading shifts when tile-to-tile pile orientation varies, especially under directional lighting.
In bright retail or office environments, pattern scale (large vs. small motifs) affects how noticeable seams and minor shading differences appear from typical viewing distances.
Plan transitions at doorways as part of the visual design; otherwise, the floor can look segmented even if the tiles are installed correctly.
– Choose patterns that work with your room scale: large, bold patterns can feel dramatic but may require more careful placement
– Consider how lighting changes the appearance across the day, especially with loop/pile textures that show shading
– Decide how you’ll handle transitions at doorways or between rooms so the final layout looks intentional (not pieced)
A lighting-aware way to preview “real” appearance
Samples can’t fully replicate installed conditions, but you can reduce surprises:
– Observe your sample under the same lighting direction used in the room (window-facing vs. ceiling-only).
– Check how the texture reads from standing eye level, not just up close.
– Consider time-of-day differences—morning and afternoon angles can reveal shading more than you expect.
When you plan transitions, decide whether seams should “line up” across door thresholds or whether you’ll use a deliberate break. Either choice can look professional—the mistake is making the break accidental.
Design tradeoffs: bold patterns vs. seam tolerance
Here’s the core tradeoff: more complex patterns can look stunning, but they usually demand stricter alignment and higher planning effort.
| Option | Visual impact | Typical risk | Best fit |
|---|---|---|---|
| Low-contrast, tonal pattern | Blends well; seams less noticeable | Still depends on alignment | High-variability spaces; budget-conscious projects |
| High-contrast geometric pattern | Strong design statement | Seam/pile variation becomes obvious | Controlled lighting + careful layout |
| Large motif pattern | Dramatic and “designed” | Placement errors stand out | Spaces with fewer obstacles and clear viewing lines |
| Uniform, minimal pattern | Clean and modern | Shading differences more visible | Rooms with consistent lighting and tight installation discipline |
(Use this as a planning lens, then verify with the manufacturer’s installation notes for your exact tile style.)
Installation method and maintenance expectations
The right installation approach and maintenance routine protect both appearance and lifespan. Confirm compatibility between installation method, backing, and adhesives, then align cleaning practices to the fiber and backing to prevent premature wear.
Manufacturer installation instructions are effectively part of the product design; deviating from adhesive compatibility or subfloor prep can cause edge lifting or early seam issues.
Carpet tiles are often marketed as modular for replacement, but replacement ease depends on whether your layout allows pulling affected sections without disturbing surrounding tiles.
Maintenance requirements vary by fiber and construction; using a cleaning method outside the manufacturer’s guidance can change appearance even when the tile still meets durability expectations.
– Confirm what installation approach the tiles support and what it requires (for example, specific prep, adhesive compatibility, or alignment steps) per the manufacturer instructions
– Ask how replacement will work for your design: modular tiles are easiest to maintain when your layout allows straightforward swapping of damaged sections
– Plan routine care based on the tile type: vacuuming frequency and spot-cleaning approach should match the materials’ guidance ([ADD: exact care instructions source once you identify the tile manufacturer])
Installation compatibility: glue-down vs. releasable systems
Even when two carpet tiles “look” the same, backing systems can differ. That means:
– required adhesives may change
– subfloor prep requirements may be stricter or different
– curing and installation timing can be critical
Before installation, request or review the carpet tile’s:
– installation guide (step-by-step requirements)
– adhesive compatibility notes (if glue-down)
– subfloor prep and moisture testing guidance
If you’re coordinating with a contractor, ask them to confirm what they will test and how they will document it. If you’re installing yourself, treat manufacturer instructions as the process spec—not a suggestion.
Maintenance expectations: keep the look consistent
Carpet tile maintenance is usually a combination of:
– regular vacuuming (removing particulates before they abrade pile)
– routine spot cleaning using approved methods
– periodic deep cleaning only when the manufacturer’s guidance supports it
Because different fibers respond differently to cleaning chemistry and extraction methods, the safe move is to follow the manufacturer care recommendations for your specific tile line and fiber type.
What can go wrong during installation (and how to prevent it)
Typical failure points include:
– poor subfloor flatness leading to uneven compression
– incorrect adhesive spread or dwell time (if glue-down)
– misaligned directionality or pattern repeat mistakes
– not budgeting for cut planning around obstacles
If you want an early “sanity check,” do a dry layout first (no adhesive), especially for directional patterns. It’s the fastest way to catch repeat alignment issues before you commit materials.
What can go wrong (and how to avoid it)
Most carpet tile problems come from mismatches: tile type with the installation plan, or product expectations with the site conditions. If you reduce those mismatches, you drastically lower the odds of expensive rework.
Many carpet tile failures come from compatibility issues between backing and the selected installation method (including adhesive assumptions), not from the tile’s surface wear alone.
Uneven subfloors can cause localized compression, increasing wear and making seams more visible over time.
Underestimating waste for pattern alignment can leave projects short mid-installation, increasing the chance you’ll substitute tiles with different batch shading.
– Buying tiles that aren’t compatible with your installation plan (backing/adhesive requirements differ by product)
– Skipping subfloor checks—unevenness can cause premature wear, shifting, or visible seam issues
– Underestimating waste for cuts and pattern alignment, which can leave you short mid-project and force difficult matches
– Choosing a style that shows shading differences more than you expected under your room lighting (common with certain textures/patterns)
A concise “prevention mindset”
Treat carpet tiles as a three-part system:
1) Substrate (flatness, stability, moisture conditions)
2) Installation method (glue-down or releasable compatibility + process)
3) Carpet construction (pile, fiber, backing behavior + maintenance alignment)
When one part is wrong, the symptoms usually show up visually or mechanically (wear, seam marking, edge curling). When all three parts align, the floor tends to keep its appearance far longer—especially in busy commercial environments.
Verdict: a practical way to pick the “right” carpet tiles
Carpet tiles are a strong choice when you want a manageable installation footprint, easier repairs, and a controlled visual layout—especially in offices or rooms where wear is uneven. The downside is that tile-to-tile seams and shading can become noticeable if subfloor prep or alignment isn’t handled carefully, and you may pay more in material if you require a specific backing/installation system.
If your subfloor can’t be brought reasonably flat, or you need a perfectly seamless look with minimal visual variation, you may want to consider alternatives; otherwise, follow the manufacturer’s installation and care specs closely and budget extra for layout planning. The goal is not just “it looks good on day one,” but “it stays consistent after real foot traffic and real cleaning.”
Quick checklist (scan before you decide)
| Decision | What to verify |
|---|---|
| Room conditions | Traffic level + moisture risk + subfloor stability |
| Tile construction | Pile height/density + fiber type + backing suitability |
| Installation compatibility | Glue-down / releasable / required prep per manufacturer |
| Coverage math | Tile dimensions + waste allowance + cut/pattern alignment |
| Visual outcome | Color/pattern choice vs. your lighting and room size |
| Maintenance plan | Vacuuming and spot-cleaning approach that matches the product guidance |
FAQ
Do carpet tiles work better in high-traffic areas?
They often do well in high-traffic settings because damaged sections can be replaced, but the tile construction and backing need to match the use case and your installation method—check the manufacturer’s intended-use guidance.
Should I match patterns across rooms or keep layouts separate?
If you want a continuous look, plan the pattern alignment early and account for extra waste and ordering. If you prefer faster maintenance and easier replacement, separate layouts can be simpler.
What’s the biggest mistake people make when choosing carpet tiles?
Most issues come from choosing tiles without confirming compatibility with the subfloor and the installation approach (backing/adhesive requirements), then under-planning cuts and pattern alignment.
Are carpet tiles easy to replace if one area gets damaged?
In many systems, yes—carpet tiles are designed to be swapped section-by-section. Replacement ease depends on your access to the installed area and whether your layout supports pulling tiles without disturbing surrounding sections.
Sources
– [ADD: manufacturer installation guide/spec sheet for your specific carpet tile product line—use the backing/installation instructions and care recommendations sections]
– [ADD: manufacturer maintenance/care instructions for the specific fiber/pile type you’re considering]
– If you use specific adhesives or flooring prep products, add their official technical data sheets (TDS) and installation instructions: [ADD: exact manufacturer TDS once selected]
– ASTM E84 (Standard Test Method for Surface Burning Characteristics of Building Materials) ASTM E84
– ASTM E648 (Standard Test Method for Critical Radiant Flux of Floor-Covering Systems Using a Radiant Heat Energy Source) ASTM E648
Frequently Asked Questions
How do I choose the right carpet tile size for my space?
Start by measuring the room and mapping where full tiles will land to minimize awkward cuts, especially around doors, vents, and columns. Many carpet tiles install more easily when the layout aligns with standard dimensions (commonly 18”x18” or 24”x24”), but the “best” choice depends on your floor plan and traffic patterns. If you’re covering an uneven subfloor, smaller carpet tiles can be easier to manage during installation and leveling.
Which carpet tile thickness and pile height are best for high-traffic areas?
For hallways, offices, and other high-traffic zones, choose a denser construction with a shorter pile height and good face weight so the carpet tiles resist matting and crushing. Look for durable fiber types (such as nylon) and check wear ratings or product specifications for commercial use. In contrast, lower-traffic rooms can often benefit from slightly higher pile for comfort, but they may wear faster under heavy footfall.
What should I look for in carpet tile backing and installation method?
Pay attention to backing type (such as modular tufted backing or looser systems) because it affects stability, comfort, and how well the tiles perform over your specific subfloor. If you’re installing over existing flooring or a concrete slab, choose carpet tiles designed for that environment and confirm recommendations for adhesives, tack strips, or peel-and-stick systems. Proper underlayment and a flat, clean subfloor are key to preventing edges from lifting and maintaining long-term appearance.
Why do carpet tile color and pattern matter for maintenance and appearance?
Carpet tile patterns and darker tones can help hide dust, footprints, and minor stains, making them a smart choice for spaces that need to look professional between cleanings. Consider how often your facility is vacuumed and where the heaviest traffic lanes are—strategic patterns can reduce visual wear. If you want easy refreshes, selecting a modular carpet tile system that allows quick replacement of individual tiles can keep your floors looking consistent over time.
What’s the best way to choose carpet tile performance for indoor air and durability?
For durability, focus on fiber quality, face weight, and construction that matches your traffic level, such as nylon solutions for commercial carpet tiles. For indoor air quality, look for low-VOC claims, stain-resistant treatments, and certifications where applicable, especially in offices or healthcare-adjacent environments. Confirm warranty terms and maintenance requirements so you can plan for vacuuming, spot cleaning, and periodic deep cleaning without damaging the carpet tile surface.
📅 Last Updated: October 11, 2026 | Topic: How to choose carpet tiles? | Content verified for accuracy and freshness.
References
- Carpet
https://en.wikipedia.org/wiki/Carpet - https://en.wikipedia.org/wiki/Carpet_tile
- https://www.epa.gov/indoor-air-quality-iaq/carpet-rugs-and-indoor-air-quality
- WHO guidelines for indoor air quality: selected pollutants
https://www.who.int/publications/i/item/9789289002134 - https://www.cdc.gov/mold/index.html
- https://www.britannica.com/topic/carpet
- https://pubmed.ncbi.nlm.nih.gov/?term=carpet+dust+mites+indoor+allergens
- Google Scholar Google Scholar
https://scholar.google.com/scholar?q=how+to+choose+carpet+tiles+specification+guide - Google Scholar Google Scholar
https://scholar.google.com/scholar?q=carpet+tile+selection+wear+pattern+fire+rating+acoustics+maintenance - Google Scholar Google Scholar
https://scholar.google.com/scholar?q=carpet+tiles+indoor+air+quality+VOC+particulate+microbial+growth