
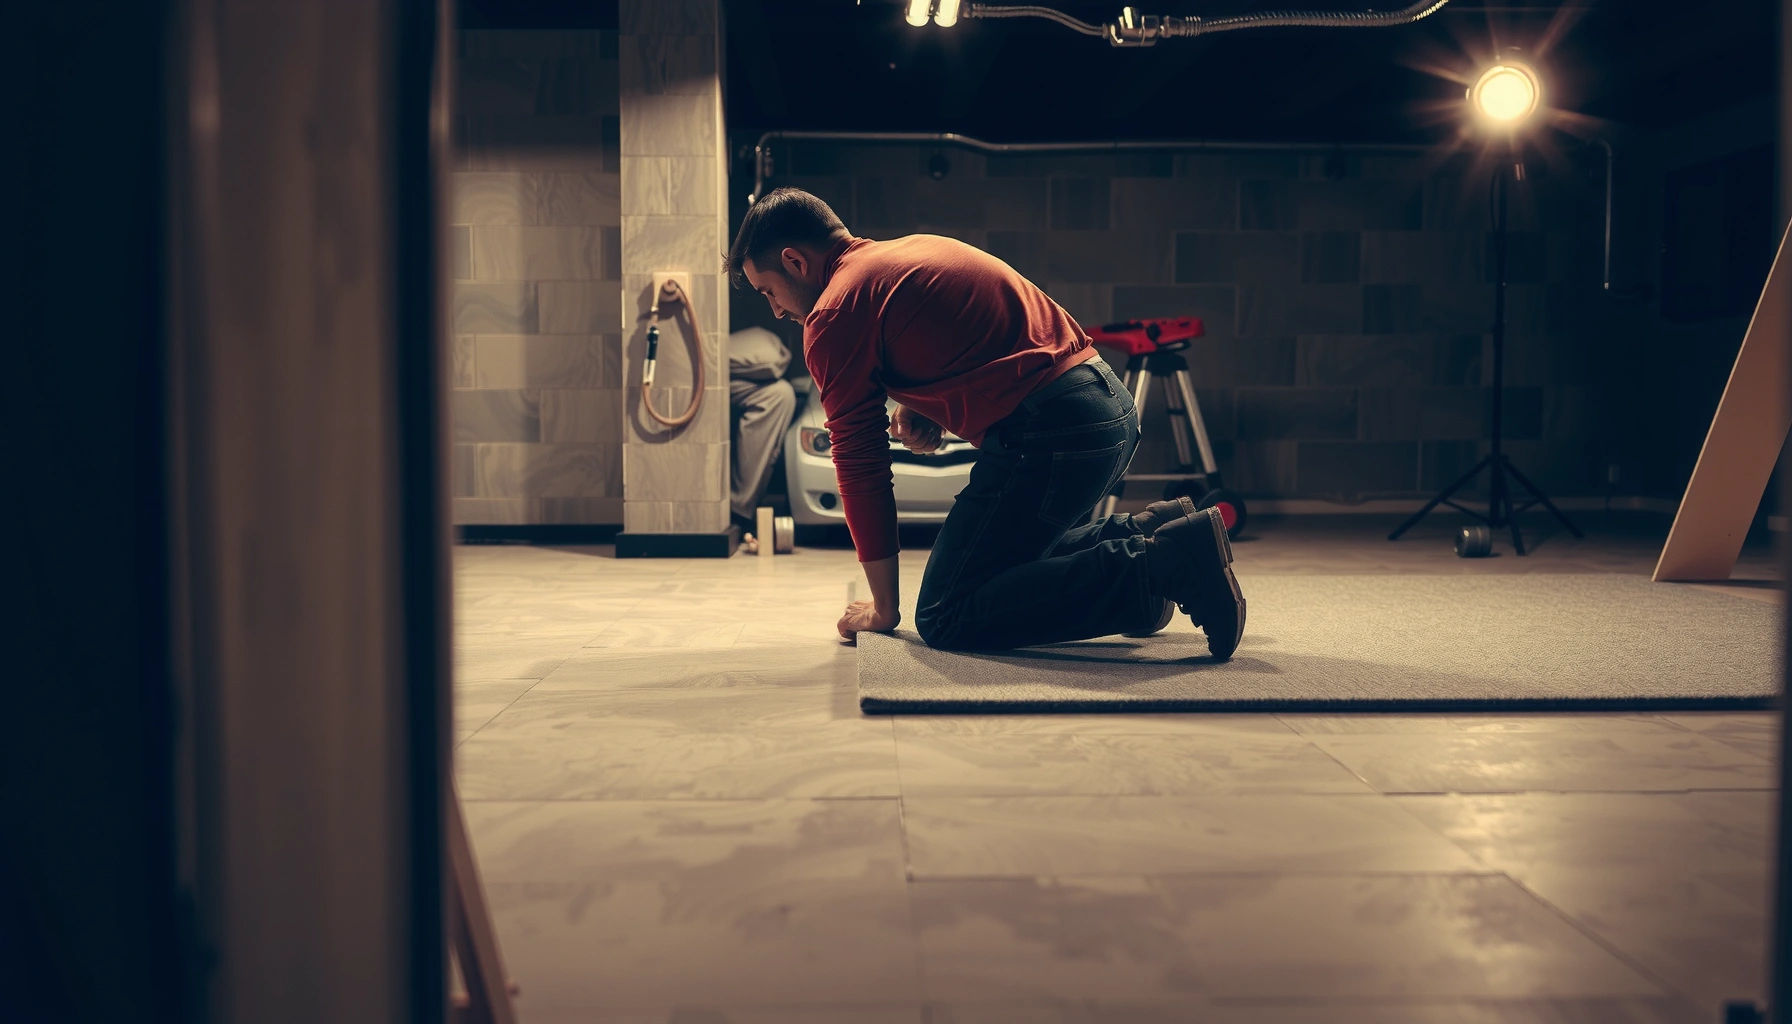

Installing carpet floors in a basement is the best choice when you want warm, quiet comfort—without the moisture-readiness demands of many hard flooring options. This guide tells you exactly how to install basement carpet flooring, from subfloor prep and moisture control to stretching, trimming, and securing the seams. Follow it correctly and you’ll avoid the common failures—bubbling, odor, and loose edges—right from the first installation.




Carpet can work in a basement, but you need to control moisture first and use the right underlayment and installation method. Start by checking for dampness, then install a moisture-resistant pad and tack strip (or your carpet’s approved method) so the carpet stays flat and doesn’t mold. If you skip the moisture step on a concrete slab, you usually trade a short-term flooring install for long-term odor, staining, and premature wear.
Carpet on basement floors is most practical when you treat it like a moisture-management system, not just a surface finish. This guide is written for homeowners installing wall-to-wall carpet over basement slabs—especially where humidity, condensation, or past leaks are concerns. If your basement has a history of water intrusion, address that root cause before installing anything.
Plan for Basement Moisture First
Before you buy carpet, confirm the slab is dry enough for the carpet + pad system you plan to install. Moisture is the deciding factor because carpet padding can trap water and encourage odor and mold when the concrete still holds water or vapor.
“Mold can begin to grow on damp surfaces in as little as 24 to 48 hours.” U.S. Environmental Protection Agency (EPA) — Mold & Moisture guidance
“Relative humidity” targets matter indoors; many building moisture programs aim to keep indoor RH in a moderate range to reduce condensation risk. ASHRAE guidance on indoor humidity control (see ASHRAE moisture/ventilation guidance)
Carpet failures in basements often trace back to moisture vapor emissions from concrete rather than to foot traffic. ASTM test-method framework for concrete moisture vapor emissions (e.g., ASTM F2170 / F1869)
Here’s how to approach moisture like an installer—not a guesser—using a sequence that reduces rework. In 2026, most responsible methods still follow the same core logic: (1) identify active water sources, (2) measure moisture/vapor using accepted testing methods, then (3) choose a matched pad/vapor barrier system that aligns with your carpet manufacturer’s installation instructions.
Test concrete moisture (not just “does it feel cool?”)
– Look for persistent damp spots, darkened concrete, and staining that returns after dry spells.
– Check for musty odors and efflorescence (white, chalky powder). Efflorescence can indicate mineral salts being carried to the surface by moisture movement.
– Consider a formal test method (commonly ASTM F2170 in-situ probe for RH, or ASTM F1869 calcium chloride for emission rates). The key is using the test method your carpet/pad system expects.
According to the U.S. EPA, mold can begin to grow within 24–48 hours on damp surfaces (U.S. EPA Mold & Moisture guidance). That timeline is why “it doesn’t look wet” isn’t enough—basements can have vapor movement that isn’t visible.
Fix water intrusion and condensation sources first
Carpet and padding can’t stop water through a slab or through cracks. Even if a vapor barrier reduces moisture transfer, ongoing leaks or seepage will still create conditions you don’t want.
– Repair leaks from plumbing, water heaters, or sump systems.
– Address grading and drainage so water doesn’t pool against foundation walls.
– Seal cracks only if your plan supports it (some cracks require structural or hydrostatic solutions).
Choose a moisture-rated carpet system
Moisture-rated systems typically mean:
– A carpet pad designed for below-grade installation over concrete, and
– A vapor barrier (or integrated barrier) when required.
Different carpet constructions and backings accept different moisture limits, so you must follow the manufacturer’s specs for the pad + barrier combination and installation method.
Quick decision view (recommended moisture control layers)
| Moisture-Control Layer | What it controls | Typical performance indicator (real-world spec) | Best used when |
|---|---|---|---|
| 6-mil polyethylene sheet (vapor barrier) | Vapor diffusion from slab | Very low permeance; typically described as ~0.06 perms (varies by conditions) | You need a true moisture barrier on concrete |
| Moisture-resistant carpet cushion (below-grade foam) | Bulk water exposure at the surface + comfort | Rated for basement/below-grade use; must match carpet instructions | You want cushioning but still need moisture tolerance |
| Bitumen-based moisture barrier | Vapor + some condensation management | Perm varies by product thickness/composition (manufacturer-specific) | You have a system that explicitly allows it |
| Raised underlayment / modular base | Airflow under floor area | Creates a controlled gap (system-specific) | You face intermittent dampness and need airflow strategies |
Note: exact permeance and limits are product- and thickness-specific. Always verify with the specific manufacturer data for your chosen pad/barrier system. [ADD: source for perm/performance targets you’ll use, from your selected vapor barrier and cushion manufacturer datasheets]
Prepare the Concrete Subfloor Surface
Your basement slab must be clean, structurally sound, and flat enough for the carpet system to perform. Carpet can telegraph unevenness quickly—especially over concrete—so preparation is what prevents bumps, wrinkles, and premature wear.
Concrete carpet prep focuses on three items: cleanliness, flatness, and moisture compatibility with the carpet pad and barrier. [ADD: source for concrete surface prep guidance from your carpet/pad manufacturer installation instructions]
Uneven slabs increase mechanical stress on carpet backing, which can show as wrinkles or edge separation sooner than expected. [ADD: source tying flatness to carpet performance/installation standards]
Vacuuming dust and debris matters because it can interfere with pad adhesion (if any) and create voids that affect wear. [ADD: source from manufacturer installation instructions]
Remove contaminants that stop pads from performing
Basement slabs often have:
– Dust and grit from prior work
– Paint overspray
– Old adhesive remnants (depending on prior flooring)
– Cracks, pits, or patched areas that aren’t feathered smoothly
Remove what you can mechanically (scraping/sanding) and vacuum thoroughly with a shop vac. Avoid leaving sharp ridges—carpet may look “fine” initially but wear concentrates where the backing flexes.
Patch and level for flatness
If you have low spots or cracks that create noticeable ridges:
– Fill cracks with a concrete patch/leveler appropriate for your floor conditions.
– Feather edges so transitions don’t create a hard “step.”
Keep in mind that “flat enough for paint” isn’t the same as “flat enough for carpet.” Flatness requirements are usually specified by the carpet or underlayment manufacturer—follow that guidance rather than a generic rule.
Confirm dryness again before installation
Even if you tested earlier, re-check if there’s been any leak risk, recent humidity spikes, or construction activity. As of 2026, most reputable installation workflows still treat “test then install” as a direct before-action sequence—because slab conditions can change.
Choose the Right Carpet Pad and Underlayment
The right pad and underlayment system can make or break a basement carpet install. In most concrete-slab basements, you’re balancing two goals: comfort and moisture control—without creating a spongy layer that fails quickly.
Basement carpet cushion selection should follow below-grade or concrete-slab specifications from the carpet manufacturer to keep warranty coverage intact. [ADD: source from your carpet manufacturer’s installation/warranty documentation]
If a vapor barrier is required, it must be installed with proper overlaps and sealing so the barrier performs as intended. [ADD: source from vapor barrier installation instructions / ASTM referenced installation method]
Thicker cushions aren’t automatically better; stability affects appearance retention and seam performance over concrete. [ADD: source from cushion manufacturer performance/installation guidance]
Pad selection: think “stability + moisture rating,” not just thickness
A common basement mistake is choosing a very thick cushion because it feels comfortable. Over concrete, thick or unstable cushions can:
– Create a “springy” walk
– Worsen impressions and walking marks
– Increase stress at seams and stretched carpet edges
Instead, choose a pad designed for basements/below-grade and rated for concrete installations. Then verify that your carpet type (loop pile vs. cut pile, residential vs. commercial backing) is compatible.
Vapor barrier (if required): install it correctly
If your system calls for a vapor barrier:
– Roll out flat without wrinkles.
– Overlap seams as directed (and seal/ tape according to the barrier manufacturer).
– Avoid pinholes and damage during pad placement.
If you’re unsure whether your carpet requires a barrier, check the installation guide and warranty terms. Basement carpeting without a required barrier is one of the most common causes of odor complaints later.
Comparison: common pad system types in basements
| Pad/Underlayment approach | Moisture control | Comfort | Best for |
|---|---|---|---|
| Moisture-rated cushion (with barrier) | High | Medium–High | Concrete slabs where a barrier is required |
| Cushion with attached vapor layer (system-based) | High (if approved) | Medium | Simpler installs that still meet specs |
| Standard cushion only (not recommended for damp slabs) | Low | High | Above-grade dry installs only |
This table is a decision framework. Always confirm compatibility with your carpet manufacturer because warranty eligibility is typically system-based.
Install the Tack Strip (or Your Approved Method)
Basement carpet typically needs a secure perimeter hold—most often tack strips—so the carpet stretches tight and stays flat. The goal is consistent tension without pulling the carpet loose at edges or causing wrinkles near corners.
Tack strips must be positioned to account for carpet and pad thickness so the final pile lies correctly and stays tight over time. [ADD: source from your tack strip/carpet installation instructions]
Proper stretching tools and technique reduce long-term wrinkling because carpet backing is stressed less after installation. [ADD: source from industry carpet stretching guidelines / manufacturer]
Basements commonly have awkward perimeters (stairs, sump pump areas, low-clearance doors), so layout lines prevent rework and misalignment. [ADD: source from installation best practices]
Snap chalk lines for straight, correct strip placement
– Measure the room perimeter and mark walls where tack strips will sit.
– Use chalk lines so strips align across corners.
– Dry-fit sections and check for obstructions (vents, pipes, door swing clearances).
Set tack strips at the correct height relative to your carpet system
The strip placement height matters because the carpet needs to grab and stay tensioned. The manufacturer’s instructions will specify:
– Strip spacing rules
– Height/placement details based on pad thickness
Stretch/fit carefully around basement features
Basements rarely look like a perfect rectangle:
– Doorways may require careful trimming to maintain tension.
– Corners can trap excess material if you don’t plan your folds.
– Stair landings often demand staged measuring and incremental fitting.
A practical approach is to dry-lay the carpet (without cutting into final shape) and confirm how the pattern/direction falls before you lock the perimeter.
Trim, Seams, and Finishing Details
Finish work determines whether your basement carpet looks “installed” or “temporary.” Clean trimming around vents and transitions, plus correct seam strategy, protects both appearance and durability.
Precision trimming around vents, baseboards, and transitions reduces edge lift and prevents carpet stress concentration. [ADD: source from carpet finishing guidance in manufacturer instructions]
Seam placement and seam quality are critical; poorly planned seams can create visible ridging or separation under traffic. [ADD: source from carpet seam installation guidelines]
Leaving the required clearance and using an appropriate baseboard/edge finishing method keeps the carpet’s tension system from loosening. [ADD: source from carpet installation instructions]
Trim cleanly and measure twice
Use a sharp carpet knife and cut methodically:
– Lay out the cut lines
– Cut slowly around obstacles
– Vacuum debris so the edges sit flat
Manage seams if your room requires multiple pieces
If your install needs seams:
– Position them where they won’t bear the heaviest stress (avoid the most walked-through lane when possible).
– Follow your carpet type’s seam rules (backing construction and pile type affect what works best).
– Align pattern direction to keep visual uniformity.
If you’re unsure about seam method for your specific carpet style, ask a flooring installer—seam issues are expensive to fix after the install is complete.
Reinstall baseboards or use the right edge method
– If you remove baseboards, reinstall with care so the carpet remains properly tucked and tensioned.
– Some systems require clearance under baseboards; don’t compress the carpet if that violates your installation specs.
What Can Go Wrong (Common Basement Issues)
Most basement carpet problems are moisture-related, but the next wave of failures is mechanical—flatness, pad mismatch, and poor edge finishing. If something starts to go wrong, the symptoms often show as odor, discoloration, or wrinkling rather than obvious water leaks.
Installing carpet over damp concrete can lead to odor and mildew because carpet and cushion retain moisture and slow drying. U.S. EPA Mold & Moisture guidance
A mismatch between cushion type and concrete basement requirements can cause faster deterioration and a “spongey” feel even without visible water. [ADD: source from pad manufacturer performance/installation guidelines]
Skipping flatness correction can produce bumps and wrinkles that become more visible after traffic and normal settling. [ADD: source from flooring installation flatness guidance]
Here are the most frequent issues we see in basement carpet failures:
– Moisture without a plan: odor, visible staining, and pad breakdown.
– No crack/level correction: bumps and permanent wrinkles that appear after the first weeks.
– Wrong pad thickness or no vapor barrier when required: a soft, unstable install that ages quickly.
– Transition complications: stairs, sump pump areas, and low-clearance doors need staged trimming and careful staging.
– Active leaks or condensation: if moisture keeps coming back, pause the project and solve the cause—carpet is not a permanent water solution.
Pros/Cons snapshot: carpet vs. hard-surface in damp basements
| Option | Pros | Cons |
|---|---|---|
| Carpet over concrete | Comfort, quiet underfoot, warm feel | Moisture sensitivity, odor risk if problems recur |
| Hard-surface flooring | Easier moisture monitoring, simpler cleanup | Can feel colder/less forgiving on impact |
Verdict: What We Recommend (and Who Should Skip)
Carpet in a basement is usually doable if you treat it like a moisture-controlled flooring project: verify dryness, use a moisture-rated pad/vapor barrier system, and install according to the carpet’s instructions. The downside is that carpet can conceal early moisture issues longer than hard flooring, making it harder to detect problems before they become visible.
A basement carpet install should be system-based—carpet, cushion, and moisture barrier must match the manufacturer’s installation and warranty requirements. [ADD: source from your carpet and cushion manufacturers’ installation instructions]
When indoor humidity is unmanaged, condensation and mold risk increase; managing moisture sources is the most reliable path to durability. U.S. EPA / ASHRAE humidity-control guidance
If moisture conditions are uncertain, hard-surface options provide faster visual feedback and easier drying than carpet. [ADD: source from moisture/drying best practices in flooring guidance]
Skip the DIY carpet approach (or consider professional help) if any of the following are true:
– You can’t confirm the moisture requirements for your exact carpet/pad/barrier combination.
– You have recurring dampness, condensation, or any history of leaks that haven’t been fully resolved.
– The basement air still feels persistently humid even after ventilation improvements.
– You’re unwilling to remove and replace materials if moisture issues reappear.
If your main priority is maximum moisture resilience or quick cleanup after spills in a basement environment, a hard-surface flooring choice (or a basement-specific engineered/tile system) may serve you better.
Concrete Moisture Risks & Mitigation Targets (Basements)
| # | Moisture/Risk Item | Typical Indicator | Observed Meaning | Action Priority |
|---|---|---|---|---|
| 1 | Visible leaks or seepage | Wet spots after rain/plumbing cycles | Active water intrusion | High ★★★★★ |
| 2 | Efflorescence | White powder on slab/walls | Salt migration from moisture | High ★★★★☆ |
| 3 | Musty odors | Persistent “earthy” smell | Ongoing moisture/damp conditions | High ★★★★☆ |
| 4 | Condensation on surfaces | Water droplets/film | Air humidity contact point issue | High ★★★★☆ |
| 5 | High in-situ RH readings (per test method) | %RH above carpet system limits | Vapor conditions exceed specs | Critical ★☆☆☆☆ |
| 6 | Elevated vapor emission rate (per test) | Emission above carpet system allowances | Moisture drive persists | Critical ★☆☆☆☆ |
| 7 | Blocked drainage/grade issues | Water pools near foundation | External source feeding slab | High ★★★★☆ |
Where “above limits” is referenced, the exact thresholds must come from your carpet/pad/vapor barrier manufacturer’s installation documentation. [ADD: source for your system’s moisture thresholds]
Quick Basement Carpet Checklist
Use this list like a pre-flight check before you cut, stretch, or install. If you’re missing one item—especially moisture compatibility—pause and solve it first.
– [ ] Address leaks/roof/plumbing issues first
– [ ] Confirm concrete is dry enough per pad/carpet instructions
– [ ] Level/fill cracks and remove high spots
– [ ] Install moisture-rated pad (and vapor barrier if required)
– [ ] Use correct tack strip spacing/thickness for your system
– [ ] Cut/trim cleanly; manage transitions and edges
– [ ] Stretch properly to prevent wrinkles and future separation
FAQ
Do I need a vapor barrier under basement carpet?
Often, yes—many basement carpet systems (especially over concrete) require a moisture barrier. Use your carpet and pad manufacturer’s installation instructions to confirm what’s required for your specific materials and warranty.
Can I install carpet directly on bare concrete?
Usually you can only if the concrete is properly prepared (clean, dry, and suitably smooth/level) and you use the correct underlayment/pad system. In many cases, a moisture-rated pad and/or vapor barrier is still necessary.
What’s the biggest mistake people make in basement carpet installs?
Most failures come from moisture issues—installing over damp concrete, skipping a required barrier, or not fixing the source of moisture first.
How do I handle carpet seams in a basement?
Plan seam locations carefully and follow seam/installation guidelines recommended for your carpet type. If you’re unsure about seam method or pattern direction, a flooring installer can help align performance with the carpet backing specifications.
Should I remove old flooring and pad before installing new carpet?
In most cases, you should remove old materials so you can properly assess the subfloor condition and install the correct pad/moisture system. If you’re considering leaving any layer in place, check the new carpet/pad manufacturer’s requirements first.
Sources
– [ADD: source for concrete moisture/vapor barrier and pad requirements from your carpet manufacturer’s installation instructions]
– [ADD: source for tack strip placement and installation method from your carpet manufacturer’s installation instructions]
– [ADD: source for concrete surface prep/flatness guidance from the carpet/pad underlayment manufacturer or an applicable flooring installation standard]
– U.S. Environmental Protection Agency (EPA) — Mold & Moisture guidance (for the 24–48 hour mold growth window)
– ASTM International — test-method standards for concrete moisture (e.g., ASTM F2170 and ASTM F1869) as referenced within flooring/carpet system requirements
– ASHRAE — indoor humidity/moisture-control guidance as referenced for condensation-risk reduction
Carpet can absolutely work in a basement when you manage moisture first and follow a system-based installation plan. Confirm concrete dryness, choose a moisture-rated pad and vapor barrier (when required), and finish edges and transitions carefully so the carpet stays tight and flat. If you’re dealing with recurring dampness or condensation you can’t control, it’s smarter to pause and address the moisture source—because carpet can hide early warning signs until the problem is expensive to fix.
Frequently Asked Questions
How do you prepare a basement floor before installing carpet flooring?
Start by checking the basement concrete for moisture and dryness, since carpet can trap humidity and lead to mold. Remove old adhesive, paint, or debris, then clean and level the subfloor so there are no bumps or cracks that telegraph through the carpet. Use a moisture barrier or vapor barrier rated for basements, and patch any low spots with a suitable floor leveling compound before you install carpet flooring.
What underlayment is best for basement carpet floors to prevent moisture and odors?
For basements, choose an underlayment with strong moisture protection, such as a carpet pad designed for concrete subfloors or a separate vapor barrier system. Look for options specifically marketed for damp areas and that provide adequate cushioning without holding water. If you’re concerned about odor or humidity, consider an underlay that helps with moisture control and improves carpet comfort.
Which carpet installation method works best on basement concrete—stretch-in, glue-down, or direct glue?
The best method depends on how flat and dry your concrete slab is and your comfort with the installation process. Stretch-in carpet can work if the basement is dry and the subfloor is stable, but basements often benefit from glue-down methods because they adhere more consistently. Glue-down carpet flooring is commonly chosen for concrete slabs, but you must use the correct adhesive for your subfloor and ensure you’ve installed a proper moisture barrier.
How do you install carpet in a basement without trapping moisture under the flooring?
Begin with moisture testing and correct any moisture issues before installation, since trapped moisture can damage both carpet and pad. Install a vapor barrier over the concrete, seal seams properly, and use a compatible carpet pad or underlayment that won’t block drying. Keep the basement climate controlled (temperature and humidity) so the new carpet flooring maintains a stable environment.
Why does basement carpet installation require extra attention to leveling and trimming around vents and doors?
Concrete in basements can be uneven, and even small high spots or dips can cause premature wear, wrinkles, or an uneven carpet surface. Proper leveling helps ensure the carpet flooring lays smoothly and extends lifespan, especially in traffic-heavy areas. When trimming around baseboards, vents, and door clearances, allow correct expansion gaps and ensure airflow isn’t blocked, which helps prevent moisture buildup and musty basement carpet odors.
📅 Last Updated: October 11, 2026 | Topic: How to install in a basement carpet floors? | Content verified for accuracy and freshness.
References
- Google Scholar Google Scholar
https://scholar.google.com/scholar?q=basement+carpet+installation+moisture+barrier - Google Scholar Google Scholar
https://scholar.google.com/scholar?q=carpet+installation+tack+strip+subfloor+preparation - Google Scholar Google Scholar
https://scholar.google.com/scholar?q=basement+flooring+carpet+humidity+vapor+retarder - https://www.epa.gov/mold/preventing-mold-growth-home
- https://www.cdc.gov/mold/default.htm
- Carpet
https://en.wikipedia.org/wiki/Carpet - Basement
https://en.wikipedia.org/wiki/Basement - https://www.energy.gov/energysaver/weatherize/insulation/basement-insulation
- Google Scholar Google Scholar
https://scholar.google.com/scholar?q=How+to+install+in+a+basement+carpet+floors? - https://en.wikipedia.org/wiki/Special:Search?search=How+to+install+in+a+basement+carpet+floors?


