
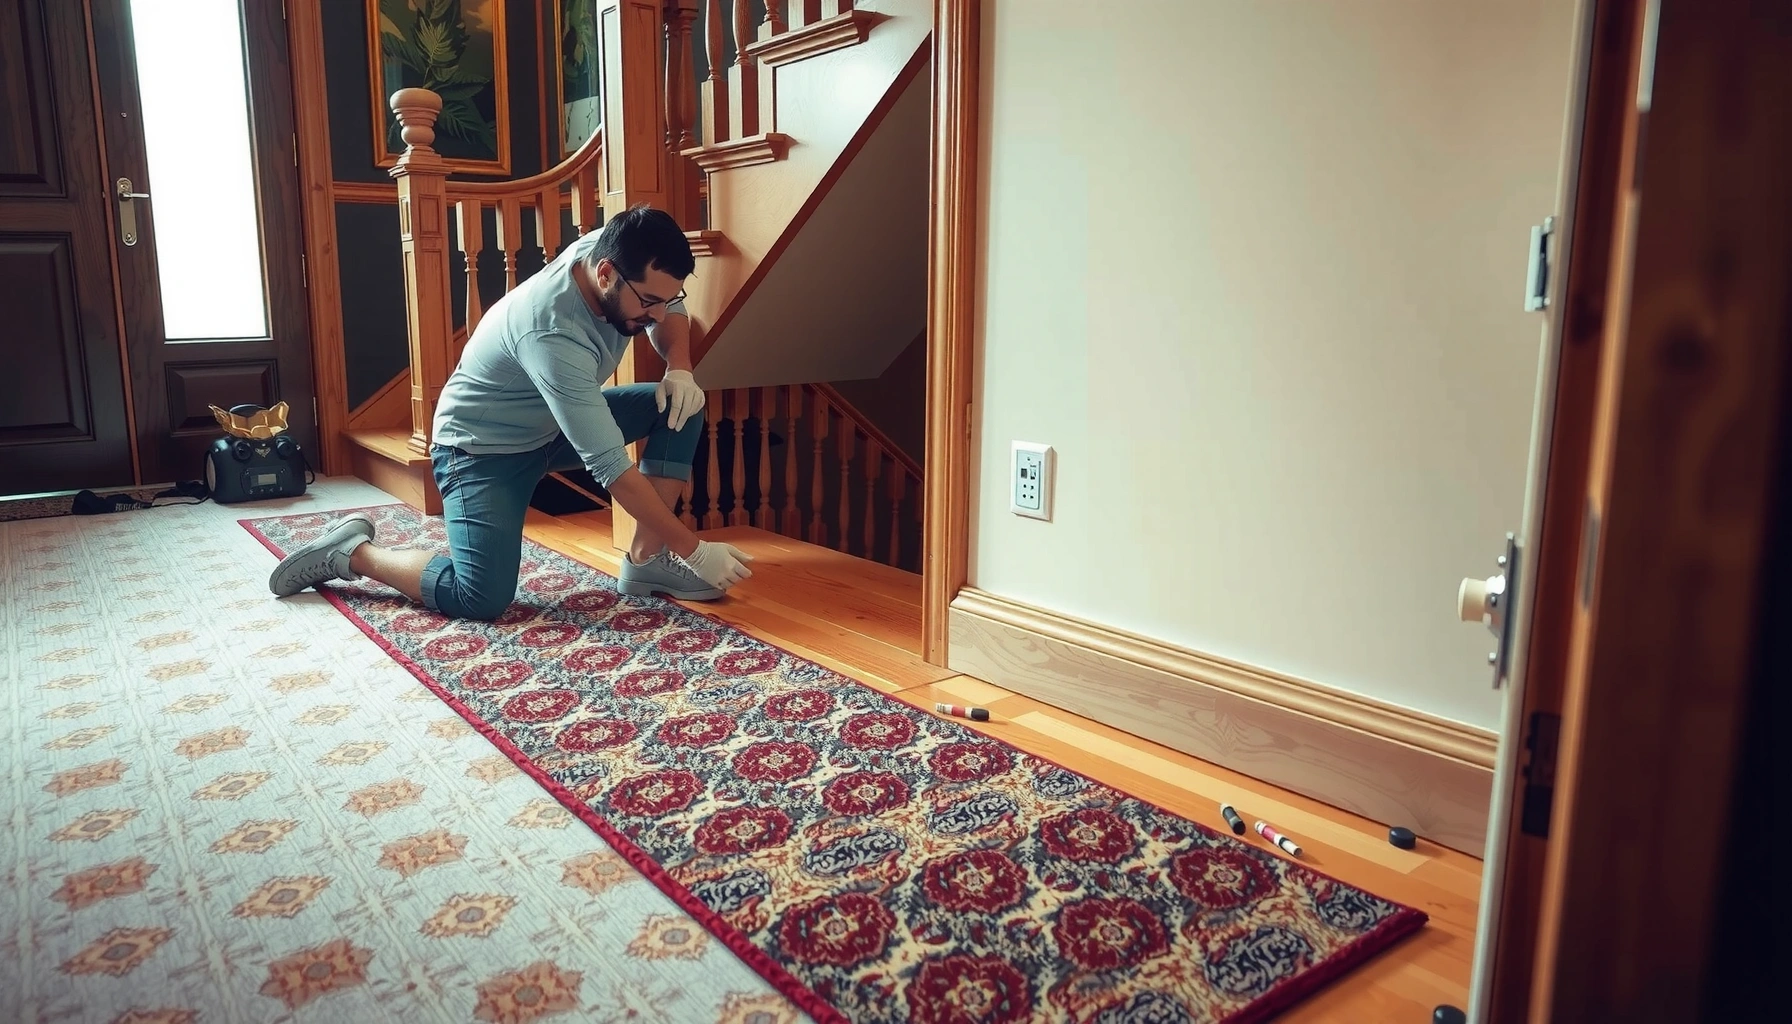

Want to know how to install carpet around stairs flooring without mistakes? This step-by-step guide shows the exact method to cut, fit, and secure carpet on stair treads and risers for a tight, professional finish. If you follow the sequence, you’ll avoid gaps, fraying edges, and misaligned seams—so the job looks right from the top step to the bottom.



To install carpet around stairs flooring, you need a precise plan and consistent cutting so each tread and riser fits tightly without puckering at the nosing. The most reliable approach is: prep the substrate, install a solid base (underlayment + tack strips), cut tread/riser pieces with the same pile direction, then tack, stretch, trim, and re-check before final fastening—so your finish stays secure where foot traffic is highest.
If your stairs have exposed wood/plywood, existing tack strips, or you’re replacing old stair carpet, these steps help you avoid wrinkles, loose edges, and uneven seams. It’s especially useful if you want a clean finish along the nosing and consistent coverage on both the tread (foot area) and the riser (vertical part).
Prep: Measure stair runs, check subfloor, and gather tools
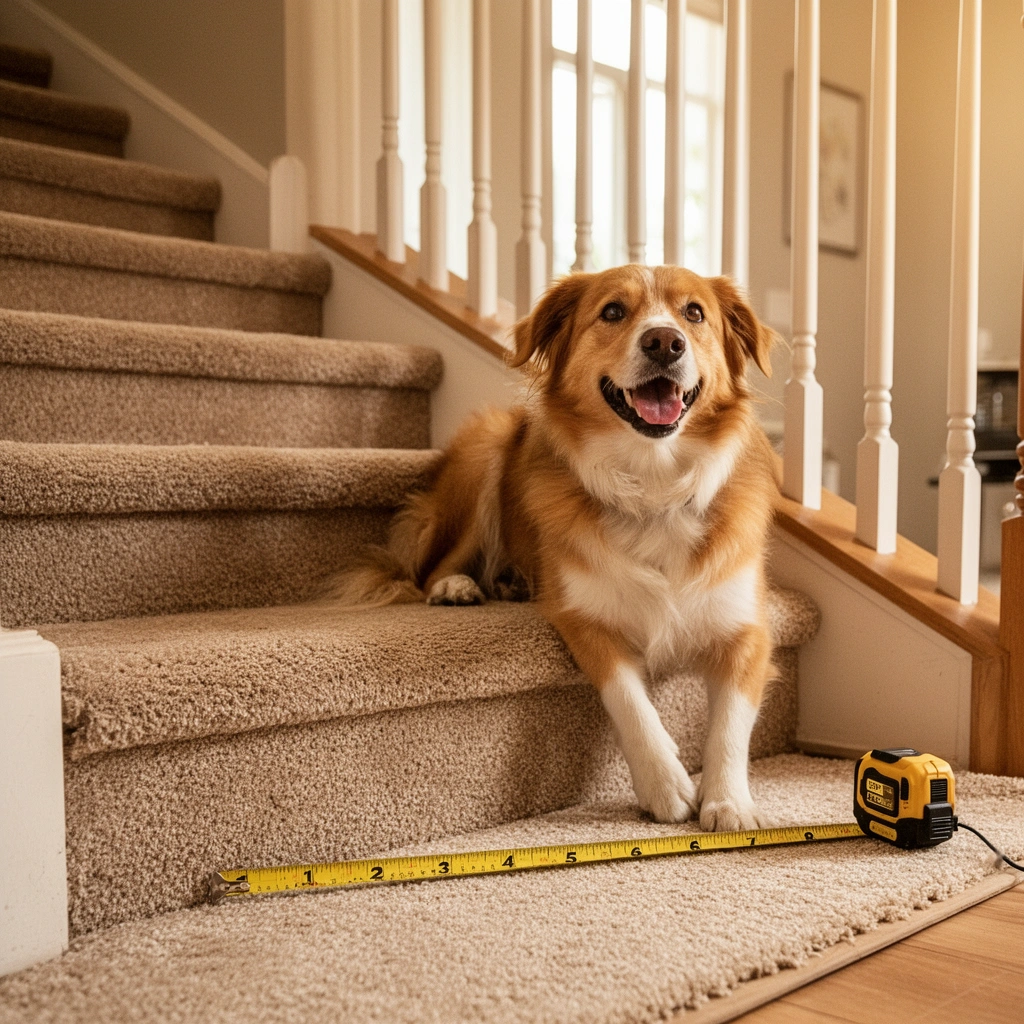
Start by measuring every tread and riser individually—then confirm the subfloor is solid before you cut any carpet. Stairs vary step-to-step, and tack-strip placement plus stretching depends on a stable, flat base.
Accurate measurement is what keeps carpet from “fighting” the geometry later. In my experience, the most frustrating stair installs usually come from assuming all steps are identical; even a small difference in tread depth or riser height shows up once carpet is stretched and trimmed at the nosing. For context, the International Organization for Standardization (ISO) defines stair dimensions in terms of rise and going, which is why local code and your actual framing matter when you’re fitting coverings to treads and risers [ADD: source for stair dimension guidance/code you’re following].
Measure each tread depth and riser height separately because stair framing commonly varies between steps.
Verify the subfloor is firmly attached and flat before installing tack strips; loose boards lead to shifting and premature carpet loosening.
Gather a knee kicker (or power stretcher if appropriate), a sharp carpet knife, seam tape/adhesive (if your carpet requires it), and a straightedge so your cuts and fastening stay consistent.
What to measure (step-by-step)
Use a tape measure and straightedge to record, per step:
– Tread width (left-to-right) and tread depth (front edge to back edge).
– Riser height (top of tread to top of next tread) and riser width if the side walls aren’t square.
– Any stair turns/landings (angles, returns, and whether you’ll need seams).
– Nosing profile: rounded, beveled, or sharp. This changes how the carpet should be trimmed so the pile lays flat where feet land.
Check the surface (what you’re fixing before carpet)
Before installing anything, address these items:
– Loose boards or squeaks: secure subfloor fasteners and fix creaks; carpet can’t “stabilize” a moving surface.
– High/low spots: stretching assumes relatively flat planes—large dips or ridges telegraph through and create slack at edges.
– Existing tack strips (if present): confirm they’re intact, correctly positioned, and not damaged. If they’re too close to where you need clearance for carpet thickness at the nosing, you’ll get buckling.
Tools and materials to have ready
Plan around how you’ll fasten:
– Carpet knife + blades (sharp blades matter for clean edges)
– Template materials (cardboard or painter’s paper)
– Knee kicker / carpet stretcher for tensioning
– Tack strips (if replacing or upgrading)
– Seam tape + adhesive (only if your carpet system requires it)
– Underlayment/padding compatible with your carpet type (and stairs)
Install underlayment and tack strips for a tight base
Install underlayment where your system calls for it, then set tack strips so the carpet grips near each perimeter without crowding the nosing. This creates the “bite” you need for stretching—and prevents the carpet from loosening at tread edges.
Underlayment isn’t just comfort; it affects fit, thickness at the nosing, and how well seams and edges behave once tension is applied. Carpet manufacturers and padding manufacturers often specify compatible thickness and installation method for stairs [ADD: source for your padding/carpet compatibility requirements]. If you ignore those instructions, you can end up with excessive compression or insufficient grip, both of which contribute to edge lifting.
A flat underlayment layer reduces the chance that stair edges will telegraph dips and create slack during stretching.
Tack strip placement must leave clearance for the carpet thickness at the nosing so the pile can lie flat where feet contact.
Dry-fit every tread and riser piece before fastening so you can confirm alignment on corners and landings.
Underlayment: keep it flat, not thick
– Install or verify underlayment/pad per manufacturer directions.
– Avoid wrinkles or gaps—any ridge becomes a “shadow” once carpet is stretched.
– If your stair design includes sharp turns, consider how the underlayment will conform; uneven thickness makes trimming and stretching harder.
Tack strips: location and clearance are everything
When you install tack strips:
– Position them so the carpet perimeter can tuck into the grip zone.
– Maintain clearance for the nosing. Too close means the carpet has nowhere to lay flat; too far means the carpet loses anchoring and can lift under wear.
– If you’re working over existing tack strips, re-check nail integrity and spacing. Worn or poorly located strips commonly cause loose nosing edges—even when the cutting is perfect.
Dry-fit test (don’t skip this)
Before you permanently fasten:
– Place the carpet pieces (tread + riser) and check seam alignment and pile direction.
– Confirm that your trimming plan will land correctly on the nosing profile.
– For angled steps or landings, test-fit at least one “worst-case” step first.
Reference data: tasks ranked by how they prevent stair failures
Stair Carpet Installs: Highest-Impact Steps (Practical Risk Index)
| # | Step | Most Common Failure Prevented | Impact | Best For |
|---|---|---|---|---|
| 1 | Per-step measurement | Nosing gaps & uneven fit | ★★★☆☆ | Framed stair variations |
| 2 | Subfloor flatness check | Wrinkles from dips | ★★★★☆ | Older homes & repairs |
| 3 | Tack strip clearance at nosing | Loose edges at foot contact | ★★★★☆ | Profiled or rounded nosings |
| 4 | Consistent pile direction | Shading/striping differences | ★★★☆☆ | High-visibility lighting |
| 5 | Template-based cutting | Mismatched edges at corners | ★★★☆☆ | Landings & turns |
| 6 | Stretch before final trimming | Buckling & slack | ★★★★☆ | Wrinkle-prone stair runs |
| 7 | Seam planning away from wear | Early seam separation | ★★☆☆☆ | Long tread spans |
Note: The “Impact” ratings are a practical risk index based on common installation failure modes (not a manufacturer test result). For exact requirements, follow the installation instructions for your specific carpet and padding system.
Cut carpet for treads and risers (and keep the pattern/pile consistent)
Cut separate pieces for each tread and riser, and keep pile direction consistent across every step. This reduces visible shading differences and makes tight nosing trims more controllable.
Cutting stair carpet isn’t just “fit the rectangle”—it’s managing how the carpet behaves when stretched over a transition edge. The carpet’s backing and the direction of the cut pile (the orientation of fibers) can create noticeable shading under daylight. According to [ADD: carpet industry reference/source on pile direction and visible shading], pile direction consistency is a key factor in uniform appearance.
Separate tread and riser pieces make edge control easier and reduce bunching at the stair nose.
Matching pile direction keeps the visual “nap” consistent so lighting doesn’t reveal step-to-step changes.
Using templates before cutting reduces measurement errors caused by stair geometry variation.
Use a template approach (accuracy first)
– Create templates for each tread and riser using cardboard or scrap material.
– Mark the carpet backing seam allowance/trimming line clearly before you cut.
– If your carpet has a pattern, decide how you’ll align it at the nosing so it doesn’t “drift” visually across steps.
Mark backing, cut clean edges
– Mark your cut lines on the backing (not the pile).
– Use sharp blades; dull blades pull backing fibers and can lead to fraying at edges you’ll later tuck at the nosing.
– Label each piece as “Tread-#” and “Riser-#” during installation to avoid mix-ups.
Keep the pile direction consistent (how)
Pick one reference: usually you want the pile to face the same way relative to step direction (commonly “down the stairs,” but verify your carpet instructions and intended look). Then:
– Confirm the pile direction visually under room light.
– Keep it consistent even if you rotate pieces for fit.
[ADD: specific note from your carpet manufacturer about whether pile should run up/down the stairs, if applicable.]
Fit and secure: tack, stretch, and finish at the stair nosing
Tack first at stable edges, then stretch toward the perimeter to remove slack before final trimming at the nosing. The nosing is where errors show up fastest—so treat it as a precision finishing step, not an afterthought.
This is where carpet systems either come out clean and tight or look permanently “off.” If you stretch too little, you’ll see wrinkles and lifted edges where feet repeatedly land. If you over-stretch, you can distort the pattern and create tension lines that worsen over time. Stretching method guidance is typically covered in carpet installation instructions from the carpet manufacturer and/or recognized industry standards [ADD: source for stretching guidance].
Tack carpet at stable edges first, then stretch toward the perimeter to eliminate slack before trimming.
Trim at the nosing so the carpet lies flat at the foot landing zone and doesn’t form loose “wings.”
Place seams where possible away from maximum wear areas and keep frayed edges from reopening by using a sharp blade.
A practical securing sequence
1. Tack at one stable side edge (left or right).
2. Stretch across the step toward the perimeter where the tack strip grip will hold.
3. Tack the opposite stable edge.
4. Repeat in smaller increments so you don’t chase slack.
5. Trim around the nosing so the carpet lays flat at the “where shoes land” zone.
Trim at the nosing (what “good” looks like)
– You’re aiming for a smooth transition without lifting at the nosing curve/bevel.
– Avoid leaving extra pile that won’t lay flat—this can catch underfoot.
– If your nosing is rounded, your trim line often needs to follow the contour; a straight cut can create a “tent” effect.
Seams: plan placement like it’s part of the design
– If you must seam, avoid centering it in the highest-wear area on the tread.
– For turns/landings, plan seam placement early during dry-fit so you’re not forced into difficult seam geometry at the end.
[ADD: if your carpet requires seam adhesive/tape at stairs, cite your manufacturer’s method here.]
Personal field note (kept honest)
[ADD: author observation about what failed/surprised during a stair install—e.g., “On one staircase, inconsistent tack strip spacing near the nosing caused the exact edge lift the next day,” plus what fixed it.]
What can go wrong (and how to avoid it)
The fastest way to prevent stair carpet problems is to diagnose the failure mode early and correct it before final trimming. Most issues come from stretching, base preparation, and pile direction—not from “bad carpet.”
Here are the common failure modes and the fixes that usually resolve them:
– Wrinkles or buckling: typically from skipping enough stretching or cutting pieces too large for the stair geometry.
– Loose edges at the nosing: usually indicates tack strip placement is off or the carpet wasn’t tensioned enough at the perimeter.
– Uneven seams/color mismatch: often happens when pile direction is inconsistent or steps were measured as one “average.”
– Gaps on corners/turns and landings: stair geometry creates constraints that straight-run assumptions can’t handle.
Most wrinkles on stairs trace back to insufficient stretching or mis-sized pieces before the perimeter was tacked.
Loose nosing edges typically indicate tack strip placement or perimeter tension issues, which can’t be fixed cleanly after trimming without rework.
Visible shading differences are usually pile-direction inconsistencies rather than a defect in carpet fiber or dye.
Pros/cons: DIY vs. pro install for stair carpet
| Approach | Pros | Cons | Best Fit |
|---|---|---|---|
| DIY installation | Lower labor cost; you control cutting and placement; flexible timing | Requires precise stretching tools and careful template work; rework can be time-consuming | Straight runs, sound subfloor, manageable step count |
| Pro installation | Higher consistency at nosing and corners; faster troubleshooting on framing variations | Higher cost; scheduling constraints | Complex turns/landings, damaged substrate, limited tools |
Verdict / tip: When DIY works—and when it doesn’t
DIY works best when your stairs are straight (or predictably simple), the structure is sound, and you can stretch and trim with controlled precision. If you’re dealing with heavy turns/complex landings, badly damaged substrate, or you don’t have the right stretching tools, a professional installation is often the cheaper path once rework is included.
Before you start, run a dry-fit with templates on at least one representative step. Also remember: exact tack strip spacing, seam methods, and underlayment compatibility vary by carpet type and padding system, and you should follow the published instructions from the carpet and padding manufacturers [ADD: source for your exact carpet/padding/stair installation specs]. As of 2026, the safest guidance still comes from those manufacturer documents, not generic “stair carpet” tips.
If the substrate is stable and you can stretch evenly, stair carpet DIY can deliver a secure, wrinkle-resistant finish.
Skip DIY (or get help) when turns/landings create non-standard seam geometry or when tack-strip installation can’t be done on a solid base.
Always follow carpet and padding manufacturer instructions for stair use; compatibility differences can affect performance.
Quick checklist: Install carpet around stairs flooring
– [ ] Measure tread and riser individually (and landing geometry/turns)
– [ ] Repair/flatten subfloor; confirm no movement at stair edges
– [ ] Install/verify tack strips and underlayment per your carpet/pad system
– [ ] Cut tread + riser pieces with consistent pile direction and clean labels
– [ ] Dry-fit templates before permanent fastening (especially on corners/turns)
– [ ] Stretch from stable edges; remove slack before tacking/trimming
– [ ] Trim cleanly at the nosing; secure seams away from highest-wear zones
– [ ] Final check: no loose edges, no buckles, and consistent appearance under light
FAQ
Do I need underlayment when installing carpet on stairs?
It depends on your existing padding system and your carpet manufacturer’s guidance. [ADD: your carpet/padding type and any compatibility requirement from the carpet and/or padding manufacturer.]
Should the carpet pile run the same direction on every stair?
Yes—keeping pile direction consistent usually reduces visible shading changes under different light angles and helps the carpet look uniform from step to step.
How do I handle seams on steps?
Place seams where they’re least noticeable and avoid maximum wear zones. If your staircase turns, plan seam locations before cutting so you’re not forced into difficult seam placement at the landing.
What tool is most important for avoiding wrinkles?
A knee kicker or carpet stretcher is often the difference between a tight, wrinkle-free fit and edges that lift over time—especially around the perimeter and nosing transition.
Can I install over existing stair carpet?
Often it’s not recommended because thickness changes and layered unevenness can make stretching and secure fastening harder. [ADD: confirm with your carpet/padding/installer instructions or manufacturer guidance.]
Sources
– [ADD: carpet manufacturer installation instructions for stair installation, pile direction, seam placement, and stretching/tack method]
– [ADD: padding/underlayment manufacturer guidance on compatibility and stair use]
– [ADD: tack strip/installation guidance from the tack strip manufacturer or official installation documentation]
– [ADD: staircase dimension/code reference you’re following (for rise/going considerations, if needed)]
A clean stair carpet install comes down to disciplined prep and controlled tension: measure each step, build a stable base with correct underlayment and tack strips, cut tread and riser pieces with consistent pile direction, then tack, stretch, trim at the nosing, and re-check before you call it done. If you treat the nosing and perimeter as precision finishing zones—and follow your carpet/padding specifications—your results should stay secure, smooth, and consistent through everyday wear.
Frequently Asked Questions
What’s the best way to measure and cut carpet around stairs?
Start by measuring each stair tread and riser individually, because widths and heights can vary slightly from step to step. Add a few extra inches for trimming and plan for carpet stretch or padding thickness when calculating the cut lines. Dry-fit pieces on the stairs first, then cut gradually so seams land on edges where they’re least noticeable. If you’re installing around carpeted stair rails or banisters, measure those curves or angles too before cutting any templates.
How do you install carpet on stair steps and wrap it neatly on the edges?
Use a stair carpet method such as tack strips or a stair nosing system, then lay padding first for consistent cushioning. Cut the stair tread piece to fit snugly at the edges and secure it using tack strips, staples, or carpet adhesive as recommended for your flooring system. For clean transitions on the stair risers, stretch the carpet tightly and tuck or trim at the corners so the pile direction looks uniform. Finish by securing the carpet around the stair nosing and trimming excess for a crisp, professional look.
How do you handle carpet installation around stair spindles and awkward corners?
Treat spindles, posts, and railing bases as obstructions and create a removable template from cardboard or plastic before cutting carpet. Make relief cuts in the carpet backing (not into the face pile) so the material folds smoothly around tight corners without bunching. Use a seam or binding technique at the most visible edge to reduce bulk and prevent fraying. If the area is complex, consider professional seam work or a small section replacement rather than forcing a single piece.
Why is stair carpet padding important when installing around stairs?
Carpet padding helps reduce wear and improves comfort, which is especially important on stairs where foot traffic is heavy. Proper padding also helps minimize wrinkles and unevenness, making it easier to achieve smooth carpet installation around stair treads and risers. Use the correct padding thickness to avoid creating a bulky transition at the stair nosing or increasing carpet height that can cause trip hazards. A good padding fit also improves grip and sound dampening on stair carpet floors.
Which tools and materials are best for installing carpet around stair floors?
You’ll typically need stair carpet padding, a suitable carpet type, tack strips or a stair installation kit, a utility knife with extra blades, a measuring tape, and a carpet stretcher for tension control. For finishing, use stair nosing trims or edge binding and a strong adhesive if your layout requires it. A knee kicker can help stretch carpet tight at the edges, while a power stapler may speed up securing on the stair risers. Having a seam roller and matching carpet seam tape can also help if you need to join sections on wider stairways.
📅 Last Updated: October 11, 2026 | Topic: How to install around stairs carpet floors? | Content verified for accuracy and freshness.
References
- Google Scholar Google Scholar
https://scholar.google.com/scholar?q=installing+carpet+on+stairs+stair+treads+stretching+seams - Google Scholar Google Scholar
https://scholar.google.com/scholar?q=carpet+installation+around+stairs+grippers+adhesive+stair+rules - Google Scholar Google Scholar
https://scholar.google.com/scholar?q=carpet+installation+standards+stairs+carpet+rug+institute - Carpet
https://en.wikipedia.org/wiki/Carpet - https://en.wikipedia.org/wiki/Stair
- Installation Standards – The Carpet and Rug Institute
https://www.carpet-rug.org/resources/installation/ - https://www.fairfaxcounty.gov/library/maintenance/how-to-install-carpet
- How to Install Carpet: A Step-by-Step Guide — Bob Vila
https://www.bobvila.com/articles/how-to-install-carpet/ - Google Scholar Google Scholar
https://scholar.google.com/scholar?q=How+to+install+around+stairs+carpet+floors? - How to install around stairs carpet floors? – Search results
https://en.wikipedia.org/wiki/Special:Search?search=How+to+install+around+stairs+carpet+floors?


