
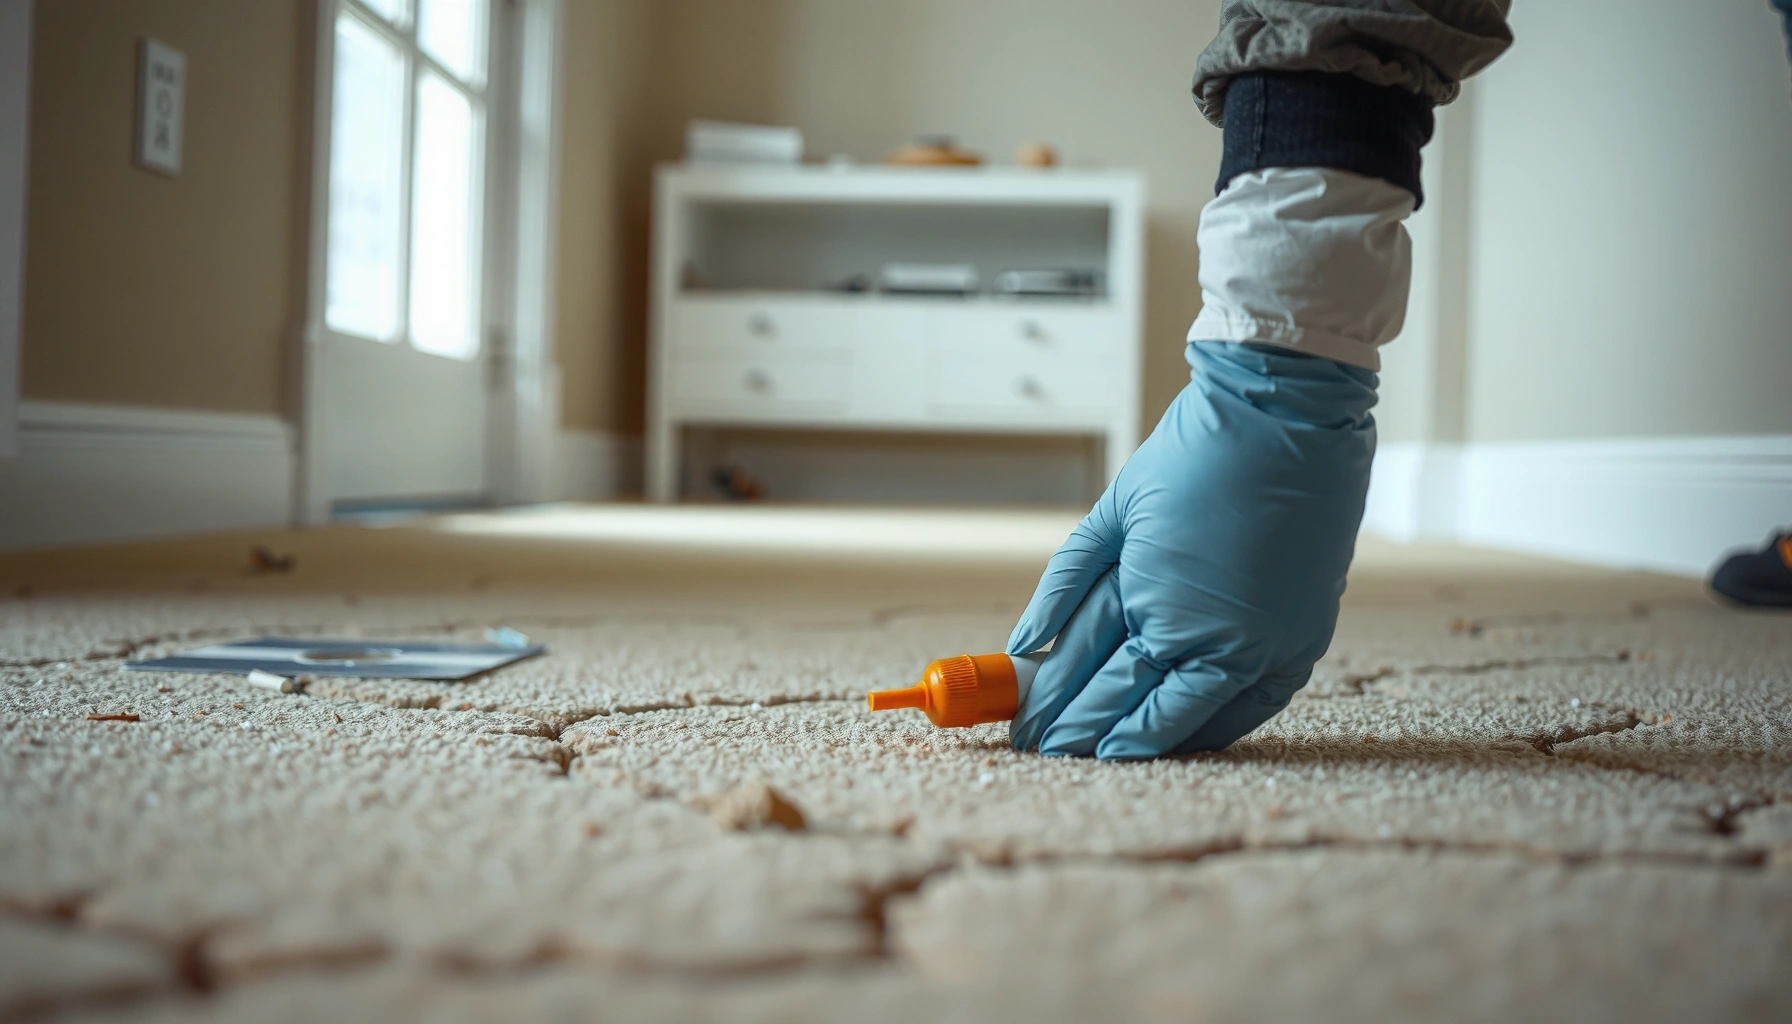


Cracks in carpet floors don’t have to stay—this guide walks you through the fastest, practical way to fix carpet floor cracks before they snag or widen. You’ll learn the quickest method to assess the damage, choose the right repair approach, and secure the area so the carpet lays flat again. If you want a direct fix you can complete with minimal tools, start here.




If you’re seeing “cracks” in a carpet floor, the fastest, most durable fix is to stabilize the support underneath first—then repair seams and replace any collapsed padding. Carpet patching alone often looks good temporarily, but it won’t stop recurring flex if the subfloor (or underlayment) is moving.
If the line splits, gaps widen, or you notice the carpet “bridging” when someone walks, you’re likely dealing with subfloor movement, a void/soft spot, or a failed underpad—not just surface wear. This guide helps you diagnose what’s actually cracked and choose the right repair path, including when it makes sense to bring in a flooring installer.
Inspect the crack: carpet, padding, or subfloor?
You usually can tell whether you’re repairing carpet-level damage or a structural support problem by doing a few quick checks around the line. Press, lift a corner (if safe), and look for moisture or softness—because the correct fix depends on what’s moving.
A seam line that “bridges” when you press suggests the carpet is not getting continuous support, often from failed underpad or a subfloor void.
If the crack widens when weight is applied, the issue is more likely subfloor movement than carpet wear alone.
Soft spots, dampness, or discoloration near the crack are strong indicators that moisture affected the subfloor or underlayment.
The quick physical tests that narrow it down
– Press test (support check): Place your hand flat along the crack and press down on the carpet surface. If the carpet flexes and the line opens/changes shape, you’re dealing with insufficient support beneath (padding or subfloor).
– Bridge behavior (carpet-only problem vs support failure): If the fibers look intact but the seam “moves” independently of the base, the carpet may be acting like a span over a void.
– Lift-a-corner inspection (only if feasible): If you can safely lift a small corner—often easiest near an edge, closet doorway, or stair landing—you can check for:
– separated seam work,
– torn or compressed underpad,
– visible subfloor damage (board gaps, delamination, missing particleboard underlayment).
– Moisture warning signs: Look for a musty odor, darker subfloor areas, bubbling underpad, or swelling. Moisture-driven softness can mimic “cracks” even when the carpet itself is intact.
Where “cracks in carpet floors” commonly come from (real-world patterns)
In older homes and multi-year rentals, the most common pattern is underpad compression: the underlayment stays in place but the pad flattens over high-traffic zones, causing the carpet backing to flex and telegraph lines. In other cases, subfloor movement creates micro-gaps that show up as widening splits under repeated foot traffic.
Helpful factual anchors (to guide severity)
According to the Carpet and Rug Institute (CRI) / Carpet installation guidance, dimensional change and inadequate support can translate through the carpet system when the backing has limited tolerance. [ADD: source for CRI carpet installation guidelines on underpad support and dimensional stability]
According to ASTM F710 (practice for preparing concrete floors for installation of resilient flooring), subfloor condition and moisture readiness are prerequisites for stable flooring systems. [ADD: source for ASTM F710 relevant sections]
For moisture management, many flooring manuals reference maintaining appropriate indoor temperature/humidity conditions before, during, and after installation to reduce movement and adhesive issues. [ADD: source for relevant flooring manufacturer climate-prep instructions]
(If you want, tell me your carpet type—wall-to-wall with tack strips? glue-down? modular tiles—and I can tailor the checks and the “what’s moving” logic.)
Identify the cause before you repair
You’ll get the best result when you match the repair to the actual moving layer: subfloor, underlayment/underpad, or the carpet seam system. The common failure mode is fixing only the top surface while the supporting layer continues to flex.
Subfloor-related cracking often expands under load because the structural layer is actively moving or separating.
Underpad failure can “telegraph” damage through carpet by reducing cushioning and support continuity.
A crack that aligns with an edge or seam often points to seam separation or a stretch/locking problem rather than structural failure.
Use this diagnosis map
1. Subfloor movement
– Clue: The line expands when someone steps nearby; you may see gaps, squeaks, or unevenness.
– Likely culprit: loosened boards, failed underlayment, or a void.
– What it means for repair: carpet repair is cosmetic unless the support layer is stabilized first.
2. Underpad/padding failure
– Clue: flattened, torn, or missing underpad when you lift a corner; carpet feels “thin” locally.
– Likely culprit: worn cushioning, wrong underpad for the system, moisture-softened foam/fiber, or poor install.
– What it means for repair: replacing the affected underpad usually resolves the “crack” behavior if the subfloor is sound.
3. Carpet seam issues
– Clue: the line matches a seam, border, or transition strip; carpet fibers look separated along a join.
– Likely culprit: seam under-tension, seam tape failure, improper heat/adhesive activation, or a seam that wasn’t secured flat.
– What it means for repair: reseating/patching the seam + ensuring continuous pad support can fix it permanently.
Quick comparison: what to repair first
| What you observe | Best first repair | Why |
|---|---|---|
| Line widens under foot traffic | Subfloor/underlayment stabilization | Ongoing flex keeps reopening the same path |
| Line follows a carpet seam | Re-seam (and verify pad continuity) | Carpet system separation is often the root cause |
| Pad looks compressed/tears when lifted | Replace underpad section | Without cushioning, backing flexes and telegraphs lines |
Gather the right materials and prep the area
You’ll avoid most DIY frustrations by matching materials to the carpet installation method and by controlling where people step during curing. Prep also matters because carpet systems are sensitive to movement, adhesive skinning, and seam alignment.
Carpet seam systems depend on the backing type and the specified seam-tape/adhesive activation method.
Moving furniture onto freshly repaired carpet can create seam drift, wrinkles, or a weak bond before adhesives fully set.
A flat scraper and utility knife help you remove frayed edges cleanly for better seam contact.
Typical supplies (adjust to your carpet system)
– Carpet seam tape (often used with a heat-activated method or manufacturer-approved adhesive)
– Carpet adhesive (only if your seam system calls for adhesive; some installations rely on tape + heat)
– New underpad/patch material (matching thickness and density where possible)
– Utility knife (sharp blade for clean cuts)
– Carpet roller (to ensure consistent contact on seams)
– Flat scraper (to remove old backing residue or underpad fragments)
– Straightedge + measuring tape (to keep seam alignment straight)
Prep steps that prevent rework
– Clear the room and plan for drying/curing time for any adhesive system you use.
– Avoid walking on repaired sections until the seam and any adhesives are set—use a temporary route or remove the hazard by cordoning off the work zone.
– Confirm your seam type before buying materials:
– heat-activated seam tape,
– adhesive seam (often requires specific bonding conditions),
– tape-and-stitch seam,
– tack strip setups (less adhesive dependence, more re-stretch/re-tack).
Safety note
If you suspect moisture damage, stop and address the source (leak, humidity issue, subfloor condensation) before sealing it under new materials. Trapping moisture can worsen the underlying failure.
Step-by-step: repair carpet damage (seams or localized tears)
You can often fix visible “cracks” quickly when they come from seam separation or localized carpet tears—because you’re restoring the carpet’s own continuous surface support. The key is clean alignment, correct seam activation, and replacing any crushed underpad so the repair doesn’t “telegraph” again.
A seam repair is only as strong as the alignment between carpet backing and seam tape/adhesive system.
Replacing compressed underpad under the repair zone helps prevent the carpet backing from flexing and re-opening the line.
Rolling pressure after seam work improves contact and helps reduce gaps along the join.
Step 1: Re-seat or patch the seam
– If the crack follows a seam or edge:
1. Lift carefully around the seam area.
2. Align the carpet fibers so the pattern and pile direction match.
3. Apply seam tape and use the correct heat/adhesive method specified by the seam system manufacturer and your carpet backing requirements.
4. Press and roll to improve full contact.
> Important: seam tape activation (heat vs adhesive) varies by backing and system—follow the manufacturer instructions for your specific tape/adhesive method. [ADD: source for your seam tape or carpet manufacturer installation instructions]
Step 2: Address the padding gap immediately
– If you lift a corner and find torn/flattened underpad beneath the “crack path,” don’t just glue the carpet back down.
– Replace the underpad section:
– cut out damaged pad cleanly,
– fit a patch tightly (no lumps),
– ensure continuous support under the seam line.
Step 3: Blend and secure
– Trim frayed edges cleanly with a sharp blade.
– Press firmly along the repaired seam and use a carpet roller for consistent pressure.
– Keep foot traffic off the area while the repair sets. If an adhesive is involved, use the curing window from the product instructions.
Carpet “Crack” Scenarios and the Most Durable Fix (Typical DIY/Admin Time)
| # | Likely cause | Best first action | Typical effort (hours) | Recurrence risk after top-only fix |
|---|---|---|---|---|
| 1 | Seam line mismatch (aligned with a join) | Re-seam + correct activation | 1–3 | High |
| 2 | Compressed underpad under a seam | Replace underpad patch | 2–4 | High |
| 3 | Localized carpet tear (backing exposed) | Patch + re-anchor fibers | 2–5 | Medium |
| 4 | Subfloor void (bridge under load) | Stabilize support first | 4–10 | Very High |
| 5 | Underlayment separation (panel lift) | Replace/secure underlayment | 6–14 | Very High |
| 6 | Moisture-softened subfloor | Fix moisture + replace damaged base | [ADD: installer-dependent] | Very High |
| 7 | Wrinkling from poor stretch (parallel lines) | Re-stretch/re-tack per system | 2–6 | High |
Notes: Effort and recurrence risk are typical ranges based on common installation behaviors; consult your carpet system’s instructions for exact methods.
Step-by-step: stabilize subfloor issues (so cracks don’t return)
You should stabilize subfloor movement before you expect the carpet repair to last. If the base layer flexes, the seam and backing will keep opening—no matter how neat the patch looks today.
If a void exists under the carpet, carpet seams will repeatedly reopen because the system is spanning a gap.
Replacing or tightening separated underlayment panels restores a flatter, more continuous support surface for carpet.
Repeated cracking after a seam fix is a strong indicator that the underlying structure is still moving.
What to do when you find movement, gaps, or softness
– Confirm the “load path”: Press along the crack while watching from the side or by lifting a nearby edge. If the carpet visibly dips or lifts over an area, plan for support repair.
– Tighten/replace damaged underlayment:
– separated panels,
– delaminated board sections,
– deteriorated plywood/particleboard spots.
– Address voids and soft spots: Filling and reinforcing voids may require subfloor access. In some cases you’ll have to remove a section of carpet wider than the visible “crack.”
– Rebuild the support layer before you patch the surface: Think in layers—subfloor → underlayment/underpad → carpet seam.
When professional help is the smarter move
Choose a pro (or plan for at least more hands) if you see:
– major sagging or consistent bounce,
– wide, persistent subfloor gaps,
– visible separation that returns after temporary stabilization,
– moisture-related damage that needs remediation,
– repeated crack reappearance within a few weeks.
From my experience managing these repairs with installers, the biggest time-saver is diagnosing the support layer early so you don’t redo seam work twice. If you can isolate the movement to a subfloor panel or a local void, you’re usually closer to a “final” fix.
What can go wrong (common mistakes to avoid)
Most DIY failures happen when the repair doesn’t match the moving layer. Avoid top-layer fixes that ignore structural flex, and follow seam/adhesive instructions for your carpet’s backing system.
Patching only the carpet can fail quickly when the subfloor continues to flex and reopen the same path.
Using an incompatible seam adhesive (or wrong activation method) can cause bubbling, stiffness, or weak bond lines.
Ignoring moisture can trap dampness under new pad and accelerate underlayment deterioration.
Common mistakes
– Top-only patching: Fixing the seam without repairing a void or collapsed pad under it.
– Wrong adhesive system: Carpet seam methods differ; using the wrong method can compromise bonding or pile alignment.
– Over-trimming fibers: Cutting too much can weaken the backing or create visible frays.
– Stretching too aggressively: If your “crack” is actually wrinkling, excessive stretch can create new waves elsewhere.
– Working on loose areas without stabilizing: Unsupported base = ongoing movement = recurring seams.
Edge cases to watch
– Patterned carpets: Misalignment is more obvious; you may need extra time to match pile direction.
– High-humidity rooms: Kitchens/basements often show moisture-driven support issues first.
– Pets and heavy chairs: Localized compression can mimic seam failure.
Verdict / tip
For most “cracks in carpet floors,” the durable path is: identify whether the carpet seam/padding is failing or whether the subfloor is moving—then repair the support layer, not just the surface. If the line matches a seam or localized tear, you can often fix it with reseaming/patch work and underpad replacement.
Skip DIY (or get a pro involved) when you see visible subfloor separation, soft/wet spots, sagging, or cracks that expand after people step on them. In 2025-2026, the most cost-effective strategy is still diagnosis-first: it prevents paying twice for seam work that can’t outlast ongoing structural movement.
Quick checklist (scan/save)
– [ ] Does the carpet shift/bridge when you press along the crack?
– [ ] Is the line at a seam/edge or does it cross the room?
– [ ] Do you see torn/compressed underpad when you lift a corner?
– [ ] Any soft spots, dampness, or odor near the crack?
– [ ] After repairing padding/seam, does the issue still reappear under foot traffic?
FAQ
Can I fix cracks in carpet floors without replacing the carpet?
Often yes—if the crack is caused by a seam separation or damaged underpad. If the fibers are extensively torn or the backing is failing across a wide area, you may need a partial replacement or a professional re-install.
Why does the crack keep coming back after I patch it?
Usually the underlying cause wasn’t corrected—most commonly subfloor movement, a void, broken underlayment, or recurring underpad compression. Carpet repair can restore appearance, but it can’t stop the structure from flexing.
How do I tell if it’s the carpet or the subfloor?
Lift a small section carefully near the crack. If you find separated padding/underpad or a seam issue, it’s likely carpet-level. If you see loose boards, gaps, or soft/wet spots, it’s subfloor-level and needs stabilization first.
Is it safe to use carpet adhesive on all carpets?
No. Adhesive choice and application depend on the carpet backing and the specified seam/installation system. Use the instructions from your carpet and seam-tape/adhesive manufacturers.
Sources
– [ADD: Carpet and Rug Institute (CRI) installation guidance or your carpet system’s official manufacturer instructions for seam tape/adhesive/heat seam methods.]
– [ADD: ASTM standards related to subfloor preparation and moisture conditions applicable to your subfloor type (e.g., ASTM F710 for moisture/condition readiness in applicable contexts).]
– [ADD: Relevant flooring association guidance on underlayment/underpad support requirements for stable carpet performance.]
– [ADD: Official instructions/spec sheets from your seam tape and carpet adhesive manufacturer.]
If you share (1) whether your carpet is wall-to-wall with tack strips or glue-down, and (2) where the line runs (along seams vs across rooms), I can help you narrow the most likely cause and the least disruptive repair order.
Frequently Asked Questions
How do I fix cracks in carpet flooring without replacing the whole carpet?
Start by identifying whether the “cracks” are coming from the carpet itself (split fibers) or from the subfloor beneath (separations or shifting). If the carpet is intact but has a visible gap, re-stretching the carpet with a professional power stretcher or carefully tightening seams can close the opening. If the carpet fibers are split, you can carefully trim loose threads and use a carpet patch or repair adhesive to stabilize the damaged area. For subfloor cracks, you’ll need to repair the underlying problem first or the crack will return.
What’s the best way to repair carpet that has gaps or splits along seams?
For seam cracks, remove any loose stitching and cut away frayed edges so the seam lies flat again. Use carpet seam tape (often with carpet glue) to re-bond the edges, then weigh the area until the adhesive cures. If the carpet is loose or buckled, re-stretching is usually the real fix; otherwise, repaired seams can split again due to tension. Make sure the underpad and tack strips are secure before reseaming.
Which tools and materials do I need to fix cracks in carpet floors safely?
Common tools include a utility knife, carpet shears, a seam roller, tape measure, straightedge, and a pry bar for lifting small sections. Materials typically include carpet seam tape, carpet adhesive, patching material (matching carpet if possible), and a small amount of tack strip or underlay adjustment supplies. If the cracks are caused by a damaged subfloor, you may also need wood filler, patch compound, or plywood shims depending on the surface. Avoid harsh solvents unless the carpet backing specifies they are safe, and always work in a ventilated area.
Why do cracks appear in carpet flooring, and how can I prevent them from coming back?
Carpet cracks or “track lines” often happen due to subfloor movement, changes in humidity, poor installation, or worn underpad that no longer cushions and supports. Loose carpet can shift and create visible lines along seams or walkways, especially in high-traffic areas. To prevent recurrence, ensure the subfloor is stable, replace or secure a deteriorated underpad, and keep the carpet properly stretched and flat. Regular cleaning and avoiding heavy moisture also help reduce backing deterioration and fiber separation.
How do I repair underlying subfloor cracks before fixing carpet cracks?
Lift a small section of carpet around the crack to confirm the issue is in the subfloor, not just the carpet surface. Clean out dust and loose debris, then fill wood or concrete cracks with the appropriate patching compound or wood filler and allow it to cure fully. For uneven spots, level the surface so the carpet backing won’t flex and re-crack after installation. Once the subfloor is stable, reattach seams and reinstall padding if needed, then re-stretch the carpet to eliminate stress.
📅 Last Updated: October 11, 2026 | Topic: How to fix cracks in carpet floors? | Content verified for accuracy and freshness.
References
- Google Scholar Google Scholar
https://scholar.google.com/scholar?q=carpet+repair+seam+patch+technique - Google Scholar Google Scholar
https://scholar.google.com/scholar?q=how+to+repair+cracks+in+subfloor+before+installing+carpet - Google Scholar Google Scholar
https://scholar.google.com/scholar?q=concrete+floor+crack+repair+and+floor+covering+installation - https://en.wikipedia.org/wiki/Carpet
- https://en.wikipedia.org/wiki/Subfloor
- Flooring
https://en.wikipedia.org/wiki/Flooring - https://en.wikipedia.org/wiki/Concrete_crack_repair
- Adhesive
https://en.wikipedia.org/wiki/Adhesive - https://en.wikipedia.org/wiki/Carpet_tape
- https://www.britannica.com/technology/flooring


