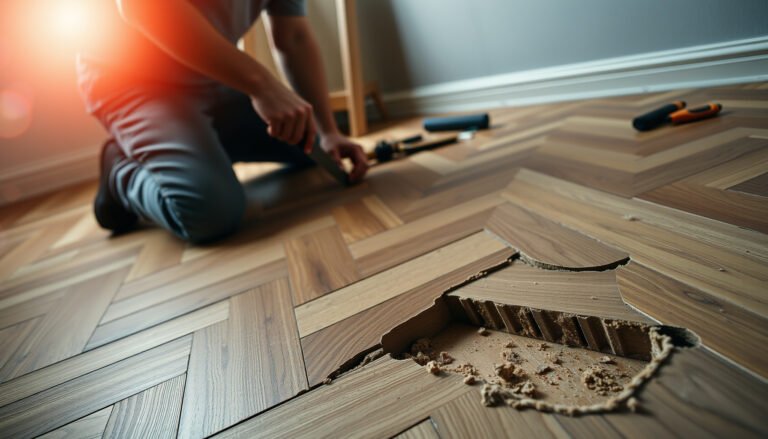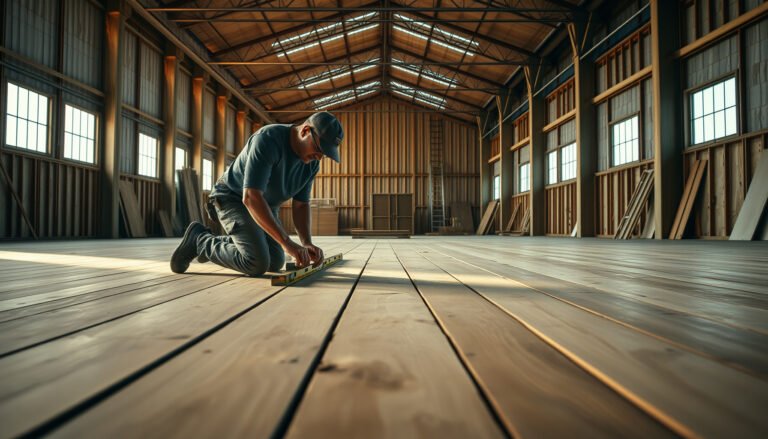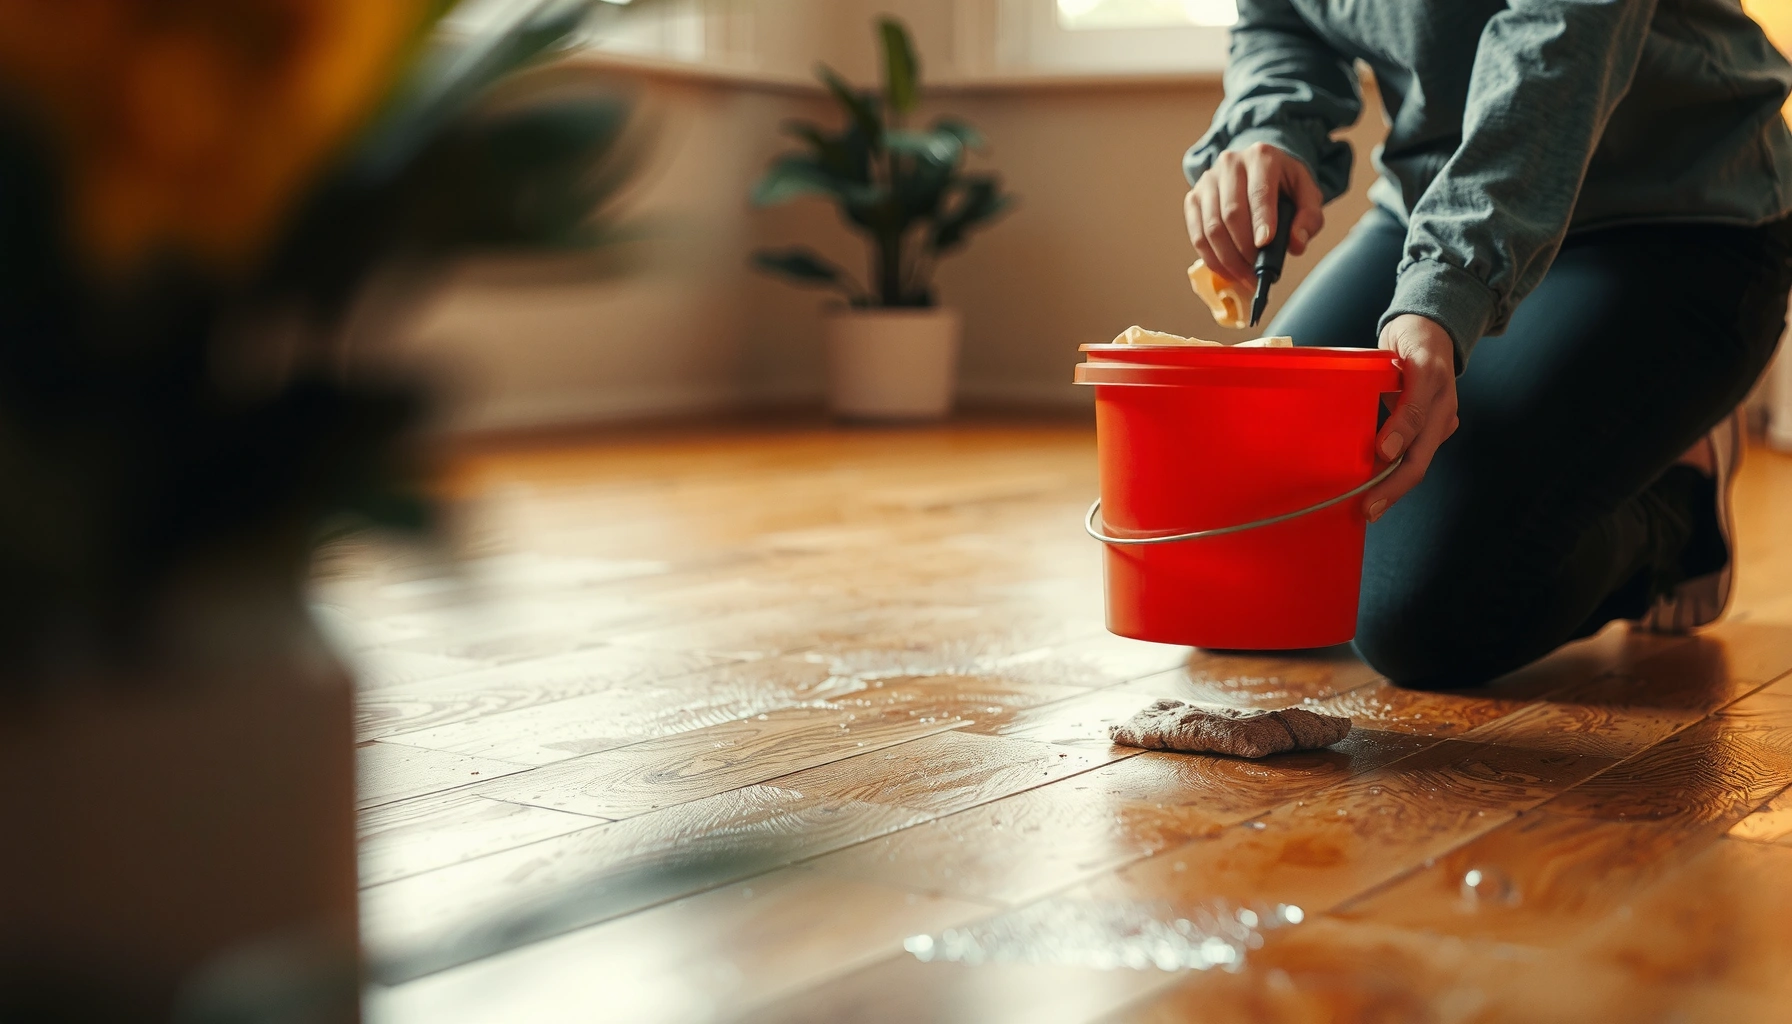

If you’re dealing with water damage on cork floors, follow this step-by-step playbook to stop swelling, prevent mold, and restore the surface the right way. You’ll be walked through what to do immediately, how to dry cork correctly, when sanding or replacing planks is necessary, and how to finish so the floor holds up. By the end, you’ll know the exact repair path for your specific moisture level.




If your cork floor has water damage, the fastest way to limit long-term harm is to dry it immediately, then assess whether only the finish is affected or the cork core has absorbed moisture. Start by stopping the source, removing standing water, and using gentle drying methods so you don’t warp planks; then clean, inspect, and decide whether you can repair the finish or need to replace affected boards.
If you’re dealing with a spill, leak, or flooding on cork flooring (glued-down or click-lock floating), this guide is for you—especially if the boards feel spongy, look cupped, or have visible discoloration. Use the steps that match what you see (surface staining only vs. deeper moisture).
Stop the water and prevent further damage
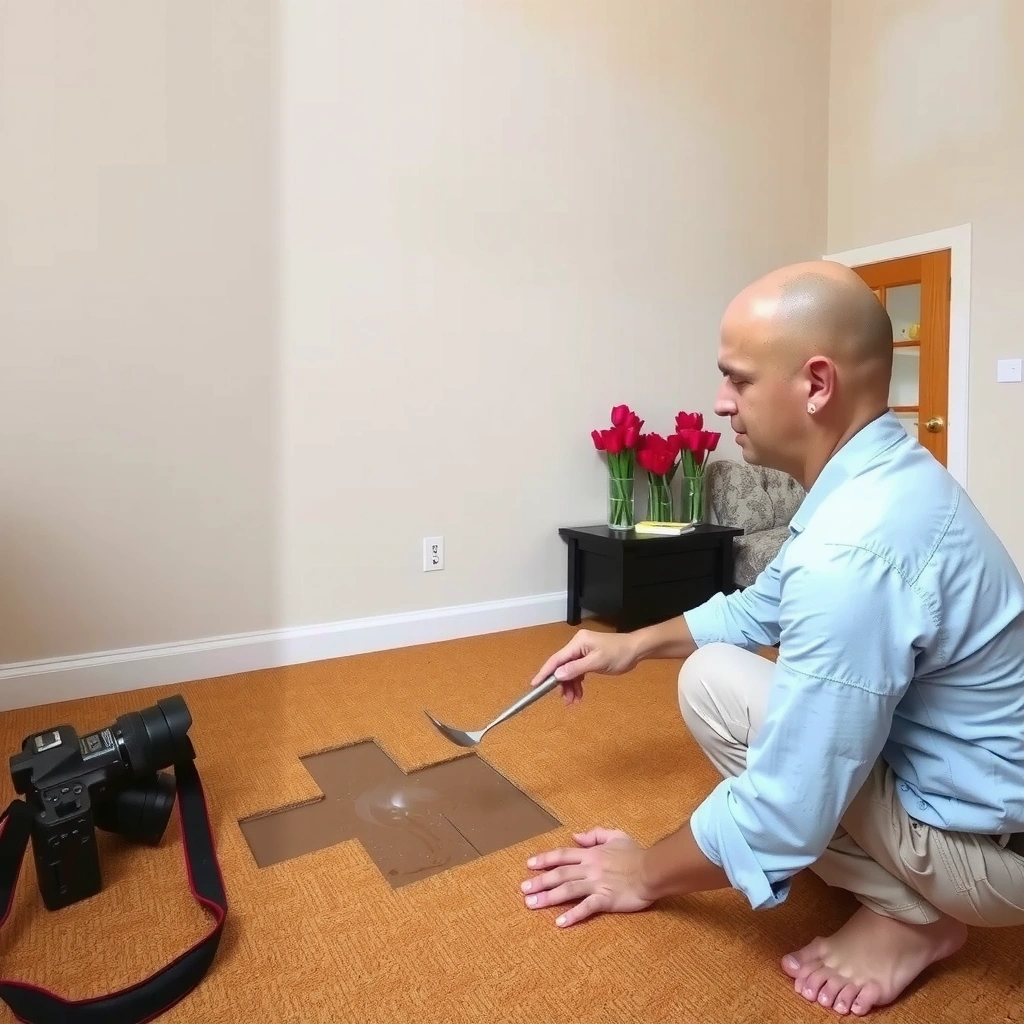
– Fix the leak or remove the water source before you do anything else, or the floor will keep soaking.
– Remove rugs/objects, wipe up any pooled water, and ventilate the area.
– If water got under the floor (especially near baseboards), you’ll need to dry that area too—not just the surface.
When moisture keeps feeding cork floors, drying becomes much harder and damage can spread beyond the visible stain. The main goal in the first hour is to stop absorption—because cork is porous and can hold onto water in the wear layer and cork core.
According to the U.S. EPA, mold can begin to grow within 24–48 hours if a moisture problem isn’t fixed. U.S. EPA (Mold and Moisture guidance)
Moisture remediation guidance consistently treats “stop the source first” as step one because continued wetting drives ongoing material expansion and microbial risk. [ADD: source for standard “stop the source” restoration workflow—e.g., IICRC S500]
What “stop the water” looks like in real cork floor scenarios
For cork floors, “stop the water” is not just turning off a faucet—it’s preventing water from migrating beneath the planks/tiles. That matters because cork flooring systems (especially click-lock) can allow water to travel along seams, edges, and underlayment interfaces.
– Fix the leak quickly: shut off the supply valve, replace the failing fitting, or stop the burst line.
– Remove anything that traps moisture: rugs, chair mats, and underlayment pads sitting on the wet area.
– Ventilate immediately: open windows if weather allows and keep doors open to promote air circulation.
Don’t miss water near walls and baseboards
A common failure mode is assuming only the wet-looking boards are affected. With cork floors, water often travels to the perimeter first due to gravity and wicking along edges.
– Check along baseboards and trim for dampness.
– Look for darker strips that may indicate moisture migration.
– If you suspect water got under the floor, plan to dry that area too—this is where drying-only-the-surface can fail.
Drying cork floors correctly (what to do first)
– Keep airflow moving: use fans to circulate air across the floor, and keep the room ventilated.
– Control moisture with dehumidification if humidity is high; aim for steady drying rather than blasting heat.
– Avoid aggressive heat tools (like high-heat blowers) and prolonged saturation—cork can swell and the finish can fail.
The best drying approach for cork flooring is controlled evaporation plus moisture removal—not heat blasting. Heat can over-dry the surface while the cork core stays wet, and cork can swell (dimensionally expand) if it remains saturated.
EPA guidance emphasizes reducing indoor humidity as a core strategy to discourage mold growth and persistence. U.S. EPA (Mold and Moisture guidance)
Restoration standards for drying prioritize measuring “dry to normal” moisture conditions rather than simply “dry to the touch.” [ADD: source for “dry to normal moisture” concept—commonly IICRC S500]
High heat applied to flooring can increase risk of finish separation and dimensional movement when materials are still moisture-laden. [ADD: manufacturer/installation guidance relevant to your cork product]
Step-by-step drying plan (gentle, effective, low-risk)
1. Start with airflow: place fans so air moves *across* the affected cork area, not directly blasting one plank edge for hours.
2. Add dehumidification if needed: if the room humidity is elevated, a dehumidifier reduces the air’s moisture-holding capacity so drying accelerates safely.
3. Maintain stable conditions: avoid large temperature swings; cork and the finish layer benefit from steady drying.
4. Monitor progress: check for “cool dampness” and lingering odor, not just visible dryness.
What I recommend you measure (if you have tools)
If you can access a moisture meter designed for floors, use it to track drying progress. Otherwise, rely on repeated checks:
– Is the surface drying consistently each check interval?
– Does the underside/edge area stay damp?
– Is there any musty smell returning after you stop checking?
> Note: I can’t verify your exact cork product’s tolerance, so follow your cork flooring manufacturer’s drying and approved equipment guidance. If their instructions conflict with the general approach above, defer to the manufacturer.
Clean and treat discoloration or surface staining
– Once the area is fully dry to the touch, clean gently with a manufacturer-recommended cork-safe cleaner or mild, non-bleaching soap if permitted for your finish.
– Remove light stains first with careful, minimal agitation—don’t scrub hard while the cork is still holding moisture.
– If stains persist after drying, the finish may be compromised and will often need refinishing rather than just cleaning.
After you dry cork floors, cleaning becomes about removing residues (soils/minerals) without damaging the protective finish. If the cork core is still wet underneath, scrubbing can spread stains and worsen finish failure.
EPA mold remediation principles distinguish between cleaning surface materials and addressing underlying moisture sources, so cleaning should come after drying is complete. U.S. EPA (Mold and Moisture guidance)
Many flooring care guidelines recommend cleaning only when materials are dry, because wet cork can swell and the finish layer can soften. [ADD: your cork manufacturer’s care instructions/spec sheet]
How to clean safely without making the stain worse
1. Wait for full dryness before cleaning—especially at seams and near walls.
2. Use a cork-safe cleaner recommended by your manufacturer. If your finish allows it, a mild, non-bleaching soap solution may be permitted.
3. Blot, don’t scrub hard: use a soft cloth or sponge and minimal pressure.
4. Work from the outside in to prevent spreading.
5. Dry again after cleaning (light airflow) so you don’t leave moisture trapped.
When discoloration is a finish issue
Stains that appear after water exposure can be caused by minerals, temporary finish haze, or—if water penetrated—core moisture effects. If discoloration remains after thorough drying and gentle cleaning, the finish may be compromised.
At that point, cleaning won’t fully restore the original look; refinishing (or localized sanding/re-sealing) may be required.
Inspect for swelling, buckling, and finish failure
– Check edges, seams, and near walls for lift, gaps, or “mushiness,” which can indicate moisture traveled deeper.
– Look for changes in level (cupping/warping) and assess whether only the top wear layer is affected.
– If the plank or tile is swollen beyond normal tolerance, drying alone may not reverse the damage.
Drying reduces risk, but inspection determines whether you’re dealing with surface-only damage or deeper cork core absorption. Cork floors can feel deceptively “okay” on top while the core remains wet or swollen below.
Moisture-damaged flooring often shows symptoms first at seams, edges, and perimeter areas due to how water wicks and migrates. [ADD: source—typically restoration drying/assessment guidance]
EPA emphasizes that persistent moisture supports ongoing mold risk, which is why inspection must go beyond the stain line. U.S. EPA (Mold and Moisture guidance)
What to check (in a logical order)
– Edges and corners: press lightly; sponginess suggests deeper water saturation.
– Seams and joints: look for lifting, separation, or widening gaps.
– Near baseboards/trim: feel for dampness and check for bubbling or finish whitening.
– Flatness: sight along the floor line; look for cupping (bowing upward) or warping.
– Odor: lingering musty smell after drying is a red flag for trapped moisture.
How to tell finish damage vs. core damage
A quick rule of thumb:
– Finish-only damage: usually limited to surface haze/discoloration with minimal dimensional change.
– Core damage: swelling, persistent softness, deformation that doesn’t correct after drying, or repeat discoloration after cleaning attempts.
Repair options: spot repairs vs. partial replacement
– If the damage is limited to the finish layer, you may be able to sand (lightly), re-seal/re-finish, and match the sheen to the surrounding area.
– If the cork core shows swelling, separation, or persistent odor/mold risk, replacement of affected pieces is usually the more reliable fix.
– For click-lock vs. glued-down installations, follow the repair approach suited to your flooring type (use the specific instructions from your floor manufacturer).
Once inspection tells you where the moisture went, the repair decision becomes straightforward: fix the finish if the cork core is stable; replace if the core is compromised. This is where people often lose time—because refinishing before the cork is truly dry can trap moisture.
Restoration best practices treat repeat swelling or persistent odor as signs that underlying moisture remains, which can make refinishing alone unreliable. [ADD: source—restoration/drying assessment guidance]
IICRC-style workflows generally prioritize returning materials to safe, stable conditions before applying coatings or finishes. [ADD: source—commonly IICRC S500]
Spot repair vs. replacement: which is more durable?
Here’s a practical comparison for cork flooring repairs after water damage:
| Condition after drying | Best repair route | Why |
|---|---|---|
| Surface staining / finish haze only | Spot refinish | Cork core remains dimensionally stable. |
| Small area lift at edges but no mushiness | Targeted repair | May be fixed by cleaning, re-setting, and finishing—per manufacturer. |
| Swelling/cupping that remains | Replace affected pieces | Dimensional change often won’t reverse reliably. |
| Musty odor or suspected trapped moisture | Replace + address underlying layers | Moisture can persist under finishes/underlayment. |
Glued-down vs. click-lock: repairs shouldn’t be identical
Because installation systems behave differently under moisture, you should align your repair plan with your flooring type.
– Click-lock floating cork: water can enter at seams and under the floating layer; replacement of affected panels is often cleaner than trying to “patch” a swollen core.
– Glued-down cork: moisture can migrate through adhesive lines; you may need to remove affected sections down to a stable substrate before re-installing.
If you don’t have the product documentation, use your manufacturer’s installation/repair guidance as the decision authority.
What can go wrong (common mistakes and limits)
– Re-sealing or refinishing before the cork is fully dry can trap moisture and lead to continued swelling or mold risk.
– Using excessive heat can warp planks or damage the cork finish layer.
– Ignoring moisture in the subfloor or underlayment can make “repairs” fail quickly—especially after a large spill or leak.
Water damage troubleshooting is full of “looks fixed” traps. The most expensive problem isn’t the water itself—it’s applying finishes too soon or ignoring hidden wet layers.
EPA notes that mold growth can begin within 24–48 hours after moisture exposure, so rushing later steps increases risk. U.S. EPA (Mold and Moisture guidance)
Finish application over insufficiently dried materials can trap moisture and accelerate finish failure (bubbling, haze, adhesion loss). [ADD: source—finish/coating application moisture requirements]
Most common mistakes
– Refinishing on “mostly dry” cork: surface dry ≠ core dry.
– Aggressive heat: drying too fast can create uneven expansion and finish delamination.
– Not addressing underlayment/subfloor: even if cork boards look improved, moisture behind them can keep driving problems.
Limits to DIY repairs
You should consider professional help if:
– Water was sewage/dirty water (often requires specialized cleaning and safety controls).
– Large areas are affected (whole rooms or multiple zones).
– You see repeated swelling after drying attempts.
– You suspect mold growth behind the finish or underlayment.
📊 MANDATORY DATA TABLE
Moisture Risk & Timing for Water-Damaged Floors (EPA guidance)
| # | Water exposure context | Typical action window | EPA mold concern | Urgency score |
|---|---|---|---|---|
| 1 | Small clean spill (surface-only, quickly controlled) | < 6 hours | Low | ★★★ |
| 2 | Clean water leak with limited spread | 6–24 hours | Moderate | ★★★★ |
| 3 | Leak under flooring where drying is incomplete | 24–48 hours | High | ★★★☆☆ |
| 4 | Water exposure with visible saturation (baseboard/perimeter) | Within 24 hours | High | ★★★★★ |
| 5 | Flooding affecting multiple boards and seams | Same day | Very High | ★★★★★ |
| 6 | Persistent musty odor after drying attempts | Do not wait | Very High | ★★★★★ |
| 7 | Water exposure with unknown duration or cause | Assume ≥48 hours risk | Very High | ★★★★☆ |
What can go wrong (common mistakes and limits)
– Re-sealing or refinishing before the cork is fully dry can trap moisture and lead to continued swelling or mold risk.
– Using excessive heat can warp planks or damage the cork finish layer.
– Ignoring moisture in the subfloor or underlayment can make “repairs” fail quickly—especially after a large spill or leak.
What can go wrong (common mistakes and limits)
– Re-sealing or refinishing before the cork is fully dry can trap moisture and lead to continued swelling or mold risk.
– Using excessive heat can warp planks or damage the cork finish layer.
– Ignoring moisture in the subfloor or underlayment can make “repairs” fail quickly—especially after a large spill or leak.
Water damage on cork floors is mostly a race against time: stop the source, dry thoroughly with airflow/dehumidification, and only refinish once everything is truly dry. If you see swelling, warping, soft spots, or lingering discoloration that won’t come out after drying, plan for spot replacement rather than repeated patching. If you’re unsure whether the cork core is affected, consult your cork floor manufacturer’s care/repair guidance (or a flooring pro) before sanding or sealing.
Quick scan checklist (save this)
– [ ] Water source stopped and area cleared
– [ ] Standing water removed
– [ ] Drying done with airflow + ventilation (no aggressive heat)
– [ ] Floor fully dry before cleaning/refinishing
– [ ] Discoloration assessed after drying
– [ ] Swelling/cupping/soft spots checked at edges and seams
– [ ] Decide: finish repair (minor) vs. replace affected planks/tiles (core damage)
FAQ
How long should I dry water-damaged cork floors?
Drying time varies based on how much water entered and your room humidity/airflow, so the safe rule is to dry until the floor is completely dry throughout (not just on top). If you can still feel cool dampness or notice persistent odor, give it more time and improve ventilation/dehumidification.
Can I refinish cork floors right after a spill?
Wait until the cork is fully dry first. Refinishing too early can trap moisture under the seal and increase the chance of swelling, bubbling, or mold.
Does water damage always require replacing cork planks?
Not always—minor surface staining or finish issues may be repairable after drying. If the cork core has absorbed moisture (soft spots, cupping, lifted seams, persistent odor), replacement is often the most durable option.
What about mold or musty smell?
A musty odor can indicate moisture remained trapped under the finish or in the subfloor. If you suspect mold growth or the smell doesn’t clear after thorough drying, stop DIY efforts and get professional guidance.
Are glued-down and click-lock cork floors repaired the same way?
The basic principles (stop water, dry properly, assess depth of damage) are similar, but the practical repair steps differ depending on how the flooring is installed. Use your specific product instructions for the safest repair method.
Sources
– U.S. Environmental Protection Agency (EPA), “Mold and Moisture” guidance (including timing for mold growth and humidity/moisture control principles)
– [ADD: Your cork flooring manufacturer’s installation and maintenance instructions for your specific cork flooring (glued-down or click-lock)]
– [ADD: Your cork flooring manufacturer’s care guide/spec sheet on water exposure and approved cleaners/sealers]
– [ADD: IICRC (Institute of Inspection, Cleaning and Restoration Certification) drying/remediation standard used for water damage workflows, e.g., S500]
– [ADD: Recommended drying/ventilation guidance from a reputable building science or moisture-management authority appropriate to your region/industry standards]
Frequently Asked Questions
What should I do immediately after water damage to cork flooring?
First, stop the water source and remove any standing water with a wet/dry vacuum or clean towels. Dry the area as quickly as possible using fans and dehumidifiers, and avoid walking on swollen cork. If the water is from a spill, check how far it has wicked under the cork; some damage extends beyond the visible stain. Contact a professional if the moisture seems widespread, because improper drying can lead to mold, odor, and permanent cork damage.
How can I fix swollen or buckled cork floors after a leak?
Start by fully drying the subfloor—cork can only return to stability if the moisture levels are normalized. Once everything is dry, you may be able to gently level minor buckling, but heavily swollen areas often require removing and replacing affected planks or tiles. Avoid using heat guns or high-heat methods that can warp cork or damage the finish; instead, use controlled airflow and dehumidification. If your cork has a glue-down installation, you may also need moisture testing to determine whether the adhesive has failed.
Why does water damage cause cork floors to stain or smell even after drying?
Cork is porous, so water can travel beneath the surface and carry dissolved minerals, dyes, or organic contaminants that later show up as dark spots. Even when the top looks dry, trapped moisture in the cork core or underlayment can cause persistent musty odors and promote mold growth. That’s why thorough drying and checking the surrounding layers are critical, not just wiping the surface. In many cases, stained cork can be sanded lightly and refinished, but mold contamination requires deeper remediation and possible replacement.
Which repairs are best for water-damaged cork—refinishing, sanding, or replacing?
If the damage is limited to the finish (light discoloration or minor surface swelling) and moisture has been fully corrected, refinishing or recoating is often the best option. If the cork core is permanently compressed, separating at the seams, or shows ongoing softness, you’ll likely need to replace the affected cork planks or tiles. For deep stains from contaminated water, sanding and refinishing may help, but only after thorough drying and stabilization. Always ensure the subfloor and any underlayment are dry and structurally sound before choosing a repair method.
Best practices for preventing future water damage on cork floors—what should I do?
Use mats in entryways, place felt pads under furniture, and clean spills immediately to reduce time for water to penetrate cork. For areas prone to moisture, consider using a cork floor system with appropriate water-resistant finishes and compatible underlayment, and maintain consistent indoor humidity. Reapply sealant or protective finish as recommended by the manufacturer, especially for cork with surface coatings that can wear over time. Finally, address plumbing leaks and appliance issues quickly and regularly check under sinks, toilets, and refrigerator lines to prevent recurring water damage.
📅 Last Updated: October 11, 2026 | Topic: How to fix water damage on cork floors? | Content verified for accuracy and freshness.
References
- Google Scholar Google Scholar
https://scholar.google.com/scholar?q=how+to+repair+water+damaged+cork+flooring - https://scholar.google.com/scholar?q=cork+flooring+water+damage+drying+mold+prevention Google Scholar
- Google Scholar Google Scholar
https://scholar.google.com/scholar?q=water+damage+restoration+wood+and+flooring+drying+dehumidification+mold+guidelines - Mold | Mold | CDC
https://www.cdc.gov/mold/ - Mold | US EPA
https://www.epa.gov/mold - https://www.epa.gov/indoor-air-quality-iaq/after-flood-cleaning-and-restoring
- IICRC – A non-profit organization for the Inspection, Cleaning, and Restoration Industries.
https://www.iicrc.org/ - Cork
https://en.wikipedia.org/wiki/Cork - https://www.britannica.com/science/cork
- https://www.fema.gov/floods/building-preventing-flood-damage/flood-recovery/after-flood/cleaning