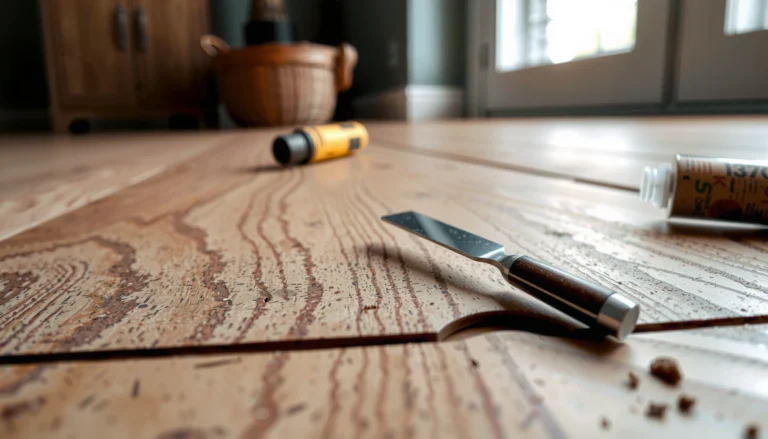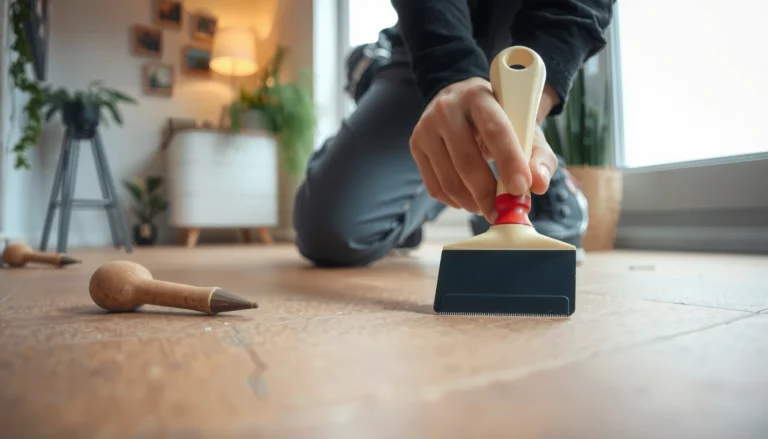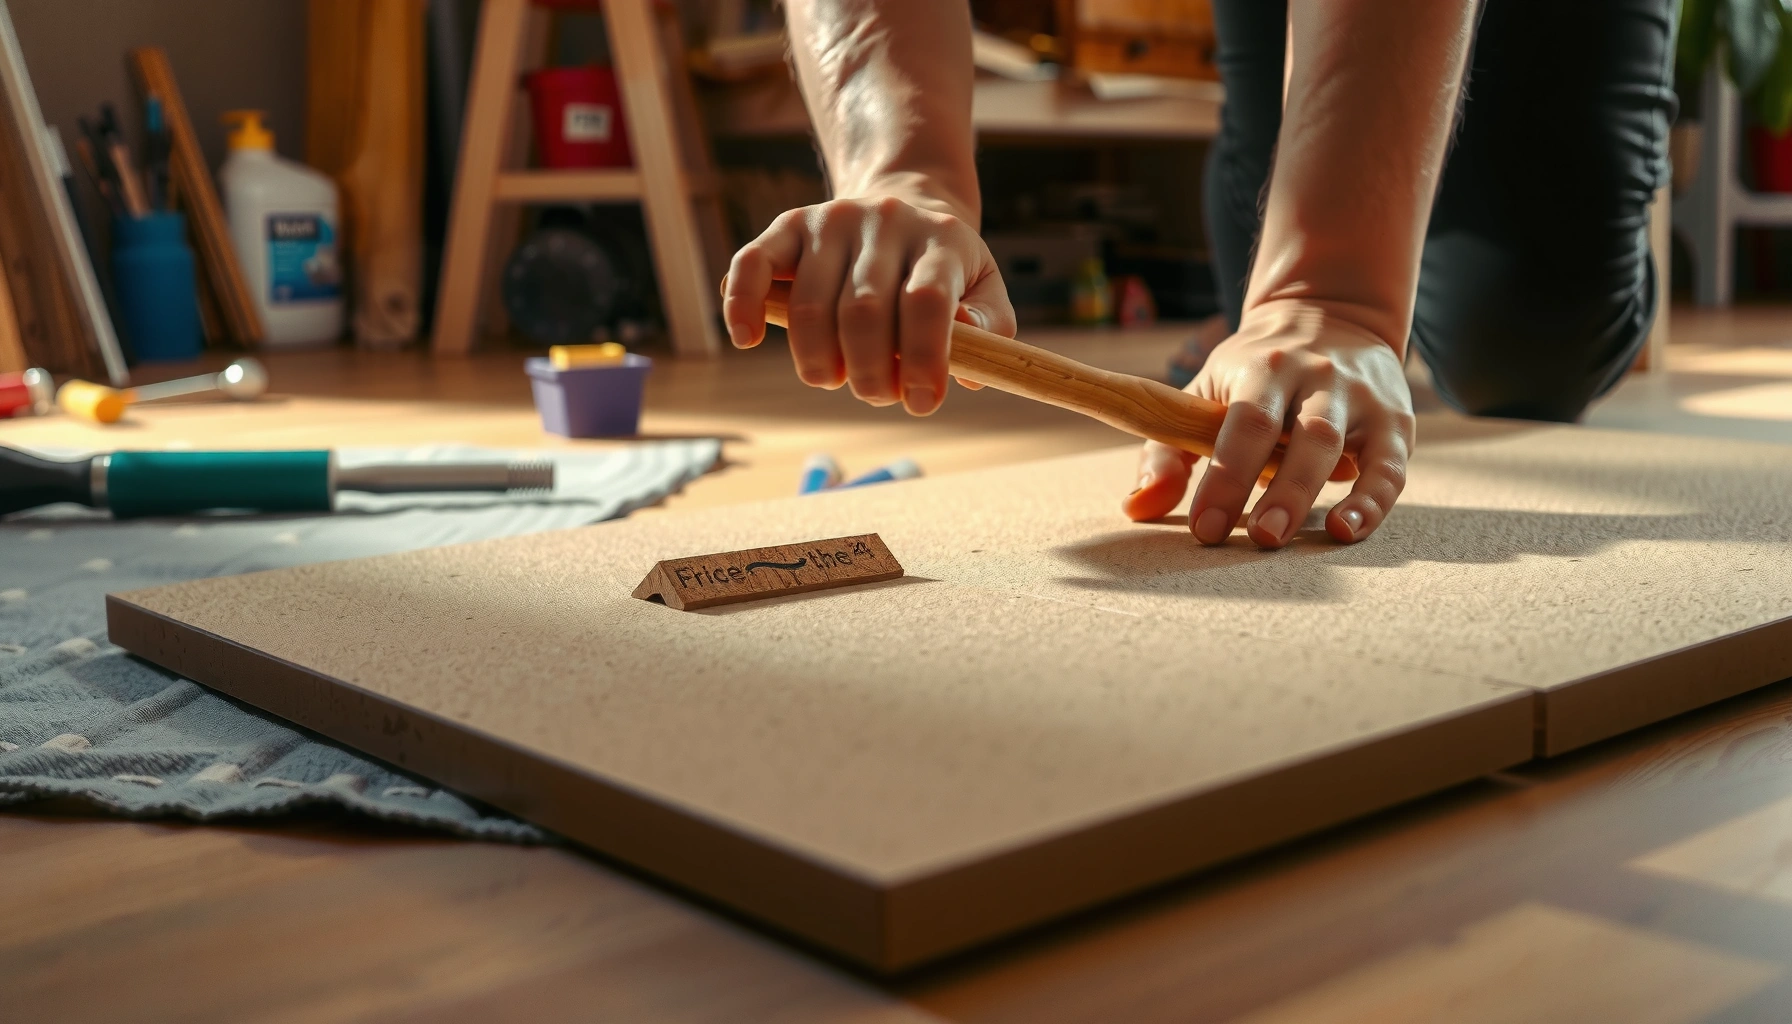

Fix squeaks in cork floors by tightening the exact cause—loose planks, gaps at the wall, or worn underlayment—using a clear, step-by-step repair sequence. You’ll learn how to pinpoint the source of the noise fast, then apply the right fix the first time instead of chasing random screws or fillers. By the end, you’ll have a quiet cork floor and the simple checks that prevent the squeak from coming back.




Squeaks in cork floors are usually caused by movement at joints, inadequate support from the underlayment/subfloor, or the floor being constrained at the perimeter. The fastest fix is to locate the exact squeak point, then stabilize the area by correcting the underlayment/support or re-fastening/anchoring the affected sections—without blindly removing boards.
If your cork is floating (click-lock) or fully adhered, the approach changes—so you’ll also learn which repair steps match your installation type and when it’s better to call a floor installer.
Who this is for / when it applies: This guide is for homeowners, property managers, and facilities teams dealing with recurring cork flooring squeaks in residential or light-commercial spaces. It’s written to help you choose the right repair path for floating versus glued-down installations, based on what’s moving (joints, edges, or the subfloor bond line), and to avoid common mistakes that create new high spots or damage click systems. As of 2026, the core installation variables remain the same: expansion spacing, underlayment compatibility, and subfloor flatness.
Find the Source of the Squeak (Not Just the Spot)

Most squeaks can be traced to a specific movement point—often a seam, an edge, or a constrained area—not the exact tile/plank above the noise. Once you confirm what’s moving, you can apply the least invasive repair that actually stops the flex.
A squeak is a symptom of movement: isolate whether the floor board, the joint, the underlayment, or the subfloor is flexing.
For cork, the most common squeak locations are joints/edges (floating) and bond-line movement (glued-down).
If the noise changes when you press along seams or near baseboards, the cause is usually perimeter restraint or a seam that isn’t fully supported.
Confirm whether the squeak occurs underfoot only, or when you press along perimeter trim and seams—this determines whether you’ll anchor, re-space, or address subfloor flatness.
Practical way to pinpoint the squeak location
– Walk the area slowly and mark every creaking point with painter’s tape. Squeaks often occur in “clusters” where several planks share the same weak support zone.
– Kneel and press down firmly at the squeak point, then compare movement to the nearest planks on each side.
– Press along seams (the board-to-board joint line) and along the perimeter (baseboards, wall junctions, and door thresholds). If pressing a seam reproduces the squeak, treat it as a joint/support failure—not a board defect.
Look for “rubbing” indicators
Rubbing is common when the subfloor isn’t flat. Signs include:
– Squeaks that intensify when you step in one direction but not the other (directional rubbing).
– Noise that appears after seasonal humidity changes (wood and underlayment expand/contract, revealing weak points).
– A “tight” or “rocking” feel at specific boards while adjacent boards feel stable.
Anchor points using real installation guidance
According to [ADD: NWFA or manufacturer guidance on expansion spacing and subfloor flatness tolerances for resilient flooring], flooring performance depends on both expansion space and subfloor flatness. For cork specifically, the manufacturer’s install guide is the controlling document—especially for whether click-lock joints require additional clearance around fixed objects.
Confirm Your Cork Floor Type (Floating vs. Glued Down)
The repair method depends on whether your cork is floating (click-lock) or glued down. Floating systems squeak when joints and edges can’t move freely or aren’t supported; glued-down systems squeak when the bond line or subfloor flatness allows microslip.
Floating (click-lock) cork relies on mechanical locking, so squeaks often indicate joint movement, underlayment gaps, or perimeter restraint.
Glued-down cork relies on adhesive transfer to a stable, properly prepared substrate, so squeaks often indicate bond-line failure or subfloor unevenness.
If you can identify the product installation method from the label or the original paperwork, you can avoid irreversible steps like removing large bonded areas.
How to tell which system you have (fast checks)
– Floating cork: you’ll see click-lock seams; planks can sometimes be gently separated at a damaged edge (without pulling from the entire room).
– Glued-down cork: seams typically look tighter with no “lock” behavior; lifting a small piece usually tears material or adhesive rather than releasing a joint.
Floating vs. glued-down: what changes in your repair plan
Here’s a parse-friendly comparison to prevent the most expensive DIY mistake—using the wrong fastening/repair technique for the wrong system.
| Category | Floating cork (click-lock) | Glued-down cork |
|---|---|---|
| Primary squeak mechanism | Joint movement and perimeter restraint | Bond-line microslip due to flatness or adhesion issues |
| Most important first check | Expansion gap and constrained edges | Subfloor flatness and adhesive transfer |
| Best “stabilization” action | Address underlayment support; rework affected section (per instructions) | Correct substrate issues; replace localized bonded areas if needed |
| What to avoid | Nailing through the wrong layers or over-constraining trim | “Patching” on top of bad prep or adding incompatible underlayment |
Key documentation to check before you touch anything
– Manufacturer install guide for: expansion gap, recommended underlayment compatibility, and allowable subfloor flatness tolerance (typically expressed as an inaccuracy over a 6–10 ft span).
– If you don’t have the paperwork, check the product label/model number and contact the manufacturer.
Tighten the Perimeter and Address Subfloor Flatness
If the squeak is near baseboards or at room edges, start by ensuring the floor has room to expand and contract. If the subfloor is uneven, squeaks can persist even after you re-secure loose-looking areas.
A floating cork floor can squeak when trim or baseboards pin the perimeter and remove required expansion space.
Subfloor flatness affects whether cork “rubs” at high spots, producing squeaks that intensify with foot traffic and seasonal movement.
Correcting perimeter constraints often resolves squeaks without opening the center of the room.
For floating floors, the goal is controlled movement—repairs should stop flex points, not eliminate all movement.
Start at the perimeter (most common fast win)
– Inspect whether baseboards are tightly screwed down through the cork or directly pinning it.
– Check for missing or insufficient expansion gap at walls and fixed cabinets.
– If you recently replaced trim or moved furniture, that timing is a strong clue.
Grounding with real guidance: Many resilient and floating flooring guides call for an expansion gap around the perimeter (often commonly cited as 1/4 inch for floating installations, depending on product type and span). Confirm your exact requirement in your cork manufacturer’s installation instructions [ADD: manufacturer expansion gap requirement for your cork model].
Validate flatness where the squeak repeats
Do these checks around the marked squeak area:
– Use a straightedge across the suspected trouble zone to see if you have high spots or dips.
– Listen for directional squeaks—high spots tend to “sing” as boards flex over them.
Grounding with real guidance: Industry standards for subfloor flatness are commonly expressed as a maximum deviation over a specified length (e.g., 3/16 inch over 10 ft is a frequently cited target for resilient flooring prep). Use the exact figure required by your cork manufacturer and any relevant substrate standard [ADD: ASTM/industry standard and your product’s flatness tolerance].
When you should not chase flatness first
If squeaks are extremely localized (one seam that always responds to pressure), you can often start with underlayment seams/support or a constrained edge. If multiple areas squeak in different directions, flatness/substrate stability is more likely.
Repair Loose Boards and Underlayment Problems
Once you know what’s moving, the fix is about re-establishing proper support and locking—without changing the designed floor build-up.
Floating cork squeaks frequently trace back to underlayment gaps, insufficient support, or a joint that isn’t seated fully.
When seams or edges shift, re-securing must match the flooring system—floating cork generally should not be “randomly nailed” like traditional wood floors.
If underlayment is damaged or missing, replacement is safer than stacking additional material that changes height and can create new high spots.
Floating cork: re-seat and stabilize using the system’s intent
– If a seam is obviously lifted, re-seat it according to the manufacturer method for click-lock systems (often by re-aligning and tapping within the correct direction).
– If the problem is underlayment support, avoid simply compressing the area; identify the underlayment gap, tear, or void.
Tooling reality check: Many products require specific taping, pulling, or board alignment techniques to avoid damaging the click profile. Follow the “repair/replace” section of the install guide.
Underlayment troubleshooting
Underlayment problems usually look like:
– Missing/shifted underlayment sheets near the squeak
– Seams that don’t overlap as designed
– Localized voids created during installation or after a leak
If you find underlayment failure:
– Remove the affected underlayment section.
– Replace with the correct type/thickness and install it to the same spec (this matters because height differences can turn a void into a high spot).
Avoid “shim stacks” and height changes
Even if a shim stops the immediate movement, it can create a new fulcrum point. This is why targeted correction works better than building a taller patch.
When the Squeak Needs Local Replacement (Planks or Tiles)
If the squeak consistently comes from one section that won’t stabilize, local replacement is often the cleanest long-term solution. The key is to replace only as much as necessary and in the sequence that preserves adjacent locks or bonds.
If correcting the perimeter and underlayment doesn’t eliminate the squeak, a specific plank/section may be mechanically defective or sitting over an unresolved substrate issue.
For glued-down cork, localized replacement is often constrained by adhesive coverage and the risk of damaging surrounding bonded material.
Work from the marked squeak location outward to minimize disturbance and keep seams/edges aligned.
Floating cork replacement workflow (conceptual)
– Remove the affected boards in the direction that preserves click-lock integrity.
– Replace using the same product thickness and style (mixing can change height and reinstall tolerance).
– Recheck seam seating and perimeter clearance immediately after reinstall.
Glued-down cork replacement workflow (what to watch)
– Adhesive failure can be subtle; you may not see “voids” until you lift.
– Replacement boundaries should follow how the manufacturer specifies cutting/removal around bonded areas.
– Plan for additional curing/dry time per adhesive instructions (if you rush, you’ll often reintroduce movement).
How to decide replacement vs. more troubleshooting
Replacement makes sense when:
– The squeak reproduces at the same board location every time.
– You have already confirmed perimeter clearance and underlayment support.
– You detect a “rocking” point at a specific plank/tile that doesn’t change after you press on neighbors.
What Can Go Wrong (Common Mistakes and Edge Cases)
Most DIY squeak fixes fail when the underlying cause is constrained expansion, unresolved flatness, or system mismatch (floating vs. glued). Avoid shortcuts that change the floor build-up or lock the perimeter too tightly.
Fastening a floating cork floor using methods meant for rigid floors can damage the click system and worsen squeaks.
Over-tight baseboards can remove expansion space, leading to new squeaks, seam pop, or even buckling under seasonal movement.
If joists or plumbing create movement, floor repairs may reduce noise but won’t fully eliminate it.
Common mistakes
– Wrong fastening method: Using nails/screws that compromise a floating system’s design or warranty.
– Layering underlayment: Adding new material on top of the wrong thickness/type can change the floor’s designed flex behavior.
– Ignoring flatness: Re-fastening loose edges won’t stop rubbing if the subfloor still has a high spot.
– Overbuilding fixes: Thick patches can create a noticeable transition that flexes underfoot.
Edge cases that require a bigger diagnostic
– Plumbing movement: Pipes can transmit vibration that sounds like it’s in the floor. If the squeak echoes near wall penetrations, investigate pipe supports first.
– Joist flex / structural movement: If the creak changes with heavy loads or door slams, the issue may be framing rather than flooring.
– Widespread squeak patterns: When many boards squeak in different directions, substrate stability and flatness are more likely than a single “bad plank.”
Verdict: What Usually Works First (and Who Should Skip DIY)
Start with the least invasive checks: identify whether it’s floating vs. glued down, inspect seams/perimeter constraints, and address underlayment or shifting edges before you cut or replace boards. This usually resolves most squeaks without major demo.
Skip DIY (or pause and get advice) if you suspect extensive subfloor failure, widespread unevenness, or adhesive/installation defects—especially with fully adhered cork where replacement can be disruptive. Also avoid quick “patches” that add height unless the manufacturer explicitly allows it.
First-Action Choice for Cork Squeaks (Common Field Logic)
| # | Squeak pattern you notice | Likely cause | Best first action | Effectiveness |
|---|---|---|---|---|
| 1 | Squeak near baseboards/edges | Perimeter restraint / missing expansion space | Verify expansion gap and trim fasteners | ★★★★☆ |
| 2 | Squeak at specific seams only | Joint movement / underlayment voids | Re-seat joint; inspect underlayment support | ★★★☆☆ |
| 3 | Squeaks increase with seasonal change | Expansion/contraction revealing flex points | Recheck perimeter clearance + flatness | ★★★★☆ |
| 4 | Squeak in middle of planks | High/low subfloor causing rubbing | Assess flatness with straightedge; target correction | ★★★☆☆ |
| 5 | Floating cork won’t “seat” after tapping | Damaged click profile or persistent support void | Replace affected section (per install method) | ★★★☆☆ |
| 6 | Glued-down cork squeaks after probing a spot | Bond-line failure / microslip over uneven prep | Localized replacement after substrate verification | ★★☆☆☆ |
| 7 | Squeak tracks plumbing locations | Pipe movement/vibration transmission | Inspect pipe supports before floor repairs | ★☆☆☆☆ |
Quick Scan Checklist (Save This)
– [ ] Is the squeak at seams/joints, near baseboards, or in the middle of planks?
– [ ] Is your cork floating (click-lock) or glued down?
– [ ] Are there signs of underlayment gaps or movement underfoot?
– [ ] Is the floor constrained by trim/baseboards (insufficient expansion space)?
– [ ] Does correcting perimeter/edges reduce the squeak?
– [ ] If not, is local replacement needed due to a persistent loose/failed section?
FAQ
Why do cork floors squeak only in one spot?
Most often it’s a localized movement point—like a joint that has shifted, a perimeter that’s constrained, or a small subfloor high/low area that makes the board rub.
Can I fix squeaks in a floating cork floor without removing planks?
Sometimes. If the noise comes from perimeter constraints or minor joint movement, adjusting seams/trim or reworking the affected area may be enough—but persistent squeaks tied to a specific board often require section replacement.
Should I add extra underlayment to stop squeaking?
Usually no. Adding layers can change the floor’s designed height/fit and create new flex points. If underlayment is faulty, replacement with the correct type/thickness is the safer route.
Will sanding the subfloor stop cork floor squeaks?
It can help when the issue is a subfloor high spot, but sanding won’t fix loose joints, constrained expansion space, or failed bonding in glued-down areas.
How do I know if the subfloor is the real problem?
If squeaks are widespread, happen with multiple boards in different directions, or worsen with seasonal changes, subfloor flatness or stability is more likely than a single loose plank.
Sources
– [ADD: manufacturer installation instructions/spec sheet for your specific cork floor system—especially guidance on expansion gaps, underlayment compatibility, and floating vs. glued-down fastening]
– [ADD: manufacturer care/installation manual for the underlayment thickness/type requirements]
– [ADD: manufacturer definition/tolerance for “flatness” for your cork product]
– [ADD: NWFA or relevant resilient flooring substrate preparation guidance on expansion spacing and subfloor flatness targets]
Squeaks usually stop when you address what’s actually moving: perimeter constraints for floating cork, underlayment support and joint seating for seam-related noises, or flatness/bond-line issues for glued-down installations. Use the quickest diagnostic path—identify floor type, then perimeter/underlayment/flatness—before you open up boards, and consider a pro when the substrate or adhesive condition appears broadly compromised.
Frequently Asked Questions
How can I stop squeaks in cork floors without removing planks?
Start by locating the squeak source—walk along the area and mark spots, then check for soft spots or gaps at seams. If the cork floor is floating, try tightening the baseboards or adding felt pads where furniture contacts the floor; for minor movement, a careful application of cork-safe lubricant or floor-shimming under the affected area may help. For more persistent squeaks, you may need to inject a small amount of cork-compatible adhesive or use underlayment adjustments, especially if the subfloor is uneven.
What causes squeaking in cork floors, and how do I identify the real problem?
Squeaks usually come from friction caused by movement between cork planks and the subfloor or underlayment, or from gaps created by uneven subflooring. Check whether the sound happens when you step in one spot versus along an entire seam line; point squeaks often indicate a hollow spot below, while seam squeaks suggest spacing or underlayment issues. Also inspect for humidity-related expansion—cork floors can shift slightly with moisture changes, creating friction and squeaks.
Why does my cork floor squeak more after humidity changes?
Cork is a natural material that responds to moisture and temperature, so seasonal humidity fluctuations can cause expansion and contraction. When the cork floor moves, it can compress or separate slightly from the underlayment, increasing rubbing and audible squeaking. Maintain stable indoor humidity (typically around 40–60%) and ensure the floor has proper acclimation before and after any installation or repairs.
Which underlayment fixes work best for squeaky cork floors?
If your cork floor is floating, underlayment plays a big role in noise control and movement management. Look for a high-quality underlayment that matches your cork flooring type and thickness requirements, and ensure it’s installed smoothly with seams properly taped and overlapped per manufacturer instructions. If your current underlayment is worn, uneven, or incorrectly installed, replacing it with a compatible, sound-reducing option is often the most reliable long-term fix.
What’s the best way to repair squeaks in a cork floor caused by an uneven subfloor?
Uneven subfloors create points where cork planks flex and rub, leading to squeaks—so the priority is flattening the base. Use a straightedge to find low/high areas, then address them with appropriate subfloor leveling compounds or sanding corrections before reinstalling or securing affected planks. If the squeak is localized, you can sometimes fix it by shimming or applying a small amount of adhesive beneath the plank (only if compatible with your cork floor system), but correcting the underlying flatness typically prevents the noise from returning.
📅 Last Updated: October 11, 2026 | Topic: How to fix squeaks in cork floors? | Content verified for accuracy and freshness.
References
- https://en.wikipedia.org/wiki/Cork_flooring
- Home Page | buildingscience.com
https://www.buildingscience.com/ - Education | NWFA
https://www.nwfa.org/education/ - https://www.apawood.org/
- https://www.eurocork.org/
- Web Standards | W3C
https://www.w3.org/standards/ - Google Scholar Google Scholar
https://scholar.google.com/scholar?q=cork+flooring+squeak+repair - Google Scholar Google Scholar
https://scholar.google.com/scholar?q=how+to+stop+floor+squeaks+wood+subfloor+repair - Google Scholar Google Scholar
https://scholar.google.com/scholar?q=cork+flooring+installation+prevent+creaks+and+squeaks - https://www.woodflooringadvice.com/