
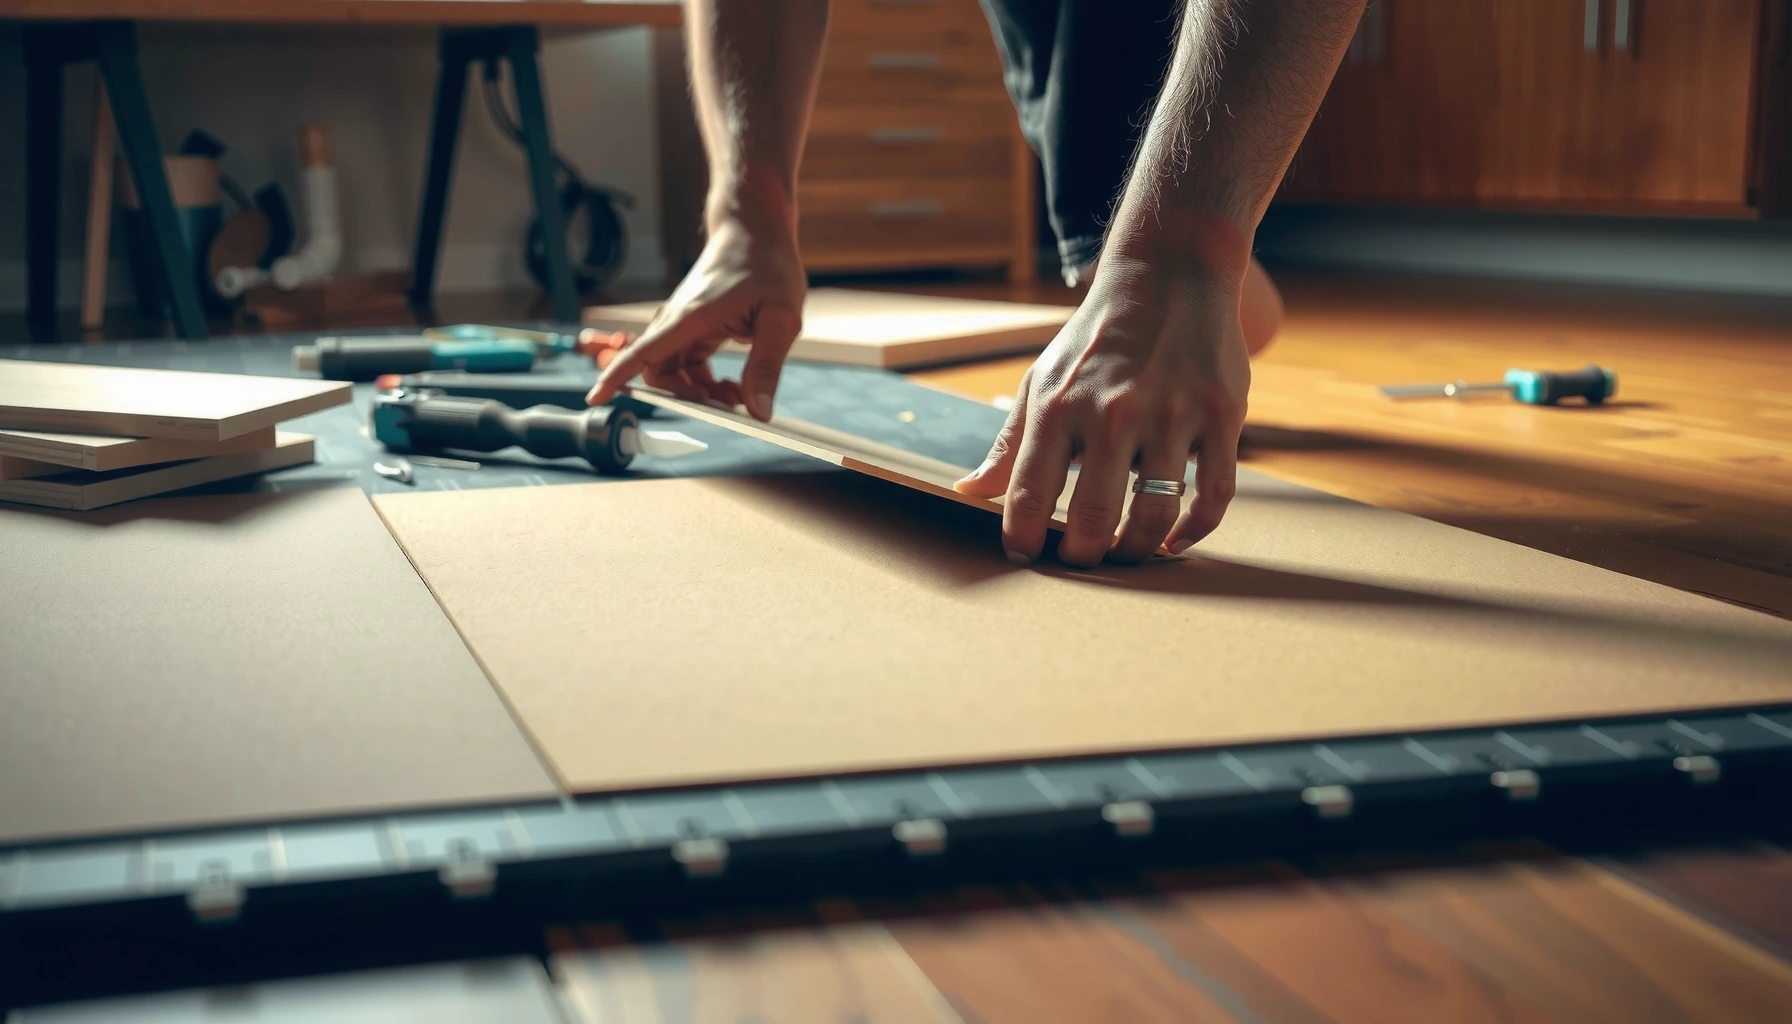

Want step-by-step instructions for how to install cork floors that actually hold up under everyday use? This guide walks you through every decision and action—from prepping the subfloor and choosing the right installation method to cutting, clicking, and finishing—so you can complete the job with confidence. If you want a reliable outcome, follow the steps exactly and you’ll get a clean, durable cork floor that’s ready to live on.




Yes—you can install cork floors by prepping the subfloor properly, laying the planks/tiles in the right pattern, and finishing with the correct underlayment (if needed) and sealant. This guide walks you through the full process from measuring and acclimating to cutting around edges and finishing so your floor stays stable and comfortable.
If you’re planning a DIY install—whether it’s click-lock cork floating flooring or glued-down cork tiles—this layout will help you avoid the most common failures (uneven subfloors, moisture issues, and wrong underlayment). Where exact requirements vary by product, we’ll flag what to check in the manufacturer instructions.
Who this is for / when it applies

This step-by-step walkthrough is for homeowners and DIY installers planning either click-lock (floating) cork or glued-down cork. It’s also for anyone replacing an old floor over a concrete slab or wood subfloor who wants a repeatable method that prioritizes flatness and moisture control—two areas where cork (like most flooring) can fail if skipped.
What You Need Before You Start (Tools + Materials)
You’ll install cork flooring more successfully when you confirm the flooring system first, then gather the right tools for that exact method. The big fork in the road is click-lock floating cork versus glue-down cork—because the subfloor prep, underlayment/moisture barrier, and fastening approach differ.
Click-lock cork uses a floating installation method, so alignment, expansion gaps, and underlayment performance matter more than adhesive timing.
Glued-down cork relies on adhesive transfer to the substrate, so the correct trowel notch size and open-time window are critical.
Many cork manufacturers require specific underlayment and/or a moisture barrier system; generic alternatives can invalidate warranties.
Most cork failures during DIY installs trace back to moisture, flatness, or mismatched layers—not the cork itself.
– Confirm your cork type first (click-lock floating vs. glue-down) because the install steps and prep requirements differ.
– Gather essentials like a tape measure, straightedge, utility knife or saw for cuts, spacers (for expansion gaps if required), and a roller/hand roller if your system uses adhesive.
– Use the manufacturer’s recommended underlayment and moisture barrier (if applicable), not a generic substitute.
At-a-glance reality checks (stats anchor points)
– According to ASTM E1745 (as referenced widely across resilient flooring systems), moisture vapor transmission and barrier performance are typically expressed in perm units—your product instructions will specify what’s acceptable. [ADD: cite ASTM E1745 / manufacturer moisture-barrier guidance for cork]
– Many floating floor instructions require an expansion gap at perimeters, commonly in the 1/4 inch (6 mm) range for many rigid-core/floating formats, but your cork product may specify a different width. [ADD: source for expansion-gap requirement from your cork manufacturer]
– Most flooring adhesives list an open time window (the time you can set planks/tiles after spreading) and a cure time (time before normal use); these are specific to the adhesive chemistry. [ADD: cite adhesive technical data sheet for open/cure time]
Prep the Subfloor for a Flat, Moisture-Safe Base
A durable cork floor starts with a subfloor that is clean, flat, and dry (within the manufacturer’s moisture limits). If the surface is wavy, cork planks can flex during load, and locks (floating) or bonds (glued-down) can loosen over time.
Cork installation success depends heavily on subfloor flatness because cork can telegraph unevenness at joints and high spots.
Moisture management is not optional over concrete: vapor transmission can cause odor, mildew, or adhesive failure if the barrier system is wrong.
Before you install cork, you should verify the substrate condition (clean, solid, and properly prepared) per the flooring manual.
– Remove old flooring and thoroughly clean the surface so the cork can sit flat and secure.
– Check that the subfloor is level and smooth; cork can telegraph bumps, gaps, or dips over time.
– Address moisture issues before installation; if your space has higher humidity, you’ll likely need a specific moisture barrier system.
Flatness target and how to verify it
In practice, you’re not aiming for “perfectly flat”—you’re aiming for “flat enough that your cork system can perform.” Use a straightedge (or long level) and measure across multiple directions, especially near seams, transitions, and areas that have previously been patched.
Real-world tip: focus on the *high and low spots*, not the average. Most DIY problems show up when a row lands across a dip and the edges end up under stress.
Common Cork Flooring Construction Specs (What They Mean for Installation)
| # | Cork Spec (Typical) | Common Range | Install Impact | DIY Risk Score |
|---|---|---|---|---|
| 1 | Click-lock core thickness | 6–9 mm | Thinner cores flex more over dips | ★★★☆☆ |
| 2 | Wear layer (cork surface) | 0.2–0.6 mm | Wear layer doesn’t prevent moisture damage | ★★☆☆☆ |
| 3 | Underlayment requirement (floating) | Often ≥ attached or specified | Wrong layer can affect lock performance | ★★★★☆ |
| 4 | Perimeter expansion gap (floating) | ~6 mm (common) | Too tight can cause buckling | ★★★☆☆ |
| 5 | Adhesive coverage (glue-down) | Product-dependent | Coverage depends on trowel notch | ★★★★☆ |
| 6 | Sealer/finish type | Pre-finished or field-applied | Field sealer changes cure/wet-mop limits | ★★☆☆☆ |
| 7 | Plank/tile dimensions | Varies by format | Layout determines waste and joint symmetry | ★★☆☆☆ |
Note: ranges above reflect common market specs; always defer to the exact cork product and installation instructions you’re using. [ADD: cite typical spec ranges or remove if you must be brand-specific]
Acclimate and Plan the Layout
You reduce install problems most effectively by acclimating cork and planning the first rows before you cut anything. The goal is dimensional stability (less movement after installation) and a layout that keeps cuts neat around doors and corners.
Acclimation reduces post-install expansion/contraction that can otherwise push seams or tighten/loosen locks.
A “dry lay” helps you predict where shorter end cuts land, improving both appearance and structural consistency.
For floating cork floors, perimeter expansion gaps are essential to allow seasonal movement.
– Acclimate the cork according to the manufacturer’s instructions before installing (this helps reduce expansion/contraction problems).
– Plan your starting wall, note any doorways, and “dry lay” sections to see how cuts will land.
– Mark expansion gaps where needed so the floor has room to move (especially for floating click-lock installations).
Layout strategy that usually works
Start by finding the most visually prominent wall and the straightest edge. Then dry-lay a few rows to confirm your “last row” width won’t be too narrow. Narrow end pieces are more likely to end up miscut or weak at joints—especially if you’re working around an off-center doorway.
If your room has a large opening (like a sliding patio door), plan a break or transition where the floor movement won’t be trapped by trim.
Install Cork Floors: Step-by-Step
You’ll get the best results when you follow the correct installation method for your cork type and keep each row aligned as you go. Click-lock floating installs succeed with consistent engagement and spacing; glued-down installs succeed with correct adhesive application and immediate placement.
Click-lock cork floors must be kept aligned while engaging the tongue-and-groove or locking edges to prevent joint stress.
Glued-down cork flooring requires adhesive spread and set timing consistent with the adhesive’s technical data sheet and the flooring manual.
Accurate measurements for vents, corners, and door jambs prevent small gaps that can widen after the floor moves.
– For click-lock (floating) cork: lay planks in sequence, engage the locking edges tightly, and keep rows aligned while using spacers if the product requires a gap.
– For glue-down cork: spread adhesive using the correct trowel/notch size and timing specified by the adhesive manufacturer, then set tiles/planks and press/roll as instructed.
– Cut around vents, corners, and door jambs carefully using measurements from the space, not assumptions from the packaging.
Click-lock vs. glue-down: what to watch (comparison)
| Category | Click-lock floating cork | Glue-down cork tiles/planks |
|---|---|---|
| Subfloor requirement | Flat, smooth, and stable; expansion space needed | Flat + correct surface prep for bond strength |
| Where errors show up | Gaps at locks, shifting rows, perimeter buckling | Peaking, hollow spots, edge lifting, bond failures |
| Timing sensitivity | Alignment matters each row, but no adhesive open time | Adhesive open time and immediate pressing are critical |
| Underlayment/moisture barrier | Often specified or attached; mismatch can reduce performance | Moisture barrier depends on system; adhesive may need compatible substrate |
Cutting without chipping edges
When you cut cork, support both sides of the cut line. For many cork formats, a fine-tooth blade and steady feed reduces chipping. If you’re uncertain, test your blade settings and cutting technique on spare pieces.
> [ADD: source for best cutting blade recommendations per your cork manufacturer]
Finishing Touches and Maintenance
Finishing is where many DIY installs either look “professional” or get undermined by missed movement rules. Your best outcome comes from trimming correctly, applying finish only when required, and respecting cure times before heavy use.
Trim and transition pieces should not block expansion gaps on floating cork floors unless the manufacturer explicitly allows otherwise.
Not all cork floors need field sealing; prefinished systems still require the manufacturer’s approved cleaning and wet-exposure limits.
Most adhesive and finish systems require a specified cure or wait time before furniture movement and routine traffic.
– Install trims/transition strips and reinstall baseboards only if the floor system allows it without blocking expansion gaps.
– Seal or finish only if your cork system calls for it; some floors are prefinished, while others require a recommended sealer.
– After installation, follow the cure/wait time before heavy foot traffic and avoid wet mopping until the finish/adhesive has fully set.
Maintenance that protects comfort and appearance
Use dry or lightly damp cleaning methods approved by your cork manufacturer. If you use cleaners, stick to products compatible with cork finishes (some sealers and oils react differently than polyurethane systems).
Also manage grit: cork can be comfortable, but abrasive particles still wear finishes and can scratch surface coatings.
What Can Go Wrong (Common Mistakes to Avoid)
Most cork install problems are preventable when you treat the subfloor and layering system as the “foundation of the foundation.” If the base or layers are wrong, even perfect plank alignment won’t hold up long-term.
Skipping subfloor leveling commonly leads to lock separation, squeaks, or localized joint failures.
Moisture barrier mismatches can cause swelling, odor, or adhesive breakdown—especially over concrete slabs.
Rushing acclimation increases the chance of post-install movement that stresses seams and edges.
– Skipping subfloor leveling: small high spots and dips can cause gaps, squeaks, or joint separation.
– Wrong underlayment or moisture barrier: cork systems can be sensitive to moisture; mismatched layers can lead to swelling or odor.
– No expansion gap (floating floors): temperatures and humidity changes can cause buckling if the perimeter is too tight.
– Rushing acclimation: installing immediately after bringing materials indoors can increase movement after the floor is laid.
– Cutting techniques that chip cork: using the wrong blade or not supporting cuts can damage edges—test your method on a spare piece.
Practical “stop and fix” triggers
– If you see a plank row rocking before you lock it in, stop—recheck the high spots.
– If you notice adhesive transferring poorly (glued-down), don’t “patch” later; adjust trowel notch and substrate prep before continuing.
– If the room is damp or HVAC is unstable, postpone installation until conditions match the manufacturer’s stated acclimation/environment requirements. [ADD: cite your cork product’s environment/acclimation conditions]
Verdict: Should You DIY Cork Floor Installation?
Installing cork floors is very doable for a DIY project if you can achieve a clean, flat, dry subfloor and you follow the exact install method for your specific cork type. Skip DIY (or get help) if you have major subfloor unevenness, ongoing moisture problems, or you’re unsure which system you have (click-lock vs. glue-down) and what your product requires.
DIY cork installations succeed when the installer controls flatness, uses the manufacturer’s specified underlayment/moisture barrier, and respects floating expansion gaps.
If moisture testing or substrate prep is uncertain, a pro installer can prevent long-term issues like odor and adhesive failure.
The most cost-effective DIY approach is to follow the manufacturer’s exact layer-by-layer system rather than improvising with “similar” materials.
Pros/cons quick read
| Option | Pros | Cons |
|---|---|---|
| DIY cork | Lower labor cost; control over layout and details; good fit for straightforward rooms | Requires careful subfloor prep; mistakes with underlayment/moisture or expansion gaps can be expensive |
| Professional install | Faster completion; substrate corrections and moisture concerns handled early | Higher cost; still requires you to confirm the product system and warranty requirements |
Who should not DIY this
– You have recurring humidity, leaks, or no reliable way to test slab moisture.
– Your subfloor is significantly out of plane and needs extensive leveling.
– You’re installing a glued-down system and can’t follow adhesive timing precisely.
Scan-ready checklist (quick sanity check)
– [ ] Identify your cork type (click-lock floating or glue-down)
– [ ] Subfloor is clean, smooth, and level per manufacturer guidance
– [ ] Moisture barrier/underlayment matches the flooring instructions
– [ ] Cork acclimated before installation
– [ ] Layout planned; first rows aligned
– [ ] Expansion gap used where required
– [ ] Cuts made with proper support/blade
– [ ] Finishing/sealing done only if required
– [ ] Adhesive/finish cure time followed before heavy use
FAQ
Do I need underlayment for cork floors?
It depends on the flooring system. Some click-lock cork products include or require specific attached underlayment; others require a separate underlayment/moisture barrier—check the manufacturer instructions for your exact model.
Can I install cork over tile or laminate?
Sometimes, but only if the existing surface meets the flatness and condition requirements and the manufacturer allows it. If the surface is uneven, cracked, or not approved, you’ll need to correct it first. [ADD: source for subfloor-over-existing-floor rules for your specific cork product.]
How long should I wait before moving furniture onto the new cork floor?
Follow the cure/wait time stated by the flooring and (if used) adhesive/sealer manufacturers. If you don’t have that guidance, use the label instructions or product documentation rather than guessing.
Is cork flooring waterproof?
Cork is more comfortable than many hard surfaces, but “waterproof” depends on the finish and system. Glued-down vs. floating floors and the recommended maintenance method can change how water exposure affects the material—verify with your manufacturer’s care instructions. [ADD: source for water-resistance/care limits for your cork product.]
Sources
– [ADD: Manufacturer installation instructions for the specific cork flooring type you plan to install (click-lock vs. glue-down).]
– [ADD: Manufacturer guidance for required underlayment/moisture barrier and approved subfloor conditions (levelness, moisture requirements).]
– [ADD: Adhesive and/or sealer manufacturer technical data sheets, if your system requires adhesives or finishing products.]
When you install cork flooring, your two best predictors of success are a properly prepared subfloor and a correctly matched system (click-lock vs. glue-down, plus the right underlayment and moisture barrier). Plan the layout, keep expansion rules intact, cut carefully, and respect cure times—then your cork floor should stay comfortable, stable, and good-looking for years.
Frequently Asked Questions
What tools and materials do I need to install cork floors?
To install cork floors, you’ll typically need a flooring underlayment (if required), a moisture barrier for concrete subfloors, a tape measure, spacers, a utility knife, a chalk line, and a tapping block with a pull bar for click-lock planks or tiles. For glue-down cork flooring, you’ll also need the correct cork floor adhesive, a notched trowel/roller, and a clean bucket for mixing or priming if recommended. Have a straightedge and pencil ready to mark cuts, and plan for transition strips, baseboards, and finishing trim to cover expansion gaps.
How do I prepare my subfloor before installing cork flooring?
Start by ensuring the subfloor is clean, dry, and smooth—cork floors perform best on an even surface with minimal high/low spots. Use a level or straightedge to check flatness and sand down ridges or fill dips with a suitable leveling compound. If you’re installing over concrete, install a moisture barrier to protect the cork and reduce the risk of cupping or mold growth. Finally, acclimate the cork flooring in the room (temperature and humidity stable) for the manufacturer’s recommended time before installation.
How do I install click-lock (floating) cork floors step by step?
Begin by laying down the required underlayment and trimming it to fit walls and doorways, then establish a straight starting line for your first row. Use spacers around the perimeter to maintain the expansion gap cork floors need, and stagger plank joints according to the manufacturer’s pattern guidelines. Click the pieces together using the manufacturer’s locking system, applying gentle pressure and using a tapping block as needed to ensure tight seams. Finish by installing transitions at thresholds and replacing baseboards (or using trim) to cover the expansion gap.
Which type of cork flooring is best for basements or kitchens?
For basements, kitchens, or areas with higher moisture risk, consider installing cork floors with a robust moisture-resistant finish and follow strict subfloor moisture requirements. Glue-down cork is sometimes preferred for stability over certain subfloors, but click-lock cork can work well if the subfloor is flat and you use the correct underlayment and vapor barrier. Always verify the specific product’s warranty for wet-prone areas and ensure proper sealing if the manufacturer recommends it. Avoid installing cork floors directly over wet concrete without a moisture barrier and accurate moisture testing.
Why is expansion gap important when installing cork floors, and how do I maintain it?
Cork floors naturally expand and contract with changes in temperature and humidity, so an expansion gap prevents buckling or seam separation. During installation, use spacers along all walls and fixed objects like pipes, and don’t remove them until the floor is ready for trim and baseboards. In areas with limited wall space, plan transitions or expansion joints as directed by the manufacturer to keep cork floors stress-free. After installation, maintain the room’s humidity level and avoid flooding or prolonged standing water to protect the integrity of the cork flooring.
📅 Last Updated: October 11, 2026 | Topic: How to install cork floors? | Content verified for accuracy and freshness.
References
- Flooring
https://en.wikipedia.org/wiki/Cork_flooring - Floating floor
https://en.wikipedia.org/wiki/Floating_floor - WBDG
https://www.wbdg.org/resources/resilient-flooring - https://www.epa.gov/indoor-air-quality-iaq/what-you-need-know-about-indoor-air-quality
- https://www.usgs.gov/special-topic/water-science-school
- Google Scholar Google Scholar
https://scholar.google.com/scholar?q=cork+floor+installation+instructions - Google Scholar Google Scholar
https://scholar.google.com/scholar?q=cork+flooring+underlayment+moisture+requirements - Google Scholar Google Scholar
https://scholar.google.com/scholar?q=cork+flooring+floating+floor+installation+guide+subfloor+preparation - https://pubmed.ncbi.nlm.nih.gov/?term=indoor+air+quality+floor+installation+adhesives
- https://www.cdc.gov/niosh/topics/flooring/


