
If you’re installing a vapor barrier under rubber floors, the fastest route to a dry, long-lasting subfloor is choosing the right underlayment and sealing it correctly at all seams and edges. This guide walks you step by step through prep, installation, and tape choices so moisture can’t migrate upward and ruin your rubber flooring. Follow it correctly and you’ll get a reliable moisture-control layer without trapping water where it can cause problems.




Install a vapor barrier under rubber floors by prepping the subfloor flat and clean, laying the sheeting with the correct overlap, sealing every seam/penetration, and keeping the barrier protected until the rubber flooring is installed. The goal is to stop moisture movement without accidentally trapping liquid water—so your barrier type, placement, and tape/seal system must match both your subfloor and the rubber flooring manufacturer’s installation requirements.
This guide is written for homeowners and installers prepping a subfloor under rubber flooring (sheet, tile, or planks) where moisture control matters—especially over concrete slabs, basements, and crawl spaces. If you’re unsure whether your space is already dry enough, read the “What can go wrong” section before you commit.
Choose the Right Vapor Barrier for Rubber Floors
The right vapor barrier choice comes down to subfloor type (concrete vs. wood) and the rubber floor’s installation specs. Use a floor-underlayment vapor barrier product that’s specifically rated/approved for this application and verify it’s compatible with rubber flooring—not just “any plastic sheet.”
A vapor retarder’s effectiveness is determined by its permeance rating (how much water vapor passes through), not just its thickness.
Rubber flooring manufacturers frequently limit or specify underlayment/vapor barrier materials to protect adhesive bond lines and dimensional stability.
For slab and below-grade installs, building products are often classified under standards such as ASTM E1745 to communicate vapor retarder performance.
Confirm your subfloor type (concrete slab vs. wood subfloor)
– Concrete slabs (including many basement slabs and slab-on-grade installs) often need more deliberate vapor control because moisture vapor can migrate upward even when there’s no visible wetness.
– Wood subfloors (with joists/buckling risks and ventilation considerations) still need moisture management, but “stopping vapor” alone can be the wrong strategy if the subfloor is actively wet from leaks, condensation, or inadequate airflow.
Use an application-rated vapor barrier—and match rubber flooring requirements
When you select a vapor barrier, treat the rubber flooring manufacturer’s instructions as the controlling document. In practice, there are two common failure modes:
1) A barrier that’s too permeable (moisture still moves through).
2) A barrier that’s “too impermeable” or paired incorrectly (you can trap moisture where it can’t safely dry).
To make that selection process easier, here’s how typical barrier/performance options map to common subfloor scenarios.
Typical Vapor Retarder Choices for Floors (Common Specs)
| # | Vapor retarder type | Typical permeance* | Often used under | Moisture-control fit |
|---|---|---|---|---|
| 1 | 6-mil polyethylene sheet (standard) | Often ~0.04 perms (very low) | Concrete slabs, crawl/basement areas | ★★★★☆ |
| 2 | “Rubber underlayment”/floor-specific vapor barrier laminates | Varies by product; typically very low | Rubber sheet/tile/plank (when approved) | ★★★★★ |
| 3 | Vapor-retarder underlayment boards (rigid/engineered) | Product-specific (often low) | Concrete or prep-topped subfloors | ★★★☆☆ |
| 4 | “Laminated” barrier with integrated seam tape | Very low; seam strategy matters | Concrete/basement installs | ★★★★☆ |
| 5 | Generic plastic film not rated for floor use | Unknown (often variable) | Not recommended unless approved | ★☆☆☆☆ |
| 6 | “Moisture barrier” products without a seam system | Can be low, but seams fail first | When seams aren’t specified | ★★☆☆☆ |
| 7 | All-in-one vapor barrier underlayment (when specified) | Typically engineered low | Rubber floors requiring underlayment | ★★★★☆ |
The permeance values above are typical “order-of-magnitude” expectations for common product classes; always confirm the exact permeance in the barrier’s spec sheet and the rubber flooring’s installation guidelines. According to ASTM E1745, vapor retarders are characterized by permeance categories and measurement methodology (ASTM E1745, see manufacturer spec sheets for exact product values).
Prep the Subfloor (This Step Determines Success)
A vapor barrier only performs as well as the surface beneath it and the moisture conditions you’ve addressed. Prep is what prevents punctures at seams, wrinkles that create leaks, and failure at the interface where tape and sealant need solid adhesion.
A vapor barrier must lie flat to avoid “micro-gaps” that allow vapor to bypass seam overlap.
Seam tape adhesion depends on surface cleanliness and dryness; dust, paint overspray, and irregularities reduce bonding.
If there’s an active water source (leak, seepage, or wet concrete), a vapor barrier may slow vapor movement but cannot stop liquid water migration.
Clean the surface so the sheet can lie flat
– Sweep and vacuum thoroughly; scrape bumps, mortar ridges, and high spots that can lift the sheet.
– Remove debris that can puncture—grit, drywall scraps, staples, and metal shards are common culprits.
– Check for sharp edges around transitions, expansion gaps, and previous floor residue. Rubber flooring is forgiving, but the barrier is not.
Fix moisture sources and damage first
Before installing, confirm there are no:
– Ongoing plumbing leaks (even “minor” drips)
– Condensation issues (often due to inadequate HVAC/dehumidification)
– Concrete wetness from recent pours or construction moisture
– Failing drainage at foundation or grading
According to common concrete curing and moisture guidance used in flooring practice, the slab must be dry enough for the flooring system—not just “dry to the touch” ([ADD: source for concrete slab moisture guidance used in flooring]). If you see damp patches, efflorescence, moldy odors, or persistent humidity spikes, address the root cause first.
Lay the Vapor Barrier: Direction, Overlap, and Seams
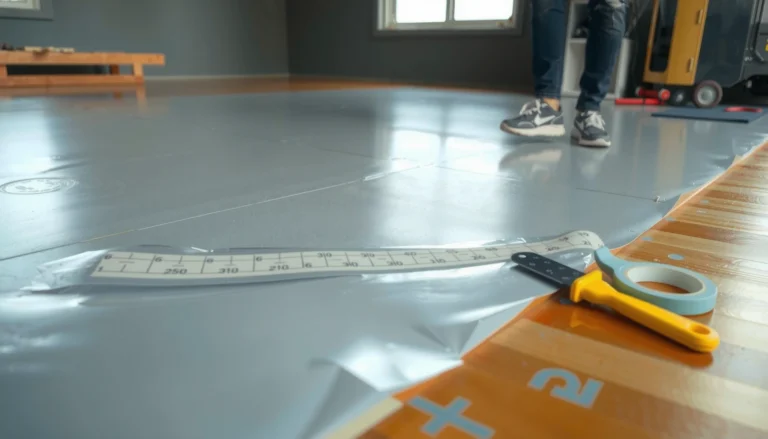
Proper placement is less about “covering the floor” and more about controlling pathways. Lay the sheeting flat, orient the correct face where the manufacturer indicates, and maintain the specified overlap so seams act like continuous material.
Overlap and seam technique are the difference between a continuous vapor retarder and a patchwork that still allows vapor transport.
Many vapor barrier products specify an installation orientation (which side faces up) that affects performance and system compatibility.
Wrinkles are not just cosmetic—they can create channels that defeat otherwise well-sealed seams.
Roll out the barrier correctly and keep it wrinkle-free
– Lay the first run with the intended face toward the floor (as specified by the barrier manufacturer).
– Use a controlled placement approach: unroll partially, position, then fully lay down while smoothing.
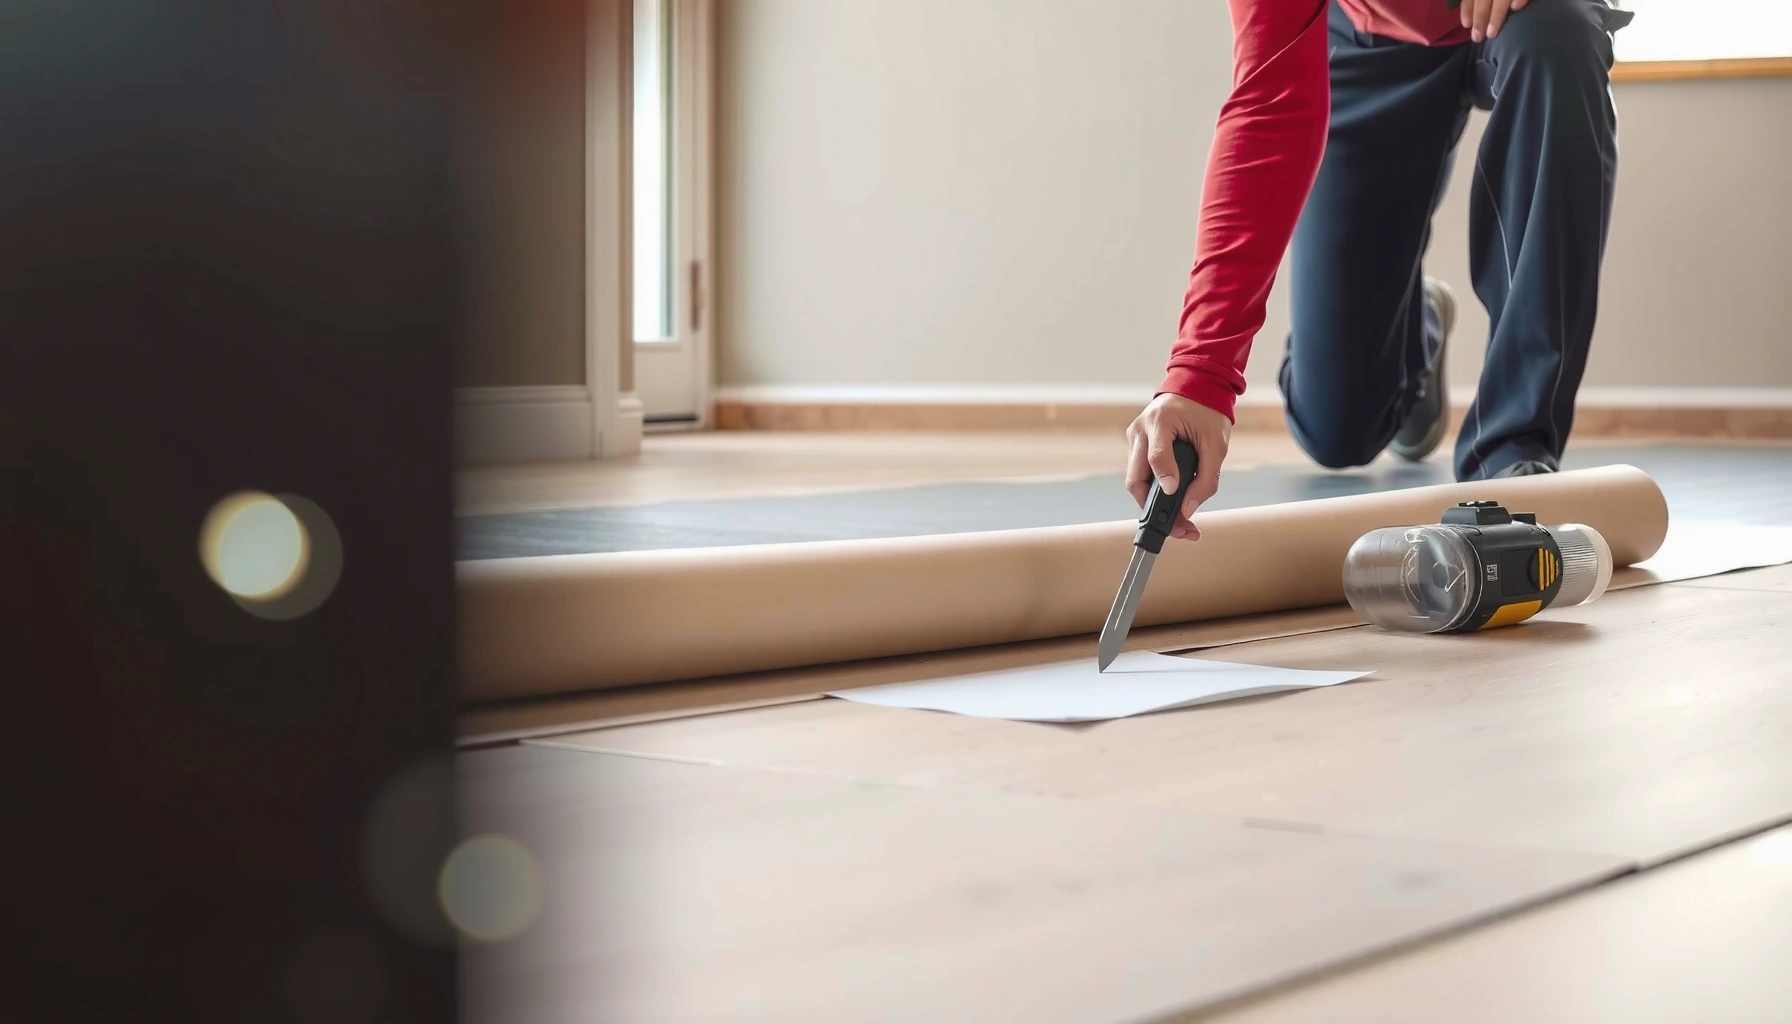
– If you need to cut, use straight edges and minimal disturbance. Try to avoid “re-stretching” once it’s positioned.
Overlap seams per instructions (and avoid gaps)
– Follow the barrier manufacturer’s required overlap width (often specified in inches; confirm exact value in the product data sheet).
– Plan your seam locations: avoid seams that align with high-stress edges where traffic or installation weight will flex the sheet.
– Maintain continuity around pipes, posts, vents, and door thresholds. Gaps here are frequent leak routes.
Seal Edges and Penetrations Properly
Sealing is where most vapor-barrier installs either succeed or fail. Tape/seal must be the correct system for the product and must fully cover seams and all penetrations so moisture can’t find shortcuts under the rubber flooring.
Using non-approved tape is a common cause of seam failure because adhesion chemistry may not bond to the barrier film.
Penetrations (pipes and transitions) concentrate leakage risk, so they require dedicated sealing—not just “patching” with scrap film.
Edges and perimeter terminations should follow the manufacturer’s detail to preserve a continuous vapor retarder plane.
Tape or seal every seam with the manufacturer’s recommended system
– Use only the tape/sealant specified for that vapor barrier product class (commonly, a compatible acrylic tape or proprietary seam tape).
– Press firmly with correct technique (flat pressure, no trapped air bubbles).
– Replace damaged tape sections. A small gap can become a large moisture pathway over time.
Seal around penetrations and transitions
– For penetrations, use the product’s instructions for how to cut, wrap, and seal the vapor barrier around irregular surfaces.
– For transitions, terminations must be continuous—don’t leave “open paths” where the rubber flooring ends and the barrier stops.
– If your rubber flooring installation uses adhesives or a floating system, coordinate with the flooring instructions to ensure the barrier isn’t compromised during fastening.
Add Protection and Install Rubber Flooring Correctly
Once the barrier is sealed, treat it like a finished membrane: protect it from punctures and tearing while you install. Then install the rubber flooring exactly per its underlayment, spacer, and approved-thickness requirements so you don’t undermine your moisture control strategy.
Even a perfectly sealed vapor barrier can fail if it is punctured during installation and those punctures are hidden under the finished floor.
Rubber flooring systems may require specific underlayment behavior or thickness; changing it can affect performance and dimensional stability.
Clean, protected installation practices reduce the risk of tearing seams and lifting edges before the floor is set.
Follow rubber flooring installation instructions (not generic “best practices”)
– Confirm whether your rubber flooring is sheet, tile, or plank, and follow the manufacturer’s underlayment guidance (if any).
– Pay attention to any spacing requirements, adhesive cure times, and maximum barrier thickness allowances.
– If the rubber flooring expects a particular substrate flatness, address it during prep—not after barrier installation.
Keep traffic and sharp tools off the barrier
– Avoid dragging tools or stacking materials directly on the film.
– If you must work across the barrier during installation, use temporary protection (such as smooth walk boards) that won’t puncture the membrane.
– Replace torn sections immediately—don’t “patch later.” Later patches often don’t achieve clean adhesion.
Common barrier-to-floor system risks (quick pros/cons)
| Option | Pros | Cons / Risks |
|---|---|---|
| Approved vapor barrier + approved seam tape (follow specs) | Highest chance of continuous vapor control if installed correctly | Requires strict adherence to tape/orientation instructions; extra labor |
| “Plastic sheeting plus whatever tape” | Low cost and quick to place | Tape often fails to bond; seams/edges become leak pathways under rubber floors |
| Skipping barrier because “the slab seems dry” | Faster install | Can lead to premature failure if vapor movement is still occurring |
What Can Go Wrong (Common Mistakes and Edge Cases)
The most common problems are not the barrier itself—they’re installation shortcuts that create vapor pathways or moisture trapping. If your subfloor is already wet or the barrier setup mismatches the flooring system, you may end up with odors, bubbling, or early flooring failure.
Moisture-control systems can create unintended consequences if they trap moisture on one side without a path to dry.
Seam overlap errors are disproportionately damaging because vapor migrates through the weakest link first.
When subfloor moisture is high, vapor barriers can reduce vapor flux but may not resolve symptoms like odor or biological growth.
– Using the wrong barrier type or thickness: A barrier that’s too permeable won’t control moisture; a barrier that’s incompatible with the flooring system can inhibit drying.
– Skipping seam overlap or using non-approved tape: Even a well-laid sheet can leak through seams when tape doesn’t chemically bond to the membrane.
– Leaving the barrier unprotected: Punctures during installation are hard to detect and may become hidden failure points.
– Ignoring an active moisture condition: If there’s a leak, seepage, or consistently high humidity, installing a vapor barrier alone may not stop odors, bubbling, or premature rubber flooring wear.
– In those cases, moisture remediation and/or humidity control may be required—commonly involving dehumidification and addressing building envelope issues ([ADD: source for basement/crawl moisture remediation guidance]).
A practical decision check before you start
If you’ve recently renovated, the subfloor’s “dry feel” can be misleading. Consider pausing and confirming moisture conditions using methods appropriate for flooring (per your rubber flooring and barrier manufacturer guidance). If you cannot confirm compatibility or moisture levels, get manufacturer direction or a flooring/masonry professional.
Verdict: When This Is Worth It (and When to Skip)
A vapor barrier under rubber floors is usually worth doing when the manufacturer calls for it or when you’re installing over concrete slabs and below-grade spaces. The upside is reduced vapor movement; the downside is that incorrect product selection or poor seam sealing can actually make moisture issues worse by trapping moisture.
The safest approach is to align three documents: the rubber flooring installation guide, the vapor barrier data sheet, and the seam tape/seal system requirements.
If your subfloor moisture problem is active (leaks, seepage, high humidity), addressing the moisture source matters more than adding more membranes.
Correct seam overlap and continuous sealing typically provide more real-world benefit than switching barrier brands.
When to proceed
– Rubber flooring manufacturer requires or strongly recommends a vapor retarder/approved underlayment system.
– You’re installing over concrete slab, basement slabs, or crawl spaces with known moisture risk.
– You can follow the barrier’s installation details precisely (overlap, face orientation, tape/seal system, and protection).
When to pause or skip
– There’s an active leak, persistent wet spots, or signs of moisture intrusion that suggest a building envelope issue.
– You can’t confirm the barrier’s compatibility with your specific rubber flooring type.
– Your space has odor/mold indicators or recurring humidity spikes—remediation may be necessary before adding layers.
Quick Checklist (Scan/Save)
– [ ] Subfloor type identified (concrete/wood) and moisture issue addressed
– [ ] Vapor barrier product is approved for use under rubber flooring
– [ ] Subfloor is clean, flat, and free of sharp debris
– [ ] Sheets laid flat; correct face oriented
– [ ] Seams overlapped and sealed with manufacturer-recommended tape/seal
– [ ] Edges and penetrations sealed (pipes, transitions, vents)
– [ ] Barrier protected from punctures until rubber flooring is installed
FAQ
Do I need a vapor barrier under all rubber floors?
Not always. Use the rubber flooring manufacturer’s requirements and your subfloor conditions (especially concrete and basement/crawl spaces) to decide.
What’s the most important part of the installation?
Seams and edges: overlap correctly and use the barrier manufacturer’s approved tape/seal system so moisture can’t travel underneath.
Can I use plastic sheeting instead of a rated vapor barrier?
Sometimes, but only if the instructions for both your vapor barrier system and your rubber flooring allow that specific type. If the rubber flooring instructions specify a particular vapor retarder class or tape/seal system, follow that rather than substituting.
Should the vapor barrier be left exposed?
Generally no—plan to keep it protected and proceed with installation per the product instructions to reduce puncture and tearing risk.
Conclusion
Installing a vapor barrier under rubber floors works when you treat it as a continuous, sealed system: prep the subfloor so the membrane lies flat, lay it with the correct face orientation and seam overlap, seal every seam and penetration using the approved tape/seal, and protect the barrier until the rubber flooring is installed. If you have active moisture intrusion or you can’t confirm product compatibility, pause—because the wrong barrier or sealing method can create more problems than it solves.
Sources
– [ADD: Rubber flooring manufacturer installation instructions/spec sheet for vapor barrier requirements]
– [ADD: Vapor barrier manufacturer installation instructions for seam overlap, orientation, and approved tape/seal]
– ASTM E1745 (vapor retarder classification methodology) ASTM E1745
– [ADD: Subfloor moisture guidance from a relevant manufacturer or building standard—only if you can provide a specific doc name/source]
Frequently Asked Questions
What type of vapor barrier should I use under rubber flooring?
Most rubber flooring installations do best with a polyethylene (plastic) vapor barrier, typically 6-mil thickness, placed directly over the subfloor. If you have high-moisture conditions, consider a thicker 10-mil barrier or a system rated for below-floor moisture control. Always check the rubber floor manufacturer’s instructions because some products require specific underlayment or exclude certain barrier materials.
How do I install a vapor barrier correctly under rubber floors?
Start by cleaning the subfloor and repairing any cracks or uneven spots so the barrier lays flat. Roll out the vapor barrier with the seams overlapped by at least 6–12 inches (or per your product spec) and tape the seams with vapor-barrier tape. Extend the barrier up the walls a few inches if recommended, then trim excess after installing the rubber floor and baseboards.
Why is a vapor barrier important under rubber flooring?
A vapor barrier helps prevent moisture from migrating upward into your rubber flooring, which can lead to odor, mold risk, or floor cupping. Rubber materials can also trap moisture beneath them, so controlling subfloor humidity is key to long-term performance. Proper vapor barrier installation can improve durability and help prevent adhesive or underlayment failure.
Which subfloor conditions require a moisture test before installing a vapor barrier?
If you’re installing rubber flooring over concrete slab, it’s smart to measure moisture levels before you install a vapor barrier. Look for signs of moisture issues such as dark patches, dampness, peeling paint, or a musty smell, and follow local best practices for moisture testing. If moisture is elevated, you may need a dedicated moisture mitigation coating system instead of (or in addition to) a standard plastic vapor barrier.
What’s the best way to handle seams and edges so the vapor barrier doesn’t leak?
The most common vapor barrier failures come from poorly sealed seams and gaps at walls or penetrations. Overlap seams consistently and tape them with seams-rated vapor barrier tape, not duct tape, to maintain a continuous moisture-blocking layer. At edges and around pipes or vents, seal penetrations with compatible flashing or sealant so moisture can’t bypass the barrier under the rubber floor.
📅 Last Updated: October 11, 2026 | Topic: How to install a vapor barrier under rubber floors? | Content verified for accuracy and freshness.
References
- Google Scholar Google Scholar
https://scholar.google.com/scholar?q=vapor+barrier+under+resilient+flooring - Google Scholar Google Scholar
https://scholar.google.com/scholar?q=moisture+control+concrete+slab+vapor+barrier+resilient+floor - Google Scholar Google Scholar
https://scholar.google.com/scholar?q=rubber+flooring+moisture+vapor+barrier+installation - Vapor barrier
https://en.wikipedia.org/wiki/Vapor_barrier - https://www.cdc.gov/mold/moisturecontrol.htm
- https://www.epa.gov/mold/moisture-control
- https://www.energy.gov/energysaver/air-sealing/weatherization-and-air-sealing/vapor-barriers
- https://www.hud.gov/sites/documents/DRAINAGE_MOISTURE.PDF
- https://www.sciencedirect.com/topics/engineering/vapor-barrier
- https://pubmed.ncbi.nlm.nih.gov/?term=vapor+barrier+moisture+control+flooring