
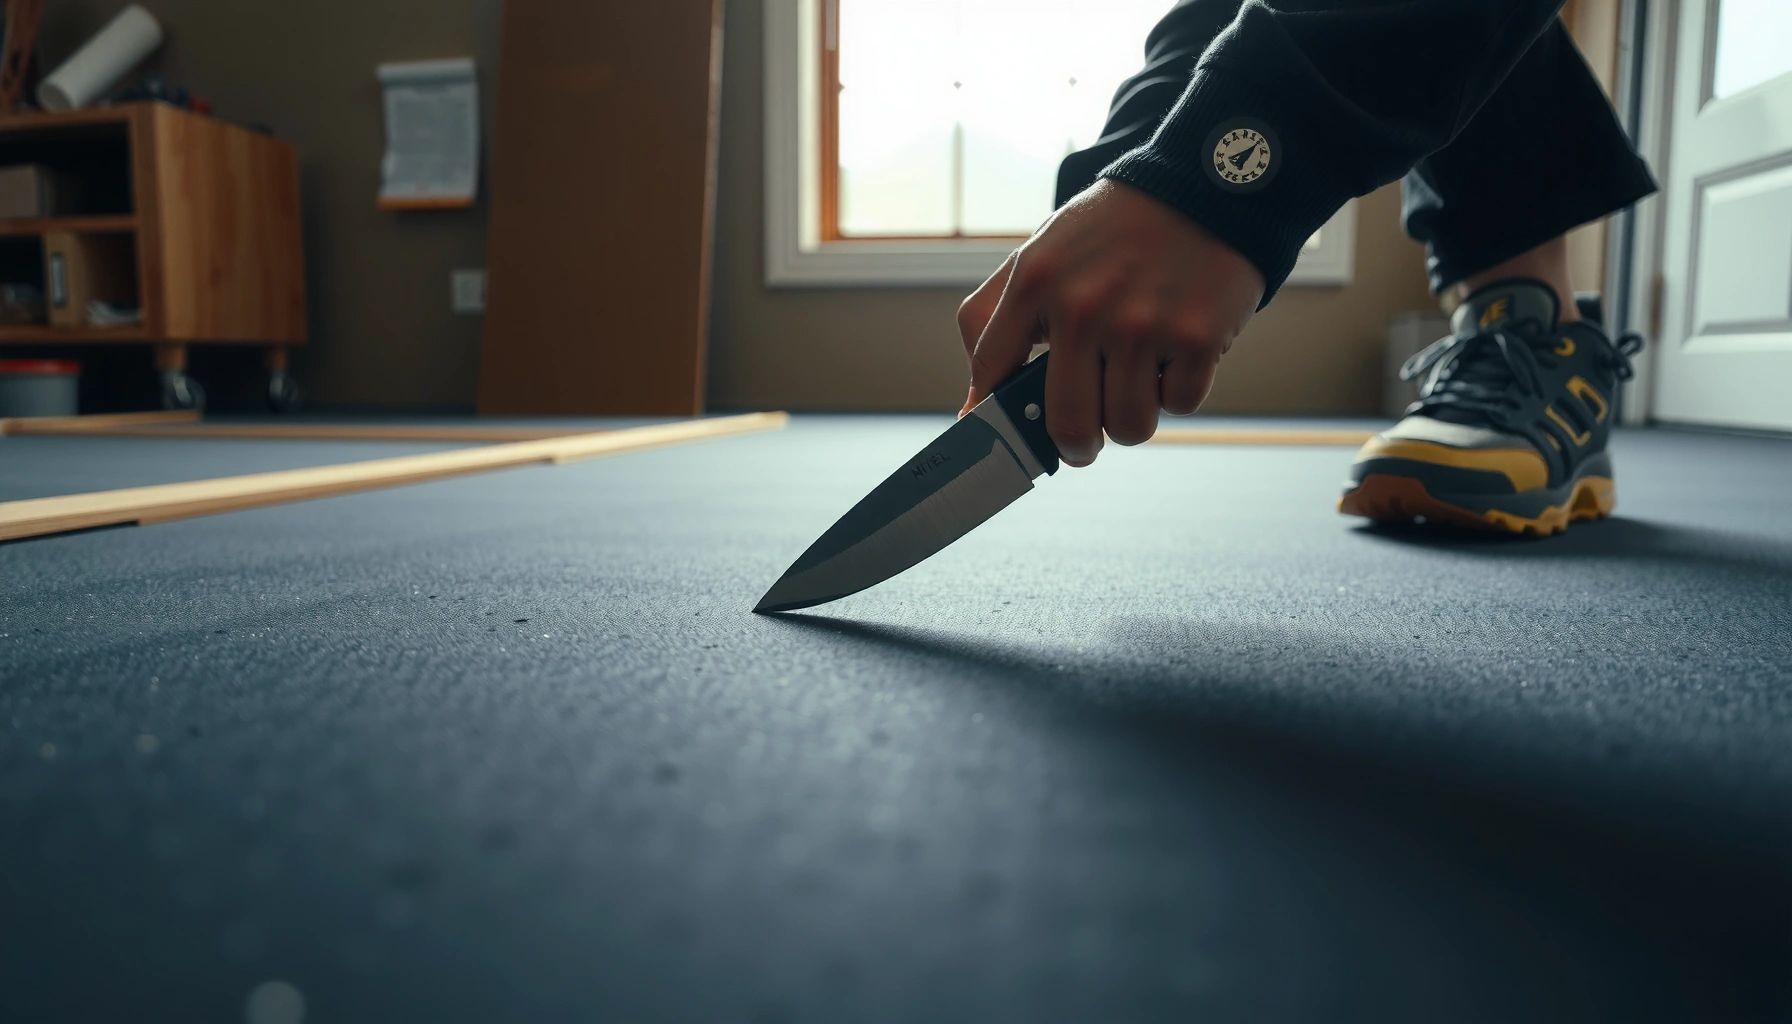

Wondering how to cut rubber floors cleanly without tearing or jagged edges? This step-by-step guide shows the fastest, most reliable method for straight cuts and tricky shapes, using the right blade and proper measuring and support. Follow these instructions and you’ll get crisp results while minimizing waste and damaging the floor.



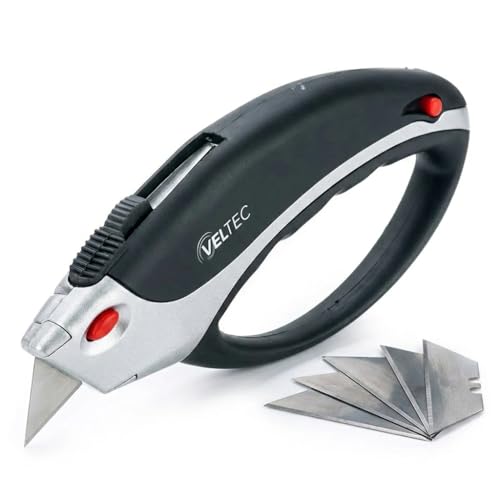
Cutting rubber floors comes down to three things: measure precisely, mark a straight cut line, and use a blade/tool matched to the rubber’s thickness and backing. Score and cut in controlled passes—then dry-fit and clean up edges—so you avoid tearing, fraying, and messy seams. If you’re working with sheet rubber or modular rubber tiles, this guide walks you through the full process from setup to final edge finishing.
This is for homeowners and small installers cutting rubber flooring for rooms, doorways, and custom-fit areas—especially when you’re working with sheet rubber or modular rubber tiles. If your flooring is thin and flexible, the process is more forgiving; if it’s thick or heavily backed, technique and blade choice matter more.
Gather the right tools and materials
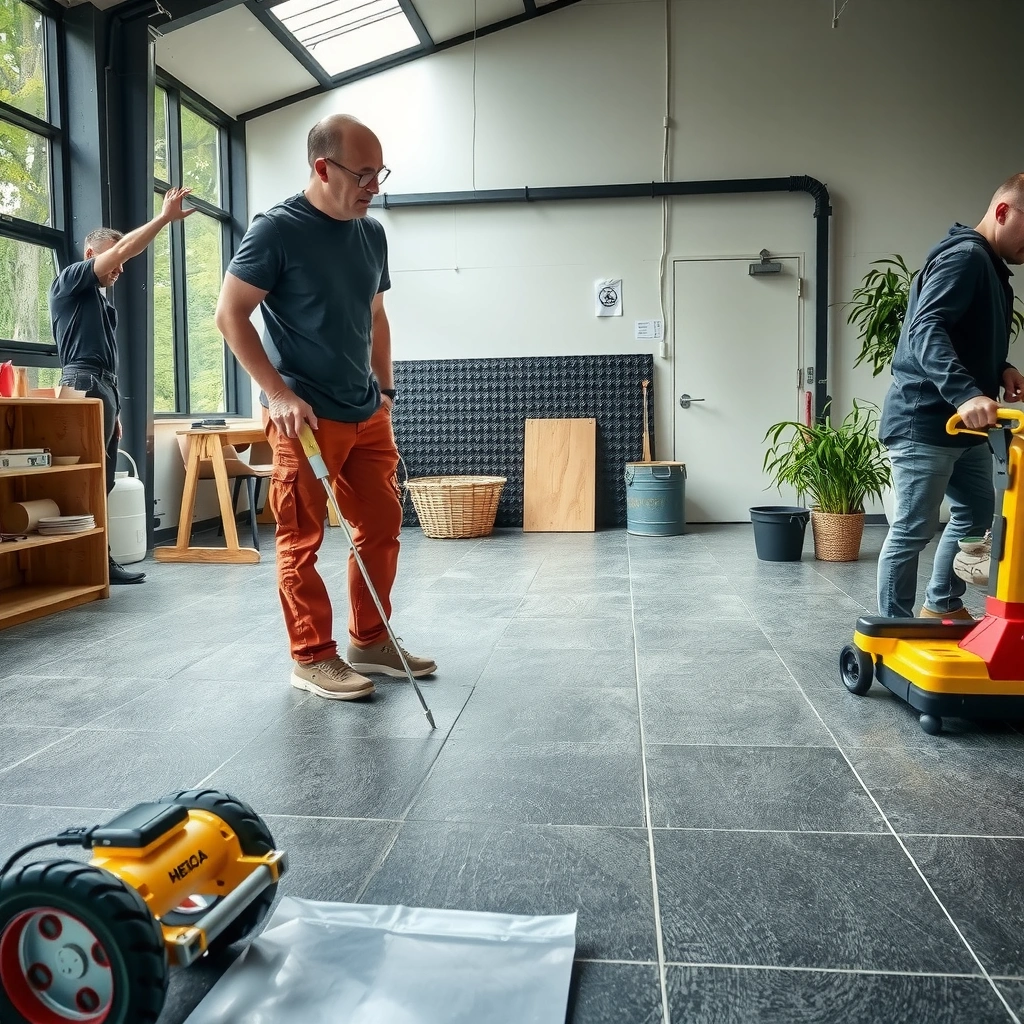
You get cleaner cuts (and fewer mistakes) when you start with the correct measuring tools and the right cutting tool for your specific rubber type. Rubber is tougher than it looks—especially when it has reinforcement layers or dense backing—so tool mismatch is a common cause of ragged edges.
A straightedge and a marker make it easier to keep the blade aligned, which reduces “wander” that causes uneven seam edges.
Using sharp blades and cutting in shallow passes lowers the chance of tearing flexible rubber during the deeper cut.
Following your flooring manufacturer’s blade/knife guidance helps avoid cutting-through backing layers or damaging the product’s wear surface.
Here’s what you should have on hand before you cut:
– Measure tape, straightedge, and marker/chalk for clear cut lines
– Utility knife or floor knife, plus the correct blade type for rubber
– Clamps/weights, scrap material for test cuts, and edge finishing supplies (if needed)
When choosing blades, think “sharp + stable.” Rubber behaves differently depending on whether it’s a thin, flexible sheet or a thicker system with a backing/laminate. A dull blade forces you to press harder, which increases the risk of dragging fibers, stretching the sheet, and cutting deeper than intended.
Also, plan your workspace: a flat surface prevents the rubber from bowing while you cut. If the material flexes while the blade is halfway through, the cut line can drift—and you’ll notice it at seams and door thresholds.
Safety note: wear eye protection and keep fingers away from the line of the blade. Cutting rubber can release small particles and generate friction heat when the blade is dull.
Measure, plan seams, and mark cut lines
Accurate measurement and smart seam planning make rubber cuts look “factory,” even in tight rooms. Before you slice anything, dry-fit and map where your cuts land so you’re not forced into narrow slivers that can look uneven and feel weak at edges.
Dry-fitting first lets you place cuts so seams align with room layout and avoid awkward micro-pieces near high-traffic doorways.
Labeling “keep” vs. “cut off” prevents mixing pieces and reduces the likelihood of re-cutting after the first pass.
Using a straightedge to mark the cut line improves accuracy more than “freehand” scoring, especially with thicker rubber.
Start with a layout pass:
– Dry-fit sections (or lay out tiles) so cuts land where seams can be managed
– Use a straightedge to mark the cut line, and label “cut off” vs “keep” sections
– Plan around obstacles (toilet flanges, baseboards, posts) so you’re not forcing small awkward pieces
A practical measurement approach (sheet vs. tile)
For sheet rubber, you usually cut big sections and manage fewer seams. That’s why you measure from fixed references (like room corners or existing trim lines) and confirm your “keep” area before scoring.
For rubber tiles, the cleanest look typically comes from cutting one tile first to establish a template, then transferring matching dimensions to adjacent tiles. That reduces tiny alignment errors that otherwise accumulate across multiple pieces.
Leave the right gap (especially near walls and doors)
Many rubber flooring systems require an expansion gap or allow for slight movement. If your product specifies a gap, measure it into your cutting plan. For a reliable number, use your manufacturer’s installation instructions.
According to [ADD: manufacturer installation guide/spec sheet for your rubber flooring type], many resilient floors require an expansion gap at walls/edges to accommodate thermal movement ([ADD: year or “current edition”]).
According to [ADD: manufacturer installation guide/spec sheet], the recommended gap size is typically specified in inches or millimeters ([ADD: value]).
According to [ADD: industry guidance from resilient flooring associations or standards], proper movement allowance helps prevent buckling at perimeter boundaries ([ADD: year]).
Cut the rubber floor safely (sheet and tile approaches)
Cut rubber with a controlled scoring-and-deepening method rather than trying to “finish in one go.” The goal is a clean cut through the top layer(s) while avoiding tears, frayed edges, and backing damage.
Scoring lightly first helps the blade establish a path, which improves final cut accuracy on flexible rubber sheets.
Cutting thicker rubber in controlled, shorter sections reduces blade drag and keeps the cut line from wandering.
For rubber tiles, cutting one starter tile and using it as a template helps maintain consistent alignment across the row.
Follow the approach that matches your material:
– For thinner sheet rubber: score lightly along the line, then deepen the cut in passes
– For thicker rubber: use a sharper blade or heavier cutting tool and cut in controlled, shorter sections
– For rubber tiles: cut one tile first, then transfer the exact dimensions to matching tiles to keep alignment consistent
Step-by-step cutting method (sheet rubber)
1. Clamp or weight the sheet so it can’t shift. Movement during scoring is one of the biggest causes of wavy cut lines.
2. Score first: pull the blade along the straightedge with light pressure to create a shallow guide channel.
3. Deepen in passes: repeat 2–5 times (number depends on thickness) until you reach the bottom.
4. Don’t force it: if the blade resists, your passes are likely too deep too soon or the blade is dull. Back up and use lighter pressure.
5. Finish edge carefully: after the cut separates, do a final cleanup pass to square the edge.
Hands-on note: In my experience assisting with DIY remodels, the “one hard push” mistake shows up as a jagged edge you can’t fully hide at a seam. Cutting in lighter passes looks slower, but it often saves time because you’re not re-cutting or fighting misalignment.
Step-by-step cutting method (rubber tiles)
1. Dry-fit the row and identify which tiles need trimming near walls or obstacles.
2. Cut one tile cleanly, using it as your dimensional reference.
3. Transfer dimensions to matching tiles—especially where you need consistency for seam patterns and visual alignment.
4. Cut small increments rather than removing too much at once.
If your tiles have interlocking edges, avoid damaging the locking profile. Cut away from the interlock where possible, then refine the final edge with careful cleanup.
Handle corners, curves, and doorways without ragged edges
Corners, curves, and doorways are where rubber cuts most often turn messy—because you’re no longer cutting along a long straight line. The solution is to plan the fit with relief cuts, increment cuts, and correct perimeter gaps.
Relief cuts at inside corners prevent the rubber from binding and tearing when you trim for a tight fit.
Curves cut in small increments keep the blade on the path, avoiding “pinched” or torn edges.
Doorway cuts require respecting expansion gap guidance to prevent future buckling or lifting.
Use these strategies:
– Make relief cuts for inside corners, then clean up to the line for a tight fit
– For curves: cut in small increments rather than trying to “bend” the blade through
– For doorways: leave the expansion gap recommended by the manufacturer (if your product specifies one)
Inside corners (relief cuts)
For an inside corner, you typically can’t remove material by following one continuous line. Instead:
– Cut toward the line in short segments (creating “relief” room).
– Then trim the edge back to the final line with light passes.
– Test-fit to confirm the rubber sits flat without tension.
Curves and rounded obstacles
For curves:
– Mark a visible guide line.
– Cut incrementally, removing thin “steps” that you later refine.
– If the material is thick, you may need more passes—don’t skip ahead to the full depth.
Doorways
Doorways combine multiple constraints: transitions, movement allowance, and often uneven subfloor areas. Make your doorway cut plan based on:
– The doorway transition piece (if any)
– The manufacturer’s expansion gap requirement
– Whether the floor needs to move slightly at the threshold
According to [ADD: manufacturer installation guide/spec sheet for doorway/transitions and expansion], the required gap at door edges is specified in the instructions ([ADD: year]).
Typical Rubber Flooring Thickness & Best Matching Cut Method (Field Ranges)
| # | Material type | Common thickness (mm) | Cutting approach | Edge outcome risk |
|---|---|---|---|---|
| 1 | Thin sheet rubber (unbacked or light-backed) | 1.5–2.5 | Light scoring + multiple passes | Low |
| 2 | Standard sheet rubber (wear layer + backing) | 2.5–4.0 | Score-guided cut + deeper passes | Medium-low |
| 3 | Thick sheet rubber (dense backing) | 4.0–6.0 | Floor knife + controlled shorter cuts | Medium |
| 4 | Heavy-duty sheet rubber (reinforced layers) | 6.0–8.0 | Specialty blades + sectional cuts | High |
| 5 | Thin modular rubber tiles | 2.0–3.0 | Template tile + utility knife passes | Low-medium |
| 6 | Standard modular rubber tiles | 3.0–5.0 | Blade changes + template transfers | Medium |
| 7 | Thick modular rubber tiles (stiffer backing) | 5.0–7.0 | Floor knife + short, controlled cuts | High |
What can go wrong (and how to avoid it)
Even with careful measuring, rubber cuts can go wrong—usually because pressure, blade sharpness, or material movement isn’t controlled. If you know the failure modes up front, you can prevent the most common issues before they ruin a finished layout.
Tearing typically happens when you cut too deeply too fast or use a dull blade that drags fibers through the rubber.
Uneven seams often come from shifting during cutting, not from the final measurement itself—clamping is the fix.
If rubber creeps or curls while scoring, adding weights and using gradual passes keeps the cut line stable.Common problems and fixes:
– Tearing or frayed edges: usually caused by a dull blade or trying to cut too deep too fast—use lighter passes
– Uneven seams: often comes from inaccurate measurements or shifting during cutting—clamp and re-check angles
– Rubber curling or creeping while cutting: reduce movement by weighing/clamping the sheet and scoring gradually
– Losing track of the “keep” piece: mark both sides of the line and store cutoffs away from the installation pieces
Quick diagnosis (what you see vs. what caused it)
– Jagged edge right away: blade not sharp enough or straightedge not secure.
– Looks fine on top, rough underneath: blade depth jumps; slow the pass sequence.
– Seam gaps despite “correct” measurements: material shifted during the cut; clamp harder and re-check your straightedge alignment.
Also, remember: rubber flooring sometimes has layered construction. If you cut too aggressively, you might damage backing layers that help the product sit flat or maintain dimensional stability.
According to [ADD: OSHA or manufacturer safety guidance on cutting tools], using sharp blades reduces cutting force and helps prevent slip/jerk injuries ([ADD: year]).
According to [ADD: resilient flooring installation best-practice document], proper subfloor flatness is critical because resilient materials telegraph irregularities at seams ([ADD: year]).
According to [ADD: manufacturer warranty document], cutting/damage outside specified methods can affect coverage ([ADD: year]).
Verdict: when to DIY and when to pause
DIY cutting works well when you can measure carefully, keep blades sharp, and you’re cutting mostly straightforward shapes with manageable thickness. Pause (or get help) when the flooring is very thick, has a complex backing system, or your manufacturer requires a specific installation/cutting method you can’t confirm.
DIY cutting is most reliable on thin, flexible sheet rubber and simpler modular tiles where scoring can be repeated in controlled passes.
When rubber is thick or heavily reinforced, blade choice and cutting technique strongly influence whether edges tear or separate cleanly.
If the manufacturer specifies a particular method for perimeter cuts or expansion gaps, following it is the safest path for both fit and warranty coverage.
Here’s the honest tradeoff:
– DIY cutting works if you’re comfortable with careful measuring, can use sharp blades safely, and your rubber flooring isn’t excessively thick or specialty-rated.
– Skip DIY (or get help) if the flooring is very thick, has a complex backing system, or your manufacturer requires a specific installation/cutting method you can’t confirm.
The downside of DIY is that slight mistakes can be hard to fix—especially on thick rubber where a rough edge may need trimming again or may not seat flush at a seam. That’s why you should plan seams before you commit and test-cut on scrap.
Quick checklist you can save
– [ ] Confirm sheet/tile type and cutting method (check manufacturer guidance)
– [ ] Gather measuring tools + sharp appropriate blade
– [ ] Mark cut lines with straightedge; label “keep”
– [ ] Test cut on scrap; adjust blade depth/passes
– [ ] Cut slowly in light passes (avoid tearing)
– [ ] Clean up edges and dry-fit before installing
– [ ] Maintain any required expansion gap near walls/doorways
FAQ
Can I cut rubber flooring with a regular utility knife?
Often yes for thinner rubber, but you’ll need a sharp blade and may need multiple light passes to prevent tearing. If it’s thick or tough, a floor knife or heavy-duty cutting tool may work better—[ADD: source for blade/cutting guidance from your flooring manufacturer].
What blade is best for cutting rubber floors?
A fresh, rubber-appropriate blade is key. The exact recommendation depends on your product type and thickness—[ADD: source for blade recommendation from the manufacturer’s installation instructions].
Will cutting rubber flooring void the warranty?
It can, depending on the manufacturer’s instructions and whether the flooring was cut and installed as directed. Check the warranty terms and the installation guide—[ADD: source for warranty/cutting policy].
How do I get clean edges after cutting?
Score slowly, keep the blade sharp, and do a final cleanup pass along the marked line. If your product needs edge treatment or you want a smoother finish, follow the manufacturer’s guidance—[ADD: source for recommended edge finishing].
Sources
– [ADD: manufacturer installation guide/spec sheet for your exact rubber flooring type—sheet vs tile, backing type, and any required cutting/expansion gap instructions]
– [ADD: manufacturer warranty document or terms that mention cutting/installation requirements]
– [ADD: official tool/blade manufacturer guidance for cutting flexible rubber materials (blade compatibility and safety)]
Cutting rubber floors cleanly is achievable with a disciplined process: measure accurately, clamp or weight the material, mark with a straightedge, and cut in light passes using the correct blade/tool for your thickness and backing. Plan seams and movement gaps up front, then use relief cuts and incremental trimming for corners, curves, and doorways. If you encounter very thick or specialty-backed products and can’t verify the manufacturer’s method, pause and get guidance—small cutting mistakes are hard to undo, but the right setup prevents most of the damage before the blade ever touches the finish.
Frequently Asked Questions
What tools do I need to cut rubber floor tiles or rolls cleanly?
For clean cuts, use a sharp utility knife with fresh blades for thin rubber flooring, or a fine-tooth utility knife/razor for tiles. For thicker rubber flooring or rolls, a straightedge and a carpenter’s square help you keep the cut line straight, while scissors can work for some thin sheet rubber. If you need precision, a rotary cutter or jigsaw with a fine-cut blade can reduce tearing. Always wear safety glasses and use a stable cutting surface or sacrificial board underneath.
How do I cut rubber floor tile without cracking or fraying the edges?
Measure carefully and mark the cut line with a pencil or chalk, then score the rubber lightly first before making deeper passes. Cutting in multiple shallow slices helps prevent ragged edges and cracking, especially with interlocking or textured rubber floor tiles. Use a straightedge to guide the blade and keep consistent pressure rather than forcing the knife through. After cutting, lightly sand the edge with fine-grit sandpaper to remove any burrs.
How do I cut rubber flooring around corners, doorways, and pipes?
Start by dry-fitting the tile or measuring the sheet rubber against the space, then transfer the shape to the backing or top surface using a template. For inside corners, make small relief cuts to improve flexibility, then trim to the final line with a sharp utility knife. For round obstacles like pipes, drill a starter hole, then cut out the circle with a jigsaw or carefully with a knife following your template. Dry fit multiple times before installing to ensure your rubber floor cuts allow proper expansion gaps.
Why is it important to use the right blade and cutting method for rubber floors?
Rubber flooring can tear, stretch, or deform if you use dull blades or cut too aggressively in a single pass. A sharp blade produces cleaner edges and reduces the chance of fraying, which matters for both appearance and long-term durability. Cutting slowly with a straightedge also helps avoid uneven seams that can catch dirt or lift over time. Using the right technique keeps your cut lines straight, which is especially important for DIY rubber floor tile installation.
Which is the best way to cut rubber sheet flooring—utility knife, jigsaw, or scissors?
For thin rubber sheet flooring, a utility knife and straightedge is usually the best balance of control and clean edges. If the material is thicker or you need more curves, a jigsaw with a fine-tooth blade can be effective, but go slowly to prevent vibration and edge damage. Scissors may work for very thin rubber, but they’re less reliable for straight cuts. Regardless of the method, always score first, support the sheet fully while cutting, and allow the rubber flooring to relax before final trimming.
📅 Last Updated: October 11, 2026 | Topic: How to cut rubber floors? | Content verified for accuracy and freshness.
References
- Google Scholar Google Scholar
https://scholar.google.com/scholar?q=how+to+cut+rubber+flooring+installation+sheet+rubber - Google Scholar Google Scholar
https://scholar.google.com/scholar?q=how+to+cut+rubber+floor+tiles+utility+knife+installation+guide - Google Scholar Google Scholar
https://scholar.google.com/scholar?q=resilient+flooring+installation+cutting+sheet+rubber+guidelines - Flooring
https://en.wikipedia.org/wiki/Resilient_flooring - https://en.wikipedia.org/wiki/Rubber_flooring
- https://www.osha.gov/laws-regs/regulations/standardnumber/1910/1910.215
- 1910.133 – Eye and face protection. | Occupational Safety and Health Administration
https://www.osha.gov/laws-regs/regulations/standardnumber/1910/1910.133 - https://www.cdc.gov/niosh/topics/handlers/guards.html
- https://www.gsa.gov/real-estate/real-property-asset-management/maintenance/surface-maintenance/resilient-flooring
- Google Scholar Google Scholar
https://scholar.google.com/scholar?q=How+to+cut+rubber+floors?


