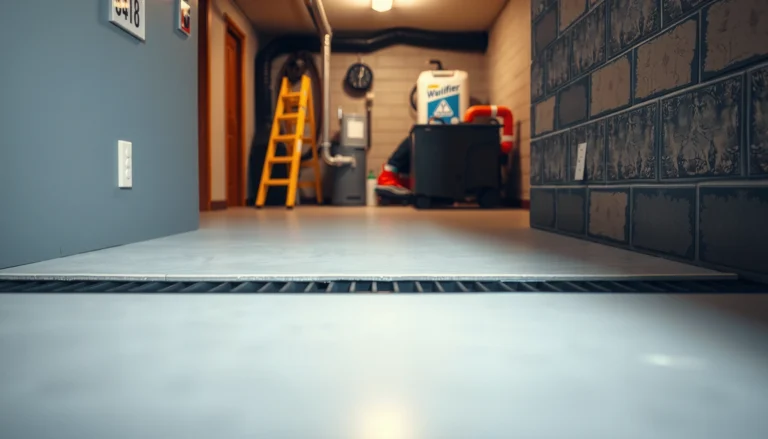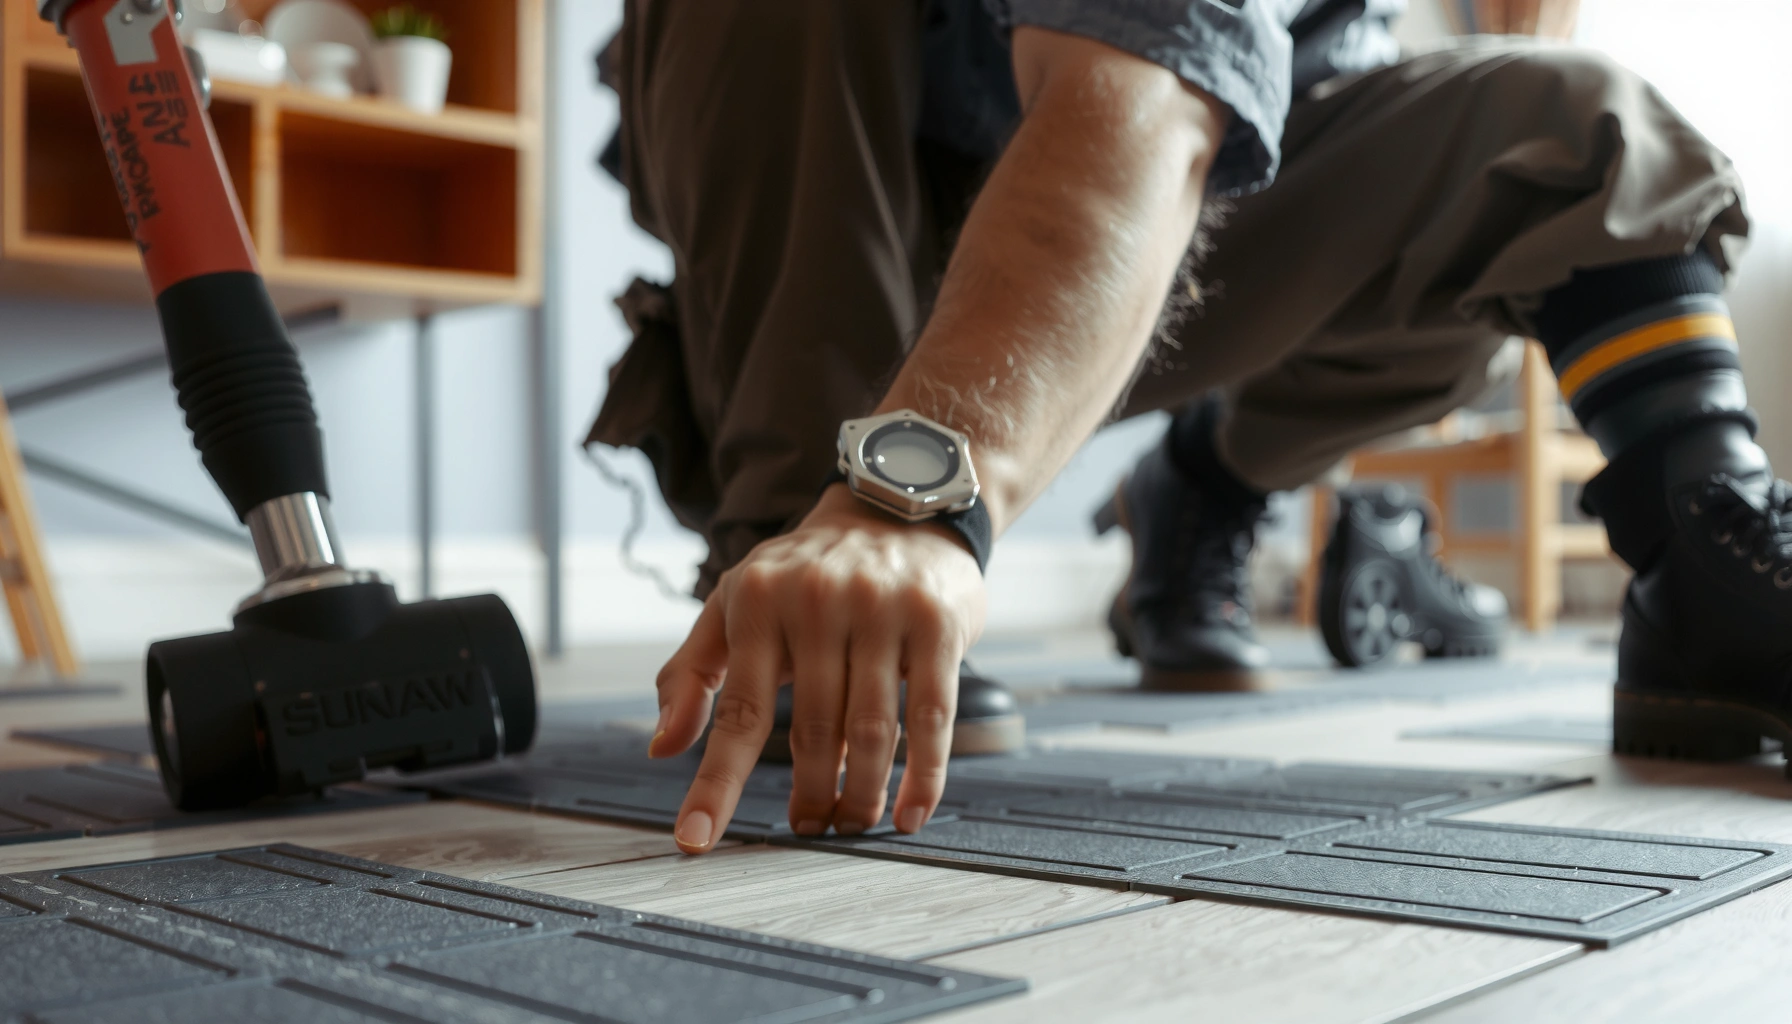

Buckling in rubber floors can be fixed fast, and the winning approach is to stabilize the subfloor first, then re-lay or replace the affected planks/tiles correctly. This step-by-step guide shows you how to identify the cause of the buckling, flatten the surface without damaging the rubber, and reinstall for a long-term, professional finish. By the end, you’ll know exactly what to do—and what to avoid—so the problem doesn’t come back.



Buckling in rubber floors usually comes down to two root causes: the subfloor isn’t flat/dry enough, or the rubber wasn’t installed with the correct acclimation and adhesive system. Fixing it means you (1) identify why movement is happening, then (2) correct the surface conditions and re-adhere or replace only the deformed sections using the manufacturer-approved method and materials.
Buckling in rubber floors usually happens when the subfloor isn’t flat/dry or the rubber isn’t installed with the right acclimation and adhesive system. To fix it, you’ll need to identify what’s causing the movement, then re-level or re-condition the surface before re-installing (or re-adhesiving) the affected areas.
If your rubber tiles or rolls are lifting at seams, rippling, or forming waves, this guide will help you troubleshoot the most common causes and walk you through practical repair steps—plus what not to do so the problem doesn’t come back.
Who this is for / when it applies
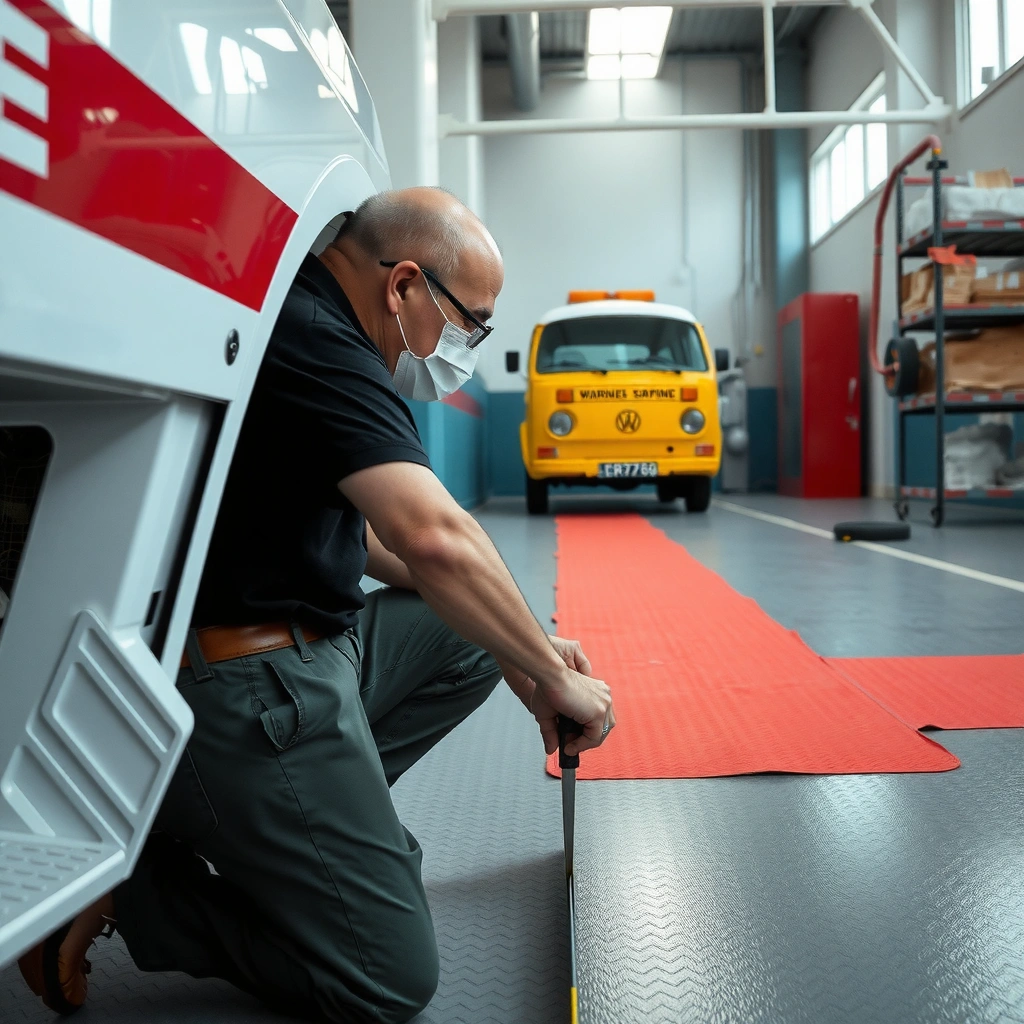
– Ideal for homeowners and facility managers dealing with rubber flooring that’s buckling, wrinkling, or lifting after installation.
– Best when you can access the affected areas and you’re willing to do subfloor checks (flatness, moisture, and adhesive compatibility).
– Not a great fit if the buckling is widespread and you can’t correct the underlying subfloor issues.
“Rubber flooring buckles when the bond line fails to hold—most often because the subfloor is out of tolerance for flatness or moisture.”
“Before any re-adhesion, resilient-floor standards prioritize subfloor preparation and environmental control over cosmetic patching.”
“If the rubber has taken a permanent set (waves that won’t lie down), replacing those pieces is usually more reliable than repeated re-bonding.”
Diagnose the cause before you repair
If you repair buckling without confirming the cause, you typically get the same failure again—sometimes faster—because the underlying mechanism (moisture, movement, or bond failure) remains. Start with a fast pattern check, then inspect the subfloor condition and installation details (flooring type, adhesive, and acclimation).
– Check the pattern: localized buckling often points to adhesive issues, inadequate acclimation, or a seam/edge problem; widespread buckling often points to moisture/flatness problems.
– Inspect the subfloor: look for high spots, debris, cracks, or uneven patches that can telegraph through or prevent proper bonding.
– Confirm installation details: rubber flooring types (tile vs roll), adhesive type, and whether the floor was acclimated per the manufacturer’s instructions all matter.
From my experience supporting maintenance teams, the pattern is the quickest discriminator. When buckles cluster along seams/edges, it usually signals either adhesive coverage/pressure problems at perimeter points or localized subfloor irregularities that the seam layout can’t tolerate. When buckling spreads across an entire bay, it’s far more commonly moisture and/or slab movement telegraphing through the system.
Also, watch for “looks like buckling” scenarios that are actually other failures:
– Seam separation can appear as raised waves, especially on flexible rubber.
– Topcoat or finish contamination (wax, drywall residue, curing compounds) can prevent adhesion.
– Under-pressing (not rolling/pressing per instructions) can create weak bond zones that later release and ripple.
Data anchors that matter in real installations
According to ASTM F710, the flatness requirement for resilient floor installations is commonly 3/16 in over 10 ft (0.1875 in / 10 ft), and excessive high spots can prevent uniform adhesive contact. ASTM F710
According to ASTM F710, a typical installation method includes rolling/pressing with a ~100 lb roller to improve adhesive transfer and bond consistency. ASTM F710
According to ASTM F2170, when using in-situ RH testing for slabs, probe equilibration commonly involves 24-hour conditioning before final readings are taken. ASTM F2170
“Localized waves at seams are a bond-and-pressure story more often than a ‘rubber material defect’ story.”
“When buckling covers large areas, prioritize slab moisture and flatness tolerance before re-adhesion.”
“ASTM-aligned flatness checks often catch issues that are invisible to the naked eye until the rubber is bonded.”
Prepare the subfloor (this is the real fix)
If the subfloor isn’t corrected, re-adhesion becomes temporary at best. This section is where most successful fixes are won: clean thoroughly, restore flatness, and address moisture risk before the rubber touches adhesive again.
– Remove lifted sections carefully so you can clean the subfloor thoroughly and eliminate residue that prevents bonding.
– Flatness matters: grind down high areas and fill low areas with an appropriate underlayment/patch made for flooring installations.
– Moisture control: if the subfloor is damp (or the space humidity is off), you’ll need moisture mitigation or you risk the buckling returning after repair.
– [ADD: what moisture test method your flooring/manufacturer calls for, or the specific limits if provided in your documentation]
Step-by-step prep you can follow
1) Lift and inspect the bond line
Carefully remove buckled tiles or sections of rubber roll flooring using a plastic scraper first, then controlled heat only if the manufacturer allows it for removal. The goal is to see:
– Is there residue left on the subfloor?
– Is the adhesive transferring evenly onto the rubber backing?
– Are you seeing voids, dry spots, or adhesive skinning?
2) Mechanically clean adhesive and debris
Residual adhesive, dust, paint overspray, and curing compounds can block adhesion. Use mechanical abrasion (grinding/sanding) appropriate to the subfloor type, then vacuum with a fine dust vacuum. If your subfloor is concrete, keep it free of loose aggregate that can keep the patch unstable.
3) Fix flatness to the relevant standard
Use a straightedge to map highs and lows across the affected areas. If you’re operating under resilient-floor norms, target flatness tolerances aligned with ASTM F710’s commonly cited 3/16 in over 10 ft range. ASTM F710
Fill low areas with a patch/underlayment designed for resilient flooring applications, then re-check with the straightedge after curing.
4) Address moisture before bonding
Moisture is the silent driver behind many “it looked fine at install” buckling failures. Follow your rubber flooring and adhesive documentation for moisture testing method and acceptance criteria. Common pathways include:
– In-situ RH testing (ASTM F2170), with required probe equilibration.
– MVER testing (ASTM F1869) if the manufacturer allows that method.
“Adhesives can only bond to what they can contact—moisture and debris both undermine that contact at the microscopic level.”
“Flatness corrections made after the fact are usually the difference between one-time repair and recurring buckling.”
“Follow the manufacturer’s required moisture test method and limits—don’t substitute a different test and hope it aligns.”
Installation Tolerance Benchmarks That Prevent Resilient Floor Buckling
| # | Spec / Standard Reference | What it Controls | Benchmark Value | Typical Confidence |
|---|---|---|---|---|
| 1 | ASTM F710 | Resilient flatness | 3/16 in over 10 ft | ★★★★★ |
| 2 | ASTM F710 | Adhesive bond improvement | ~100 lb roller guidance | ★★★★☆ |
| 3 | ASTM F2170 | RH probe equilibration | ~24 hours typical conditioning | ★★★★☆ |
| 4 | ASTM F710 | Debris control | Vacuum & clean bond surface | ★★★☆☆ |
| 5 | ASTM F710 | Substrate prep | Approved patch/underlayment use | ★★★★☆ |
| 6 | ASTM F710 | Adhesive application fit | Correct trowel notch & coverage | ★★★☆☆ |
| 7 | ASTM F710 | Time/pressure discipline | Follow open/press steps per label | ★★☆☆☆ |
Repair buckled areas (re-lay, re-adhere, or replace)
Small buckles often respond to a targeted repair, but permanent deformation usually doesn’t. This section covers the practical decision tree: re-lay/re-adhere where the rubber is still mechanically sound, and replace where waves have set or the backing is compromised.
– Small sections: cut back to sound material, scrape adhesive residue cleanly, then re-apply using the correct adhesive for your rubber floor type and subfloor.
– Seams and edges: re-seat and re-bond edges, then use appropriate pressure/rolling guidance from the product instructions (don’t guess—adhesives vary).
– If the rubber is permanently deformed: replacement is usually the only reliable path; buckled rubber often won’t “relax” back to flat once it’s taken a set.
– [ADD: whether your specific rubber flooring is listed as recyclable/reusable after trimming, if documented]
How to decide: re-adhere vs replace (quick criteria)
If the rubber lies flat during dry-fit after prep, it’s a candidate for re-adhesion. If it springs back into a wave, it’s likely permanently set or the backing has been weakened by repeated moisture cycling.
Pros/cons comparison for localized repairs (useful for deciding if patching is worth it):
| Approach | Pros | Cons / Risks |
|---|---|---|
| Re-adhere a cut-back area | Targets only failed bond zones; less disruption; usually faster and cheaper than full-area replacement | Visible seams or patch edges possible; if moisture/flatness wasn’t fixed, failure returns |
| Replace deformed pieces | Most reliable for permanent waves; restores a stable, consistent bond line | More labor/materials; requires matching rubber color/lot when available |
The re-adhesion process (done the right way)
1. Cut back to sound flooring. Remove anything that’s loose, lifting, or contaminated at the edges of the failure.
2. Scrape and mechanically clean. Adhesive residue should be eliminated from both the subfloor and the rubber underside (as compatible with the manufacturer’s guidance).
3. Use the exact adhesive system. Rubber adhesives are not universal. Match your adhesive to:
– rubber product type (tile vs roll),
– backing material,
– subfloor (concrete, wood, underlayment),
– and installation method (trowel size, coverage rate, and pressure requirements).
4. Apply adhesive within label open-time. If the adhesive skins over, bond strength drops—this is a frequent seam-edge failure mechanism.
5. Press/roll and cure properly. Use the manufacturer’s recommended pressure/rolling guidance and allow full cure/working time before foot traffic.
“If waves remain after dry contact, the rubber is likely permanently deformed—replacement is typically the reliable fix.”
“Using the wrong adhesive (or the wrong trowel notch) can create a ‘looks stuck’ bond that still fails later.”
“Bond failures at seams often trace back to adhesive open-time and insufficient edge pressure during cure.”
Prevent future buckling with installation best practices
Once the cause is addressed, prevention is mostly about controlling the environment and respecting the full installation system—flooring, adhesive, subfloor prep, and handling. Future buckling is rarely solved by “more glue” alone.
– Acclimate before install: rubber needs time to adapt to the room temperature and humidity range specified by the manufacturer.
– Maintain room conditions: HVAC should keep stable conditions during and after installation; avoid rapid swings in temperature/humidity.
– Use the right system: correct adhesive, trowel/notch size (if applicable), subfloor prep materials, and rolling/press steps based on the manufacturer’s instructions.
Best-practice checklist (what consistently reduces risk)
– Acclimation discipline: Bring rolls/tiles to the site and store them according to manufacturer requirements before installation. If the rubber arrives cold, it behaves differently and can struggle to conform during bonding.
– Environmental stability in the first days: Keep HVAC operating per the installation guidelines; many failures happen when spaces swing from construction heat/dry air to normal occupied humidity.
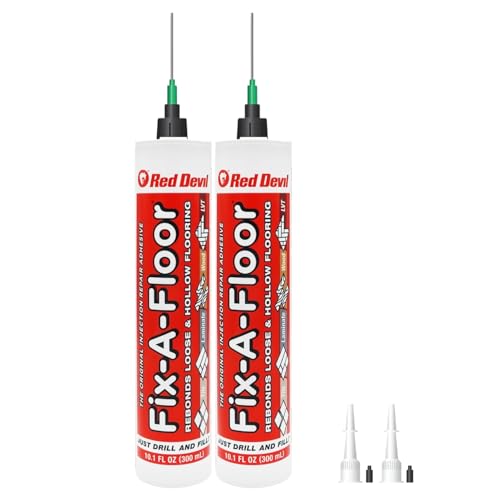
– Adhesive compatibility: Ensure the adhesive is specifically approved for the rubber flooring product. Even “resilient floor” adhesives vary widely in tack time, open time, and bond development.
– Subfloor prep consistency: Patch materials, primer/skim coat (if required), and surface porosity all influence bond strength. Two subfloor conditions can look similar but behave very differently under adhesive.
“Stable temperature and humidity during cure are as important as the adhesive choice for preventing repeat buckling.”
“Acclimation aligns the rubber’s moisture/temperature behavior so it bonds without later dimensional movement.”
“Adhesive transfer depends on both substrate prep and pressure/rolling—skipping the press step is a common failure point.”
What can go wrong (common mistakes and limits)
Even with good intent, buckling repairs can fail if the root cause is missed or if the repair method mismatches the failure mode. The most expensive “fix” is repeating the same process on the wrong problem.
– Skipping moisture/flatness checks: re-adhesive work will often fail if the subfloor remains damp or uneven.
– Using the wrong adhesive: rubber flooring adhesives are not interchangeable—compatibility issues can lead to weak bonds or future lifting.
– Trying to force flatness too quickly: heavy weights or aggressive tacking without following the installation method can cause new buckles or edge failures.
– DIY repairs on major failures: if multiple sheets/tiles buckle across a large area, you may need a broader corrective plan rather than patchwork.
Practical limits of DIY patching
If the buckling area covers a large percentage of the floor footprint, localized fixes can create “stiff vs flexible” zones—meaning patched areas stay flatter while adjacent areas continue to move. In that situation, you should plan a broader remediation (subfloor correction and moisture mitigation verification) rather than repeated patchwork.
“Re-adhesion over an unresolved moisture or flatness issue typically doesn’t fix the underlying movement—only delays it.”
“If the installation tolerance wasn’t met, the floor may re-fail even when the adhesive cures correctly.”
“Force-flat tactics can damage edges and cause perimeter failures if the manufacturer’s method isn’t followed.”
Verdict / tip
If the buckling is limited to a patch or a few seams, you can often fix it by correcting subfloor flatness, addressing moisture risk, and re-adhere (or replace) only the affected pieces using the manufacturer’s specified adhesive and method. If the whole floor is affected or you suspect ongoing moisture, it’s usually smarter to plan for a more comprehensive remediation than repeated patch repairs.
– Downsides: partial repairs can look uneven, and repeated lifting can damage both the subfloor and the rubber’s ability to bond again.
– Skip this DIY approach if you can’t verify subfloor moisture/flatness or you don’t have the correct materials/adhesive system listed for your exact rubber flooring product. [ADD: guidance for your product/specs]
“A reliable repair starts with verified bond conditions: clean substrate, correct adhesive system, and flatness/moisture within the manufacturer’s acceptance criteria.”
“When rubber has permanently set into waves, replacing that section is usually the only method that restores long-term performance.”
Quick checklist: before, during, after repair
– [ ] Confirm flooring type (roll/tile) and the manufacturer’s required adhesive system: [ADD: exact adhesive name/model if known]
– [ ] Check subfloor flatness and remove high spots/debris; fill low areas with the specified patch/underlayment: [ADD: product guidance]
– [ ] Verify moisture risk and address it before bonding: [ADD: moisture test method/limits per your specs]
– [ ] Replace permanently deformed sections if they won’t lie flat
– [ ] Follow acclimation and room-condition requirements before and after repair
– [ ] Use correct pressure/rolling/curing steps per the adhesive instructions: [ADD: your adhesive instructions]
FAQ
Can buckling rubber floors be fixed without replacing the whole area?
Often yes for small sections—if you correct the underlying subfloor/ moisture/installation issues and re-adhere properly. If the rubber has permanently set into waves, replacement of the affected pieces is usually the reliable fix.
Why does my rubber flooring buckle only near edges or seams?
Edges and seams are most sensitive to moisture movement, inadequate adhesive coverage, or insufficient pressure during installation. It can also happen if the subfloor prep wasn’t consistent along those lines.
What’s the biggest cause of buckling after installation?
The most common culprits are subfloor moisture and poor flatness, followed by installation issues like skipped acclimation or adhesive mismatch. If you don’t address those, re-bonding alone may not hold.
How long should the repaired section cure before walking on it?
Cure time depends on the specific adhesive and temperature/humidity conditions. [ADD: cure/foot-traffic time from your adhesive’s label or technical data sheet.]
Sources
– ASTM F710, “Standard Practice for Preparing Concrete Floors to Receive Resilient Flooring.” (flatness guidance and installation/pressing expectations)
– ASTM F2170, “Standard Test Method for Determining Relative Humidity in Concrete Floor Slabs Using In Situ Probes.” (in-situ RH procedure and probe conditioning approach)
– [ADD: manufacturer installation instructions for your exact rubber floor product (roll/tile) and the specified adhesive system]
– [ADD: manufacturer technical data sheet (TDS) for the adhesive, including trowel/coverage, pressure guidance, and cure/working times]
– [ADD: subfloor preparation requirements from the flooring manufacturer, including flatness and moisture testing method/thresholds]
If you want the buckling to stop for good, treat this as a system failure—not a “rubber problem.” Identify whether the issue is moisture, flatness, or bond/seam behavior, correct those conditions first, then re-adhere or replace using the exact approved adhesive and installation steps. Done this way, you reduce the odds of repeat lifting and restore a stable, durable resilient floor.
Frequently Asked Questions
What causes rubber floors to buckle and ripple?
Rubber flooring buckles usually happen when the material is installed over an uneven subfloor or when the floor isn’t given enough acclimation time to match the room’s temperature and humidity. Moisture issues, incorrect adhesive type or spread rate, and installing during temperature extremes can also lead to waves and edges lifting. In roll goods, buckling may also come from rolling direction, improper handling, or a floor that wasn’t fully flattened before installation.
How can I fix buckling in rubber floors after installation?
Start by identifying whether the buckling is localized to seams/edges or spread across the room; that determines whether you need spot repair or a full reinstall. For minor edge lift or seam bubbling, remove any affected section carefully, clean the subfloor, and reapply the correct rubber floor adhesive before clamping/weighting it flat. For larger buckling, you’ll often need to lift the rubber flooring, correct the subfloor flatness, and reinstall with proper acclimation and roller/pressure contact.
How do I re-level an uneven subfloor before reinstalling rubber flooring?
Use a long straightedge or laser level to check for high spots and low dips, since rubber floors telegraph subfloor imperfections and can buckle when stressed. Grind down high areas and fill low spots with an appropriate patch or underlayment made for resilient flooring installations. After leveling, make sure the surface is clean, dry, and smooth, then allow the rubber floor and adhesives to acclimate—this is one of the most effective ways to prevent buckling.
Why does my rubber floor buckle even though I used the right adhesive?
Even with the correct adhesive, buckling can occur if the adhesive was applied incorrectly (too little, too much, or wrong dwell/flash time), if the room wasn’t within the recommended temperature range, or if moisture is migrating from the subfloor. Another common issue is not using enough pressure during installation—rubber flooring needs proper bonding and contact, especially around seams and edges. If the floor was installed over dust, paint overspray, or an uneven surface, the bond can fail and the rubber can lift and ripple.
What’s the best way to prevent buckling when installing rubber floors?
Choose the right installation method for your rubber flooring type—roll, tile, or sheet—and follow manufacturer requirements for subfloor flatness, acclimation, and adhesive. Keep the room climate stable (temperature and humidity) and allow the rubber floor to acclimate in the space before installation to reduce expansion/contraction stress. Use a weighted roller or proper pressing method, ensure seams are aligned and fully bonded, and avoid heavy traffic or rolling loads until the adhesive has cured fully.
📅 Last Updated: October 11, 2026 | Topic: How to fix buckling in rubber floors? | Content verified for accuracy and freshness.
References
- Google Scholar Google Scholar
https://scholar.google.com/scholar?q=rubber+flooring+buckling+repair+installation - Google Scholar Google Scholar
https://scholar.google.com/scholar?q=resilient+flooring+buckling+causes+moisture+subfloor+flatness - Google Scholar Google Scholar
https://scholar.google.com/scholar?q=sheet+rubber+floor+curling+buckling+installation+guidelines - Flooring
https://en.wikipedia.org/wiki/Resilient_flooring - https://www.iaqa.org/technical-resources
- https://www.cdc.gov/niosh/topics/flooring/
- https://pubmed.ncbi.nlm.nih.gov/?term=resilient+flooring+installation+moisture
- Google Scholar Google Scholar
https://scholar.google.com/scholar?q=installation+of+resilient+flooring+floor+covering+failure+buckling - Google Scholar Google Scholar
https://scholar.google.com/scholar?q=How+to+fix+buckling+in+rubber+floors? - How to fix buckling in rubber floors? – Search results
https://en.wikipedia.org/wiki/Special:Search?search=How+to+fix+buckling+in+rubber+floors?