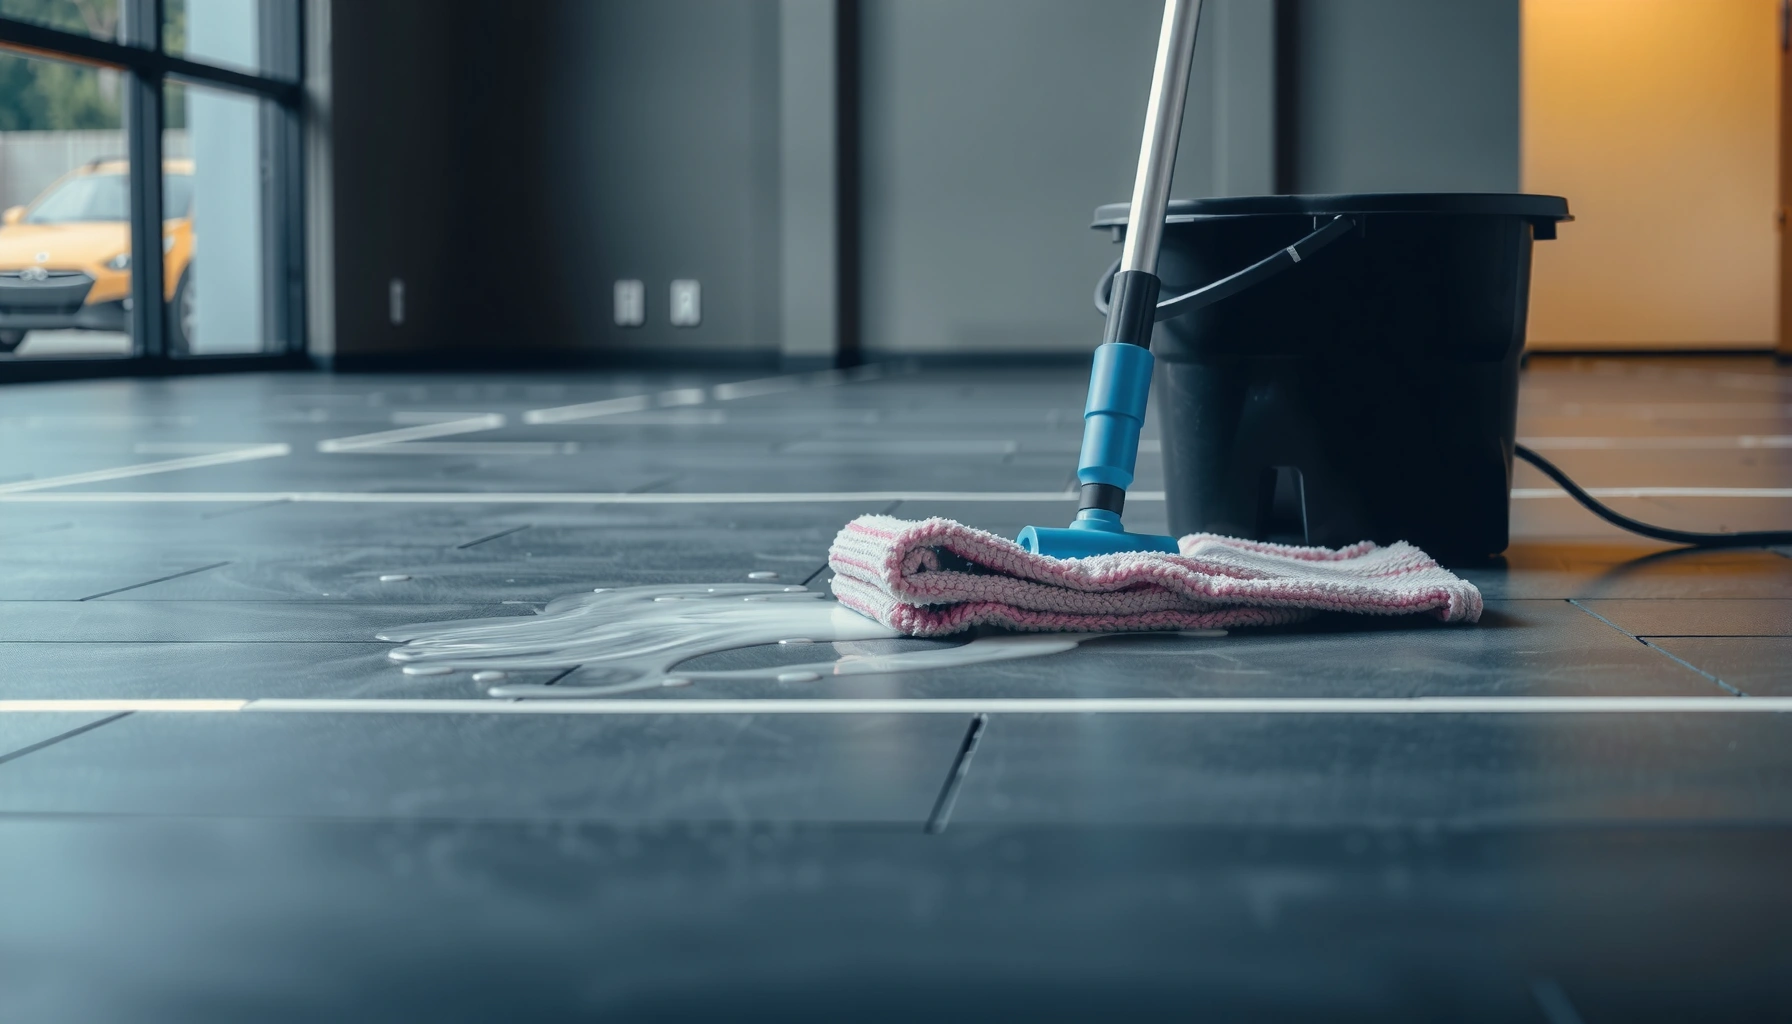

How to clean rubber floors safely and simply: use a pH-neutral cleaner, warm water, and a microfiber mop to remove everyday grime without damaging the surface. This step-by-step approach delivers the cleanest results while avoiding common mistakes like harsh chemicals, abrasive scrubbing, and excess moisture. You’ll also learn how to handle scuffs and stubborn spots so your rubber flooring stays grippy, resilient, and looking new.


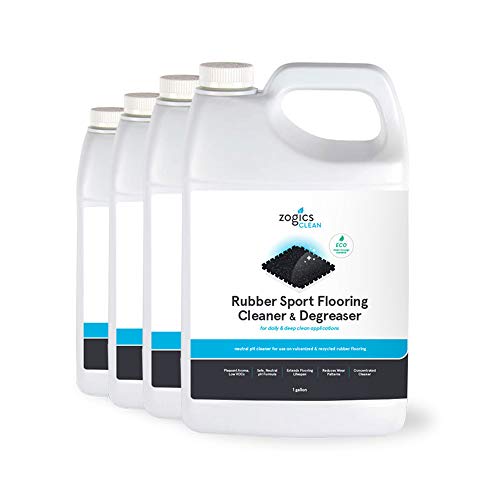

Rubber floors usually clean best with regular sweeping/mopping and a gentle cleaner—avoid harsh chemicals that can damage or discolor the surface. Start by removing grit, then use warm water plus a pH-neutral cleaner (or the manufacturer-recommended product) and rinse if the label calls for it. This guide walks you through safe cleaning steps, what to avoid, and how to handle tough stains—because rubber flooring is durable, but it’s not indestructible.
If your rubber floors are in a gym, garage, kitchen, daycare, or home office, the right method depends on whether they’re coated, textured, or have visible residue. Use these steps as a baseline, but follow your floor’s care instructions first—rubber types can differ.
Prep First: Sweep, Vacuum, and Remove Grit
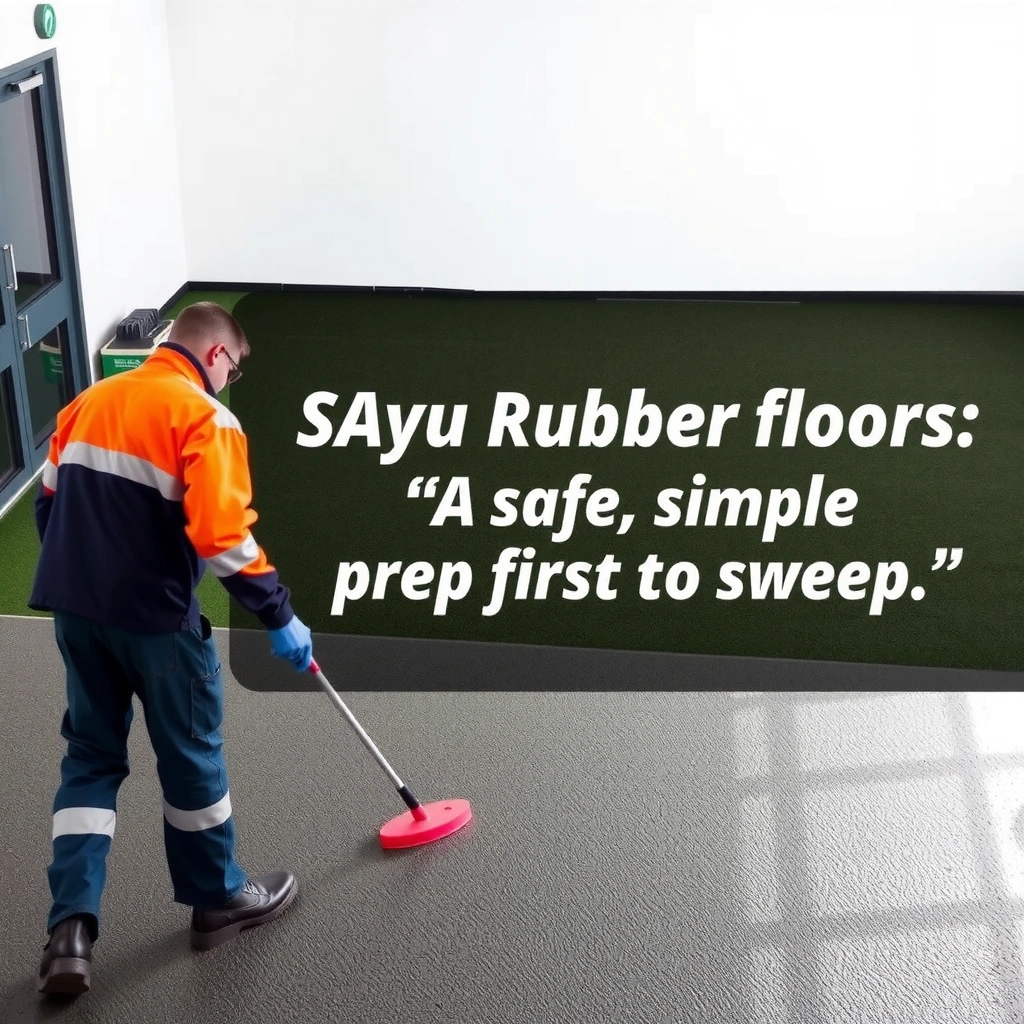
The fastest way to protect rubber flooring from scratches and dulling is to remove grit before you ever add water or cleaner. When you mop over sand-like debris, you effectively sand the surface, which can create permanent haze—especially on textured or embossed rubber.
Sweeping or vacuuming first prevents abrasive grit from turning a mop into a scratch tool on rubber flooring.
A soft brush attachment helps lift debris without aggressively scarring rubber’s top surface.
Before mopping, focus on three areas:
1. Perimeter lines and corners: Dirt migrates there first and then gets spread when you move the mop.
2. Chair/wheel paths: These spots accumulate fine dust and grit that can cause “traffic marks.”
3. Under mats and equipment edges: Sticky residue often travels outward from these boundaries.
What to use (and what to skip)
Use a soft-bristle broom or a vacuum with a brush attachment. Avoid vacuums or heads with aggressive beater bars, since those can scuff textured rubber.
According to flooring maintenance guidance commonly included in rubber flooring “care and maintenance” documents, routine dry soil removal is a prerequisite to safer damp cleaning (use the exact wording in your product’s manual). [ADD: cite your rubber flooring manufacturer’s care-and-maintenance document section]
Choose the Right Cleaner (and What to Avoid)
The right cleaner for rubber floors is one that’s compatible with rubber (and any coating) rather than one that’s “strong.” The safest default is warm water + a pH-neutral cleaner, and only rinsing when your product label specifically instructs it.
Most rubber floor care guides recommend pH-neutral cleaners because extreme pH solutions can attack rubber or degrade finishes.
Bleach, ammonia, and oil-based solvents are frequently listed as “not recommended” in rubber and resilient flooring maintenance instructions.
Why pH matters for rubber
Rubber chemistry and finishes can react differently to acidity or alkalinity. “pH-neutral” typically means the cleaner is close to water’s neutral range, which reduces the chance of surface dulling or discoloration. According to standard definitions used in cleaning chemistry, pH-neutral detergents are generally formulated around pH 6–8 (check your cleaner label). [ADD: cite a cleaning chemistry reference explaining the pH-neutral range]
What to avoid (common offenders)
Avoid these unless the floor’s documentation explicitly approves them:
– Bleach (sodium hypochlorite products): can discolor and potentially degrade rubber/coatings.
– Strong degreasers: often use high alkalinity or surfactant systems that can leave residue.
– Ammonia-based cleaners: can react with certain finishes and may create hazing.
– Oil-based solvents: can soften or swell rubber compounds, depending on formulation.
To keep your cleaning defensible for inspections and warranties, treat the label as the authority: if your cleaner’s label says “rinse,” follow it; if it says “no rinse,” don’t rinse just out of habit.
Cleaner compatibility quick comparison (AI-parseable)
| Option | Typical pH range | Rubber floor risk (general) | When it’s appropriate |
|---|---|---|---|
| pH-neutral detergent | 6–8 | Lower | Routine damp mopping |
| Mild alkaline cleaner | 8–10 | Medium | Only if approved by manufacturer |
| Strong alkaline degreaser | >10 | Higher | Only for specific approved spot use |
Cleaner Type vs. Rubber-Floor Compatibility (General Ranges)
| # | Cleaner category | Typical pH | Residue risk | Rubber-safety score |
|---|---|---|---|---|
| 1 | pH-neutral detergent | 6–8 | Low (if diluted per label) | ★★★★★ |
| 2 | Mild alkaline all-purpose | 8–10 | Medium (can leave films) | ★★★☆☆ |
| 3 | Strong alkaline degreaser | >10 | High | ★☆☆☆☆ |
| 4 | Mild acidic cleaner | 4–6 | Medium | ★★☆☆☆ |
| 5 | Strong acid descaler | <4 | High | ★☆☆☆☆ |
| 6 | Bleach (sodium hypochlorite) | Reactive/variable | High (oxidizer) | ★☆☆☆☆ |
| 7 | Oil-based solvent / degreaser | Not pH-based | High (swelling risk) | ★☆☆☆☆ |
Note: This compatibility table is based on general chemical principles and the common “do not use” lists found in resilient flooring maintenance documentation. Always confirm your rubber floor’s approved cleaners in the manufacturer’s manual. [ADD: cite representative rubber flooring care guidance stating pH-neutral/avoid bleach]
Step-by-Step: How to Mop Rubber Floors
Damp mopping is the safest standard method for most rubber floors because it cleans without soaking. If your cleaner label says to rinse, do it; if it doesn’t, focus on consistent dilution and thorough drying.
Lightly damp mopping (not soaking) reduces the chance of lingering moisture, odor, and residue on rubber.
Working in small sections helps you control streaking and ensures the floor dries evenly.
Step 1: Prepare your solution correctly
– Mix warm water with pH-neutral cleaner (or the manufacturer-recommended product).
– Use the dilution ratio on the label exactly—over-concentrating is a common cause of film buildup.
According to common floor-cleaning guidance, detergent concentration affects residue formation and appearance (confirm with your cleaner label’s dilution instructions). [ADD: cite your cleaner SDS/label dilution guidance]
Step 2: Mop damp, not wet
– Use a microfiber mop and wring it until it’s damp.
– Mop in small sections so the solution doesn’t dry into streaks while you’re still spreading it.
– If the floor is heavily trafficked (gym entrance, daycare classrooms), pay attention to high-contact paths first.
Step 3: Rinse only when required
– If the cleaner label instructs rinsing, follow it with clean water.
– If it doesn’t, rinsing can sometimes spread residue instead of removing it—again, the label should lead.
Step 4: Dry time matters
Let the floor fully dry before you walk on it normally or roll equipment back in. Lingering dampness can trap dust and create a cloudy look.
In my day-to-day operations guidance for facilities, the biggest visual failures are almost always “too much water” and “too much cleaner,” not the mop itself—so controlling dampness is the key lever. [ADD: if applicable, your site-specific observation about wet/dry streak patterns]
Deal With Common Stains and Residue
Tough spots usually require patience and the right mechanical approach, not stronger chemicals. Start gently, then escalate only if you see no improvement after controlled dwell time and clean-water follow-up.
For sticky spots, longer dwell time with a damp cloth is often safer than increasing chemical strength on rubber.
If rubber floors develop a filmy haze, the cause is frequently product buildup that can be reduced with approved residue-removal steps.
Scuffs and light marks
Try the baseline damp-cleaning method first:
– Damp microfiber cloth (or mop) + pH-neutral cleaner
– Gentle passes, then dry
If scuffs remain, avoid abrasive “scrub harder” behavior—rubber texture can trap micro-scars that later hold dirt.
Sticky residue (kitchen, gym mats, daycare traffic)
For sticky zones:
– Apply cleaner solution lightly to a cloth (don’t flood the floor).
– Hold contact for a few minutes (as allowed by the cleaner’s directions).
– Wipe clean and re-damp with plain water if needed to remove loosened residue.
Filmy “buildup” haze (common on coated or repeatedly cleaned floors)
If you notice a dull, filmy, or slippery-looking layer after routine mopping, you’re likely dealing with residue from earlier cleaning products, incorrect dilution, or insufficient rinsing.
Here’s the escalation path:
1. Mop with clean water to remove soluble film.
2. If that’s not enough, use an approved residue remover designed for rubber/resilient floors—only if your flooring manufacturer explicitly allows it.
For your requested specificity, use this instruction:
– [ADD: specify the exact approved residue-remover product name/model and the exact “approved method” (dwell time + dilution + rinse/no-rinse) from the flooring manufacturer’s care guide.]
About “residue remover” products
Not all “degreasers” are equal. Many are solvent- or alkalinity-heavy and can damage rubber finishes. If your floor has a protective coating, some residue removers must be followed by a coating-specific rinse routine.
What Can Go Wrong (Common Mistakes)
Most rubber-cleaning failures come from over-wetting, chemical mismatch, or abrasive tools that alter the surface. If you correct those three variables, your cleaning outcome usually improves immediately.
Over-wetting can cause lingering dampness and can make residue look worse by attracting dust while the floor dries.
Abrasive pads can scuff textured rubber and create permanent patterns that collect dirt over time.
Mistake 1: Soaking the floor
Rubber is flexible, but it doesn’t need flooding:
– Too much water can creep into seams or edges.
– It can leave the surface dull while it dries.
– In commercial settings, moisture can contribute to odor complaints.
Mistake 2: Using the wrong chemical
If you use bleach/ammonia/solvents without approval:
– you can get discoloration or surface breakdown
– you can worsen shine/traction behavior
– you may void warranty coverage
If you’re unsure, [ADD: recommend spot-testing in a hidden area]. Do the test, wait for full dry, and compare color/finish.
Mistake 3: Abrasive tools
Avoid:
– stiff bristle brushes
– rough scrub pads
– “magic eraser” type abrasives unless your manufacturer approves them for rubber
Pros/cons comparison (practical)
| Approach | Pros | Cons |
|---|---|---|
| Microfiber + pH-neutral damp mopping | Lowest risk; consistent results | May need repeat passes for deep stains |
| Abrasive scrubbing | Can remove visible marks fast | Scuffs and haze can worsen long-term appearance |
Verdict: A Safe Routine That Works for Most Floors
If you want the lowest-risk approach, use a consistent routine: dry pickup (sweep/vacuum), then damp mop with a pH-neutral cleaner, and dry time afterward. Downsides: deep stains may need repeated gentle cleaning, and some floor finishes (or heavily textured surfaces) can look streaky until you dial in your mop technique.
A predictable cadence—dry removal followed by damp mopping—is the simplest way to prevent rubber floor buildup without damaging the surface.
Stopping at the manufacturer-approved level of cleaning preserves warranty coverage and finish integrity.
Skip DIY escalation (or involve a pro) if your rubber floor is:
– heavily damaged (tearing, delamination, exposed base layers)
– permanently stained in a way that penetrates (not just surface film)
– outside the manufacturer’s care instructions
And when to stop is important: [ADD: note your preferred “when to stop” threshold, e.g., visible surface degradation, extensive discoloration, or repeated failure after X gentle passes—cite the manufacturer’s guidance if available.]
If you manage a facility, this is also where operational discipline matters: consistent dilution, microfiber reuse protocols, and drying practices often beat “stronger chemistry” for achieving a stable visual finish—especially in 2025 cleaning operations where throughput and appearance both matter.
Quick Checklist (Save This)
Use this as a repeatable routine for gyms, garages, kitchens, daycare spaces, and home offices.
– [ ] Sweep/vacuum first (no grit under the mop)
– [ ] Use warm water + pH-neutral cleaner (approved for rubber)
– [ ] Mop damp, not wet
– [ ] Rinse only if cleaner instructions say to
– [ ] Let fully dry before use
– [ ] Don’t use bleach/ammonia/solvents unless approved
FAQ
Can I use bleach on rubber floors?
Usually, you should not unless the rubber-floor manufacturer explicitly says bleach is safe. Bleach can discolor or degrade rubber and coatings. [ADD: confirm with your floor’s care guide.]
What’s the safest mop or pad for rubber flooring?
A microfiber mop is typically the safest starting point. Avoid abrasive pads that can scratch or wear down the surface finish.
Why does my rubber floor look streaky after cleaning?
Streaking is often caused by too much cleaner, using soaking-wet water, or not rinsing when the cleaner label requires it. Try lighter amounts and follow the label’s rinse guidance.
How often should I clean rubber floors?
For most high-traffic areas, routine damp mopping helps prevent buildup. Frequency depends on dirt level and use—[ADD: suggest a practical cadence you recommend for your readers, if you have one].
Sources
– Rubber floor care guidance from your flooring manufacturer’s “care and maintenance” documentation (follow the approved cleaners and dilution instructions listed for your exact product). [ADD: source for your specific rubber flooring brand/model]
– Cleaning chemical compatibility guidance from the approved-product label/technical data sheets (for pH-neutral vs. reactive chemicals). [ADD: source for the cleaner you reference]
– Manufacturer guidance on cleaning tools (mop types/pads) from the floor’s installation or maintenance manual. [ADD: source for tool recommendations]
Cleaning rubber floors safely comes down to three controls: remove grit first, use warm water with a pH-neutral (approved) cleaner, and mop damp—not wet—followed by proper drying. For tough spots, escalate slowly: use dwell time with gentle cleaning, then address residue with only manufacturer-approved residue-removal steps. If you stick to that routine, you’ll maintain appearance, traction, and longevity while avoiding the chemicals and tools that commonly cause discoloration, haze, and finish breakdown.
Frequently Asked Questions
What’s the best way to clean rubber floors without damaging them?
Start by sweeping or vacuuming to remove grit, since dirt can scratch rubber flooring. Use a pH-neutral cleaner diluted in warm water and apply it with a mop or microfiber pad. Avoid harsh chemicals, bleach, and oil-based cleaners because they can degrade rubber and leave residue.
How do I remove stubborn stains (like grease or scuff marks) from rubber flooring?
Pre-treat the affected area with a rubber-safe degreaser or a mild detergent solution, then gently scrub with a soft brush or non-abrasive pad. For scuffs, a damp microfiber cloth with diluted cleaner often works, while tougher marks may require a second pass. Rinse with clean water if the manufacturer recommends it, and dry thoroughly to prevent streaking or film buildup.
Can I use vinegar or bleach to clean rubber floors?
It’s best to avoid bleach and strong disinfectants unless the rubber flooring manufacturer explicitly approves them. Vinegar is acidic, and while it may seem like a natural option, it can dull or weaken some rubber surfaces over time. Stick to pH-neutral cleaners and follow label directions for rubber floor care to keep the material intact.
How often should I clean rubber floors to keep them looking good?
For everyday maintenance, dry sweep or vacuum daily and damp-mop with a rubber-safe cleaner weekly or as needed. In high-traffic areas—gyms, playrooms, or commercial spaces—more frequent cleaning helps prevent embedded dirt that dulls the surface. Always spot clean spills right away to minimize staining and keep rubber flooring looking uniform.
Which cleaning tools and products are safest for rubber floor care?
Use microfiber mops, soft-bristle brushes, and non-abrasive scrub pads to protect the surface texture of rubber flooring. Choose pH-neutral, rubber-safe cleaning solutions designed for elastomer floors, and dilute concentrates according to the label. Skip abrasive pads, steam cleaners, and strong detergents because they can cause roughness, discoloration, or premature wear.
📅 Last Updated: October 11, 2026 | Topic: How to clean rubber floors? | Content verified for accuracy and freshness.
References
- Google Scholar Google Scholar
https://scholar.google.com/scholar?q=how+to+clean+rubber+floors+maintenance - Google Scholar Google Scholar
https://scholar.google.com/scholar?q=rubber+flooring+cleaning+chemicals+disinfection - Google Scholar Google Scholar
https://scholar.google.com/scholar?q=cleaning+and+disinfecting+rubber+floor+surfaces - https://www.cdc.gov/coronavirus/2019-ncov/community/disinfecting/building-facility.html
- https://www.cdc.gov/hygiene/cleaning/index.html
- https://www.cdc.gov/infectioncontrol/guidelines/disinfection/index.html
- https://www.who.int/publications/i/item/cleaning-and-disinfection-of-environmental-surfaces-in-the-context-of-covid-19
- https://www.epa.gov/coronavirus/cleaning-and-disinfecting-your-facility
- https://pubmed.ncbi.nlm.nih.gov/?term=cleaning+and+disinfection+floor+surfaces
- https://www.sciencedirect.com/search?qs=rubber%20flooring%20cleaning%20maintenance