
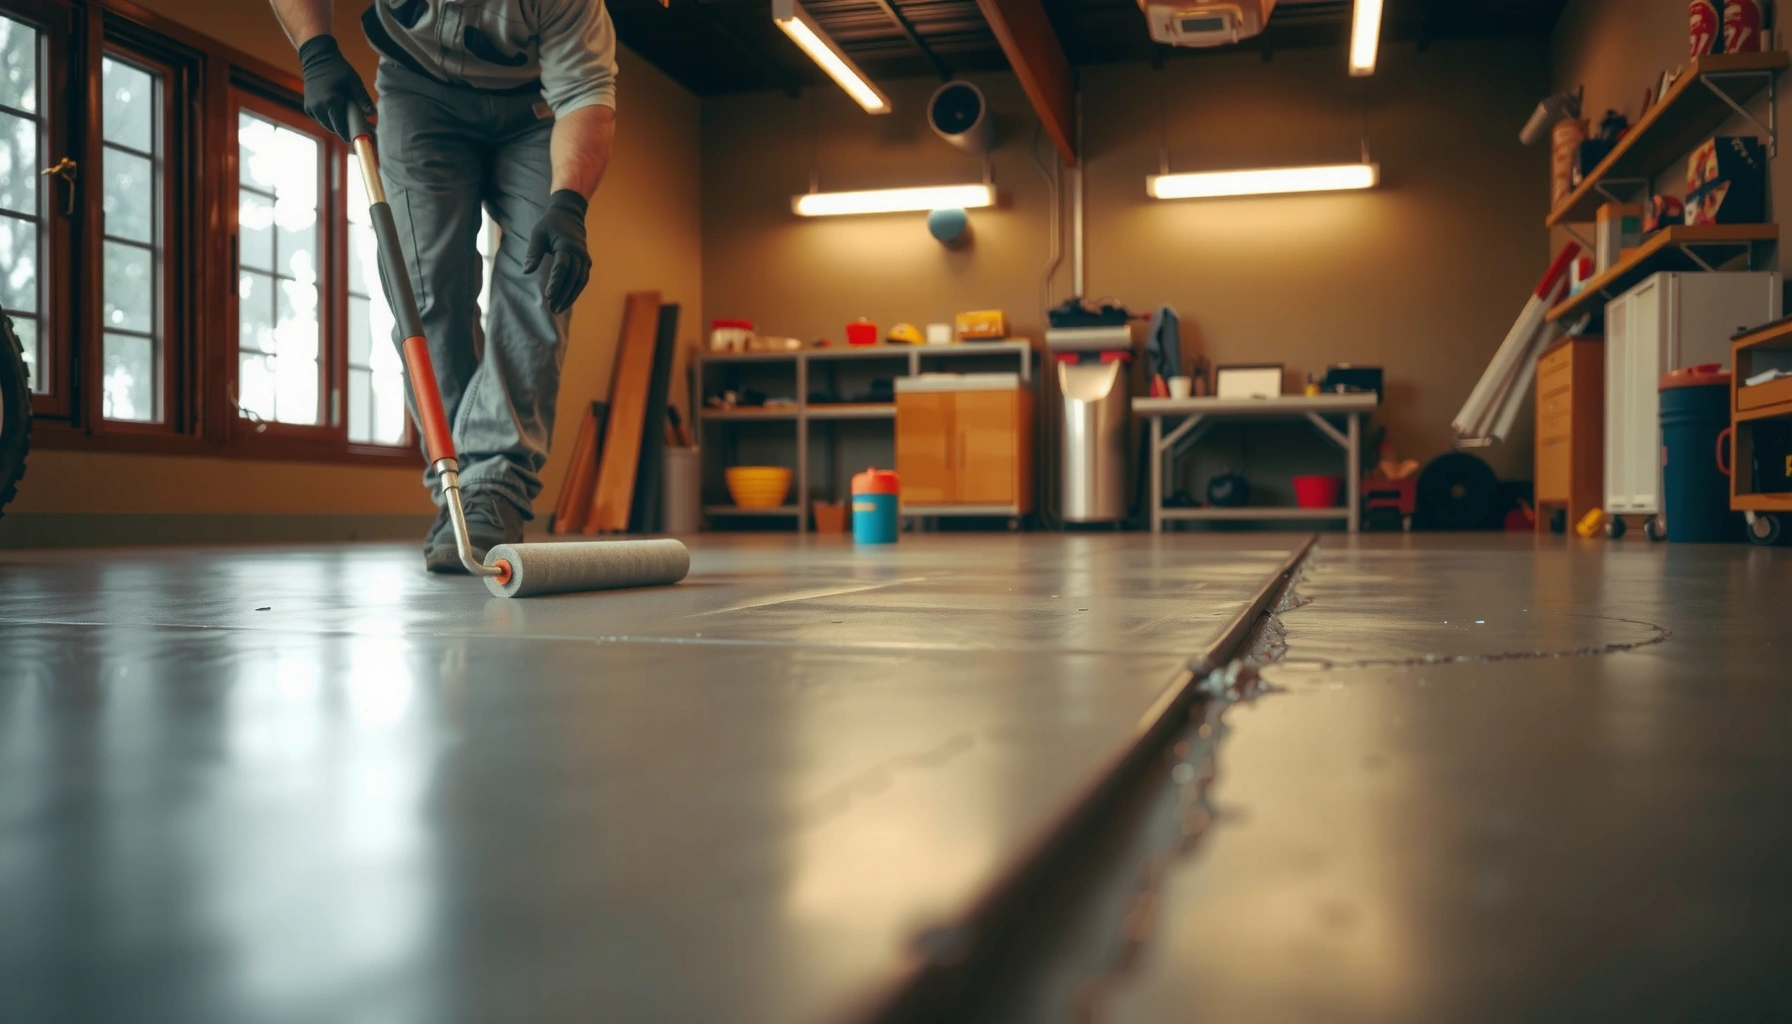

You can install polyaspartic floors yourself—without professional help—if you follow the prep, mixing, and topcoat timing steps exactly. This guide gives you a clear, do-it-yourself path from surface preparation through application and curing, so you don’t waste materials or risk a soft, mottled finish. If you’re working on a standard interior slab with the right tools and ventilation, this is the fastest way to get a durable, glossy result without paying an installer.
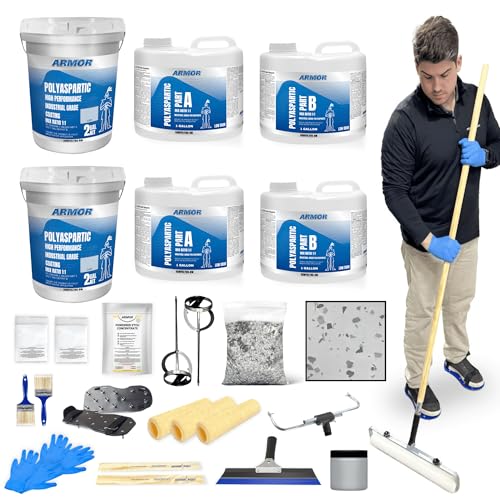



You can install polyaspartic floors yourself if you follow the system exactly—especially surface prep, mixing ratios, and curing conditions. The biggest success factor is getting the substrate properly cleaned and mechanically prepared, then applying within the product’s pot life and recoat windows.
This guide is for homeowners, DIYers, and small crews who want a garage, basement, or light-commercial floor upgrade without hiring a contractor. It’s written for typical two-part polyaspartic coating systems, but you must still match your steps to the specific kit you buy.
Check Your Polyaspartic System (Before You Start)

You should start by confirming your exact kit components and performance requirements, because “polyaspartic” is a category, not a single universal recipe. Once you verify the system type (primer/base coat, broadcast layer options, and topcoat), your DIY plan becomes a timing-and-prep checklist—not a guess.
Polyaspartic is a family of fast-curing, two-component coatings; manufacturers still require that you follow their exact mixing ratios, pot life, and recoat windows for that specific formulation.
Concrete moisture and surface profile requirements are not interchangeable between brands, and installers should verify bonding readiness using the manufacturer’s stated method and acceptance criteria.
What to verify on your specific kit
1. System type: Many kits include:
– Base coat (the main structural layer)
– Optional broadcast systems (decorative flake/aggregate broadcast)
– Topcoat (often clearer, UV-stable, and responsible for final gloss)
2. Intended environment: Some systems are designed for indoor-only conditions, while others tolerate exposure to sunlight better (UV stability varies).
3. Concrete compatibility: Some systems specify “coated concrete” acceptance; many require bare concrete or specific removal of sealers/paint.
4. Build thickness & application method: Your kit may specify spread rate, thickness, and whether to use a roller/squeegee strategy for uniformity.
A critical point: the moisture-vapor issue is not solved by “doing the coating faster.” Polyaspartic still needs a substrate that meets the kit’s limits. Typical moisture testing standards report results in either relative humidity (%RH) or MVER (lbs/1000 sq. ft. per 24 hours) depending on the test method (for example, ASTM F2170 reports %RH; ASTM F1869 reports MVER in lbs/1000 sq. ft./24h). Source: ASTM F2170; ASTM F1869.
Prep the Concrete for Maximum Adhesion
You can’t skip prep and expect a DIY polyaspartic floor to last, because coatings fail mostly due to contamination, insufficient mechanical profile, or poor cleanliness—not because mixing was “off by a little.” The goal is “bond-ready concrete,” not “looks clean.”
Coatings require both chemical cleanliness and a mechanically prepared surface to develop adhesion; visible dirt alone is not the same as bond-ready concrete.
ICRI surface profile guidance describes Concrete Surface Profile (CSP) levels (CSP 1–9) to standardize how aggressively concrete is prepared before coatings.
Remove contaminants completely
Even small residues can cause adhesion loss, fisheyes (craters), or soft spots. Before you profile, remove:
– Paint overspray and old coating residue
– Oils, grease, and tire marks
– Dust and drywall compound haze
– Curing compounds (some curing agents interfere with adhesion)
– Silane/siloxane sealers and penetrating treatments that weren’t meant for coatings
Be explicit about your prep approach: the right method is defined by the condition of the slab and what your system accepts.
– If your product requires grinding, plan for edges and corners with appropriate tooling.
– If your slab needs aggressive removal, shot blasting is commonly used for uniform profile.
– If your slab only needs light surface cleaning, some systems allow an etch-only step—but many polyaspartic manufacturers still prefer mechanical profiling for reliable bond.
Mechanically profile the concrete
Mechanical profiling is what creates the “tooth” for the coating to lock into. The industry uses Concrete Surface Profile (CSP) terminology; CSP is a scale from 1 to 9 (with higher numbers meaning a rougher surface). Source: ICRI CSP guidance, ICRI 310.2.
In plain terms:
– If your slab is sealed, smooth, or glossy, cleaning alone won’t create adhesion.
– If your slab is already rough from prior work, you may need less aggressive profiling—until the manufacturer’s acceptance criteria is met.
Vacuuming and wipe-down (done the right way)
After profiling:
– Vacuum thoroughly with equipment that captures fine dust.
– Use only the cleaner (or degreaser) your manufacturer allows.
– Never assume “any solvent works.” Wrong chemistries can leave residues that interfere with wet-out and bonding.
From my experience coordinating DIY coatings for multiple garages, the most common prep failure is leaving a thin film—dust or residue—right before coating. Once the polyaspartic goes down, the coating “looks fine” until you notice spots lifting later. When in doubt, follow your kit’s documented cleaning steps exactly. [ADD: your product’s required cleaner/degreaser and whether they allow water-wash, detergent wash, or only solvent methods.]
Mix and Apply Correctly (So It Doesn’t Fail)
You should treat polyaspartic application like a time-critical process: measure accurately, mix thoroughly, and apply within the defined pot life. If your mixing or timing is off, you can get bubbles, incomplete cure, or inconsistent gloss.
Polyaspartic kits specify an exact part A/part B mixing ratio and a defined mixing time; deviating from either can change viscosity, reaction behavior, and final performance.
Manufacturers define pot life based on temperature; warmer slabs shorten usable working time, while cooler conditions can slow flow and change cure behavior.
Measure part A and part B—exactly
– Do not eyeball. Use calibrated measuring methods (by weight or volume) as your kit specifies.
– Mix with the recommended drill/mixer speed and mix time.
– Scrape sides and bottom during mixing if your manufacturer calls for it.
Work inside pot life and temperature limits
Polyaspartic chemistry is sensitive to:
– Ambient temperature
– Slab temperature
– Humidity and airflow
This matters for DIYers because basements and garages can swing dramatically from morning to afternoon. If your kit states a target temperature band (for example, [ADD: exact manufacturer temperature range]), plan your work window to stay inside it.
Apply at the specified rate/thickness
Uniformity is the DIY difference-maker:
– Apply at the specified spread rate.
– Maintain target thickness with consistent technique.
– Use the correct tool set (roller type, squeegee size if required, and edge tools for perimeter work).
Inconsistent thickness is a fast way to create uneven gloss, soft zones, or mottling—especially under clear topcoats.
Avoid Curing Problems and Application Mistakes
You avoid most curing defects by controlling the jobsite environment and respecting recoat timing. When recoat windows are ignored, layers can wrinkle, soften, or delaminate.
Curing defects often trace back to condensation, uneven airflow, or slabs that are too cold or too humid at the moment the coating is applied.
Recoat windows are defined because chemical bonding between layers depends on a specific cure stage; applying too early or too late can reduce adhesion.
Plan airflow and temperature for even cure
– Avoid fans blowing directly in a way that causes dust landing.
– Prevent condensation (cool concrete surfaces can “sweat” in humid spaces).
– If the manufacturer requires it, maintain a controlled environment until full cure.
Watch for common defects while you still can correct them
– Fisheyes/craters: usually contamination or residue.
– Roller marks: thickness and technique; also possible with inconsistent mixing.
– Bubbles: often from improper mixing, fast application, or trapped air in the substrate.
– Edge pull-back: frequently tied to recoat timing and environmental swings.
Respect recoat windows precisely
Your manufacturer’s recoat window determines when the next coat can bond chemically.
– Apply too early and you can get wrinkling/softening.
– Apply too late and you may need additional surface prep to restore adhesion.
If your kit has different windows depending on temperature, follow the exact table your system provides. [ADD: paste your kit’s recoat time ranges and cure schedule.]
What Can Go Wrong (And How to Spot It Early)
You can dramatically reduce failure risk by diagnosing symptoms during application rather than after the floor hardens. The first signs of failure usually show up as adhesion issues, pinholes, or appearance defects that correlate with a specific step (prep, mixing, or recoat).
Early adhesion failures (lifting, flaking, or peeling after cure) commonly correlate with inadequate mechanical profiling or remaining sealer/paint residue.
Pinholes and rough texture during application often indicate contamination, incorrect mixing, or coating over dust that the vacuuming step didn’t remove.
Quick comparison: likely cause → early symptom
| Symptom you notice | Likely step involved | What to check immediately |
|---|---|---|
| Fisheyes / craters | Surface contamination | Cleanup method, residue removal, and whether dust is still present after profiling |
| Pinholes / rough texture | Incorrect mixing or dust overcoat | Mix time/consistency and vacuuming between prep and coating |
| Bubbles | Application technique / trapped air | Work speed, roller method, and whether you’re reworking wet material too aggressively |
| Edge pull-back | Recoat timing or environmental swing | Recoat window compliance and temperature/condensation control |
| Soft tacky spots | Cure conditions / incomplete reaction | Temperature range compliance and whether you stayed within pot life |
Three measurement anchors that help you stay grounded
Even if your kit doesn’t quote every parameter, these standards tell you what “good readiness” means:
– CSP (1–9) describes concrete surface profile; coatings typically require a defined CSP target, not just “roughness.” Source: ICRI 310.2 guidance.
– ASTM F2170 reports concrete moisture as relative humidity (%RH) for slab readiness decisions. Source: ASTM F2170.
– ASTM F1869 reports moisture as MVER (lbs/1000 sq. ft./24h); this unit matters when you compare results to a manufacturer’s limits. Source: ASTM F1869.
Verdict: DIY Is Possible—But Skip It If…
Doing it yourself can work well when you’re comfortable with detailed prep and strict timing, but it’s not the best choice if you’re dealing with unknown slab conditions (sealed/painted concrete, chronic moisture, or questionable moisture testing). If the manufacturer instructions require moisture testing you haven’t planned for, or the space can’t be controlled for temperature/humidity, you may want to bring in a pro for at least the prep or topcoat stages.
DIY polyaspartic is most reliable on bare or known-condition slabs where you can achieve bond-ready mechanical profiling and control temperature until cure is complete.
If you can’t verify moisture limits using the method your kit expects (for example, ASTM F2170 or ASTM F1869), you’re taking an avoidable risk with adhesion and long-term performance.
Pros and cons of DIY polyaspartic (real-world tradeoffs)
– Pros
– Faster schedule without contractor lead times
– Strong control over edges, detailing, and patch quality
– Often lower cost for garages and small light-commercial areas
– Cons
– Prep mistakes can’t be “coated over”
– Pot life and recoat windows compress your margin for error
– Moisture and temperature swings in garages/basements can be hard to control
If your slab is known to be sealed, heavily painted, or shows chronic moisture issues, the smartest DIY move is usually: hire profiling/removal (or at least a bonding inspection) and do mixing/application yourself—if the remaining steps are feasible on your timeline.
Checklist (Save/Print)
– [ ] Verify your exact polyaspartic system steps (primer/base/topcoat + broadcast if used)
– [ ] Confirm concrete profile method and bonding readiness (mechanical prep, not just cleaning)
– [ ] Check temperature, humidity, and slab readiness per manufacturer limits (use the required moisture test standard if specified)
– [ ] Plan tools: mixing drill, correct rollers/squeegee, spiked shoes (if required), vacuum
– [ ] Mix accurately (exact ratios, correct mixing time) and stay inside pot life
– [ ] Apply at the specified rate/thickness and follow recoat windows
– [ ] Keep the area draft/condensation controlled until fully cured
ASTM Moisture Test Outputs Commonly Used Before Floor Coatings
| # | Moisture test standard | What result you report | Used for bonding decisions? |
|---|---|---|---|
| 1 | ASTM F2170 | Relative Humidity in %RH (in-situ probe) | Yes |
| 2 | ASTM F1869 | MVER in lbs/1000 sq. ft./24h (calcium chloride method) | Yes |
| 3 | ASTM C1152 | In-situ moisture measurement via related procedures (surface/cores context) | Sometimes |
| 4 | ASTM C566 | Moisture-related density/absorption measurements (indirect moisture context) | Rare |
| 5 | ASTM D4263 | Plastic sheet test (presence/absence of moisture vapor emission) | Limited |
| 6 | ASTM D4260 | Relative humidity/absorption testing context for subfloors (test-specific) | Limited |
| 7 | ICRI guidance (CSP profile) | CSP 1–9 surface profile target (mechanical readiness) | Yes |
(Note: ASTM method availability and manufacturer acceptance varies; always follow your kit’s specified test standard and acceptance criteria.)
FAQ
Do I need a primer under polyaspartic floors?
It depends on the specific polyaspartic coating system. Some kits include a primer/base layer requirement, while others allow direct application to properly prepared concrete—check your manufacturer’s documentation for compatibility.
How long do I have to work after mixing polyaspartic?
You must follow the pot life listed by the manufacturer for your specific product. Because temperature affects pot life and flow, don’t assume the same working time in a colder or warmer room.
Can I install polyaspartic floors over sealed or painted concrete?
Often it’s possible only if the coating system explicitly allows it and the surface is prepared to remove the sealer/paint to an approved bond-ready condition. If you’re unsure what’s on the slab, plan for mechanical removal and follow the product’s bonding requirements.
Why does polyaspartic get fisheyes or craters?
Most commonly it’s contamination on the surface (oils, residue, dust, curing compounds, or incorrect cleaning). The fix is preventive: deeper cleaning, correct mechanical profiling, and strict adherence to the manufacturer’s prep steps.
Sources
– [ADD: manufacturer installation instructions/spec sheet for your exact polyaspartic coating system (mixing ratios, pot life, recoat windows, application rates, and curing conditions).]
– [ADD: manufacturer surface preparation requirements for concrete (mechanical profiling method and acceptance criteria).]
– ASTM F2170 (Standard Test Method for Determining Relative Humidity in Concrete Subfloors Using In-Situ Probes).
– ASTM F1869 (Standard Test Method for Measuring Moisture Vapor Emission Rate of Concrete Subfloor Using Anhydrous Calcium Chloride).
– ICRI 310.2 (Guide to Concrete Surface Preparation for the Installation of Coatings).
Doing it yourself is absolutely achievable with polyaspartic floors—provided you treat prep and timing as non-negotiable steps. If you can confirm bond-ready concrete (profile + cleanliness), follow the exact mix ratios and pot life, and respect recoat windows under controlled curing conditions, you can get a durable, professional-looking finish. If you can’t verify moisture readiness or you can’t control temperature/humidity in the work area, consider hiring help for prep and/or topcoat so you don’t gamble the entire installation.
Frequently Asked Questions
What materials and tools do I need to install polyaspartic floors without professional help?
To DIY polyaspartic floor installation, you’ll typically need a grinder or floor prep system, a vacuum with HEPA filtration, patching compound, acetone or degreaser, mixing buckets, a drill with a proper mixing paddle, spiked shoes, and rollers/squeegees. You’ll also need the correct polyaspartic coatings (primer, base, and topcoat) plus broadcast aggregate if you’re creating a non-slip finish. Confirm compatibility of all components and follow the manufacturer’s coverage rates to avoid running short mid-project.
How do I properly prepare my concrete so polyaspartic flooring doesn’t peel or fail?
Polyaspartic floors rely on mechanical adhesion, so surface prep is the most important DIY step. Start by cleaning thoroughly (remove oil, paint, curing compounds, and dust), then grind the concrete to an open, even profile and vacuum completely. Repair cracks and spalls with appropriate patching, ensure moisture is within the coating system’s limits, and only apply primer when the surface is clean and dry—otherwise you increase the risk of delamination and bubbling.
How do I mix and apply polyaspartic coating to get a smooth, even finish?
Mix polyaspartic flooring components in the exact ratio and for the manufacturer’s recommended time, scraping the sides and bottom of the bucket to prevent unmixed material. After priming, apply the polyaspartic base evenly using a squeegee or roller, then use a spiked roller to release trapped air and level the coat. Work in manageable sections and maintain consistent timing so you don’t get visible seams, texture differences, or uneven curing—especially in garages where temperature can swing.
Which safety precautions should I follow when installing polyaspartic floors DIY?
Use proper PPE including chemical-resistant gloves, safety goggles, and a respirator rated for organic vapors as specified by the product SDS. Work in ventilated conditions, and avoid ignition sources since some polyaspartic systems use reactive solvents or have strong fumes during application. Plan for spill control and ensure everyone stays off the floor until coatings are fully cured, because fresh polyaspartic flooring can be harmful and can also be damaged by foot traffic.
Best way to manage temperature and curing times when installing polyaspartic floors yourself?
Polyaspartic floors cure quickly, so temperature and humidity strongly affect pot life and final finish. Install within the coating system’s recommended temperature range, keep substrate temperature consistent, and monitor humidity to reduce issues like blushing, surface imperfections, or poor film formation. If your space warms up fast (common in DIY settings), stage materials, mix smaller batches, and plan your workflow to apply and topcoat within the allowable recoat window.
📅 Last Updated: October 11, 2026 | Topic: How to install without professional help polyaspartic floors? | Content verified for accuracy and freshness.
References
- Google Scholar Google Scholar
https://scholar.google.com/scholar?q=polyaspartic+floor+coating+installation+guide - Google Scholar Google Scholar
https://scholar.google.com/scholar?q=concrete+surface+preparation+epoxy+coatings+method+mechanical+prep - Google Scholar Google Scholar
https://scholar.google.com/scholar?q=polyaspartic+coating+application+safety+PPE+ventilation - Epoxy
https://en.wikipedia.org/wiki/Epoxy_resin - Polyurethane
https://en.wikipedia.org/wiki/Polyurethane - Concrete
https://en.wikipedia.org/wiki/Concrete - 1910.134 – Respiratory protection. | Occupational Safety and Health Administration
https://www.osha.gov/laws-regs/regulations/standardnumber/1910/1910.134 - Silica, Crystalline – Overview | Occupational Safety and Health Administration
https://www.osha.gov/silica - Silica and Worker Health | Silica | CDC
https://www.cdc.gov/niosh/topics/silica/ - Hazard Communication – Overview | Occupational Safety and Health Administration
https://www.osha.gov/hazcom


