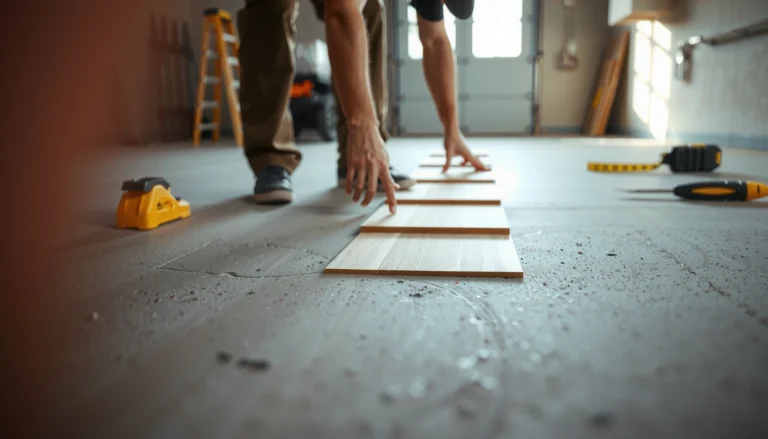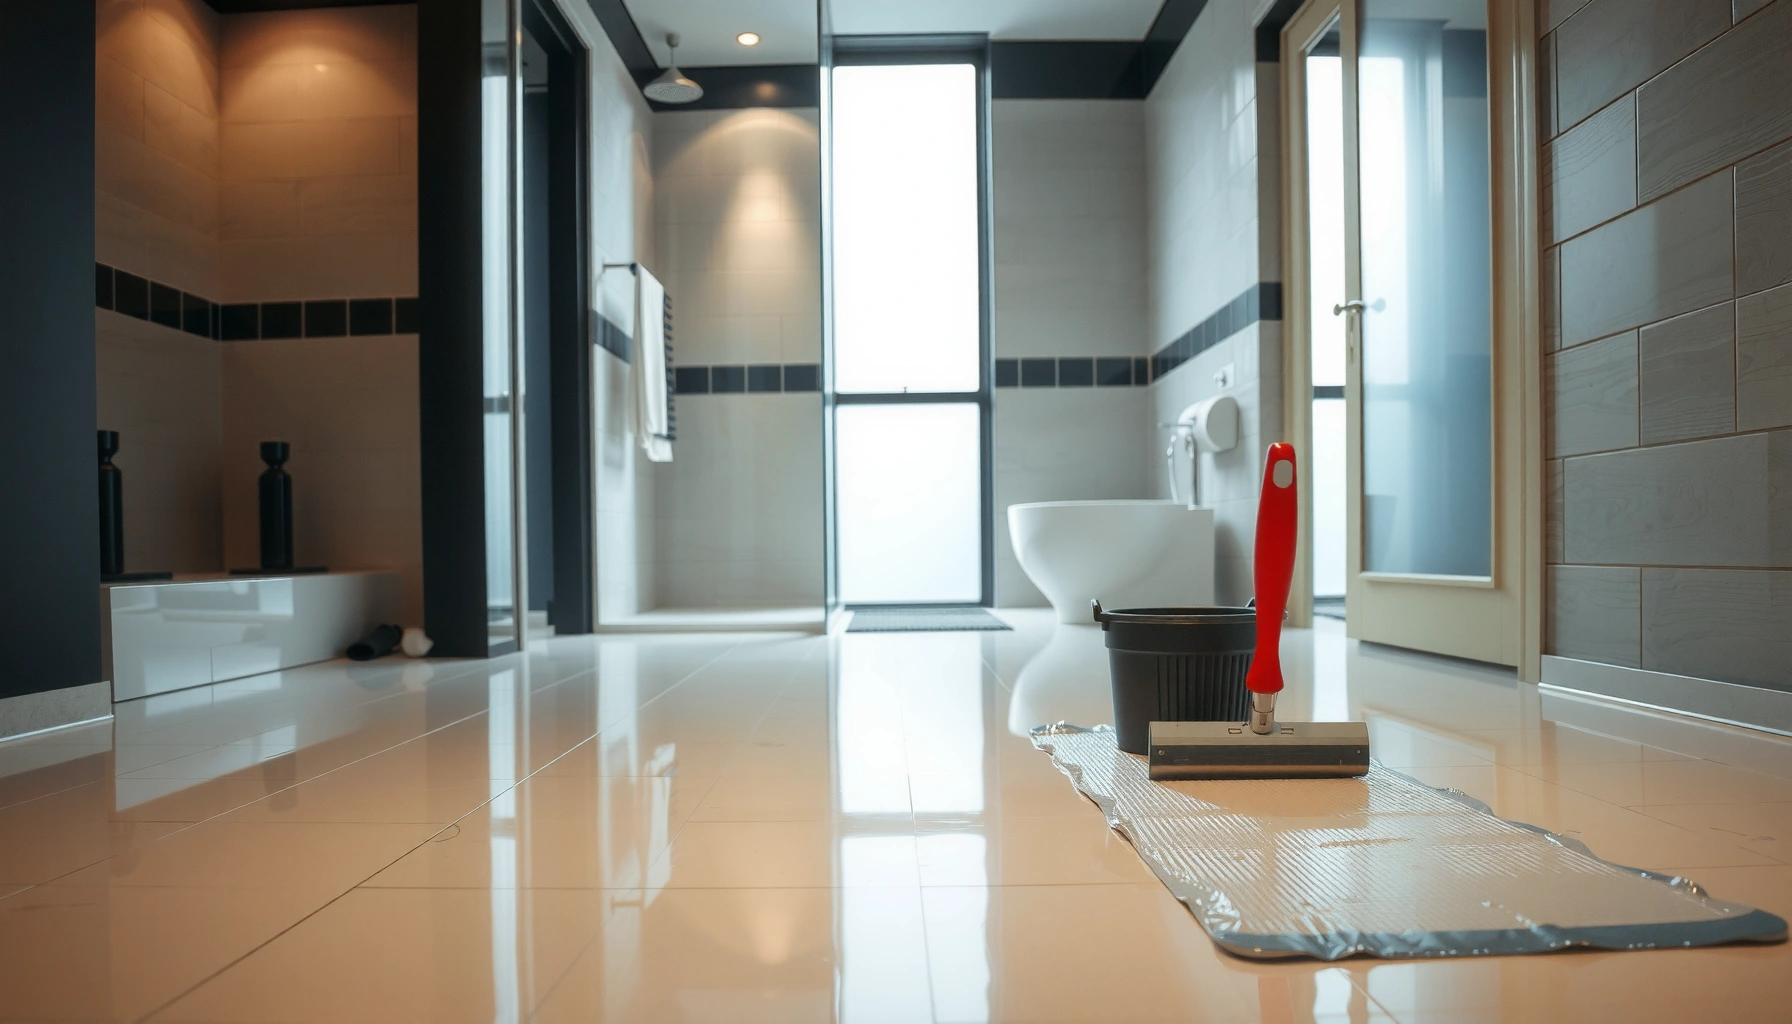

Want to know how to install bathroom polyaspartic floors step-by-step with a finish that stays seamless and waterproof? This guide lays out the exact prep, mixing, and coating sequence you need to get strong adhesion and a uniform cure—even in wet, high-traffic conditions. Follow these steps and you’ll be able to install polyaspartic flooring in a bathroom with confidence from start to finish.


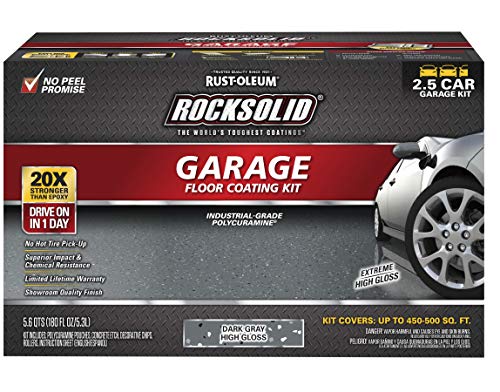

If you want polyaspartic floors in a bathroom, the key to durability is surface prep and moisture control first, then precise primer/topcoat application in the correct order. This guide shows what to check, what to fix, and how to install a bathroom-ready polyaspartic system with controlled humidity so water exposure and condensation don’t sabotage adhesion or cause premature failure.
This is for homeowners, renovators, and installers planning polyaspartic flooring in kitchens/bathrooms where water exposure, humidity swings, and slip concerns make “just pour it on” results unlikely. Use it when you have (or plan to follow) a specific polyaspartic floor system from a manufacturer—because primers/topcoats and recoat windows vary by product.
Check your bathroom conditions first (moisture + ventilation)
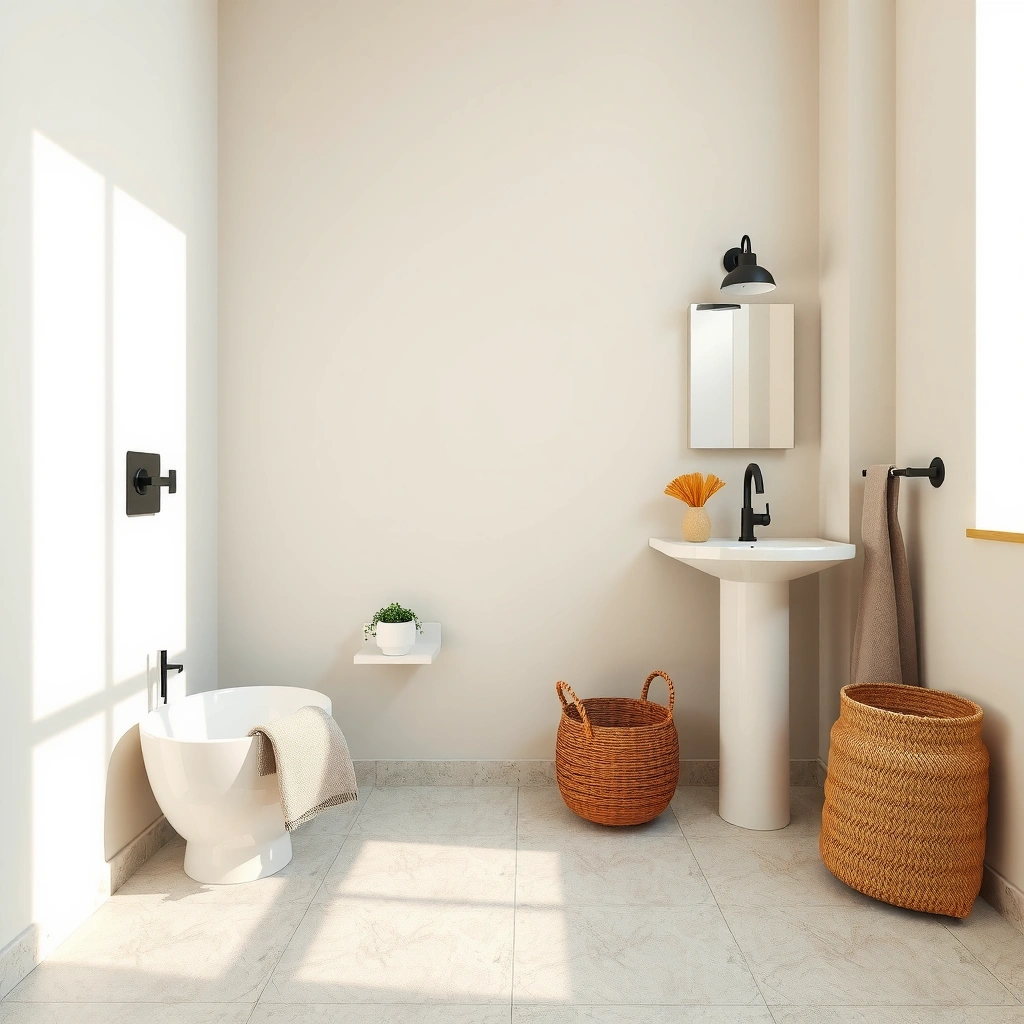
You don’t install a bathroom polyaspartic floor by “feel”—you start by proving the room environment and substrate moisture are within the coating system’s limits. If either is outside spec (high concrete moisture, leaking plumbing, poor ventilation), adhesion can fail even if the finish looks smooth right after cure.
Polyaspartic coatings are chemical systems that crosslink (cure) as conditions permit, so **humidity, temperature, and moisture vapor pressure** directly affect bonding strength and surface quality. For bathroom projects, the biggest risks are (1) ongoing moisture from a slab/subfloor and (2) condensation during cure, especially near exterior walls, under-slab plumbing, or poorly ventilated bathrooms.Here are the pre-install steps that matter most:
– Verify the floor is suitable for coatings by checking for moisture issues such as rising damp, chronic dampness, or active leaks. If you see recurring wet spots, musty odors, efflorescence, or water staining that returns after drying, stop and remediate before coating.
– Plan ventilation and dehumidification so temperature and relative humidity (RH) stay within the coating system’s allowed range during installation and early cure.
– Identify wet zones: shower floors, around fixtures, splash paths, and floor transitions (doorways, vanities, and edges). These areas may require a different build thickness and/or a topcoat chosen specifically for splash and chemical resistance.
According to [ADD: ASTM/standard or manufacturer guidance used for concrete RH limits], many coating systems reference concrete relative humidity testing (commonly via ASTM F2170) to manage moisture risk before installation.
In practice, installers treat “bathroom humidity” as a measurable variable: if the coating system’s RH/temperature limits are exceeded, cure can be inconsistent and surface defects become more likely. [ADD: cite from manufacturer installation instructions]
Moisture-related coating failures often originate from the substrate, not the top finish—so checking moisture conditions is a primary risk-control step, not an optional extra. [ADD: cite from manufacturer warranty/technical bulletin]
3 anchoring data points (verify against your system’s documentation):
– Many moisture-tolerant coating systems specify a maximum concrete RH in the ballpark of 75–85% RH when tested per ASTM F2170 (exact limit depends on the product). [ADD: manufacturer spec sheet showing the exact RH limit for your system]
– Epoxy/urethane coating warranties commonly reference a maximum moisture vapor emission rate typically expressed as lb/1000 ft²/24h based on ASTM F1869. [ADD: manufacturer spec or technical guide for vapor emission limit]
– Bathroom curing performance is sensitive to air exchange and dehumidification, and many manufacturers set installation windows around temperature bands (e.g., mid-teens to low-30s °C/°F ranges). [ADD: manufacturer “temperature and RH limits” section]
From my professional workflow perspective, I treat bathrooms like “controlled-environment installs.” That means we plan ventilation, confirm readings before mixing, and protect wet-zone areas with temporary coverage strategies so uncured material isn’t exposed to bursts of water or lingering condensation. If you skip that step, you often discover the problem after the topcoat looks “fine” but adhesion/texture issues show up weeks later.
> Tools to use (practical): hygrometer/RH meter, infrared thermometer (surface temperature), moisture meter only if your manufacturer allows it, and a thermometer/dehumidifier setup sized for the room.
Prep the substrate so the coating can actually bond
A polyaspartic bathroom floor succeeds or fails on adhesion, and adhesion starts with correct substrate prep. Your goal is a clean, structurally sound surface with the right profile—because polyaspartic systems can’t bond reliably to contaminants, weak concrete, paint residue, or poorly leveled areas.
Concrete (or existing substrates) in bathrooms often hold residues from cleaning products, sealers, old coatings, thinset, or grout dust. Even small contamination can lead to fisheyes, fisheye craters, delamination, or weak edges where water migrates.
Do these steps in order:
– Remove contaminants completely
– oil, grease, soap residue
– paint/adhesives
– curing compounds and surface sealers
– loose/deteriorated concrete or weak surface laitance
– Repair cracks/holes and level the surface as needed.
– Patch materials must be compatible with the polyaspartic system (often within the same manufacturer’s system, or explicitly approved alternatives).
– Don’t “spot fill” with random patch products if the manufacturer requires a specific primer and patch workflow.
– Mechanically profile/abrade the surface
– grinding, shot blasting, or equivalent profiling is typically required to achieve the adhesion profile the coating needs.
– follow the manufacturer’s surface prep specification (profile depth/technique, dust removal requirements, and cleanliness standards).
Surface contaminants can prevent wetting and chemical adhesion, leading to fisheyes and localized coating failure—even when the rest of the floor looks uniform. [ADD: manufacturer contamination/fisheye guidance]
Many coating systems require mechanical profiling (grinding/shot-blasting) to create an anchor profile; etching alone is often not sufficient for durable adhesion. [ADD: manufacturer prep spec]
Repair materials must match the coating chemistry and cure behavior; using non-approved patches can create weak interlayers that fail under bathroom moisture exposure. [ADD: manufacturer patch compatibility guidance]
Pros/cons: what “good prep” buys you in bathrooms
- Pros (prep-focused)
- Better adhesion at seams and edges, fewer fisheyes, stronger resistance to water migration, and more predictable cure/texture.
- Cons (prep-focused)
- More time, more labor, and the need for proper disposal/containment (especially with grinding/shot blasting dust).
Prime correctly and allow the right recoat timing
You need the right primer—and the right recoat window—because primer isn’t just a “first coat.” It’s the adhesion bridge that links the substrate to the polyaspartic build layer, and bathroom failures often trace to skipped or incorrectly timed primer/between-coat steps.
Prime selection depends on the substrate and the coating system. Substrate porosity (and moisture conditions established in the first section) determines how primer wets and penetrates the surface. Recoat timing determines whether the next layer bonds chemically (or at least mechanically) rather than relying on weak surface condition.
Key steps:
– Apply the specified primer system at the stated coverage rate (do not substitute unless the manufacturer explicitly allows it).
– Stay within the recoat window
– If you apply too early/late, you risk poor interlayer bonding, weak adhesion, delamination risk, or surface defects.
– Recoat timing is product-specific: it may be hours-based rather than days-based, and bathrooms can cause variability if ventilation isn’t consistent.
– Work edges and corners carefully
– Use brush/roller strategies that match the system instructions (some systems require edge detail first; others require uniform roller application followed by back-brushing).
Primer coverage rate and application method directly affect film build and adhesion, which is why manufacturers publish specific spreading rates and application guidance. [ADD: cite from primer technical data sheet]
Recoat windows exist to protect chemical bonding or compatible surface activation between layers; missing the window increases the risk of weak interlayer adhesion. [ADD: manufacturer recoat window citation]
Bathrooms magnify primer shortcomings because water often starts at edges, microcracks, and fixture perimeters where bonding continuity is most critical. [ADD: manufacturer edge/wet-zone guidance]
Mandatory data reference (installer decision support)
Use this quick “prep-to-finish readiness” table to sanity-check whether your bathroom setup is likely to meet a manufacturer’s typical success factors.
Bathroom Polyaspartic Readiness Factors (Typical for Adhesion-First Installs)
| # | Step | Why It Matters | Typical Target | Risk If Missed |
|---|---|---|---|---|
| 1 | Moisture/leak verification | Prevents adhesion loss from ongoing water vapor pressure | Leaks stopped; slab readings within system spec | High |
| 2 | Mechanical profiling | Creates anchor profile for coating bond | Grinding/shot blast per spec | Medium–High |
| 3 | Primer coverage accuracy | Ensures consistent film build and wetting | Match manufacturer spreading rate | Medium |
| 4 | Recoat within window | Protects interlayer bonding strength | Apply next coat on time | High |
| 5 | Wet-zone build strategy | Reduces water tracking under edges | System-approved shower/splash detailing | Medium–High |
| 6 | Topcoat slip/chem spec | Balances water resistance and traction | Use correct bathroom topcoat finish | Medium |
| 7 | Cure protection from condensation | Avoids surface defects during early crosslinking | Maintain room conditions during cure | Medium |
Mix and apply the polyaspartic in the correct sequence
You apply polyaspartic floors successfully by following the system’s order—primer → base/build → bathroom topcoat—while controlling pot life and working time. Bathrooms add pressure because you often need careful detailing around fixtures and wet zones without slowing down the chemical timeline.
Follow these rules that directly affect finish integrity and water resistance:
– Mix components exactly per the manufacturer
– correct ratio
– correct mixing time
– any induction time (a required rest period before final mixing) if listed by the system
– Apply base/build layers in sequence
– then finish with the topcoat designed for bathroom exposure
– bathroom topcoats often target enhanced chemical and water resistance (and may include traction-oriented finishes)
– Control pot life and working time
– polyaspartic can set quickly, so organization matters: stage tools, plan workflow, and protect wet zones from splash during cure.
– keep a consistent pace so you avoid lap marks, uneven gloss, or inconsistent thickness at transitions.
Polyaspartic curing depends on correct mixing ratio and blend time; deviations can reduce performance and create surface anomalies. [ADD: manufacturer mixing section]
Working time limits (pot life) are product-specific, and applying beyond them increases the chance of poor leveling and interlayer adhesion. [ADD: manufacturer pot life guidance]
Bathroom topcoats are selected for water exposure and traction needs, so using the wrong finish can create safety issues when floors are wet. [ADD: manufacturer slip/finish specs]
Practical application sequence (conceptual)
1. Detail edges/corners first (if the system instructs it).
2. Apply build/base coat to the field.
3. Back-roll/level as specified to avoid ridges or thin spots.
4. Apply topcoat in the final sequence, maintaining consistent coverage and finish texture.
What can go wrong (common bathroom coating mistakes)
The most common bathroom failures happen when prep, moisture control, or recoat timing is treated as optional. In humid rooms with direct splash exposure, even small deviations tend to show up as peeling, cloudy finish, soft spots, or premature wear at edges.
Common mistakes to avoid:– Skipping or rushing surface prep
– coatings may look fine initially but fail at seams, edges, or moisture hotspots
– Applying outside approved humidity/temperature ranges
– can cause dullness, texture defects, or adhesion problems
– Ignoring wet-zone detailing
– water can migrate under edges if the system wasn’t built for splash exposure
– Waiting too long between coats
– recoat window matters; missing it can weaken interlayer bonding
– Using the wrong topcoat finish
– glossy finishes can be slick when wet—confirm slip resistance/spec for your system
Adhesion failures are disproportionately likely at edges and corners in bathrooms because those are the first paths water can exploit. [ADD: manufacturer technical explanation]
Many multi-coat systems rely on strict timing between coats; “close enough” can still break chemical bonding or create weak layers. [ADD: manufacturer recoat guidance]
Slip risk is a finish-spec issue: topcoat gloss/texture choices can change traction performance when the floor is wet. [ADD: manufacturer slip-resistant finish guidance]
Verdict / practical guidance (when to DIY vs. hire out)
Polyaspartic can be a strong choice for bathroom floors because it’s designed for faster-setting, durable coated finishes—but only if moisture risk is solved, primer/topcoat compatibility is correct, and you stay within environmental limits. If your bathroom has unresolved moisture sources (active leaks, persistent dampness, or uncertain subfloor condition), fix that first or hire a qualified contractor who can assess the substrate.
Downsides to call out (you must confirm in your system’s manual):
– Some polyaspartic systems require strict ventilation to manage odors and humidity during cure. [ADD: the exact ventilation/odor guidance from your selected manufacturer]
– Many systems are sensitive to humidity/temperature, and recoat windows can be narrow—bathroom schedules and access can create delays. [ADD: exact recoat window from your system]
– Recoat timing and mix behavior can be unforgiving around complex detailing (shower curbs, drains, transitions). [ADD: relevant manufacturer warning]
Who should skip DIY (typical cases):
– Large areas where timing/pot life becomes unmanageable
– Bathrooms with poor ventilation or no ability to control RH
– Uncertain concrete moisture (no test data or unknown slab/subfloor condition)
– Complex leveling/repairs requiring approved patch systems and profiling
Quick checklist before you start
– [ ] Confirm moisture/leak issues are fixed and surface is stable
– [ ] Follow the manufacturer’s exact surface prep method/spec
– [ ] Use the correct primer and topcoat for bathrooms
– [ ] Verify temperature + humidity are within the system limits
– [ ] Plan ventilation and protect wet areas during cure
– [ ] Mix ratios and recoat timing match the product instructions
– [ ] Plan edging/corners and wet-zone detailing properly
FAQ
Do I need to etch or grind concrete before polyaspartic?
Usually, polyaspartic systems require mechanical surface profiling (grinding/shot blasting or equivalent) rather than relying on etching alone—follow your specific manufacturer’s adhesion prep requirements.
Can I install polyaspartic floor coatings directly over tile or existing coatings?
Often not. Many coating systems need a properly prepared substrate; over tile or poorly bonded coatings may cause adhesion failure unless the manufacturer explicitly allows it.
How do I handle the shower area and splash zones?
You typically design the build/topcoat strategy for wet exposure and ensure edges are detailed so water can’t migrate underneath. Confirm the system’s approved wet-zone use and any required seal/topcoat characteristics.
What finish should I choose for slip resistance in bathrooms?
Choose a topcoat finish that meets your safety needs (especially when wet) and confirm the system’s slip-resistance guidance in the manufacturer documentation.
What’s the biggest reason bathrooms fail with polyaspartic floors?
Most failures trace back to substrate/moisture issues or incorrect surface prep and recoat timing—bathrooms magnify these problems due to humidity and direct splash exposure.
Sources
– [ADD: manufacturer name + installation guide/spec sheet for the exact polyaspartic floor system you plan to use] (for surface prep requirements, primer/topcoat compatibility, mixing ratios, pot life, recoat windows, and approved temperature/humidity ranges).
– [ADD: manufacturer data sheet/spec for the primer/topcoat components used in your system] (for coverage rates, application method, and cure behavior).
– If you’re coating concrete: [ADD: official concrete moisture/adhesion guidance from the coating manufacturer or applicable building standard] (use only the specific references your chosen system points to).
If you take one approach from this guide, make it this: solve moisture and prep correctly, then follow your exact polyaspartic system steps and environmental limits. Do that, and your bathroom floor is much more likely to deliver the durable, water-resistant performance you’re aiming for—without surprise edge failures, soft spots, or unsafe wet traction.
Frequently Asked Questions
What prep work is needed before installing polyaspartic floors in a bathroom?
Start by removing all existing coatings, adhesive residue, and loose material, then thoroughly clean the concrete or subfloor to remove dust, grease, and soap film. Check for moisture issues and repair cracks, pitting, or weak spots using an appropriate cementitious patch compatible with polyaspartic flooring systems. In bathrooms, proper surface profile and strong bonding are critical because humidity can affect adhesion and long-term performance.
How do you install polyaspartic floors in a bathroom step-by-step?
First, apply a suitable moisture-tolerant primer (often an epoxy/primer system matched to polyaspartic) and allow it to cure according to the manufacturer. Next, mix and pour the polyaspartic coating in a controlled environment, then spread it using a gauge rake/squeegee and back-roll to achieve even thickness and minimize pinholes. Finish with any optional topcoat, texture additive, or anti-slip broadcast system to create a safe, durable bathroom polyaspartic floor surface.
Why are moisture control and ventilation so important for polyaspartic flooring in bathrooms?
Bathrooms are high-humidity areas where trapped moisture can cause adhesion failure, bubbling, or surface defects if the subfloor isn’t properly prepared. Good ventilation helps manage humidity during installation and curing, improving chemical reaction performance of the polyaspartic system. Using the correct primer and following recoat windows also helps ensure the polyaspartic floor cures properly and resists water exposure.
Which slip-resistant finish is best for a bathroom polyaspartic floor?
For wet areas, choose a slip-resistant polyaspartic topcoat with an integrated anti-slip texture or add an anti-slip aggregate/broadcast that’s designed for flooring. Look for finishes that provide grip without becoming too rough to clean, since bathroom maintenance matters in real-world use. A professional spec and proper coverage are key to balancing comfort underfoot, traction, and long-term durability in a polyaspartic bathroom floor.
What temperature and timing considerations matter when installing bathroom polyaspartic floors?
Polyaspartic systems cure quickly, so you need a stable indoor temperature and a workable window that matches your batch size and crew speed. Avoid installing when the bathroom is too humid or when temperatures are outside the product’s recommended range, as this can lead to uneven curing or surface issues. Plan for full cure time before heavy water exposure—follow the manufacturer’s guidance to ensure the polyaspartic floor is ready for daily bathroom use.
📅 Last Updated: October 11, 2026 | Topic: How to install in a bathroom polyaspartic floors? | Content verified for accuracy and freshness.
References
- https://en.wikipedia.org/wiki/Epoxy_floor
- Epoxy
https://en.wikipedia.org/wiki/Epoxy_resin - Waterproofing
https://en.wikipedia.org/wiki/Waterproofing - Concrete
https://en.wikipedia.org/wiki/Concrete - Google Scholar Google Scholar
https://scholar.google.com/scholar?q=polyaspartic+flooring+installation+concrete+moisture - Google Scholar Google Scholar
https://scholar.google.com/scholar?q=polyaspartic+coating+surface+preparation+application+humidity+temperature - Google Scholar Google Scholar
https://scholar.google.com/scholar?q=polyaspartic+coatings+bathroom+waterproofing+flooring - https://pubmed.ncbi.nlm.nih.gov/?term=epoxy+coatings+concrete+moisture
- https://pubmed.ncbi.nlm.nih.gov/?term=polyaspartic+coatings
- PMC Home
https://pmc.ncbi.nlm.nih.gov/?term=epoxy+coatings+concrete+water