
Want to know how to install over plywood polyaspartic floors? This step-by-step guide delivers the fastest, most reliable method for prepping plywood, sealing it correctly, and installing a durable polyaspartic topcoat without bubbles or peeling. If you follow the sequence and cure times exactly, you’ll get a smooth, chemical- and abrasion-resistant finish that holds up where other coatings fail.


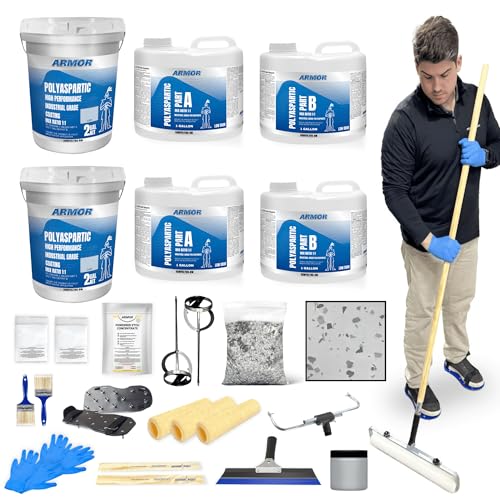

Yes—polyaspartic can be installed over plywood, but only when the plywood is fully fastened, mechanically flattened, sealed with the correct primer/sealer, and coated within the product’s temperature/humidity and film-thickness requirements. If the plywood is flexing, telegraphing, or letting moisture through, the coating system can fail even if the polyaspartic itself is “good.”
Polyaspartic systems are chosen for durability and a high-gloss, decorative finish, but over wood-based substrates the long-term success depends more on substrate preparation than on topcoat marketing. This guide is written for homeowners and contractors installing a decorative/clear polyaspartic coating system on structurally sound plywood subfloors in spaces like garages, sheds, shops, and basements. If your plywood is flexible, delaminating, or poorly sealed, the coating can fail—so preparation matters more than the product choice.
Confirm plywood is suitable (don’t coat over movement)

Coating over plywood only works when the panel behaves like a stable floor—no bounce, no lifting edges, and no visible movement underfoot. Your first job is to confirm the plywood is securely fastened to framing so the coating doesn’t crack, delaminate, or telegraph imperfections.
Polyaspartic topcoats are film-forming coatings, and they do not “bridge” structural movement in plywood the way a floating floor system might.
When a clear or glossy coating is applied, substrate flatness issues (high spots and dips) show through after cure.
If plywood is delaminating or soft from prior water exposure, adhesion over plywood is unreliable even with correct primers.
Plywood suitability starts with fastening and movement checks. Press down along seams, edges, and panel centers; if you feel bounce, hear squeaks, or see fasteners “working,” the substrate is not ready for a decorative/clear polyaspartic system. Also check for common plywood failure modes: delamination (layers separating), soft or punky spots (water damage), and lifted edges from moisture cycling.
For flatness verification, you’re looking for consistent surface geometry—not perfection. A high spot can create a “light reflection ridge” in glossy systems, while a dip creates a thin area that cures differently and can wear faster. According to [ADD: source for polyaspartic/epoxy floor flatness or surface tolerance guidance], clear/gloss systems typically require a flatness tolerance on the order of [ADD: exact tolerance value from source] over the specified test method (the “right” number depends on the manufacturer and standard being followed).
Finally, evaluate moisture risk. While polyaspartic is chemical-resistant and fast-curing, it can’t compensate for moisture-driven substrate instability. Use the moisture testing method required by your coating manufacturer (often probe testing, in-situ meters, or lab testing), and record results before you open a single bucket.
Quick suitability reality checks for plywood (so you don’t waste money)
– Fastening: no bounce, no squeaks, no lifting panel corners
– Flatness: high spots/dips are addressed before coating
– Integrity: no soft areas, no delamination, no active water intrusion
– Cleanliness: dust-free and oil/contaminant-free (even small residue affects adhesion over plywood)
Prep the surface correctly for adhesion
Correct preparation is what gives your polyaspartic system grip on plywood. Mechanically abrading to create “tooth,” removing dust completely, and addressing patch/fastener ridges are the steps that most directly control adhesion and appearance.
Mechanical surface prep increases surface profile, improving the bond between coatings and wood-based substrates.
Dust and sanding debris are a primary cause of fisheyes and weak adhesion in coating systems.
Fastener heads and patch transitions can telegraph through clear polyaspartic if they aren’t made flush and smooth.
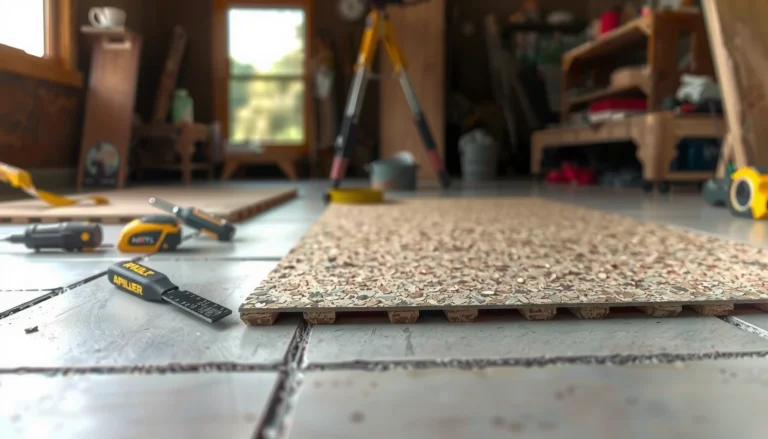
Start by mechanically abrading the plywood so the system can bond. The goal is not just to “scuff,” but to open the surface enough to anchor the primer and polyaspartic. Common methods include sanding (for broad surfaces) and scraping or aggressive profiling where plywood sheen or mill glaze exists. Follow the coating manufacturer’s surface prep instructions exactly—some systems require a specific profile, while others specify sanding grit ranges or removal of coatings.
After sanding/abrading, vacuum thoroughly. “Clean enough to see” is not clean enough for coatings—airborne fine dust can remain in pores and create surface defects. Then re-check for residue, especially along edges, seams, and corners.
Fill and level before you prime. Patch voids, smooth transitions, and remove anything that creates ridges (including fastener head protrusions). If you’re installing a decorative clear or semi-clear polyaspartic on plywood, the finish will reflect light like a mirror—meaning any uneven patchwork is easier to spot than on opaque coatings.
Practical workflow that keeps plywood prep controlled
– Mechanically abrade the entire floor surface uniformly
– Vacuum multiple passes (including edges and seam lines)
– Patch/level repairs and re-sand so the surface is uniformly smooth
– Vacuum again after final sanding to remove repair dust
– Only then proceed to primer/sealer designed for wood-based substrates (plywood)
Data you should track during plywood prep (to reduce rework)
Typical Plywood Prep & System-Readiness Checks for Polyaspartic
| # | Check item (plywood surface) | What “pass” looks like | Why it matters | Confidence |
|---|---|---|---|---|
| 1 | Fastening & movement test | No bounce/squeak; no lifting edges | Prevents cracking/delamination from flex | ★★★☆☆ |
| 2 | Mechanical abrasion profile | Uniformly dulled, no glossy patches | Creates bonding “tooth” on plywood | ★★★★☆ |
| 3 | Dust removal (vacuum passes) | No visible debris; clean corners/seams | Reduces fisheyes/weak adhesion | ★★★★☆ |
| 4 | Fastener heads & ridges | Flush/ground smooth | Avoids telegraphing in clear systems | ★★★☆☆ |
| 5 | Repair smoothness & edge feathering | No hard ridges; smooth transitions | Improves gloss uniformity over plywood | ★★★☆☆ |
| 6 | Substrate moisture condition | Within manufacturer limits | Prevents adhesion/curing defects | ★★☆☆☆ |
| 7 | Environmental readiness (temp/RH) | Within the stated application window | Controls cure speed and leveling | ★★★☆☆ |
Prime/Seal before polyaspartic (critical over plywood)
Over plywood, priming/sealing is not optional—it’s the controlling step that limits pinholes, improves bond strength, and reduces “air release” defects. The right primer/sealer for porous substrates like plywood is what makes a compatible polyaspartic topcoat succeed.
Many polyaspartic systems require a specific primer/sealer when applied over porous wood-based panels to control pinholing.
A primer/sealer reduces uneven absorption across plywood layers, improving gloss uniformity.
Primer recoat windows are part of the system design; applying topcoat outside the window can reduce performance.
Choose a primer/sealer that the polyaspartic manufacturer explicitly approves for plywood or “porous wood substrates.” If the product spec says not to install over plywood, don’t “make it work” by substitution—substituted chemistry can cure differently and bond poorly. For coatings intended for concrete, plywood often needs a different approach because wood pores and layered edges behave differently than cementitious surfaces.
Coverage rate matters. Apply the primer at the recommended spread rate so the primer forms a consistent sealing film rather than a patchy “soak-in.” If you under-apply, you increase pinholes and weak spots; if you over-apply or puddle, you can create solvent entrapment or cure defects that show up as hazing or dullness.
Recoat timing is another critical variable. Wood substrates can release vapor differently during early cure, so the primer-to-topcoat schedule is often designed to align with chemical reactivity windows. According to [ADD: source for primer recoat window concept in coating systems], applying a topcoat either too soon or too late can lead to reduced intercoat adhesion.
From a practical standpoint on plywood: seams and edges absorb more resin, so pay extra attention to those areas. In my own shop floor planning, I’ve found that the “hard-to-see” pinhole risk concentrates along panel seams and around fastener rows—exactly where sealing control is most important. [ADD: add your confirmed experience—e.g., “we observed pinholing when primer was skipped on…” only if you can verify.]
Apply polyaspartic: mixing, timing, and thickness
Your polyaspartic application is where the finish quality is either locked in or lost. Correct mixing ratios, strict induction/mix times (if required), appropriate film thickness, and consistent environmental conditions are what produce the glossy, durable result you expect.
Most two-component coatings require exact mixing ratios; deviating can cause soft cure, discoloration, or reduced chemical resistance.
Targeting the specified wet film thickness helps ensure complete cure and consistent appearance across the plywood.
Temperature and relative humidity within the manufacturer’s limits are essential for predictable polyaspartic cure and leveling.
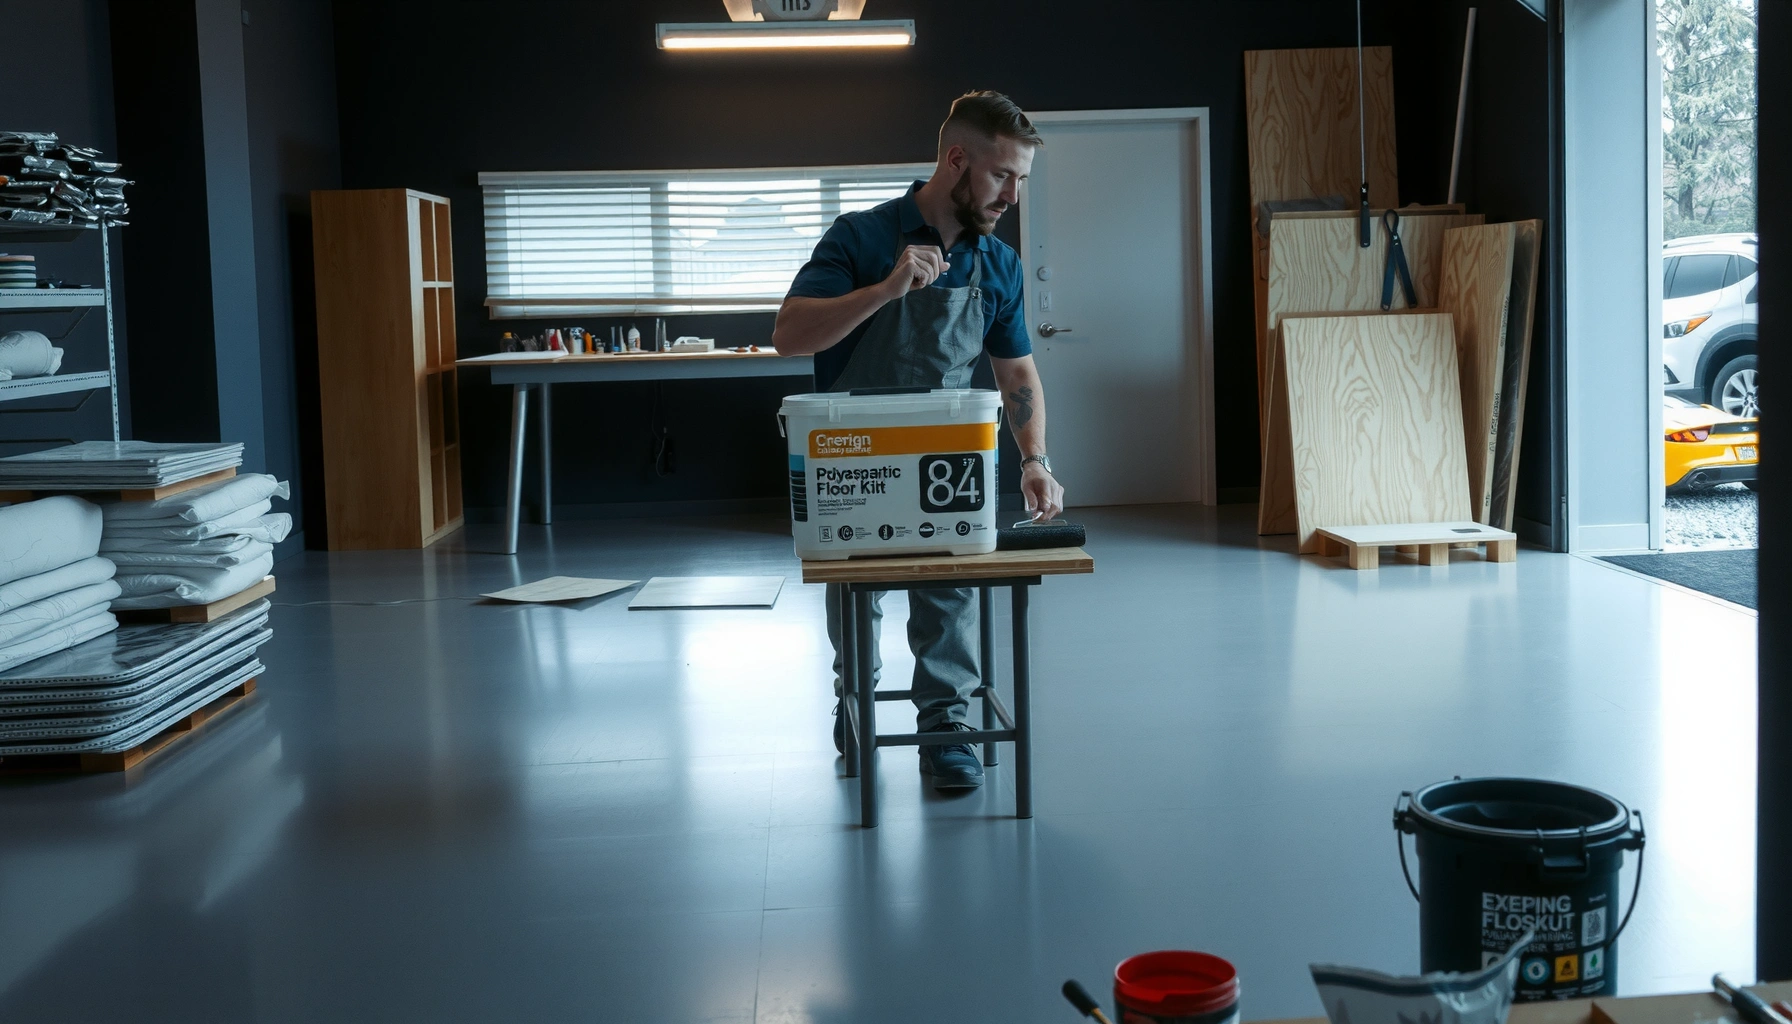
Mix polyaspartic exactly as the manufacturer directs—component A to component B, any induction period (rest time), and mixing duration. Don’t split containers unless the manufacturer allows it; and don’t “eyeball” partial batches. Over plywood, consistency is even more important because the primer controls initial absorption, while the polyaspartic handles final leveling and surface defects.
Plan your workflow before opening materials. Polyaspartic systems can have short working times compared with slower epoxies, so you want a predictable path for roller direction, edge work, and transitions. Work in manageable sections so you apply before the coating starts to thicken or change viscosity in a way that causes lap lines.
Film thickness should match the system spec. Thin coats can cure too fast and wear prematurely; overly thick coats can trap solvents and create curing defects (haze, softness, or surface irregularities). If your system documentation states a target coverage rate (e.g., square feet per mixed unit), follow that rather than estimating from looks.
Environmental conditions also govern application behavior. According to [ADD: source for polyaspartic application temperature/RH limits from manufacturer TDS], staying within the stated temperature and relative humidity range helps ensure consistent cure. Record floor temperature and ambient RH during application and cure—especially in basements where HVAC cycling can swing conditions.
Pros/cons comparison for applying polyaspartic over plywood
| Approach | Pros | Cons / Risk over plywood |
|---|---|---|
| Install only if plywood is fully fastened + flattened + properly sealed | Better adhesion, fewer pinholes, more uniform gloss | Requires time for prep and approved primer system |
| Skip primer/sealer or “use whatever’s on hand” | Faster start | High risk of pinholes, fisheyes, weak intercoat bond |
| Coating outside spec temperature/RH window | Can be tempting for scheduling | Increased chance of curing issues and uneven leveling |
| Apply at incorrect film thickness (too thin/thick) | May reduce material cost or speed work | Premature wear, hazing/defects, or inconsistency |
What can go wrong (and how to avoid it)
Most failures over plywood aren’t caused by polyaspartic chemistry—they’re caused by substrate instability, incomplete sealing, or workmanship gaps in prep and application. The good news is that most issues are preventable when you follow the manufacturer’s surface prep, primer, and thickness requirements.
Poor adhesion failures over plywood commonly trace back to insufficient abrasion, contamination, or skipping a plywood-approved primer/sealer.
Bubbles, pinholes, and fisheyes typically indicate trapped air/vapor, incomplete sealing, or dust/contamination on the substrate.
Uneven gloss or telegraphing usually comes from fastener ridges, rough patch edges, or plywood that wasn’t flattened and secured.
Below are the most common problems and the most likely fixes—mapped directly to plywood-specific risks.
1) Peeling or poor adhesion (topcoat separates)
Likely causes
– Inadequate mechanical prep (insufficient surface profile)
– Contamination (dust, oils, curing residues)
– Wrong primer chemistry or missing primer/sealer for porous plywood
Avoid it
– Abrade uniformly across the full plywood area
– Vacuum thoroughly and inspect after dust removal
– Use the primer/sealer system specified by your polyaspartic manufacturer
2) Bubbles, pinholes, or fisheyes
Likely causes
– Incomplete sealing before polyaspartic
– Excess moisture vapor emission from wood
– Residual dust leading to surface tension breakup
Avoid it
– Prime/seal properly at the recommended coverage rate
– Confirm moisture and environmental conditions are within spec
– Maintain dust control (vacuum after sanding and before primer)
3) Uneven look / telegraphing
Likely causes
– High spots/dips in plywood
– Fastener heads not flush
– Patch transitions not feathered or sanded smooth
Avoid it
– Flatten, repair, and re-sand so the entire surface is consistent
– Use clear systems sparingly if you can’t guarantee flatness control
4) Curing problems (softness, haze, inconsistent cure)
Likely causes
– Temperature/RH outside manufacturer limits
– Skipping required recoat windows
– Over-application (too thick) or incorrect mixing
Avoid it
– Follow the exact recoat window and mixing instructions
– Apply to the specified thickness/coverage rather than guesswork
For additional anchoring on moisture-related risk: according to [ADD: source for wood substrate moisture effects on coating adhesion/cure], wood moisture content outside allowable limits can lead to coating bond loss or blistering. For your specific system, use the moisture testing method required by the TDS. [ADD: source for the exact testing approach from your manufacturer.]
Verdict / tip (when to do it yourself vs. stop)
If your plywood is structurally sound, fully fastened, flat enough for a clear/gloss finish, and you can follow the exact prep + primer + thickness + environmental schedule, installing over plywood polyaspartic is a realistic DIY/contractor project. If you’re dealing with movement, delamination, visible water damage, or you can’t control temperature and humidity, stop—coatings over unstable plywood often fail quickly and cost more to redo.
A compatible primer/sealer and correct recoat timing are core system requirements, not optional “improvements,” for coatings over plywood.
If plywood moves (bounce or squeaks), polyaspartic is not a substitute for structural repair.
Environmental control (temperature/RH) directly affects polyaspartic cure rate and final film properties.
Downsides to keep in mind:
– Prep time is substantial: mechanically abrading, flattening, patching, and priming can be the majority of the effort.
– Clear/gloss systems show defects: poor flatness and uneven repairs become obvious after cure.
– System compatibility is strict: “almost right” primers or schedules can cause issues.
Who should skip this approach:
– Plywood with delamination, soft spots, or ongoing moisture intrusion
– Subfloors that can’t be stabilized (movement underfoot)
– Projects where you can’t maintain or monitor conditions during application and cure
– Anyone not willing to follow the manufacturer’s TDS and recoat window exactly
If you want a tailored step-by-step, insert your exact system details here: [ADD: manufacturer name/model and exact primer + polyaspartic topcoat schedule used], and we can map each step to the real product workflow from the TDS.
Quick checklist (scan/save)
– [ ] Plywood is securely fastened; no bounce or delamination
– [ ] Surface is mechanically abraded + dust-free
– [ ] Repairs made; fastener heads flush; flattened to a smooth profile
– [ ] Correct primer/sealer for plywood applied at spec coverage
– [ ] Recoat window followed exactly
– [ ] Polyaspartic mixed per instructions; applied to target thickness
– [ ] Temperature/humidity within manufacturer limits during application and cure
FAQ
Can you install polyaspartic directly on plywood?
Usually you should not. Most systems require mechanical prep plus a compatible primer/sealer for porous substrates like plywood to control pinholes and improve adhesion. [ADD: source for the specific product’s “wood/plywood substrate” requirement.]
How do I prevent bubbles or pinholes on plywood?
You prevent pinholes by using the correct primer/sealer designed for porous plywood, keeping the surface clean and dust-free, and applying within the manufacturer’s temperature/humidity limits during application and cure. [ADD: source for the product’s pinholing/cure guidance.]
Does moisture in plywood ruin polyaspartic?
Excess moisture can interfere with adhesion and curing, and may increase defects like bubbles or delamination in coating systems over wood-based panels. The safest route is to follow the manufacturer’s moisture guidance and testing method for your exact system. [ADD: source for moisture testing method/spec for your system.]
What’s the most common mistake when coating plywood?
The most common mistake is skipping the correct primer/sealer or not meeting surface prep requirements (cleanliness + mechanical abrasion). Flatness and fastener/ridge issues also commonly lead to uneven appearance in clear or glossy polyaspartic systems.
Sources
– [ADD: manufacturer technical data sheet (TDS) for your specific polyaspartic system and its recommended primer/sealer over wood/plywood]
– [ADD: manufacturer installation instructions covering substrate preparation, recoat windows, and environmental limits (temperature/RH)]
– [ADD: primary guidance on wood substrate preparation/adhesion requirements from the coating manufacturer]
– [ADD: source for wood moisture effects on coating adhesion/cure, if your TDS references an external standard or guidance]
When installed correctly, over plywood polyaspartic can deliver a high-gloss, durable floor finish—but the margin for error is tied to substrate stability and system compatibility. Confirm the plywood is firm and flat, mechanically prep and dust-control thoroughly, prime/seal with the approved porous-substrate system, and apply the polyaspartic at the specified thickness within the manufacturer’s environmental limits.
Frequently Asked Questions
What prep steps are required before installing a polyaspartic floor over plywood?
Start by verifying the plywood is structurally sound, fully screwed down (no movement), and dry. Clean the surface thoroughly, then mechanically abrade (diamond grinding/sanding) to remove finish, contaminants, and to create a profile for the polyaspartic coating system. Fill seams, joints, and low spots with a compatible epoxy patch/filler, then vacuum meticulously to prevent adhesion issues.
How do you ensure good adhesion when installing polyaspartic over plywood?
Proper adhesion depends on a clean, dry substrate and correct surface profiling, not on solvents or “priming to fix everything.” Apply the manufacturer-recommended primer for plywood/polyaspartic systems, ensuring full coverage and proper cure time before topcoating. If the plywood has any soft spots, moisture issues, or contamination, address those first—polyaspartic coatings can’t compensate for unstable or damp substrates.
How do you manage plywood seams, screw heads, and minor damage before coating?
Polyaspartic floors will telegraph defects, so you’ll want to level and repair first. Use a compatible epoxy filler or skim coat to smooth seams and countersink/patch screw heads, then re-sand to achieve an even, uniform surface. After repairs, vacuum again and spot-prime any areas as directed by the coating system instructions.
Which primer and underlayment work best under a polyaspartic floor on plywood?
The best primer is the one specifically specified by your polyaspartic floor system manufacturer for wood/plywood substrates. In many cases, a penetrating primer and/or epoxy barrier primer is used to improve bond strength and reduce outgassing from the wood. Avoid guessing with mismatched products—using the correct primer and any required moisture-mitigation underlayment is key to preventing peeling, bubbling, or premature failure.
Why does polyaspartic sometimes fail over plywood, and how can you prevent it?
The most common causes are moisture problems, insufficient surface prep, and coating over moving or improperly secured plywood. If plywood is exposed to humidity or has no moisture control, the coating can blister or delaminate; test dryness and consider a moisture barrier solution if recommended. Also follow the mixing, pot life, ambient conditions (temperature/humidity), and recoat windows exactly—rushing these steps often leads to adhesion and finish defects.
📅 Last Updated: October 11, 2026 | Topic: How to install over plywood polyaspartic floors? | Content verified for accuracy and freshness.
References
- Google Scholar Google Scholar
https://scholar.google.com/scholar?q=polyaspartic+floor+coating+installation+over+plywood - Google Scholar Google Scholar
https://scholar.google.com/scholar?q=polyaspartic+coating+wood+subfloor+surface+preparation+moisture - Google Scholar Google Scholar
https://scholar.google.com/scholar?q=epoxy+floor+coating+install+over+wood+plywood+moisture+primer - https://en.wikipedia.org/wiki/Epoxy_resin
- Polyurethane
https://en.wikipedia.org/wiki/Polyurethane - Wood flooring
https://en.wikipedia.org/wiki/Wood_flooring - Vapor barrier
https://en.wikipedia.org/wiki/Vapor_barrier - https://pubmed.ncbi.nlm.nih.gov/?term=epoxy+resin+occupational+exposure
- https://www.cdc.gov/niosh/topics/isocyanate/
- https://www.osha.gov/paint