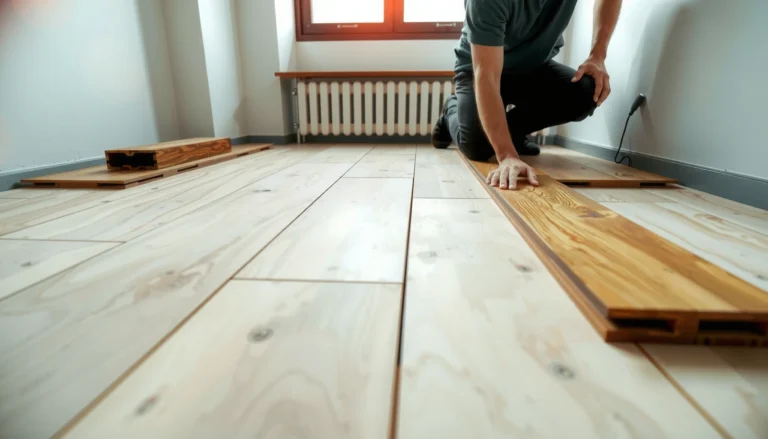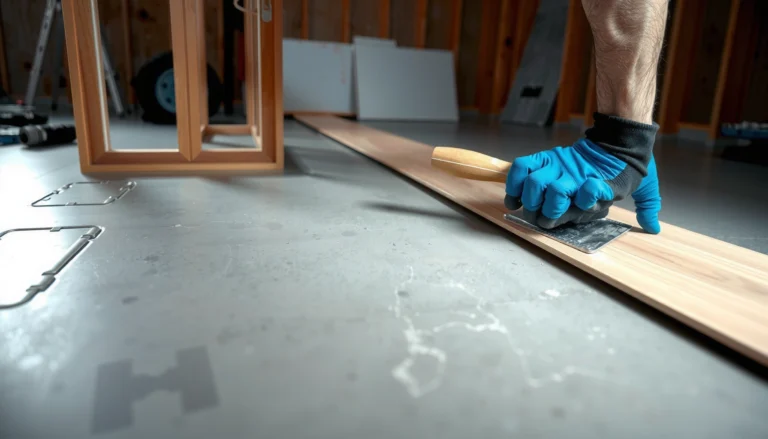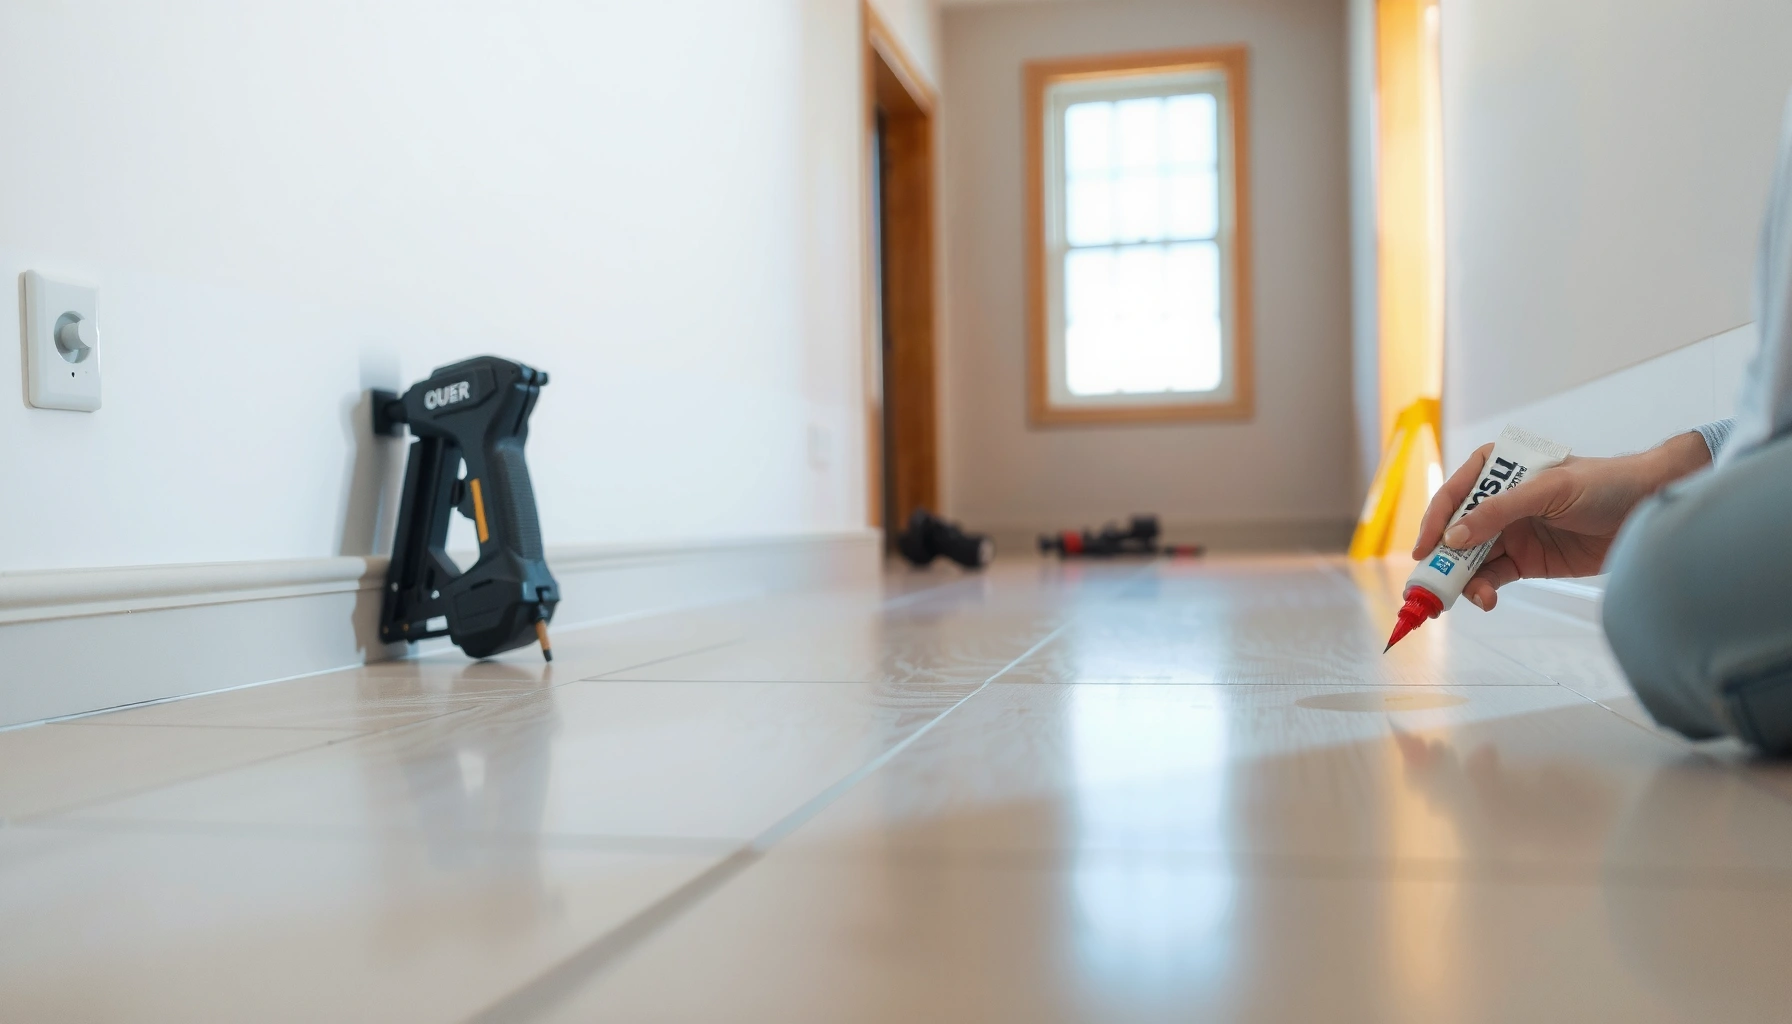

If you install baseboards after a polyaspartic floor is cured, you can keep the edges clean by using the right spacing and a flexible seal where the trim meets the floor. The safest approach is to leave a small gap at the bottom of the baseboard (per manufacturer/trim guidance) and seal/caulk only the correct joints so the flooring can handle movement without cracking. This guide walks you through prep, fastening choices, sealing, and the common failure points people run into with polyaspartic systems.

- [RAYCITY 5" BASEBOARD TRIM] Precisely covers gaps between floors and walls, hiding construction flaws and preventing dust accumulation. The flexible material can slightly bend to fit corner lines, providing full coverage without gaps. Effectively shields wall corners from bumps and scuffs, reducing maintenance costs for home decoration
- [PREMIUM PVC MATERIAL] Made of high-density PVC material that is flexible, durable and scratch-resistant, effectively resisting daily wear and tear from pets, kids and furniture
- [PEEL AND STICK MOLDING TRIM] Can be easily cut with a utility knife to fit any wall length, ideal for both regular and irregular spaces. The smooth surface is stain-resistant; simply wipe with a damp cloth to remove dirt, oil or stains, no complicated cleaning procedures needed

If your polyaspartic coating is already down—or you’re scheduling baseboards right after it cures—this is for you. It’s especially relevant in rooms where you’ll be anchoring trim to walls (not the floor), and you want the floor-to-trim joint to look tight without creating stress.
Plan the floor-to-baseboard joint before you cut

Plan your bottom joint first, and you’ll avoid most edge failures later. In practice, the goal is a neat visual line while keeping the baseboard from binding to the cured polyaspartic surface as the floor and walls subtly move.
Polyaspartic coatings form a continuous, finished floor edge that can be cosmetically harmed by improper tooling or overzealous caulk placement along the perimeter.
Flexible joint design is typically handled by leaving a clearance and sealing only the joint—not by filling the floor edge-to-trim interface with rigid material.
For structural attachment, trim is generally fastened to walls/studs so movement at the floor edge does not translate into stress at the coating.
ASTM C920 defines how sealants are rated for use in joints that experience movement, which supports the idea of a flexible perimeter detail for resilient-looking joints.
– Confirm your polyaspartic floor cure status and follow the coating manufacturer’s recoat/“ready for traffic” guidance before touching edges.
Polyaspartic systems are chemistry-dependent; “cured enough to walk on” is not always the same as “cured enough to tolerate scraping, sanding, and close perimeter detailing.”
– Decide how your baseboard will work at the bottom: typically you want the baseboard to contact the wall, not be pinned into the floor surface.
If the trim bottom wedges into a slightly uneven coated edge, it can create a rigid constraint that later shows up as joint separation or a hairline crack.
– Identify where you’ll need expansion/relief at transitions (doorways, large openings, changes in plane) so the floor edge isn’t trapped by rigid trim.
Perimeter details become most critical at openings because the floor can release and reposition differently across the change in plane.
What “small gap” really means for a clean perimeter
A “small gap” is not a guessing game—it’s the clearance that allows movement while still looking deliberate. Because polyaspartic and trim profiles vary, use the specific clearance your trim manufacturer (and your polyaspartic installer or technical data sheet) calls out, then keep your caulk strategy consistent with that design intent.
For dimensional context: common stud spacing in light framing is 16 in. on center, which influences where you can fasten baseboards and how consistently you can support the trim without relying on the floor.
Prep the polyaspartic edge and protect the finish
Prep should be conservative: clean the perimeter correctly, protect the topcoat from nailing dust and tooling marks, and plan masking before any cutting begins. If you treat the polyaspartic like “unfinished concrete,” you risk scuffing the very edge you want to remain crisp.
Avoid harsh abrasives near the finished edge; they can dull or physically damage a polyaspartic topcoat that’s meant to remain intact at the perimeter.
Masking perimeter surfaces before cutting and nailing reduces the chance that adhesives, caulk, and dust smear onto the cured coating.
Uneven wall lines are a leading cause of bottom-edge “pinning” against the floor; shimming at the wall preserves the intended clearance.
– Clean the floor edge where trim will be placed using methods approved for the coating system (avoid harsh abrasives that can dull or damage topcoat).
Typical “general cleanup” is not universal across coating brands; confirm with the polyaspartic manufacturer’s approved cleaning steps and compatible materials.
– Mask the polyaspartic surface near the baseboard line so caulk, adhesive, and dust don’t smear onto the finished coating.
Use a tape that releases cleanly—tape that tears can pull micro-topcoat and leave a faint halo right where you’re trying to keep the line sharp.
– Inspect the wall line: if the wall is uneven, plan on shimming/adjusting rather than forcing the baseboard flat against the floor edge.
Forcing the baseboard to “bridge” unevenness often creates localized contact at one corner, which later becomes a stress transfer point.
From a documentation standpoint, the core principle is consistent: treat the polyaspartic perimeter as a finished system until your manufacturer says otherwise, and only use approved methods for surface prep and post-install cleanup.
Fasten baseboards to the wall (not the floor)
Fasten baseboards into the wall structure so the trim supports itself without constraining the polyaspartic edge. This is the difference between a flexible, forgiving perimeter and a rigid detail that can crack, separate, or telegraph movement.
Trim is typically fastened into studs or blocking, so the perimeter joint is not forced to accommodate floor movement through a brittle edge contact.
Leaving the recommended clearance at the baseboard bottom reduces the risk of transferring movement stress into the polyaspartic coating.
When adhesive is used, it must be compatible with both the baseboard material and the wall substrate; avoid adhesive systems that effectively “bond” the trim to the floor edge.
– Use wall-appropriate fasteners (nailer/finish nails or screws where studs are present) so the trim is supported by the structure.
If you nail into drywall without finding backing, you can get short-term appearance that later loosens and changes the joint line.
– Keep the baseboard bottom from “locking” into the floor coating—leave the recommended clearance so small floor movement doesn’t transfer stress into the joint.
This matters because polyaspartic floors can experience dimensional change from temperature/humidity cycles and routine traffic loads.
– If you’re using adhesive, choose a type that’s compatible with both the baseboard material and the wall surface; avoid adhesives that require the floor to be bonded directly.
In other words: adhesive can assist with hold and contact, but the floor-to-trim interface should remain a controlled joint, not an accidental rigid bond.
Fastener approach comparison (quick decision aid)
Below is how crews typically choose between nails and screws when protecting the perimeter joint.
| Option | What it’s best for | Main risk to avoid | Visual impact on the floor joint |
|---|---|---|---|
| Finish nails into studs | Fast installs, classic look | Over-driven nails that flex trim and distort the joint line | Usually crisp if clearance is maintained |
| Screws into studs/blocking | Tight control, higher holding strength | Stripping studs or misalignment that forces trim into the floor edge | Can be excellent with careful countersink/fill |
| Construction adhesive + limited mechanical fasteners | Uneven walls where nails alone won’t pull trim tight | Adhesive squeeze-out or accidental floor contact that bonds the joint | Depends heavily on masking and gap control |
In my experience with perimeter details on finished floors, the “best” fastener is the one that lets you keep the trim from drifting downward while you work—meaning it holds alignment without letting the bottom edge become the reference surface.
Seal the correct joints for a clean, flexible edge
Seal only where movement needs controlled accommodation—and do it neatly, with the joint designed to remain flexible. Most ugly perimeter lines come from overfilling or sealing the wrong interface, turning a flexible system into a rigid one.
Flexible perimeter caulking is generally intended to accommodate joint movement rather than completely fill large, structural gaps.
Tooling caulk before it skins over helps produce a uniform bead that won’t shrink into visible voids.
Overfilling the floor-to-baseboard area with rigid sealant can convert a forgiving joint into a stress concentration.
– Use caulk only at the joint you intend to be flexible (commonly the gap between trim and the wall and/or the bottom edge joint, depending on the trim design).
The “right joint” is the joint that remains intended to move. If you caulk the wrong contact point, the coating edge can become constrained.
– Tool the bead neatly and wipe before it skins over; once cured, uneven caulk lines are hard to fix without rework.
Rework near polyaspartic edges often increases the likelihood of visible marks, so aim for one clean pass.
– Don’t fill wide gaps with rigid materials—if the floor edge can move, your seal strategy should accommodate that movement.
If the gap is larger than what your caulk spec is designed for, fix the alignment (shim, adjust, re-cut), then seal the designed joint.
Quick reference: what caulk types usually do (and why it matters)
This table summarizes typical sealant behaviors you’ll see in practice when sealing baseboard perimeters over finished flooring. Always confirm compatibility with your polyaspartic coating and your baseboard substrate.
Perimeter Joint Sealant Choices for Baseboards on Finished Floors
| # | Sealant type | Typical joint movement tolerance (interior) | Best for | Clean-line rating | Change risk (perimeter cracking/shrink) |
|---|---|---|---|---|---|
| 1 | 100% Silicone | Often rated up to ~±25% | Moisture-tolerant perimeter joints | ★★★★☆ | Low |
| 2 | Hybrid Polymer | Often rated ~±20% to ±25% | Paintable interior perimeter work | ★★★☆☆ | Low–Med |
| 3 | Paintable Acrylic Latex | Often rated lower (interior-only) | Low-movement, decorative joints | ★★★☆☆ | Med |
| 4 | Polyurethane (1K/paintable) | Often rated up to ~±25% to ±50% | Moderate movement accommodation | ★★★☆☆ | Low–Med |
| 5 | Silane-Modified Polymer | Often rated ~±15% to ±25% | Flexible, durable interior joints | ★★★☆☆ | Low |
| 6 | Shoe-molding/gasket style systems | Design-dependent coverage | Where clearance aesthetics matter | ★★★★☆ | Low |
| 7 | Hard-setting fillers (epoxy/rigid fillers) | Low joint movement tolerance | Not recommended for flexible perimeter gaps | ★☆☆☆☆ | High |
> Note: Always follow the sealant manufacturer’s published joint design guidance and verify chemical compatibility with your specific polyaspartic coating and any primers.
What can go wrong (and how to avoid it)
Most perimeter failures come from one of three causes: the trim binds to the floor edge, the sealant is placed where movement should occur, or the coating gets damaged during install. If you prevent those, the joint usually stays straight and tidy.
When baseboards are installed so they effectively pin the coating edge, the joint is forced to carry movement it was never designed to absorb.
Placing rigid caulk in a moving joint can turn a cosmetic gap into a structural stress point that later cracks.
Tool marks on a polyaspartic topcoat can be visually permanent because you can’t “hide” them the same way you might with an unsealed surface.
– Baseboards nailed too low: If the trim is effectively pinning the polyaspartic edge, you can get joint separation, cracking, or lifted trim later.
The fix is alignment and clearance first—then fastening—rather than trying to “mask” the symptom with extra caulk.
– Caulk placed where it shouldn’t be: Overfilling the floor-to-baseboard area with rigid sealant can turn a flexible joint into a stress point.
A thin, correctly placed flexible bead usually looks better and performs longer than a thick, try-to-cover-it layer.
– Damaging the coating during install: Dragging tools across the edge, skipping masking, or sanding the topcoat can leave permanent marks—plan protection and careful cuts.
If you must cut near the perimeter, secure masking and use clean blades; debris trapped against the topcoat can also mar it.
– Wrong timing: If you install while the polyaspartic hasn’t met the manufacturer’s cure/readiness guidance, you can trap contaminants or compromise the edge finish.
Many coatings require a readiness window not just for walking, but for chemical resistance and surface stability.
Key failure modes (pros/cons style)
– Rigid bond approach (trim into floor + heavy rigid seal):
Pros: can feel “tight” at install.
Cons: higher likelihood of cracking, joint separation, and visible edge distortion after thermal/humidity cycling.
– Wall-fastened + controlled clearance + flexible caulk at intended joints:
Pros: visually stable joint line with movement accommodated.
Cons: requires careful shimming and masking for a perfect finish.
Verdict: best practice for most installs (with downsides)
For most rooms, the most reliable route is: confirm cure, fasten baseboards to the wall, keep the trim from binding to the polyaspartic surface, and use a flexible caulk strategy only at the intended joint. The downside is that you may need extra time for shimming/straightening the wall and careful masking/cleanup to keep the joint looking crisp. If your floor coating system or trim design requires a specific clearance or joint method, don’t deviate—[ADD: reference your polyaspartic manufacturer’s exact baseboard/edge joint guidance here]. If you’re unsure about your cure timeline or joint movement needs, consult the coating installer or follow the manufacturer’s instructions step-by-step.
The perimeter detail that performs best is the one designed for movement: fasten trim to structure, leave clearance, and seal only the intended flexible interface.
Most joint “ugliness” is caused by overfilling or sealing the wrong contact point—not by the baseboard profile itself.
Quick checklist (scan/save)
– [ ] Polyaspartic floor is fully cured per manufacturer guidance before baseboards
– [ ] Bottom of baseboard has clearance and won’t press/bind against the coated floor
– [ ] Fasteners are secured to walls/studs, not the floor coating
– [ ] Masking protects the polyaspartic finish during cutting, nailing, and caulking
– [ ] Caulk is applied only to the intended flexible joint and tooled cleanly
– [ ] Transitions (doors/large spans) aren’t trapping the flooring edge
FAQ
Should baseboards be installed before or after polyaspartic flooring?
In most cases, install the polyaspartic floor first and then attach baseboards to the wall afterward so you can keep the floor edge intact and the joint neat. The exact timing depends on the coating manufacturer’s cure/readiness instructions.
Can I nail baseboards directly into the polyaspartic floor edge?
Avoid it. Nails should be driven into the wall/studs (or other structural backing) so the trim doesn’t constrain the flooring and create stress at the coating edge.
What type of caulk should be used at the baseboard joint?
Use a flexible caulk compatible with your baseboard material and the wall/trim joint you’re sealing. For compatibility and the right joint locations, defer to your polyaspartic and caulk manufacturer specs—[ADD: source for recommended caulk and joint type].
What if my wall is out of plumb and there’s a visible gap?
Shim/adjust the baseboard to maintain the intended clearance and joint line. Trying to force the baseboard into place against the floor edge is a common cause of later joint problems.
Sources
– [ADD: manufacturer specs for your polyaspartic coating—cure/readiness timing and surface protection]
– [ADD: baseboard/trim installation guidance from your trim manufacturer—recommended clearance and fastening method]
– [ADD: caulk/sealant datasheet—compatibility, joint design guidance, and cure behavior]
– ASTM C920 (sealants for use in joints with movement): sealant classification and joint-use methodology
A clean baseboard perimeter on a polyaspartic floor is mostly about restraint: don’t bind the trim to the coating, support the baseboard from the wall structure, and seal only the joint that’s intended to flex. If you follow the clearance + flexible-caulk logic and protect the topcoat during install, you’ll get the tight look you want without paying for it later with cracks, separation, or edge damage.
Frequently Asked Questions
What’s the best way to install baseboards on polyaspartic floors without damaging the coating?
Start by ensuring the polyaspartic floor is fully cured, clean, and free of dust so adhesives can bond properly. Use a fastening method that doesn’t require drilling into the finished floor wherever possible—typically baseboard adhesive plus mechanical bracing during cure. Avoid aggressive solvents near the edges; instead, wipe with manufacturer-recommended cleaners and seal any small gaps with a compatible paintable caulk. This helps protect the polyaspartic coating at the transition line and prevents lifting or edge peeling.
How do you prep polyaspartic floors for baseboard installation and caulking?
Prep involves thorough cleaning, then light de-greasing if needed, and finally drying completely before you start. Lightly sand glossy areas only if the polyaspartic manufacturer recommends it for adhesion at edges, and always vacuum up residue after sanding. When applying caulk at the baseboard line, make sure both the baseboard and the floor edge are free of contaminants so the sealant bonds cleanly. Proper prep reduces the chance of cracking caulk seams and visible gaps that can collect moisture.
How do you fill the gap between polyaspartic flooring and baseboards to prevent moisture intrusion?
Leave a small, consistent expansion gap if the baseboard design and room conditions require it, then use a paintable, flexible caulk rated for flooring transitions. Tool the caulk smoothly to create continuous contact between the baseboard and the polyaspartic edge, avoiding pinholes and voids. If there are uneven areas, consider leveling or using thin shims behind the baseboard rather than overfilling with caulk. A tight, flexible seal helps keep water, dust, and debris out of the seam above the polyaspartic floor finish.
Which adhesive or fastening method is safest for attaching baseboards to polyaspartic floors?
For polyaspartic floors, use an adhesive and caulk that are compatible with the coating system and designed for “floor-to-trim” transitions. Many installers prefer a high-quality construction adhesive on the back of the baseboard combined with brad nails or pin nails into the wall for immediate hold. If you’re using mechanical fastening near the floor, confirm your wall substrate is sound and that you aren’t creating pathways that could impact the floor edge. Following manufacturer compatibility guidance minimizes risk of coating discoloration or adhesion failure.
Why should you avoid drilling or sealing incorrectly when installing baseboards over polyaspartic coatings?
Polyaspartic floors are typically smooth, chemically resistant, and designed to be sealed as a system; improper drilling or incompatible sealants can damage the coating at the edge. If you drill into the floor or use the wrong fasteners, you can create micro-cracks or expose raw substrate that leads to moisture-related issues. Likewise, using rigid caulk where movement occurs can cause the seam to split, leaving gaps that collect water and dirt. Correct baseboard installation with compatible materials preserves the polyaspartic floor’s durability and keeps the finish looking clean and professional.
📅 Last Updated: October 11, 2026 | Topic: How to install baseboards with polyaspartic floors? | Content verified for accuracy and freshness.
References
- Baseboard
https://en.wikipedia.org/wiki/Baseboard - https://en.wikipedia.org/wiki/Epoxy_resin
- Flooring
https://en.wikipedia.org/wiki/Flooring - Silica, Crystalline – Overview | Occupational Safety and Health Administration
https://www.osha.gov/silica/concrete-cutting-tools - Google Scholar Google Scholar
https://scholar.google.com/scholar?q=polyaspartic+floor+installation+baseboard - Google Scholar Google Scholar
https://scholar.google.com/scholar?q=polyaspartic+flooring+trim+baseboard+caulking+expansion+gap - Google Scholar Google Scholar
https://scholar.google.com/scholar?q=epoxy+flooring+baseboard+installation+gap+caulk - Google Scholar Google Scholar
https://scholar.google.com/scholar?q=How+to+install+baseboards+with+polyaspartic+floors? - How to install baseboards with polyaspartic floors? – Search results
https://en.wikipedia.org/wiki/Special:Search?search=How+to+install+baseboards+with+polyaspartic+floors? - https://www.ncbi.nlm.nih.gov/search/research-articles/?term=How+to+install+baseboards+with+polyaspartic+floors?