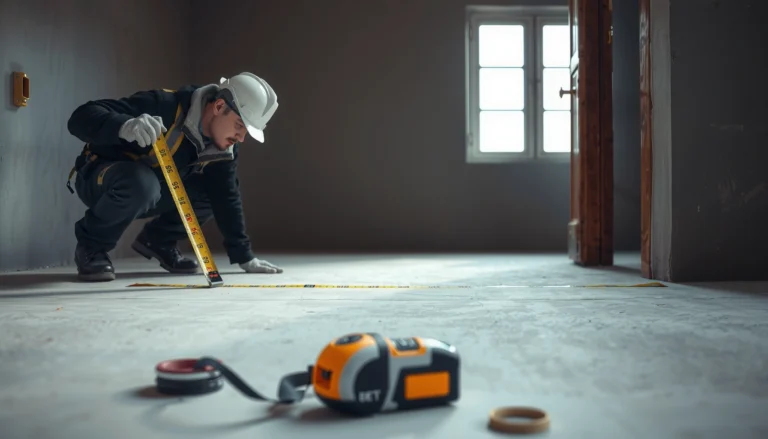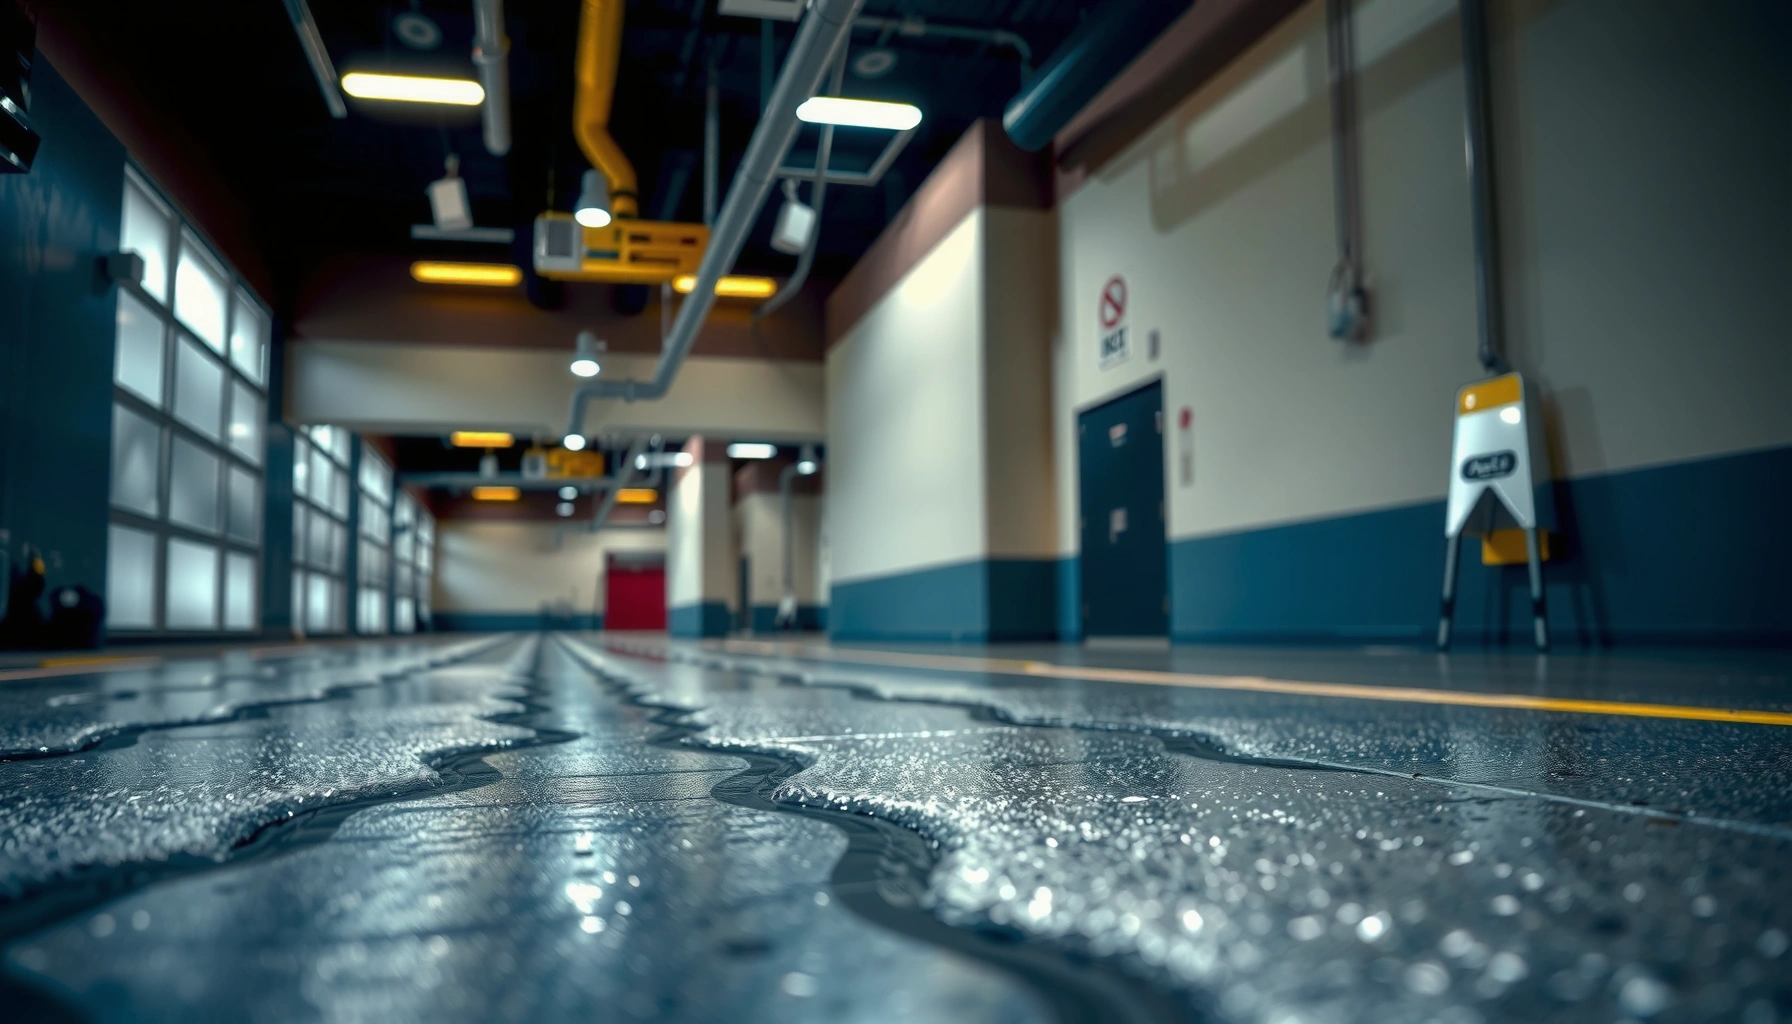

Choosing polyaspartic floors comes down to matching performance to your site conditions—not marketing claims. If you need the fastest return to service with strong chemical and abrasion resistance, prioritize high-solids, UV-stable systems with demonstrated test data. If your top risk is moisture or substrate instability, choose a contractor and system with proven moisture-tolerance and a compatible primer/conditioning process. The rest—color, gloss, and price—should only follow these selection factors.
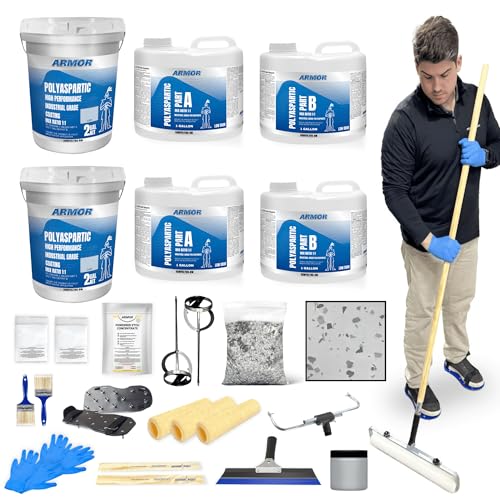



Choose polyaspartic floors by matching the coating system to your actual exposure (foot traffic, chemicals, UV/light) and then verifying the manufacturer’s requirements for substrate prep, total thickness, and topcoat. Polyaspartic can deliver fast return-to-service and strong abrasion resistance, but system failure is usually driven by surface prep, moisture/temperature control, and recoat/curing windows—not the marketing claims on the product label. If you treat the installation like a “chemistry only” purchase, you can end up with peeling, pinholes, or premature dulling.
If you’re specifying a garage, warehouse, storefront, balcony, or industrial area where downtime is costly and the floor must survive frequent cleaning or harsh wear, this guide will help you narrow the right polyaspartic system before you sign off on anything. It’s especially relevant when your slab may see moisture, regular chemical exposure, heavy loads, or sunlight—because those factors determine which system build and topcoat spec you need.
Start with your floor use case (and limits)
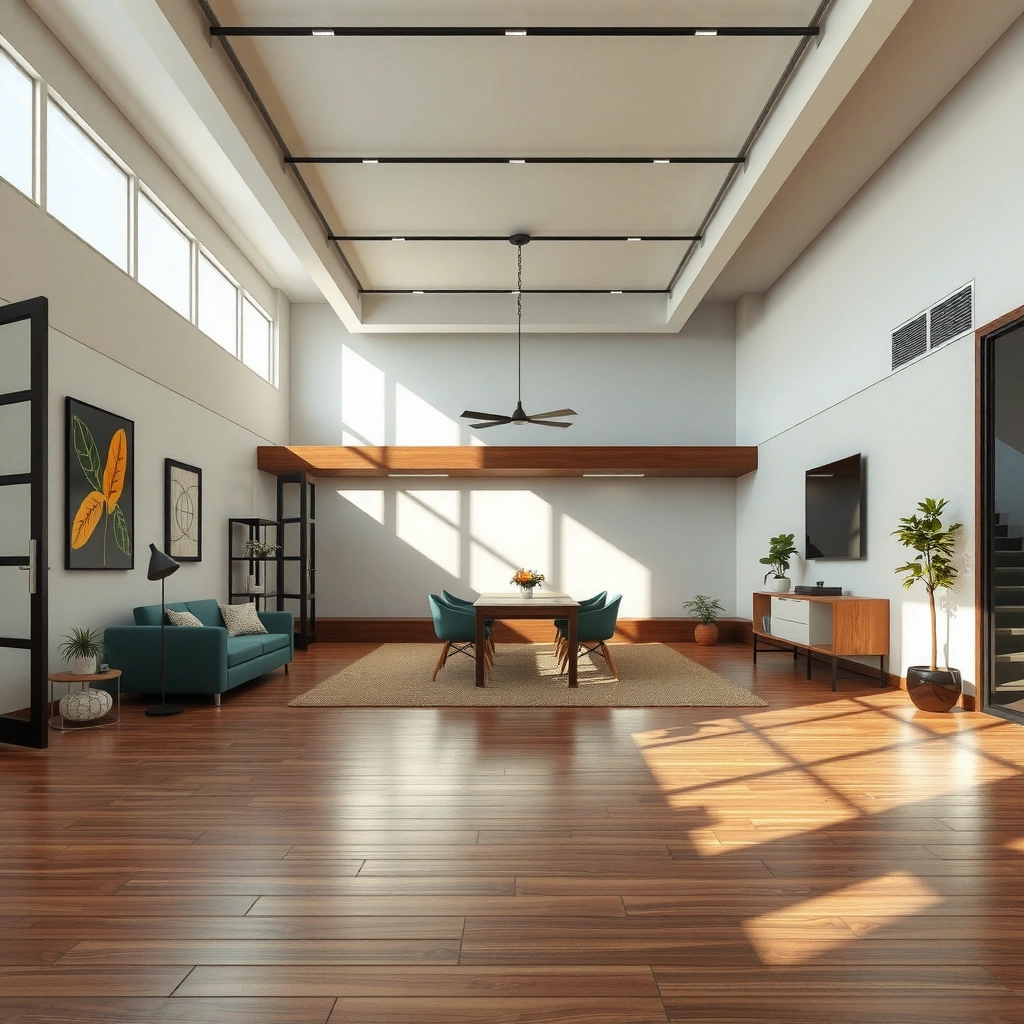
Your floor use case determines the performance package (wear layers, chemical resistance, and slip/finish) that a polyaspartic system must deliver—so it should come first. Start by translating “how we use the space” into exposure categories the manufacturer’s system is designed to handle.
Polyaspartic performance is system-based: the manufacturer’s primer + body coat + (optional) broadcast/texture + topcoat is what you should evaluate, not the topcoat in isolation.
If your floor is outdoors or receives direct sun, confirm UV stability and specify a UV-stable topcoat designed for that exact exposure.
Identify exposure level (traffic, loads, abrasion)
Light residential traffic usually needs enough durability for scuffs, occasional impacts, and easy cleaning. Warehouses, industrial staging areas, and retail back-of-house often add rolling loads (forklifts/pallet jacks), higher abrasion from grit, and more frequent mechanical cleaning. When you compare options, look for documented abrasion and wear targets in the manufacturer’s technical data sheet (TDS) and system spec—then ensure the total thickness and film build align with those claims.
Consider UV/sunlight (outdoor vs. indoor)
Not all polyaspartic systems behave the same under UV. Many formulations can discolor, dull, or chalk if the system is missing UV-stabilized components—especially the topcoat or sealer. For balconies, entrances, loading docks, and storefront fronts, require documentation that addresses UV exposure and finish retention.
A useful framing: if you’re outdoors (or effectively “outdoor-like” due to intense sun), you should treat UV stability as a first-order spec, not an afterthought.
Note water/moisture risk (the hidden selection killer)
Polyaspartic systems are sensitive to slab conditions at the time of application. If your slab has recurring dampness, hydrostatic pressure, or past water intrusion, your first decision may need to be moisture mitigation strategy—before you ever pick a finish. Otherwise, even a “high-performance” system can fail due to loss of adhesion or blistering/pinholes caused by moisture vapor transmission.
To ground this in testing, many specifiers rely on ASTM methods for moisture assessment (for example, ASTM F2170 for in-slab relative humidity). [ADD: cite the manufacturer’s stated moisture testing method and acceptance criteria from their installation instructions/TDS]
Three concrete datapoints you should use as selection anchors (verify against your product TDS):
– Surface profile: Many coatings specify a CSP 2–3 (Concrete Surface Profile) target from ICRI for proper mechanical bond. [ADD: cite ICRI CSP guidance referenced in the TDS/installation instructions]
– Typical system build: Many polyaspartic floors fall in a ~2–3 mm total thickness range for durability and impact resistance (varies by system and whether a broadcast is used). [ADD: cite your manufacturer’s total thickness target]
– Moisture testing standardization: In-slab RH testing is commonly performed using ASTM F2170 (details and acceptance criteria are product-specific). [ADD: ASTM F2170 referenced source]
Check the full system, not just the top layer
Choose based on the complete, approved system build—because polyaspartic chemistry is only one part of the performance story. If you change or substitute components (different primer, different topcoat, different broadcast spec), you can unintentionally break the compatibility that the manufacturer validated.
A compliant bid should name the primer/bond coat, body coat(s), any broadcast/texture step, and the topcoat/sealer—each with a thickness target from the system spec.
Slip resistance is controlled by the system finish and texture, not just by “adding texture”—ask for the manufacturer’s wet/slip guidance for washdown environments.
Confirm what’s included (primer → body → texture → topcoat)
A typical polyaspartic system is more than “two coats and done.” You should expect documentation showing:
– Primer/bond coat: promotes adhesion and handles substrate variability
– Body coat: provides the bulk durability, build, and leveling/coverage intent
– Broadcast/texture (if specified): controls traction and abrasion resistance
– Topcoat/sealer: delivers chemical resistance, cleanability, and (when needed) UV stability
If an estimate omits one of these components—or substitutes an unapproved product—assume your warranty and performance proof may not transfer.
Verify coverage and thickness targets (film build matters)
Even if application goes smoothly, wrong film build can create failure modes: thin areas wear out fast; thick areas trap solvent/volatiles; uneven build amplifies visual defects like mottling or gloss variance. Require total thickness and per-coat thickness targets from the TDS/system spec.
Ask about finish and slip in context
For floors that see wet cleaning (pressure washing, mop-and-wipe with disinfectants, food-industry washdowns, medical/cleanroom-like workflows), your system finish affects safety and maintenance. Matte vs. semi-gloss changes how light reflects and how dirt shows, but slip resistance is usually the real driver. Demand clarity on the texture/finish that the system was designed for.
Demand the right surface prep requirements
Surface prep is where most specification risk lives, because polyaspartic cannot reliably “bond through” dust, grease, laitance, paint residue, or improperly profiled concrete. Treat prep as a defined scope you can verify on site, not as a generic phrase in a proposal.
Manufacturers typically require a specific mechanical surface profile (often expressed as ICRI CSP) plus stringent cleaning/degreasing and dust removal—use the stated method, not “general best practices.”
Contamination at application time is a leading cause of adhesion failure, including bond-breaking dust, residual curing compounds, and oil/grease films.
Follow the manufacturer’s prep method (profile + cleaning)
Your selection checklist should include:
– Grinding vs. blasting profile requirements: confirm the target CSP and the acceptable equipment/compliance approach
– Degreasing/contaminant removal: identify the cleaning agent type and rinsing/drying expectations (and whether the manufacturer requires test verification)
– Dust removal: confirm whether vacuuming, tack cloth, or compressed air (usually controlled) is specified
If the TDS says “mechanically abrade to CSP 2–3” and the installer proposes acid etching or minimal scarification, treat that as a red flag.
Address moisture and contamination before you schedule coating
Polyaspartic is applied onto a slab that must be within manufacturer moisture limits. Your project should document:
– Moisture test method
– Acceptance criteria (the maximum RH or moisture content allowed—varies by system)
– What happens if readings exceed limits (mitigation option, retest plan, or scope change)
Plan for crack/defect handling (repair strategy is part of the system)
Cracks and surface defects are not all the same. Some need filling/leveling; others may require patching systems or crack-bridging approaches. The key is that your polyaspartic spec should identify repair materials and methods that the manufacturer accepts. Coating over active movement cracks without the correct repair approach can produce recurrence through the coating.
Pros/cons comparison (so your team can choose deliberately):
| Decision | Pros | Cons / Risks |
|---|---|---|
| Follow the manufacturer’s exact prep and repair scope | Maximizes adhesion reliability; supports warranty | Higher upfront labor and equipment time |
| Use “general prep” and then rely on bond coat | Lower immediate cost | Higher likelihood of adhesion loss, spot peeling, or texture defects |
| Skip moisture testing to save schedule | Faster start | Can trigger pinholes, bubbling, or delamination when conditions exceed limits |
Match curing, temperature, and return-to-service needs
Polyaspartic is valued for fast turnaround, but “fast” only works when application conditions and timing windows are controlled. If your crew can’t stage mixing and placement to the manufacturer’s working time, you may get inconsistent texture, lap marks, or uneven film build.
Even rapid polyaspartic systems require strict temperature and humidity control within the product’s stated application window.
Recoat timing is product-specific: missing the “within X window” interval can reduce intercoat adhesion and harm finish quality.
Review the application window (temperature, humidity, condensation)
For fast-cure systems, environmental control is non-negotiable. Ask for:
– Minimum and maximum substrate temperature
– Ambient temperature and relative humidity limits
– Condensation control (especially in warehouses with night temperature drops)
– Ventilation requirements (to manage solvent release and ensure a consistent cure)
Control batch/working time (workflow design)
Fast cure shifts the project from “materials” to “logistics.” Your plan should include:
– Accurate mixing ratios
– Enough trained labor to maintain continuity
– Staging that prevents “thick in one spot, thin in another” finish issues
– A plan for cut-in edges, mixing/pan management, and roll/squeegee timing
If your schedule depends on a short crew with limited mixing capacity, it may not fit the product’s stated working time.
Confirm recoat intervals and sequencing
Different polyaspartic systems have different recoat windows—often defined as “within” a time range after the previous coat. If the crew applies too early or too late, you can see adhesion problems and texture/coating defects that are hard to correct without full rework.
What can go wrong (and how to avoid it)
Avoiding failures starts with understanding common mechanisms: adhesion loss, UV-related appearance degradation, moisture-driven defects, and inconsistent application thickness. The best way to prevent problems is to require documented system alignment—prep, thickness, conditions, and finishing.
The most common cause of early failure is inadequate prep that breaks mechanical and chemical bonding before the coating cures.
Outdoor performance problems often show up as gloss loss, discoloration, or chalking when the topcoat isn’t UV-stabilized for that exposure.
Failure mode #1: Poor adhesion from inadequate prep
When adhesion fails, the coating may delaminate or “spot peel,” especially at contaminated or poorly profiled areas. The exact failure mode varies by system and conditions. For your chosen manufacturer, pull the TDS/installation section that describes failure behavior (e.g., adhesion loss/delamination, spot peeling, or cohesive failure at the concrete interface) and write that into your project acceptance criteria.
[ADD: include the specific adhesion-related failure mode terminology stated in your chosen manufacturer’s TDS or system spec—e.g., “spot peeling at contaminant pockets,” “intercoat delamination,” or “loss of adhesion at the concrete interface.”]
Then ensure the bid scope explicitly covers how the installer will verify prep quality (surface profile, cleanliness, and dust removal).
Failure mode #2: UV browning, gloss loss, or chalking outdoors
If the system lacks UV-stable topcoats or the finish isn’t designed for sun exposure, appearance failures can occur even if the coating still feels “wearable.” For storefronts, balconies, and exterior docks, treat UV stability as a contractual requirement supported by the manufacturer’s UV/topcoat guidance.
Failure mode #3: Pinholes, craters, or uneven texture
These often arise from moisture, trapped air, improper mixing, or application under unfavorable conditions (temperature/humidity/condensation). The fix is prevention: follow the specified mixing process, environmental limits, and application technique. Also, confirm how the installer handles slab porosity and any “outgassing” behavior before applying body coat.
Failure mode #4: “Too fast” handling issues (lap marks, streaking, inconsistent build)
Fast cure is unforgiving. If the crew rushes mixing, mismanages pot/pan time, or staggers roller work inconsistently, you can end up with visible lines (lap marks), uneven texture, or localized wear through thin areas.
My practical guidance (without claiming your site conditions): whenever a fast-cure system is proposed, we recommend requiring a written work sequence (mixing order, batch sizes, crew roles, and recoat timing). If that workflow can’t be explained clearly during pre-construction planning, the schedule will likely compress at the worst time—during mixing and placement.
Verdict: how to choose confidently (and when to skip)
Polyaspartic floors are a strong choice when you need a rapid return-to-service and you can meet the manufacturer’s system specs for prep, thickness, and curing conditions. Choose confidently when you can (1) verify the complete approved system, (2) confirm moisture and environmental limits, and (3) align finish/slip and UV requirements with the site.
However, you should be cautious—or potentially skip polyaspartic—if you can’t control slab moisture, can’t achieve the specified surface profile/cleanliness standard, or your outdoor UV requirements aren’t clearly documented by the manufacturer. Also consider stepping back if your project team can’t coordinate the fast timeline (mixing + application + intercoat/recoat windows). In those cases, the risk of early failure and rework often outweighs the speed advantage.
Quick checklist (scan/save)
| What to verify | Yes/No | Notes |
|---|---|---|
| The system fits your exposure (traffic, abrasion, chemicals) | [ADD: match to manufacturer’s system chart/classes] | |
| UV performance is confirmed for your exact environment | [ADD: cite TDS UV/topcoat requirements] | |
| Manufacturer specifies the full system (primer/body/topcoat) | [ADD: list approved components] | |
| Surface prep method and required profile are achievable | [ADD: confirm CSP/cleaning method and equipment] | |
| Moisture/contamination limits are addressed before coating | [ADD: state RH/moisture acceptance + test method] | |
| Temperature/humidity range and curing/return-to-service match your schedule | [ADD: record application/curing limits] | |
| Working time/recoat windows are realistic for your crew size | [ADD: compare to workforce staging plan] | |
| Slip/finish level matches the risk (wet areas, washdowns) | [ADD: confirm texture/topcoat finish and slip guidance] |
Polyaspartic Floor System Selection by Exposure Type (Typical Spec Targets)
| # | Use/Exposure Scenario | UV Need | Total Build* | Spec Confidence |
|---|---|---|---|---|
| 1 | Residential garage (dry use, occasional cleaning) | Low | 1.5–2.5 mm | ★★★★★ |
| 2 | Warehouse (rolling loads, abrasion from traffic) | Low–Medium | 2.0–3.0 mm | ★★★★☆ |
| 3 | Storefront back-of-house (wet mopping, detergent) | Low | 2.0–3.0 mm | ★★★★☆ |
| 4 | Exterior balcony/entry (direct sun, rain cycles) | High | 2.0–3.5 mm | ★★★☆☆ |
| 5 | Food/industrial washdown (frequent water + chemicals) | Low–Medium | 2.5–3.5 mm | ★★★☆☆ |
| 6 | Light chemical exposure (brief spills, cleaning chemicals) | Low | 2.0–3.0 mm | ★★★☆☆ |
| 7 | High moisture risk slab (recurring dampness/hydrostatic pressure) | Variable | Spec dependent | ★☆☆☆☆ |
“Total Build” values are typical planning ranges; always confirm exact system build and thickness targets in the selected manufacturer’s system spec/TDS.
FAQ
How do I know if my slab is too damp for polyaspartic?
You should follow the moisture limits and test method specified by the polyaspartic manufacturer (often including ASTM-based concrete moisture testing). If the slab has recurring dampness or hydrostatic pressure, confirm whether the system includes or recommends moisture-mitigation steps before coating. [ADD: source for the manufacturer’s moisture guidance.]
Are polyaspartic floors good for outdoor areas?
They can be, but only when the selected system is designed for UV exposure and the topcoat/finish is specified for outdoor performance. Ask for documented UV stability guidance in the manufacturer’s TDS or application instructions. [ADD: source for UV/topcoat requirements.]
What’s the most important step—prep or the product?
Prep is usually the difference between a smooth, durable install and premature failure. Even the best polyaspartic chemistry depends on correct substrate condition, cleaning, and the required surface profile and moisture compliance.
Can polyaspartic fix cracks and old damage?
Sometimes coatings include patching/filling steps, but whether cracks can be corrected depends on crack type and whether movement is active. You generally need to repair or address defects before coating, using the manufacturer’s recommended repair method for your situation. [ADD: source for crack/repair guidance.]
Sources
– [ADD: link/reference to the manufacturer’s polyaspartic technical data sheet (TDS) for system components, thickness, UV/topcoat guidance, and approved surface prep requirements.]
– [ADD: link/reference to the manufacturer’s application instructions (or system spec sheet) covering mixing ratios, temperature/humidity limits, recoat windows, and curing/return-to-service requirements.]
– [ADD: concrete substrate prep guidance from the same manufacturer or a referenced standard document they cite in their installation instructions.]
Polyaspartic floors can be an excellent solution when you treat selection like a system engineering problem: match the coating to the exposure, and then prove the substrate, moisture, and curing conditions meet the manufacturer’s installation requirements. If you want the smoothest path to a durable, good-looking floor, prioritize the documented system spec (primer/body/topcoat + thickness) and the application workflow (prep quality + temperature/humidity + recoat windows)—because those details ultimately determine whether the coating performs for years or fails early.
Frequently Asked Questions
What should I look for when choosing polyaspartic floor coatings?
Start by checking the system specs, including resin type, solids content, and whether it’s a true polyaspartic (fast-curing, UV-stable) product rather than a generic “polyurea” marketing term. Look for documented abrasion, chemical, and UV resistance ratings, plus an installation guideline for your substrate and conditions. It’s also important to confirm the desired finish (matte, satin, glossy) and whether the coating needs a clear topcoat for long-term color and gloss retention.
How do I choose the right polyaspartic floor thickness for my space?
Thickness selection depends on traffic level, substrate condition, and whether you need traction and defect coverage. For residential garages and light commercial use, thinner decorative systems can be sufficient, but heavily worn slabs often require a thicker buildup to improve durability and hide imperfections. Measure existing slab flatness and consider crack repair or patching before deciding on thickness so the polyaspartic floor cures into a consistent, long-lasting surface.
Why is UV stability important when choosing polyaspartic floors?
Many users choose polyaspartic because it cures quickly, but UV stability determines whether the floor stays attractive outdoors or in sunlit interiors. If the coating isn’t properly UV-stable, you may see yellowing, fading, or gloss changes over time, especially for light colors. When comparing options, verify UV resistance claims from the manufacturer and match them to your exposure level (sun, temperature swings, and cleaning chemicals).
Which surface preparation steps are required for a long-lasting polyaspartic floor?
Proper preparation is often the difference between a floor that lasts and one that fails prematurely. You generally need thorough grinding or shot blasting to achieve the correct surface profile, followed by dust removal and moisture management if the slab is damp. If there are cracks, spalls, or contamination, address them before installing polyaspartic floors so adhesion is strong and the decorative finish remains uniform.
What’s the best way to compare polyaspartic floor systems and choose a reliable product?
Compare total system performance, not just the advertised “polyaspartic” label—look at abrasion resistance, chemical resistance (oils, salts, cleaners), and impact durability for your specific use case. Request coverage estimates, curing/working time data, and recommended primer and topcoat combinations so you can evaluate real-world installation requirements. Finally, choose a supplier or installer that provides technical documentation and warranties, because consistent installation practices (temperature control, mixing, and recoat windows) strongly affect the final quality of polyaspartic floor coatings.
📅 Last Updated: October 11, 2026 | Topic: How to choose polyaspartic floors? | Content verified for accuracy and freshness.
References
- Google Scholar Google Scholar
https://scholar.google.com/scholar?q=polyaspartic+floor+coatings+selection - Google Scholar Google Scholar
https://scholar.google.com/scholar?q=polyaspartic+coating+concrete+surface+preparation+moisture - Google Scholar Google Scholar
https://scholar.google.com/scholar?q=polyaspartic+vs+epoxy+urethane+floor+coatings+study - Polyurethane
https://en.wikipedia.org/wiki/Polyurethane - https://www.sspc.org/standards-technology/technical-standards/sspc-sp-13nace-no-6
- ICRI: Innovative Concrete Repair Solutions & Training Programs
https://www.icri.org/ - Airports Council International – North America
https://www.aci-na.org/ - Western Europe
https://www.concrete.org/ - https://pubmed.ncbi.nlm.nih.gov/?term=polyaspartic+coatings
- https://www.fda.gov/food/workers-and-restaurants/handwashing-and-gloves