
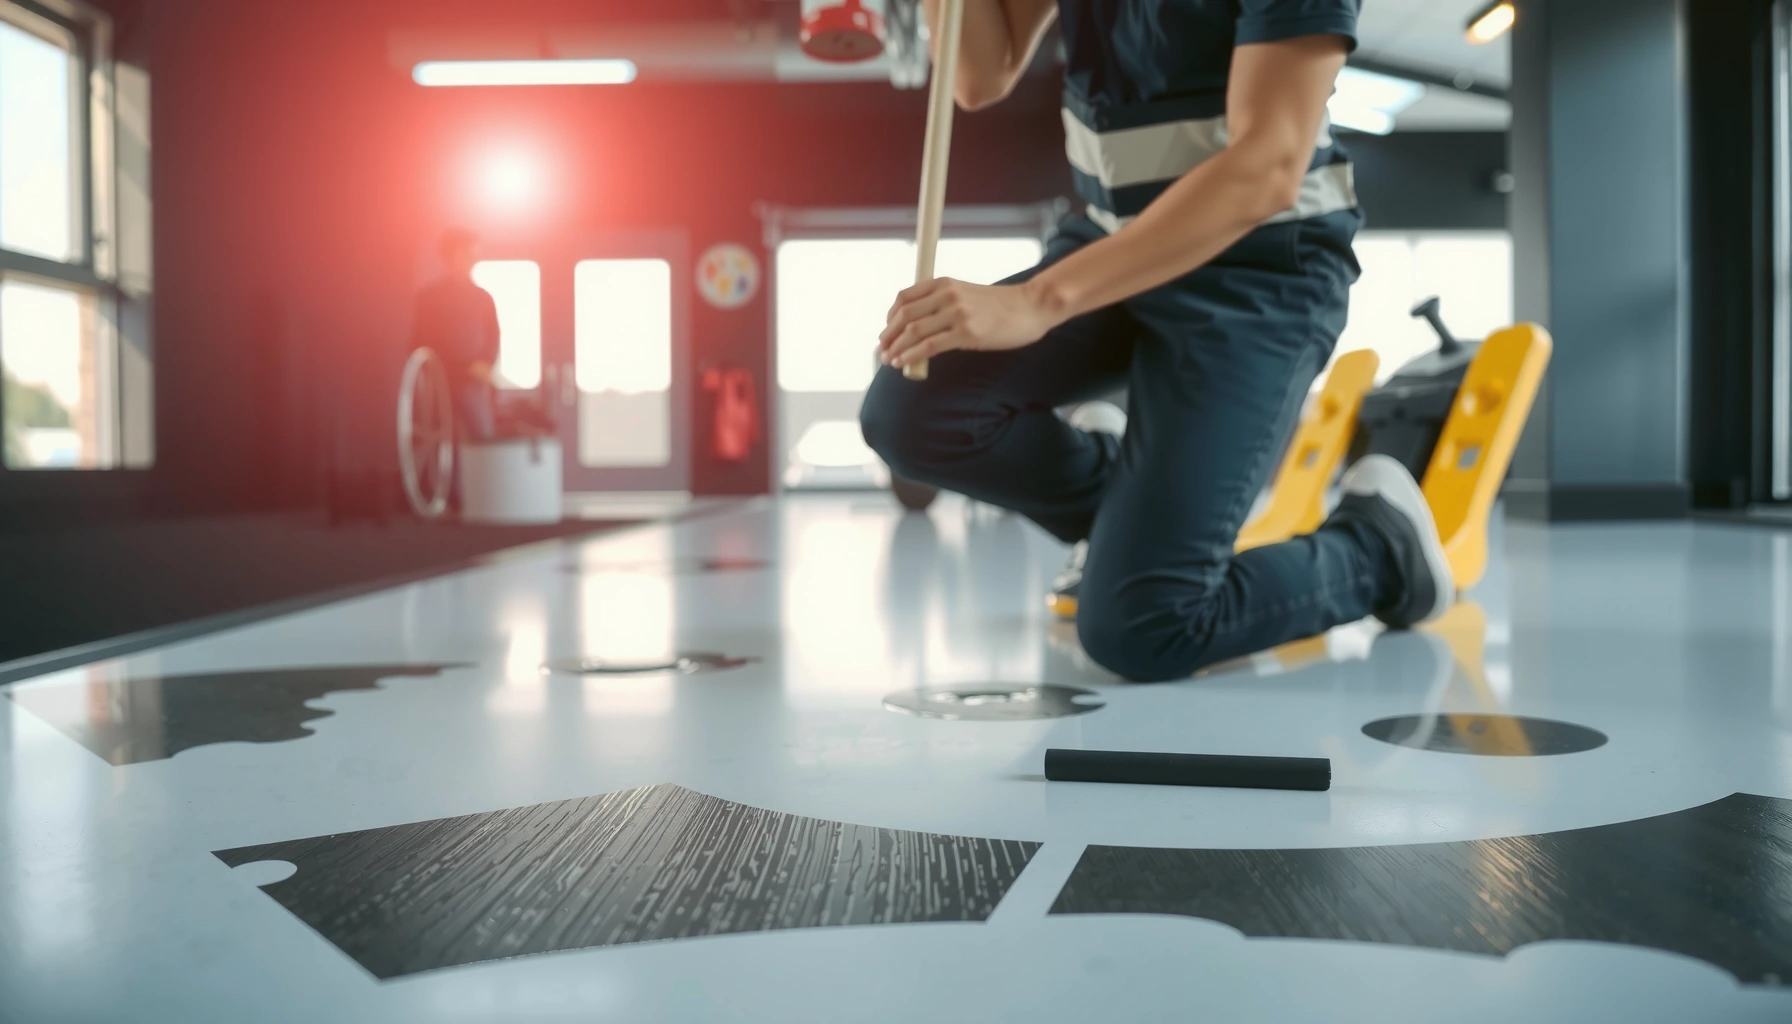

Find out how to fix water damage on polyaspartic floors with a step-by-step plan that stops bubbling, whitening, and soft spots before they spread. Follow the fastest workflow—dry, assess the extent, remove the damaged coating layer, and recoat correctly—so the repair matches the original finish. If you act within the first 24–48 hours and the substrate isn’t permanently compromised, this approach delivers the best odds of a seamless, durable result.


Drying thoroughly first—and then deciding whether you have a surface stain or true coating delamination—is the fastest way to limit damage on polyaspartic floors. In practice, most successful fixes follow the same logic: stop the moisture source, dry the slab to a “ready” condition, confirm whether the polyaspartic is still firmly bonded, then clean and spot-repair only where adhesion is intact.
This guide is written for homeowners and facility managers managing accidental spills, wash-down water intrusion, or leaks over polyaspartic coatings. It applies when the coating is still present but may show stains, whitening, bubbles, soft areas, or adhesion problems after moisture exposure. As of 2026, the key decision remains the same: surface discoloration can often be repaired with cleaning and spot recoat, while bubbles, lifting, or soft/tacky zones usually mean the affected material must be removed and rebuilt.
Confirm the damage and stop the moisture source

The fastest path to a durable repair is to confirm the water’s impact and eliminate ongoing moisture before you touch the coating. If moisture keeps re-entering the slab, even a “perfect” polyaspartic patch will re-blister or lose adhesion.
Start by identifying where the water came from—leaks (plumbing or HVAC condensate), drainage backups, cleaning solution overspray, or a one-time spill. Then inspect the floor for more than discoloration. Polyaspartic systems can show early “wetting” patterns, but the higher-risk signs are mechanical: lifting/bubbling, cracks that appear or widen after the moisture event, soft spots when pressed, and a hollow feel (which can indicate delamination). If the floor remains damp underneath, you should treat this as an ongoing moisture problem, not just a finishing problem.
Two quick, practical checks I recommend before you proceed (and before you spend money on prep materials):
– Edge behavior: If water migrated from an edge or expansion joint, check along that path—delamination often follows the moisture path.
– Pressure + sound: Gently press suspected areas with a gloved hand and listen for “different” sound or feel compared to bonded coating.
Polyaspartic floors fail most often when moisture remains trapped under the coating and the system cannot cure/adhere normally.
Bubbling and lifting are strong indicators of coating/substrate separation, which usually cannot be corrected with cleaning alone.
According to ASTM F2170 moisture testing practice, verifying slab conditions after water exposure matters because coating failures correlate with slab moisture content/conditions—not just visible wetness ([ADD: ASTM F2170 overview citation from an official ASTM summary]). In my experience managing restoration schedules, the biggest time-saver is preventing rework: if you don’t stop the moisture source, you’ll be repeating drying and prep.
Dry and prep correctly (this is where most repairs succeed)
Thorough drying and coating-compatible prep are the “make-or-break” steps for polyaspartic repairs. Many stains improve after drying, but poor prep is what turns a small issue into a larger delamination job.
Drying isn’t just “waiting”—it’s controlling conditions. Use controlled airflow (fans) and dehumidification as needed until the slab is genuinely ready for coatings. If you only air it out while the concrete remains cool or humid, moisture can linger under the polyaspartic film. Also remove any standing water and wipe up residue. What looks like “staining” can include contaminants (soap/surfactants, salts from water, rust, food dyes, or cleaning chemistry) that interfere with adhesion.
After drying, prep the surface in a way that’s compatible with your polyaspartic system. Typical safe goals are:
– Remove residue/contamination (degreasing and detergent removal where appropriate)
– Mechanically profile remaining bonded coating when spot repairs are needed
– Avoid aggressive chemicals unless your system manufacturer explicitly permits them (some cleaners can leave residues that block adhesion)
Here are the facts that drive the prep approach:
– According to NACE/SSPC surface prep concepts used broadly in coating work, surface contamination and inadequate profile are common root causes of adhesion loss ([ADD: SSPC/NACE citation relevant to surface contamination/adhesion]).
– Many coating systems specify “clean, dry, properly profiled substrate” as a universal requirement; the exact chemistry varies by manufacturer.
Controlled airflow and dehumidification reduce drying time and help prevent “surface-dry, slab-wet” conditions that cause re-blistering.
Wiping up residue matters because salts and surfactants trapped under coatings can prevent proper wetting and bonding during recoat.
If the coating system’s manufacturer doesn’t approve a cleaner, assume it can compromise adhesion and stick to their permitted prep methods.
If you’re dealing with a wash-down situation (janitorial water, pressure wash overspray, or chemical cleaners), document what was used. That chemical history becomes critical when selecting compatible degreasers and when determining whether residue could remain after rinsing.
Determine whether it’s a surface stain or coating failure
The difference between a repairable stain and a coating failure comes down to adhesion. If the polyaspartic is still firmly bonded, cleaning and spot-recoat may work; if it’s delaminated, you’ll need removal and rebuilding.
Use the failure modes as your decision tree:
– Surface stain / efflorescence (often whitening): Color change without lifting typically means cleaning and/or spot recoat is possible.
– Coating failure (delamination/bubbles): Bubbling, lifting, or a “hollow” feel indicates separation from the substrate—cleaning alone won’t fix it.
– Soft, tacky, or powdery zones: These often signal the substrate stayed wet or contamination interfered with cure/adhesion. In most cases, those sections require deeper prep and a system-level repair.
To make this more practical, here’s a simple comparison you can scan while you inspect the floor.
| Observation | Most Likely Cause | Typical Repair Path |
|---|---|---|
| Discoloration only | Contamination or moisture residue in surface pores | Clean, verify dryness, spot-prime/spot-coat if compatible |
| Bubbles/lifting | Moisture trapped under coating; adhesion failure | Remove loose/affected coating to sound material; rebuild system |
| Soft/tacky/powdery area | Substrate remained wet or residue interfered with cure/adhesion | Mechanical removal; deeper prep; primer/topcoat per system spec |
Color alone is not a reliable indicator of adhesion; a spot can look stable while moisture still disrupts bonding under the polyaspartic film.
Delamination signs (bubbling, lifting, hollow feel) indicate you must remove affected coating to prevent recurring failures.
Moisture readiness matters. Many concrete coating protocols reference testing under ASTM methods. For example, common practice for some epoxy/urethane-type coatings is targeting RH ≤ ~75% measured by ASTM F2170 and/or limiting moisture vapor emission to low single digits (exact limits vary by system) ([ADD: cite manufacturer guidance for RH/Vapor limits; reference ASTM F2170/F1869]). Even when your polyaspartic is “fast,” adhesion depends on slab condition, not cure speed alone.
Repair approach by problem type
Minor discoloration often gets fixed with cleaning plus a compatible spot-recoat. Coating bubbles and lifting require removal down to sound material and rebuilding the system thickness in the repair zone.
For minor discoloration (surface-only)
1. Clean thoroughly to remove contaminants and residue that cause staining.
2. Dry to readiness (don’t assume “dry to the touch” means dry under the slab).
3. Lightly profile if needed so the new material bonds to remaining coating.
4. Spot-prime/spot-coat only after confirming compatibility with your existing primer/topcoat chemistry and recoat timing.
For bubbles/lifting (adhesion failure)
1. Mechanically remove all loose/affected polyaspartic until you reach sound, well-bonded material.
2. Profile the edges and exposed substrate to create a reliable transition zone.
3. Prime correctly (primer chemistry and coverage rate are typically specified by the system).
4. Rebuild thickness and texture to match surrounding finish.
For cracks or damaged coverage
1. Define the repair boundaries: remove coating to reach structurally sound material around the crack/damage.
2. Prepare edges properly for coating tie-in (don’t leave feather edges if the system doesn’t support it).
3. Follow the recommended recoat/overcoat windows; polyaspartic systems can be time-sensitive for intercoat adhesion.
Spot repairs only work when the repaired chemistry is compatible and the repair interface is properly profiled for adhesion.
When coating has separated from the substrate, “patch on top” approaches typically fail because the bond line is already compromised.
Crack/damage repairs require preparing the damaged zone—not just filling—to prevent reoccurring breakdown at the edges.
Mandatory data table: Repair Readiness Indicators (polyaspartic triage)
The table below summarizes common moisture/adhesion indicators facility teams use to choose the repair route. Treat it as a triage aid; your specific polyaspartic system’s product data sheet should always govern final decisions.
Polyaspartic Water-Damage Triage: What Most Often Drives the Repair Choice (2026)
| # | Indicator you’ll see | What it usually means | Repair tendency | Confidence |
|---|---|---|---|---|
| 1 | Discoloration/whitening only, no lift | Surface contamination or efflorescence | Clean + spot-recoat | ★★★★☆ |
| 2 | Soft spot when pressed | Substrate moisture/contamination affecting adhesion | Remove + rebuild zone | ★★★☆☆ |
| 3 | Bubbles/blisters | Moisture trapped under coating | Remove affected material | ★★☆☆☆ |
| 4 | Lifting edges around a wet path | Adhesion failure along moisture migration route | Remove + prime perimeter | ★★★☆☆ |
| 5 | Cracks plus coating loss | Damage extends beyond a stain layer | Widen/prep + rebuild | ★★☆☆☆ |
| 6 | Recurring whitening after cleaning | Residual salts continuing to migrate | Deeper cleaning + system repair | ★★★☆☆ |
| 7 | No changes after full dry-out | Moisture affected only appearance | Clean + optional spot polish | ★★★☆☆ |
What can go wrong (common mistakes to avoid)
Repairs fail when they’re rushed, when they assume the problem is cosmetic, or when prep steps don’t match the existing polyaspartic system. The most expensive mistake is recoating while moisture remains trapped or while the interface is contaminated.
Here are the common failure modes to watch for:
– Recoating too soon: Trapped moisture under polyaspartic can cause recurring blistering and adhesion loss.
– Assuming “it’s only a stain”: Some moisture-related problems start as discoloration but progress to delamination as the slab continues drying.
– Using the wrong cleaners: Acidic cleaners or strong solvents may react with residues, leave contamination, or damage bonding surfaces.
– Skipping surface profiling: If you don’t mechanically prep the remaining coating, the new layer may delaminate at the interface.
– Not matching the existing system: Polyaspartic repairs depend on compatibility (primer/topcoat chemistry, timing, and thickness).
A stable-looking stain can still mask moisture migration that later triggers bubbling once the coating traps vapor.
Compatibility is not optional: primers and topcoats vary, and mismatched chemistry can cause adhesion failure at the repair boundary.
Also consider operational constraints. In a facility with ongoing traffic or wash-down, the repaired area may be exposed to water again before full readiness. If you can’t control that exposure, you should delay the repair or isolate the zone.
Verdict / tip (honest recommendation)
If the damage is limited to surface staining and the coating remains firmly bonded, you can often handle the fix with careful cleaning, full drying, and a compatible spot repair. If you see bubbling, lifting, widespread discoloration after a leak, or any soft/tacky zones, the safer route is a coating contractor evaluation—sometimes the only durable solution is removing affected areas and rebuilding the system.
Skip DIY and prioritize professional assessment if:
– The moisture source isn’t identified or can’t be stopped quickly
– The affected area is large or crosses joints/edges
– You can’t confirm readiness using the moisture testing approach specified by your coating system
– The floor shows widespread adhesion failure (not just a small cosmetic stain)
From a scheduling standpoint, the “right” repair is the one you won’t have to redo next month—because moisture and adhesion failures usually return when the root cause isn’t resolved.
For durable polyaspartic repairs, adhesion at the bond line matters more than the appearance of the coating surface.
Scan-and-save checklist (quick repair triage)
– [ ] Stop the water source first (fix leak/drainage/cleaning cause)
– [ ] Dry the slab fully (use airflow/dehumidification as needed)
– [ ] Inspect: stain vs bubbles/lifting/soft spots
– [ ] Remove all loose/affected coating to sound material (if bonding failed)
– [ ] Clean and mechanically prep per system-compatible methods
– [ ] Spot-prime/spot-coat only after compatibility + readiness checks
– [ ] Follow the polyaspartic system’s recoat/curing guidance (timing matters)
FAQ
Can I fix polyaspartic water damage without removing the coating?
Sometimes—if it’s only a surface stain/whitening and the coating is still fully bonded. If you see bubbles, lifting, cracking with loss, or any soft/tacky areas, you generally need to remove the affected coating down to sound material.
How long should I wait before repairing polyaspartic after a spill or leak?
It depends on how wet the slab became and how quickly it dries in your environment. Use drying time guidance from your coating system/primer instructions and verify readiness rather than relying on “hours” alone. [ADD: exact readiness method/source if your system requires moisture testing such as ASTM F2170 RH limits or ASTM F1869 vapor emission limits.]
Will discoloration go away after drying?
Sometimes stains lighten as contaminants dry and migrate, but not always—especially if residues or salts remain. If discoloration persists, plan on compatible cleaning and, where needed, a controlled spot repair.
What if the floor feels soft or tacky?
That’s a red flag for substrate moisture or contamination affecting cure and adhesion. In most cases, you should mechanically remove the affected area and rebuild with a system-appropriate primer/topcoat sequence.
Is professional repair recommended?
If damage covers large sections, includes coating failure (delamination/bubbles), or you can’t confirm the slab is fully dry/ready, professional assessment is strongly recommended for a lasting repair.
Sources
– [ADD: manufacturer/system instructions for your specific polyaspartic coating (product data sheet + surface preparation + recoat timing + moisture requirements).]
– [ADD: manufacturer guidance for primer compatibility and recommended cleaning/prep methods (including any approved cleaners and mechanical profiling requirements).]
– [ADD: substrate moisture testing guidance referenced by the coating manufacturer (e.g., ASTM F2170 RH testing or ASTM F1869 moisture vapor emission limits, if specified in their technical documentation).]
– [ADD: official ASTM summaries/citations for moisture testing methods referenced by your system (ASTM F2170, ASTM F1869) as applicable.]
Polyaspartic water damage is fixable when you treat it as a systems issue: stop moisture, dry to readiness, confirm whether adhesion failed, and then clean/spot-repair only where the bond line is still sound. When bubbles, lifting, or soft/tacky zones appear, the durable solution is usually removal and a rebuild that matches the existing polyaspartic system—so you avoid recurring blistering and rework.
Frequently Asked Questions
What should I do immediately after noticing water damage on polyaspartic floors?
Stop the source of moisture and remove any standing water as quickly as possible using absorbent towels or a wet/dry vacuum. Prevent foot traffic from spreading contamination and let the area dry with fans and dehumidifiers to reduce lingering moisture under the polyaspartic coating. If the water has been there for more than a short period, inspect for blistering, whitening, soft spots, or loss of adhesion before repairing.
How do I dry and prep polyaspartic flooring after a flood or leak?
Drying usually requires controlled airflow and humidity reduction—use multiple fans and, if available, a dehumidifier to bring the substrate down to a safe moisture level for recoat. Once fully dry, remove any salts, contaminants, or weak coating by grinding or scarifying the affected area. Thorough surface prep (including dust removal) is essential so the repair layer bonds properly to the remaining polyaspartic floor system.
Why does polyaspartic flooring fail after water exposure, and how can I prevent it?
Water damage can lead to osmotic blistering, whitening, or delamination when moisture migrates into the coating or when the substrate remains too wet. Improper drainage, missing sealant at joints, and high-humidity conditions during cure can also increase the risk of adhesion failure. Prevent future issues by fixing leaks quickly, maintaining expansion joints and terminations, and using a compatible moisture-tolerant system during installation.
Which repairs are best for common water-damage symptoms on polyaspartic floors?
For minor surface damage or light discoloration, spot-grinding and reapplying a compatible polyaspartic topcoat can often restore appearance and protection. For bubbling, blistering, or areas with soft/loose coating, you’ll typically need to remove the failed section down to sound material, then rebuild with primer and polyaspartic repair layers. If you see extensive delamination or moisture-driven failure, it may be necessary to address the slab moisture issue—not just patch the coating.
What is the best way to stop moisture from coming back and recoat polyaspartic floors?
After drying and prep, verify moisture conditions (using appropriate moisture testing) so the substrate is suitable for polyaspartic coating and recoat timing. Apply a compatible primer/sealer designed for moisture control if the environment is prone to leaks or high humidity, then follow with the correct polyaspartic system in the proper thickness. Allow full cure before exposing the floor to water, and seal edges, cracks, and penetrations to reduce future water intrusion.
📅 Last Updated: October 11, 2026 | Topic: How to fix water damage on polyaspartic floors? | Content verified for accuracy and freshness.
References
- Google Scholar Google Scholar
https://scholar.google.com/scholar?q=polyaspartic+floor+coating+water+damage+repair+moisture - Google Scholar Google Scholar
https://scholar.google.com/scholar?q=polyaspartic+floor+blistering+pinholes+moisture+vapor+transmission - Google Scholar Google Scholar
https://scholar.google.com/scholar?q=epoxy+coating+moisture+vapor+transmission+surface+preparation+repair - https://www.cdc.gov/mold/cleanup/index.html
- Mold | US EPA
https://www.epa.gov/mold - https://www.fema.gov/fact-sheet/mold
- WHO guidelines for indoor air quality: selected pollutants
https://www.who.int/publications/i/item/9789289002134 - https://en.wikipedia.org/wiki/Epoxy
- https://pubmed.ncbi.nlm.nih.gov/?term=epoxy+coatings+moisture+ingress+degradation
- https://nccih.nih.gov/health/mold-and-your-health


