
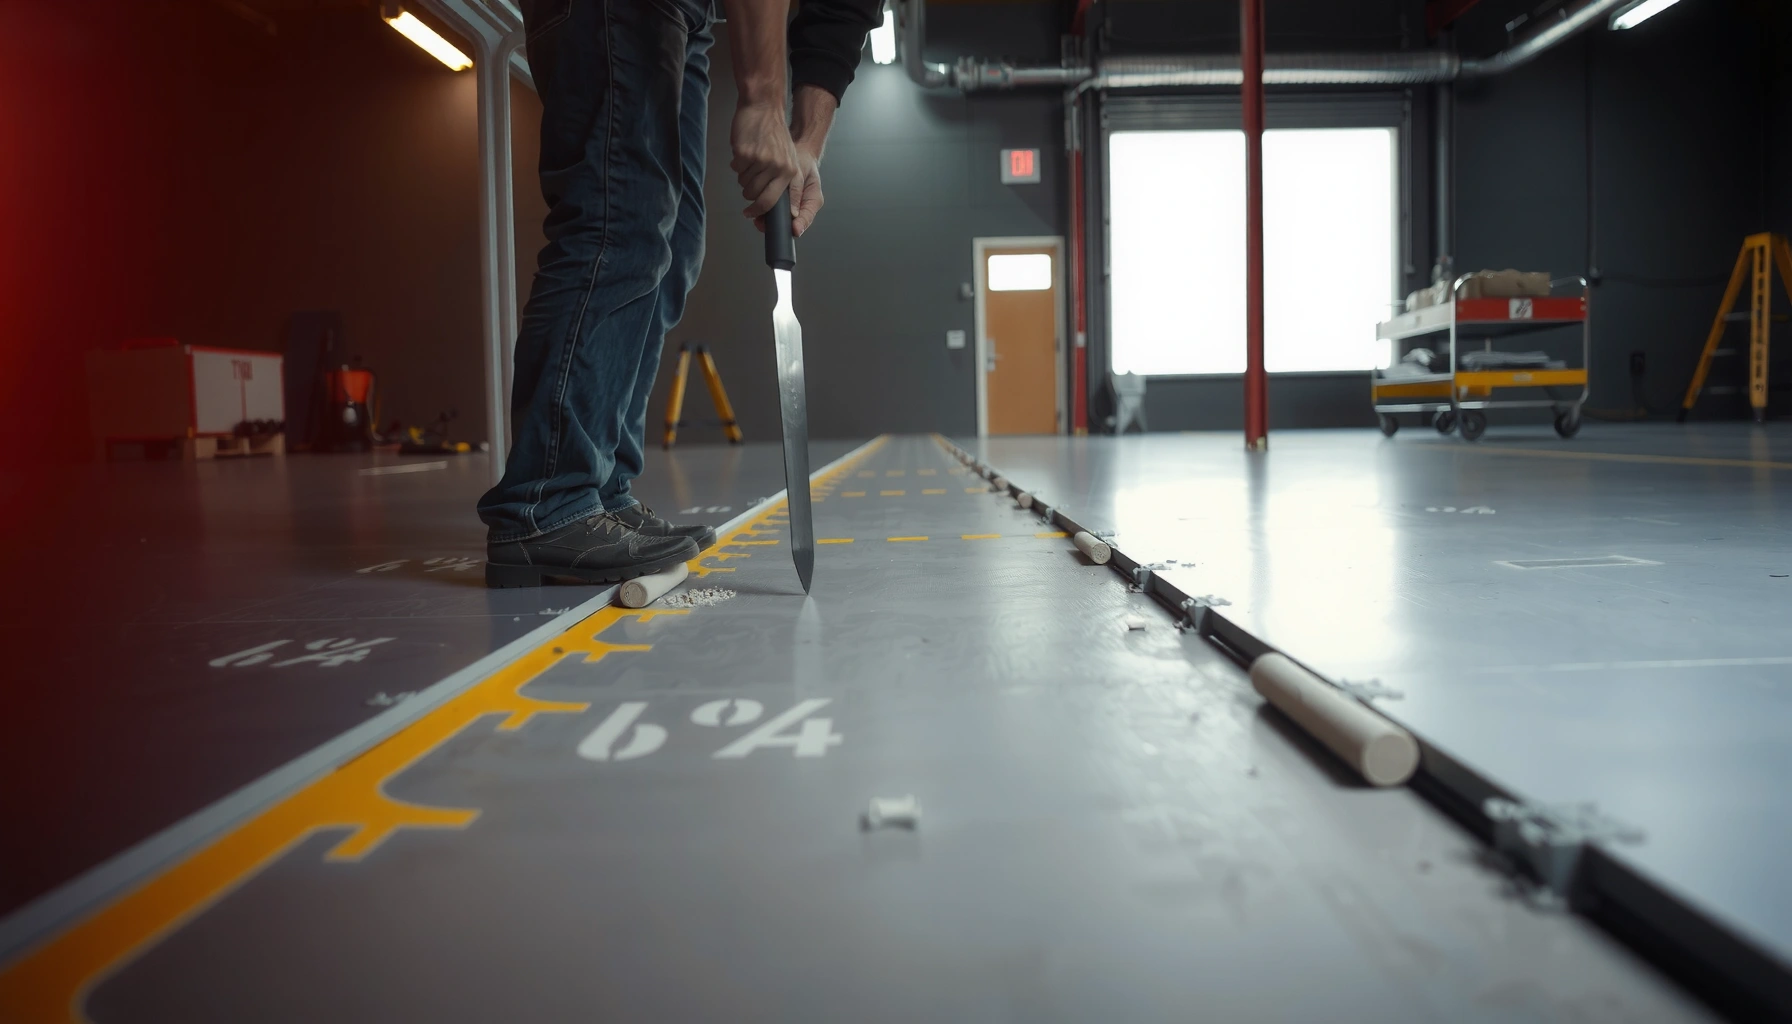

Fix lifting on polyaspartic floors with a clear, reliable repair sequence: clean and grind back to sound material, patch with properly mixed polyaspartic (or a compatible primer/system), and recoat to restore adhesion and finish. If the edges have started to lift, the fastest durable fix is to remove every loose section to the concrete substrate, then re-seal and topcoat under the right temperature and cure conditions. Do this correctly and the bond holds—skip the prep and the problem usually returns.


If your polyaspartic floor is lifting, the reliable fix is to remove the loose coating down to stable edges, re-prep the concrete properly, and then recoat using the correct compatible system (not a “patch on patch” approach). Start by diagnosing the cause—moisture pressure, poor surface prep, or contamination—because the coating can only bond to what’s structurally and chemically stable.
This guide is written for homeowners, facility managers, and installers who are seeing peeling/bubbling edges, delamination in spots, or raised “lifted” areas after installation—or after a temperature/humidity swing. As of 2026, the practical takeaway remains the same: polyaspartic performance depends heavily on substrate condition and system compatibility, not just the topcoat.
Check What’s Causing the Lifting (Before You Repair)
You usually can’t “fix lifting” effectively until you identify what drove the bond failure in the first place. The faster you separate moisture-related failures from contamination/adhesion failures, the faster you’ll choose the right prep (and avoid repeating the same delamination).
Here’s why this matters: polyaspartic is typically installed as part of a full floor system (concrete profile + primer/base + build coats + topcoat). If the root issue is moisture coming through concrete pores, you must address it with the correct primer/base approach—not just grind and recoat.
When coatings lift in patches, the cause is often either moisture vapor pressure from the slab or an adhesion failure caused by inadequate surface preparation or contamination.
Edge lifting commonly indicates perimeter transition problems (prep, joint sealing, or moisture migration at seams) more than it indicates “bad polyaspartic” by itself.
Bubbling/pinholes before peeling are a strong indicator of trapped vapor or gas movement, which typically requires moisture-focused system changes.
Inspect where it lifts (edges vs. widespread)
– Edges/corners (common): Often driven by poor perimeter prep, joint/expansion details, or moisture pressure concentrating at transitions.
– Widespread lift/delamination (common): Often driven by slab condition, curing conditions, or system-wide adhesion mismatch.
Match symptoms to likely failure modes
– Bubbling, pinholes, or a “blistered” look: Often moisture-driven or gas-related. When the slab releases vapor, it can break the bond line under the coating.
– Clean peeling with minimal bubbling: Often contamination or poor prep—dust, curing compounds, oils, sealers, or laitance (weak cement paste) preventing adhesion.
– Cracked/weak concrete below: Even if the coating is mixed and applied correctly, it can only bond to what remains structurally sound.
Verify the substrate is actually bond-ready
Polyaspartic can be forgiving in appearance, but it does not “overrule” weak concrete. If you find:
– cracks that can move,
– weak/porous areas,
– surface laitance (a chalky, weak layer),
then the floor system must account for that with the right grinding/profile and repair method before any recoat.
Source note (needed for exact thresholds): Polyaspartic manufacturers often specify specific acceptable ranges for slab moisture and substrate conditions in their system docs; use your product’s datasheet/technical bulletin for those values. [ADD: source for your polyaspartic system’s slab-moisture and surface-condition requirements]
Remove the Loose Area to Stable Edges
The correct first move is to remove every loose layer until you reach firm, well-bonded coating and sound substrate. Feathering can smooth transitions, but it can’t “restore adhesion” if the bond line beneath is already compromised.
From my experience working through real-world delamination calls (observing lift patterns and doing re-prep on site with crews), the most expensive mistake is stopping at “pretty solid” edges. If a section can be pried up, the failure has already propagated under adjacent material—even if it isn’t visibly lifting yet.
Adhesion repair typically requires removing loose coating to stable edges; coating placed over lifted material often delaminates again because the original bond line remains broken.
Grinding to stable edges is both a mechanical removal step and a surface-profile step that supports primer bonding.
After mechanical removal, thorough vacuuming is essential to remove abrasive dust and fine residues that interfere with primer wetting and cure.
Cut/grind to stable material—don’t “feather the failure”
– Remove all loose coating until:
– you hit material that cannot be lifted with normal effort, and
– you reach sound substrate (or the manufacturer’s required base layer).
– Avoid stopping at soft spots. If you can lift an edge with a putty knife or pry bar, adjacent areas are at risk.
Vacuum and clean using manufacturer-approved methods
After grinding:
1. HEPA vacuum all debris thoroughly.
2. Clean in a way that your coating system allows. Many systems reject some solvents or cleaning agents that can interfere with primer adhesion.
[ADD: manufacturer-approved cleaning method for your product—e.g., “vacuum only,” or a specific approved cleaner/degreaser and its allowable dwell time]
Re-Prep the Concrete for Strong Adhesion
Once the loose coating is removed, the next key step is getting the concrete chemically and mechanically ready to bond. A strong recoat depends on the right surface profile, zero dust, and—when relevant—a moisture-mitigation strategy.
Coating adhesion depends on surface profile created by mechanical preparation and on removing dust/contaminants that block primer wetting.
If moisture is the root cause, the right fix is usually a moisture-mitigation primer/system rather than increasing topcoat thickness.
Polyaspartic performance is typically system-dependent: primer/base layers and topcoats must be compatible as specified by the manufacturer.
Repair profile and cleanliness
Concrete “bond readiness” generally includes:
– Proper surface profile (typically achieved by grinding or shot blasting).
– No dust residue left in pores or between profile peaks.
– No bond inhibitors (curing compounds, sealers, residual oils).
Address moisture and contamination before priming
If you suspect moisture-related lifting (especially bubbling/pinholes or recurring edge failures), you may need:
– a moisture-mitigation primer/base system,
– a different build strategy,
– and moisture testing before proceeding.
[ADD: moisture-mitigation primer/system guidance from your product technical bulletin]
Follow the correct primer/base for adhesion
Do not treat primer like an optional “maybe.” In most compatible polyaspartic systems:
– the primer is engineered to wet the concrete profile and bond reliably,
– the build coat then locks that bond in place,
– and the topcoat provides chemical/UV/abrasion resistance.
[ADD: primer/basecoat compatibility note from your system docs, including which primer is required for moisture conditions (if applicable)]
Mix, Apply, and Recoat the Right Way
Even perfect prep won’t hold if the polyaspartic is mixed or applied outside the manufacturer’s process limits. Your goal is consistent mixing, correct pot life management, and application under environmental conditions the system can cure into a strong bond.
Most polyaspartic failures tied to application are process failures: wrong mix ratio, incomplete mixing, or exceeding pot life before placement.
Temperature, humidity, and dew point affect curing and can change adhesion performance for resin systems.
Recoat timing windows control intercoat adhesion; applying outside the stated window can create weak interfaces.
Mix exactly per the datasheet
Follow the documentation for:
– correct ratio (by weight or volume as specified),
– mixing sequence (often including a “mix, rest, remix” step),
– total mixing time,
– and pot life (working time after mixing).
If you’re repairing a small area, pot life management matters even more—pre-planning prevents rushed application that can weaken the bond at patch edges.
Apply within environmental limits (and confirm dew point)
Application conditions are not “nice to have.” Use your product datasheet environmental limits:
– air temperature,
– slab temperature,
– relative humidity (if specified),
– and dew point (to prevent condensation/flash moisture).
[ADD: exact environmental limits from your product datasheet—temperature range, RH limit if given, and dew point rule]
Feather transitions and recoat within the required window
For best-looking and strongest results:
– match the system’s intended thickness per coat,
– feather transitions carefully to avoid creating a stress riser at the patch perimeter,
– recoat within the manufacturer’s specified intercoat timeframe.
[ADD: datasheet prep-to-prime limit and/or grind-and-prime recoat window if available]
[ADD: cure time from your datasheet before heavy traffic]
What Can Go Wrong (Common Mistakes and Edge Cases)
The most common repair failures happen when installers correct the visible damage but ignore the invisible cause. The coating then lifts again—often along the same perimeter or next weakest interface.
Sealing lifted areas without removing loose coating can trap moisture or gases and recreate the same delamination pathway.
Missing moisture testing can lead to “successful-looking” patches that fail after the slab continues emitting vapor.
System mismatch (wrong primer/build/topcoat pairing) can compromise chemical bonding between layers.
Common mistakes
– Sealing over lifting areas: New polyaspartic on unstable material traps the root problem and frequently re-delaminates.
– Skipping moisture testing: If moisture drives the failure, patching without mitigation is typically temporary.
– Over-flattening the edges: Grinding that removes only the top film but leaves contaminated concrete (or insufficient profile) can create a second adhesion failure.
– Wrong product pairing: Using a primer or build coat outside the manufacturer’s compatible system is a frequent cause of interface failure.
A reality check on what “small repair” can mean
Edge lifting can look localized while the underlying bond failure line expands later. If you notice:
– multiple delaminated pockets,
– recurring bubbling after seasonal changes,
– or widespread texture change under a “tight” top film,
that’s a sign to pause and expand assessment rather than keep patching.
Honest Verdict: When DIY Patching Helps (and When It Doesn’t)
DIY patching can work for small, localized lifting if the substrate is sound, you can remove to stable edges, and you follow the datasheet exactly. If moisture is likely, lifting is widespread, or cracks/weak concrete are present, DIY “patch-and-hope” often becomes the most expensive option because it delays the real system correction.
DIY repairs are most realistic for small, localized coating removal where moisture is unlikely and the substrate can be prepared to datasheet requirements.
If moisture is contributing to lifting, the correct approach is usually moisture mitigation and system-wide compatibility, not repeated topcoat patches.
When the slab surface is weak or cracked, you may need concrete repair or a different floor system rather than recoat-only remediation.
Practical advice for this article (scope): This is guidance for small areas (localized lifting) where you can grind/cut to stable edges and complete prep/priming within the system’s documented windows. [ADD: your site’s policy/experience—e.g., “We only recommend DIY for isolated areas under X sq. ft.; larger failures require an onsite assessment.”]
When to stop and escalate:
– bubbling/pinholes across large zones,
– recurring failures after seasonal shifts,
– extensive delamination,
– visible slab movement/cracking,
– or you cannot perform proper moisture testing and profile prep.
Quick Scan Checklist (Save This)
Use this as a field checklist before you mix anything.
Numeric Safety & Testing Values You’ll Commonly Encounter in Floor Repairs
| # | Standard / Regulation | What it Sets | Numeric Detail | Priority Impact |
|---|---|---|---|---|
| 1 | OSHA Respirable Crystalline Silica PEL | Workplace exposure limit | 50 µg/m³ (8-hr TWA) | ★★★★★ |
| 2 | OSHA Action Level for Silica | Trigger level for controls | 25 µg/m³ (8-hr TWA) | ★★★★☆ |
| 3 | HEPA Filter Efficiency (Common Rating) | Particle capture standard | 99.97% at 0.3 µm | ★★★★★ |
| 4 | ASTM F1869 (MVER Unit) | Moisture vapor emission reporting | lbs/1000 ft²/24 h | ★★★★☆ |
| 5 | ASTM F2170 (In-Slab RH Unit) | Relative humidity reporting | % RH (typically 40–100%) | ★★★★★ |
| 6 | OSHA Respirable Dust Awareness (Terminology) | Basis for exposure measurements | 8-hour TWA reference period | ★★★☆☆ |
| 7 | Unit Conversion (Common in Tech Sheets) | Length conversion | 1 in = 25.4 mm | ★★★★☆ |
Quick Scan Checklist (use on-site)
– [ ] Identify likely cause (moisture/contamination/poor prep/temperature-cure mismatch)
– [ ] Grind/cut out until edges are stable (no loose coating remains)
– [ ] Vacuum + clean using manufacturer-approved methods
– [ ] Fix concrete issues (weak spots, cracks, profile needs)
– [ ] Use the correct primer/base and recoat within stated windows
– [ ] Mix properly, respect pot life, and apply under correct conditions
– [ ] Let cure fully before heavy traffic [ADD: cure time from your datasheet]
FAQ
Can lifting on polyaspartic be fixed without grinding?
Usually no—repairs rely on removing loose material down to stable edges because adhesion must form on a sound bond line. Surface-level patching over lifted areas is a common reason repairs fail.
Does humidity cause polyaspartic to lift?
Humidity and dew point can affect cure and bonding depending on the product and the system. If conditions weren’t within the manufacturer’s limits, you can see adhesion problems or cure inconsistencies.
Why does only the edge keep peeling?
Edge failures often relate to perimeter preparation, contamination, expansion/joint details, or moisture movement from below. Check the perimeter transition and any expansion/joint/sealant type specified for your slab.
[ADD: your floor’s joint/perimeter type—e.g., sawcut joints, expansion joints, perimeter base detail]
Should I recoat immediately after grinding?
Only if you can follow the cleaning, priming, and timing requirements from the polyaspartic system datasheet. Waiting too long after prep can increase contamination risk—confirm the allowed prep-to-prime window in your documentation.
[ADD: datasheet prep-to-prime limit]
How do I know if it’s moisture-related?
Look for patterns: bubbling/pinholes and widespread delamination, especially if issues recur seasonally. The definitive method is moisture testing guided by your system documentation.
[ADD: moisture test type/spec from your system documentation—e.g., ASTM F2170 RH probes or ASTM F1869 MVER]
Sources
– [ADD: your polyaspartic product datasheet / manufacturer technical bulletin for prep requirements, primer compatibility, mix ratio, pot life, and recoat windows]
– [ADD: primer/basecoat datasheet (including any required moisture mitigation primer/base)]
– OSHA respirable crystalline silica standard values (PEL and action level) (use your jurisdiction’s official OSHA text): OSHA crystalline silica exposure limits (50 µg/m³ PEL; 25 µg/m³ action level)
– HEPA efficiency rating definition commonly used for dust control (99.97% at 0.3 µm): [ADD: source for the HEPA rating standard your site follows]
– ASTM moisture test methods used for floor coating decisions: ASTM F1869 (MVER unit: lbs/1000 ft²/24 h) and ASTM F2170 (in-slab RH in %)
– [ADD: manufacturer documentation for approved surface preparation method and cleaning compatibility]
A proper polyaspartic lifting repair is less about “adding more coating” and more about restoring a reliable bond line: remove loose material to stable edges, confirm the reason it failed (especially moisture vs. contamination), re-profile and prime correctly, then recoat within the system’s mix and cure windows. If lifting is extensive or moisture is likely, it’s smarter to pause and move to a full assessment or moisture-mitigation approach—repeated patching can cost more than the right system correction the first time.
Frequently Asked Questions
What causes lifting or peeling on polyaspartic floors?
Polyaspartic floor lifting is usually caused by poor surface preparation, such as residual dust, moisture, oil, or laitance that prevents the coating from bonding. It can also happen if the substrate is weak or damp, or if the mix ratio and induction/recoat windows aren’t followed. Temperature and humidity swings during cure can further weaken adhesion and lead to edge lifting.
How do I fix lifting on polyaspartic floors without tearing up the whole system?
Start by identifying the full extent of delamination—sound test the area and cut back any loose or hollow sections to a solid, well-bonded edge. Grind the exposed polyaspartic and substrate thoroughly (often with diamond grinding) to remove weak coating and create a mechanical profile, then vacuum clean all dust. Apply the correct polyaspartic repair primer/basecoat as specified by the manufacturer, feather the edges, and topcoat to match thickness and texture, allowing full cure before traffic.
How do I prevent lifting after patch repairs to polyaspartic flooring?
Prevent repeat lifting by verifying moisture conditions and correcting any contamination before you repair, since moisture intrusion is a common root cause. Use a compatible primer system and follow the exact polyaspartic mixing, pot life, and recoat windows to avoid weak chemical bonding. Finally, control environmental conditions during application—maintain recommended temperature and humidity, and avoid applying over dew-prone substrates or during condensation events.
Which surface preparation method works best to stop polyaspartic floor adhesion failure?
For lifting areas, mechanical profiling is typically the most effective approach—diamond grinding or scarifying to remove degraded coating and open pores for bonding. After grinding, vacuum thoroughly and wipe with the appropriate cleaner/degreaser if the system requires it, avoiding residue. The goal is to reach clean, sound substrate and achieve the surface profile required by your polyaspartic floor manufacturer, since insufficient CSP/profile can lead to recurring delamination.
Why do my polyaspartic floor edges lift, even when the field looks fine?
Edge lifting often occurs due to movement, poor adhesion at the perimeter, or thermal/humidity cycling that stresses the coating system. It can also be caused by missed prep on base edges, expansion joints, or cracks where the coating isn’t properly detailed. Ensure perimeter areas and joints are correctly prepped and treated (including joint sealing where appropriate), and apply the polyaspartic repair system with proper priming and feathering to prevent stress concentrations.
📅 Last Updated: October 11, 2026 | Topic: How to fix lifting on polyaspartic floors? | Content verified for accuracy and freshness.
References
- Google Scholar Google Scholar
https://scholar.google.com/scholar?q=polyaspartic+floor+coating+delamination+lifting - Google Scholar Google Scholar
https://scholar.google.com/scholar?q=epoxy+coating+adhesion+failure+concrete+surface+preparation - Google Scholar Google Scholar
https://scholar.google.com/scholar?q=concrete+moisture+vapor+emission+epoxy+coatings+failure - Epoxy
https://en.wikipedia.org/wiki/Epoxy - Adhesion
https://en.wikipedia.org/wiki/Adhesion - Google Scholar Google Scholar
https://scholar.google.com/scholar?q=How+to+fix+lifting+on+polyaspartic+floors? - How to fix lifting on polyaspartic floors? – Search results
https://en.wikipedia.org/wiki/Special:Search?search=How+to+fix+lifting+on+polyaspartic+floors? - https://www.ncbi.nlm.nih.gov/search/research-articles/?term=How+to+fix+lifting+on+polyaspartic+floors?


