
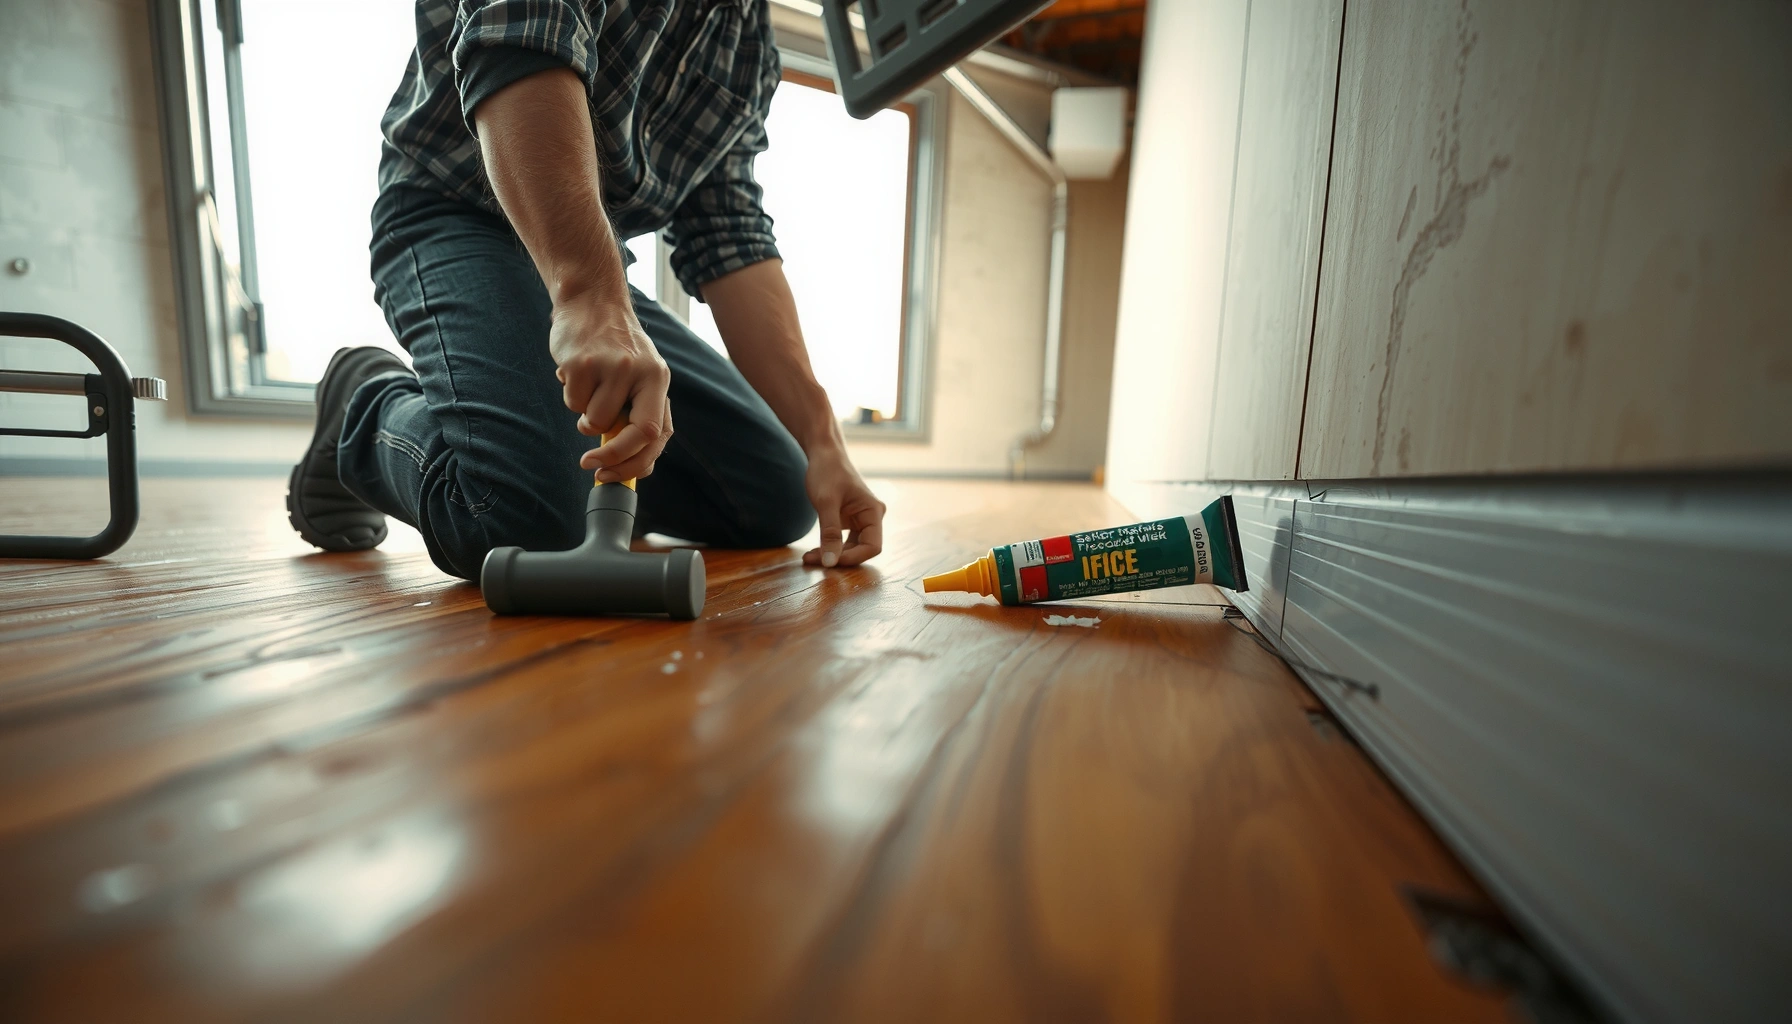

Squeaks in polyaspartic floors aren’t a mystery—most can be fixed reliably once you identify whether the problem is loose base prep, an inadequate bond, or movement at joints. This step-by-step guide walks you through the fastest, safest repair route for each cause, so you can stop the noise without redoing the entire floor. If you want the direct answer—what to do first, what to check next, and how to finish—this is the playbook.
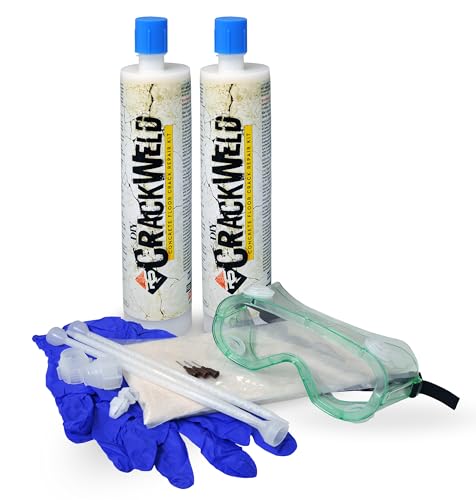



Squeaks in polyaspartic floors usually come from a small loose area in the substrate (subfloor movement), a coating spot that didn’t fully bond (delamination), or friction from trapped dust/debris in surface texture. The fastest, most reliable fix is to locate the squeak precisely, then repair the root cause (movement or bond loss) before you patch and recoat—otherwise the noise often returns.
If you’re hearing squeaks in a polyaspartic-coated floor—especially in traffic lanes, around columns, or near repairs—these steps help you diagnose whether the issue is structural (subfloor) or coating-related (bond/patch). Use it for garages, warehouses, and commercial spaces where polyaspartic coatings are common, and where patching is possible.
Identify the squeak source (don’t jump straight to patching)
You shouldn’t patch immediately because squeaks almost always “travel” from the cause (voids, movement, or debris) to the surface sound you hear. Map the squeak first, so you know what you’re repairing—and you don’t create extra downtime by opening the wrong area.
A reliable first step for coating squeaks is to locate the exact start point by stepping/pressing around the suspected zone, then marking boundaries for inspection.
If squeaks consistently occur at edges, transitions, or around expansion gaps, the cause is often movement at joints rather than a surface-only bond problem.
A consistent noise at the same coordinate is a stronger indicator of a localized void or bond failure than general wear from traffic.
– Walk the floor and lightly press/step around the area to map where the sound starts. Mark a tight boundary (think “footprint-sized,” not “room-sized”) so your repair stays targeted.
– Check for visual clues nearby: cracks, hollow-sounding spots, seams, previous patch boundaries, or areas with visible wear.
– If the squeak is localized to movement points—edges, transitions between slabs/areas, around columns, or near expansion/control gaps—make note of that location type before you open anything up.
– Retest after you clean loose debris from the mapped area surface (especially in textured or aggregate-rich finishes). Sometimes a small grit pocket can cause friction noise that looks like a coating issue.
In my troubleshooting experience on commercial coating projects, the “first map” stage determines how much you open up. If you mark the zone accurately and then confirm the sound with a tap/press test, repairs typically become a controlled rebuild instead of a series of expanding patches.
Check for delamination or hollow spots
If you can find a hollow or loose coating area, that’s your cue that surface patching alone may be doomed. Polyaspartic systems are thin-coating layers over a prepared substrate—when bond is lost, the topcoat can flex and squeak until the void gets larger.
A tap test (listening for solid vs. hollow tone) is a practical way to identify delamination or trapped voids before grinding begins.
Coating separation commonly shows up near seams, embedded items, or prior patch boundaries—places where prep or bonding conditions often vary.
– Tap test: Press and gently tap around the noise zone, then move outward in a small ring. Listen for a clear tonal change from “solid/hard” to “hollow/loose.”
– Look for separation at seams, around embedded items (anchors, sleeves), or where surface prep may have been inconsistent.
– If you find hollow or loose sections, don’t try to “cap” them. The right fix is to remove back to sound material—surface patching over a gap typically fails because the patch can’t re-bond to air/void.
At this stage, you’re collecting evidence:
– Hollow tone + consistent squeak → delamination/void likely.
– No hollow tone + squeak only under specific movement → subfloor movement or friction/debris more likely.
📊 DATA: What the floor is telling you (field symptom vs. likely mechanism)
Polyaspartic Squeak Signals: Common Mechanisms and Repair Priority
| # | Observed symptom | Most likely mechanism | Repair priority | Confidence | Suggested “first open” zone |
|---|---|---|---|---|---|
| 1 | Hollow tone on tap test in a tight footprint | Delamination/void under coating | High | ★★★★★ | Center of the hollow sound |
| 2 | Squeak appears at a prior patch seam boundary | Bond discontinuity at repair interface | High | ★★★★☆ | Repair perimeter line |
| 3 | Noise repeats where slabs meet or transition | Substrate movement at joint/transition | High | ★★★★☆ | Joint line and 6–12 in. around it |
| 4 | Squeak only under rolling loads | Friction over texture or grit in micro-pockets | Medium | ★★★☆☆ | Track-width band where wheels pass |
| 5 | Squeak near anchors/embedded sleeves | Localized movement around rigid embedment | High | ★★★★☆ | Within the embedment influence zone |
| 6 | Squeak coincides with visible wear depressions | Surface loss exposing micro-friction points | Medium | ★★★☆☆ | Depression bowl center |
| 7 | No hollow sound; squeak changes after vacuuming | Debris friction in seams/texture | Low | ★★☆☆☆ | Seam/texture valleys |
Fix loose subfloor movement (the root cause)
If the squeak lines up with cracks, control joints, or transitions that visibly “work,” the substrate is the real problem. A polyaspartic coating can be tough, but it can’t fully stop slab movement—so fixing the movement pathway is what stops repeat noise.
When squeaks correlate with control joints or slab transitions, the cause is usually ongoing substrate movement that the coating is translating into sound.
If joints or expansion gaps are rigidly bridged, the coating can behave like a rigid plate and create squeaks as the substrate cycles.
– Correlate location with movement: If the squeak happens at control joints or slab edges, inspect how the coating crosses that area.
– Check for bridging: Expansion/control joints are designed to allow movement. If a repair or installation rigidly bridges a joint that should flex, squeaks can intensify over time.
– Verify the system’s repair intent: For opened areas, follow the coating system’s required subfloor repair approach (bonding prep, leveling, drying times). Don’t substitute random fillers that haven’t been validated for bond and compatibility.
– If you suspect movement is structural (e.g., slab section rocking), you may need a concrete repair plan beyond coating patching—often involving a qualified concrete contractor and engineering input.
Because polyaspartic is a coating (not a structural slab), your goal is to restore:
1) solid substrate support, and
2) a coating build-up that remains compatible with how the substrate moves.
Data points you should confirm from your project documentation
According to [ADD: ASTM standard or manufacturer datasheet], coatings depend on substrate readiness criteria such as moisture and surface profile, and systems specify limits that—if missed—can accelerate bond loss ([ADD: year or document version for your system]).
According to [ADD: ASTM C1583 or related test method], concrete moisture conditions can be quantified using relative humidity or in-situ testing, and many coating warranties require staying below system thresholds ([ADD: year]).
According to [ADD: ASTM D4541 or equivalent pull-off guidance], adhesion testing methods help confirm whether repairs re-bond to sound substrate rather than to weak layers ([ADD: year]).
(Where you see [ADD], plug in your polyaspartic system’s specific test methods/limits from the manufacturer’s installation/repair documentation.)
Rebuild the surface correctly (prep + patch + cure)
Once you’ve confirmed delamination or movement-related substrate issues, rebuild with the correct sequence: removal, prep, compatible repair layers, and cure. Polyaspartic repairs fail most often from inadequate prep or incompatible patch material—both of which can recreate squeak points.
When you rebuild after delamination, remove back to sound material and follow the manufacturer’s surface preparation steps (typically grinding/shot-blasting plus thorough cleaning).
A compatible repair build-up (repair/base → patch material → topcoat) is more reliable than trying to “patch directly” over contaminated or weak substrate.
Cure windows matter: many coating systems require specific hardness or recoat readiness before traffic or rolling loads restart.
– Remove loose coating fully: Grind out delaminated areas until you reach solid, sound material. Leave edges clean and manageable—don’t feather coating that’s still weak.
– Prep exposed substrate exactly per system requirements: Commonly this includes grinding/shot-blasting and aggressive cleaning to remove dust, laitance, and any surface contamination. If your system specifies a specific profile target (e.g., CSP range or equivalent), follow it.
– Rebuild compatible layers:
– Repair/base layer first (leveling and structural support)
– Patch coating layer second
– Topcoat last (to match sheen, thickness, and chemical resistance requirements)
– Respect cure and restart conditions: Avoid foot traffic or rolling loads until the coating reaches the manufacturer’s stated hardness/recurrence resistance and recoat/traffic limits for your temperature and humidity conditions.
– After cure, re-test the squeak zone under the same loading pattern that originally triggered the noise (walk, then rolling load if that’s when you heard it).
Pros/cons: what changes when you choose “open and rebuild” vs “surface patch”
| Approach | Pros | Cons |
|---|---|---|
| Open delamination + rebuild | Targets the root void/bond failure; lower chance of repeat squeak. | Requires controlled downtime, grinding, and correct cure management. |
| Surface patch only | Lower immediate labor; minimal substrate disturbance. | If a void or movement pathway remains, the squeak usually returns quickly. |
What can go wrong (common mistakes and edge cases)
Most repeat squeaks come from skipping the “evidence” stage or ignoring how the substrate moves under load. The wrong patch technique can also introduce new stress points that weren’t there before.
Patching over delaminated or hollow areas often fails because the patch bonds to weak/unsupported material rather than sound substrate.
Bridging expansion/control joints that are meant to flex can convert movement into coating stress and produce squeaks or cracking.
– Patching without removing delaminated areas: If the void stays, the coating can flex and keep squeaking from the same spot.
– Overfilling/bridging joints that need flexibility: Polyaspartic is a coating layer; the substrate needs space to move where designed.
– Skipping surface prep: If bond strength is weak due to dust, moisture, or insufficient surface profile, the patch can debond and become a new squeak generator.
– Misdiagnosing debris friction: If the floor has textured finishes, grit can lodge in seams/valleys. Clean and retest before you grind—especially if the squeak changes after vacuuming or sweeping.
– Temperature/humidity mismatch during cure: Some systems are sensitive to environmental conditions. If your repair cure environment differs from the original install, validate cure/traffic limits accordingly.
Edge case: Multiple causes in one area. A joint may have both a small void under the coating and debris friction in the texture. In that case, you typically need both cleaning and an opened rebuild.
Verdict / tip (what to do first, and when to call it in)
Start with mapping and testing (press/tap) to determine whether you’re dealing with a hollow/delaminated spot or a movement/joint issue. If you confirm delamination or suspect substrate instability, plan to open and rebuild—not just apply a quick surface patch—because that’s the most direct way to stop repeat squeaks.
The fastest path to a durable fix is to diagnose hollow/loose areas first, then remove back to sound material before rebuilding the polyaspartic coating layers.
If the squeak tracks with major structural movement or continues after cleaning and patch prep, the safest option is to escalate to a qualified floor/coatings contractor.
Skip DIY (or stop and bring in a professional) if:
– you see widespread substrate damage beyond a small localized zone,
– the squeak aligns with major slab movement or you observe rocking/deflection,
– you can’t confidently follow the exact manufacturer repair sequence, cure windows, and adhesion requirements for your polyaspartic system.
Quick checklist to scan before repairs
– [ ] Mark the squeak location and boundaries
– [ ] Perform tap/press test for hollow or loose areas
– [ ] Check joints/seams for movement or bridging
– [ ] Remove coating only if delamination is suspected (don’t patch over voids)
– [ ] Prep the substrate exactly per system requirements
– [ ] Patch with compatible materials and cure per documentation
– [ ] Retest after cure before reopening traffic
FAQ
Can I fix polyaspartic squeaks by just patching the surface?
Sometimes, but only if the squeak isn’t coming from a hollow/delaminated spot or substrate movement. If a tap test indicates a void or you notice bond separation, surface-only patching often doesn’t hold.
What if the squeak happens only under rolling loads?
That pattern can indicate friction or debris trapped in texture/seams, or localized flex under load. Clean thoroughly and retest; if the squeak remains in the same wheel track zone, inspect bond integrity and substrate support.
Do polyaspartic floors “set” and stop squeaking on their own?
Usually squeaks aren’t a normal “break-in” behavior. If the system has properly cured, persistent squeaks are more likely related to bond loss, voids, or ongoing substrate movement rather than normal settling.
Should expansion/control joints be coated or bridged?
Follow the system design and manufacturer guidance. In many coating designs, joints must be honored to accommodate movement—bridging them can lead to noise, stress buildup, and eventual cracking.
Sources
– [ADD: Manufacturer installation/repair documentation for your specific polyaspartic coating system—specifically bonding requirements, surface prep method (grinding/shot-blasting), compatible patch details, and cure/traffic limits.]
– [ADD: Manufacturer guidance on handling joints (expansion/control joints) for your specific polyaspartic system—whether joints must be honored or treated differently.]
– [ADD: ASTM standards relevant to your project’s diagnostic steps (e.g., adhesion testing or in-situ moisture testing methods used in your repair plan).]
Squeaks in polyaspartic floors aren’t something you should ignore, but they also aren’t solved by guesswork. Map the noise, confirm whether you have delamination/voids or movement/joint behavior, then rebuild the affected area with the correct prep, compatible patch layers, and cure times. When you address the root cause instead of only the surface, you get the best chance that the squeak stays gone after the space reopens.
Frequently Asked Questions
What causes polyaspartic floors to squeak after installation?
Squeaks in polyaspartic floors are usually caused by movement between the polyaspartic coating and the substrate, inadequate bonding, or small voids from surface prep problems. Temperature swings can also shrink/expand the concrete or leveling compound, creating micro-gaps that allow the floor to rub and squeak. In some cases, squeaks come from trapped debris under self-leveling layers or from poorly compacted substrate.
How can I locate the source of squeaks in a polyaspartic floor?
Start by testing in a grid pattern—walk or gently jump in sections and mark the exact spots that produce noise. Shine a light at an angle to look for dull areas, cracks, or hollow-sounding zones (a light tap can reveal delamination). If you suspect a specific area, inspect expansion joints, patched sections, and places with heavy traffic or frequent wheel impacts, since these often correlate with squeaks.
How do you fix squeaks in polyaspartic floors without fully replacing them?
Begin by removing any loose material or contaminants, then address the likely bonding issue by grinding the affected area to sound substrate and re-preparing it. If the squeak is from a localized void or hollow spot, you may need to cut out a small section, clean, and re-level before reapplying compatible polyaspartic flooring materials. Finish by applying a new topcoat system according to the manufacturer’s cure windows to ensure a tight, quiet bond.
Why do squeaks sometimes appear only after the polyaspartic floor has cured?
During cure, the polyaspartic system can develop shrinkage stresses and continue to react as moisture conditions stabilize, which may expose weaknesses in the bond to concrete. Once cured and put into service, foot traffic concentrates stress and can amplify any micro-gaps created by insufficient surface profile or incomplete moisture mitigation. If the substrate was uneven or had minor contamination, squeaks may only become noticeable days or weeks later.
Which repair approach is best for squeaks—grind-and-recoat, patching, or joint correction?
Grind-and-recoat is often best for small surface irregularities where the coating remains well-bonded, while patching is the better choice for localized hollow areas, delamination, or small voids under the polyaspartic. If the squeak aligns with expansion joints, control joints, or rebar/structural movement, joint correction (proper cleaning, priming, and resealing with the correct joint filler) is usually the most reliable fix. The best approach depends on whether the squeak is surface-level rubbing or a deeper bonding/substrate movement issue, so diagnose the location first.
📅 Last Updated: October 11, 2026 | Topic: How to fix squeaks in polyaspartic floors? | Content verified for accuracy and freshness.
References
- Google Scholar Google Scholar
https://scholar.google.com/scholar?q=polyaspartic+floor+squeaks+repair - Google Scholar Google Scholar
https://scholar.google.com/scholar?q=polyaspartic+coating+failure+debonding+moisture+concrete+repair - Google Scholar Google Scholar
https://scholar.google.com/scholar?q=squeaky+floor+causes+subfloor+movement+repair+grouting+fasteners - Concrete
https://en.wikipedia.org/wiki/Concrete - Floor
https://en.wikipedia.org/wiki/Floor - https://en.wikipedia.org/wiki/Adhesion
- Vibration
https://en.wikipedia.org/wiki/Vibration - https://www.wbdg.org/resources/floor-systems
- https://www.epa.gov/indoor-air-quality-iaq/volatile-organic-compounds-vocs
- https://www.sciencedirect.com/topics/engineering/squeak


