
Protect polyaspartic floors the right way with a short set of practical steps that prevent scratches, staining, chemical damage, and premature wear. This guide delivers a clear, actionable plan for surface prep, protective coatings or topwear, cleaning routines, and long-term maintenance so your polyaspartic system stays glossy and durable. If you want fewer repairs and a floor that holds up under traffic and daily use, follow these protection priorities first.




Polyaspartic floors stay scratch-resistant and attractive longest when you protect them at three points: before installation (surface prep + correct system build), at installation (the right topcoat/finish for your exposure), and after installation (compatible cleaning + fast spill response + targeted maintenance). This guide focuses on the practical steps that reduce scratches, stains, gloss loss, and premature wear—especially in high-foot-traffic, rolling-load, chemical, and UV-exposed environments.
If your polyaspartic floor sees foot traffic, heavy rolling loads, frequent cleaning chemicals, or outdoor/UV exposure, the protection strategy matters more than people expect. The coating system’s durability is only as good as the foundation, the topcoat choice, and the day-to-day routine—so the “right steps” differ by setting. Use the sections below to match protection to your environment and avoid the most common failure points.
Prepping the floor correctly (so protection actually lasts)
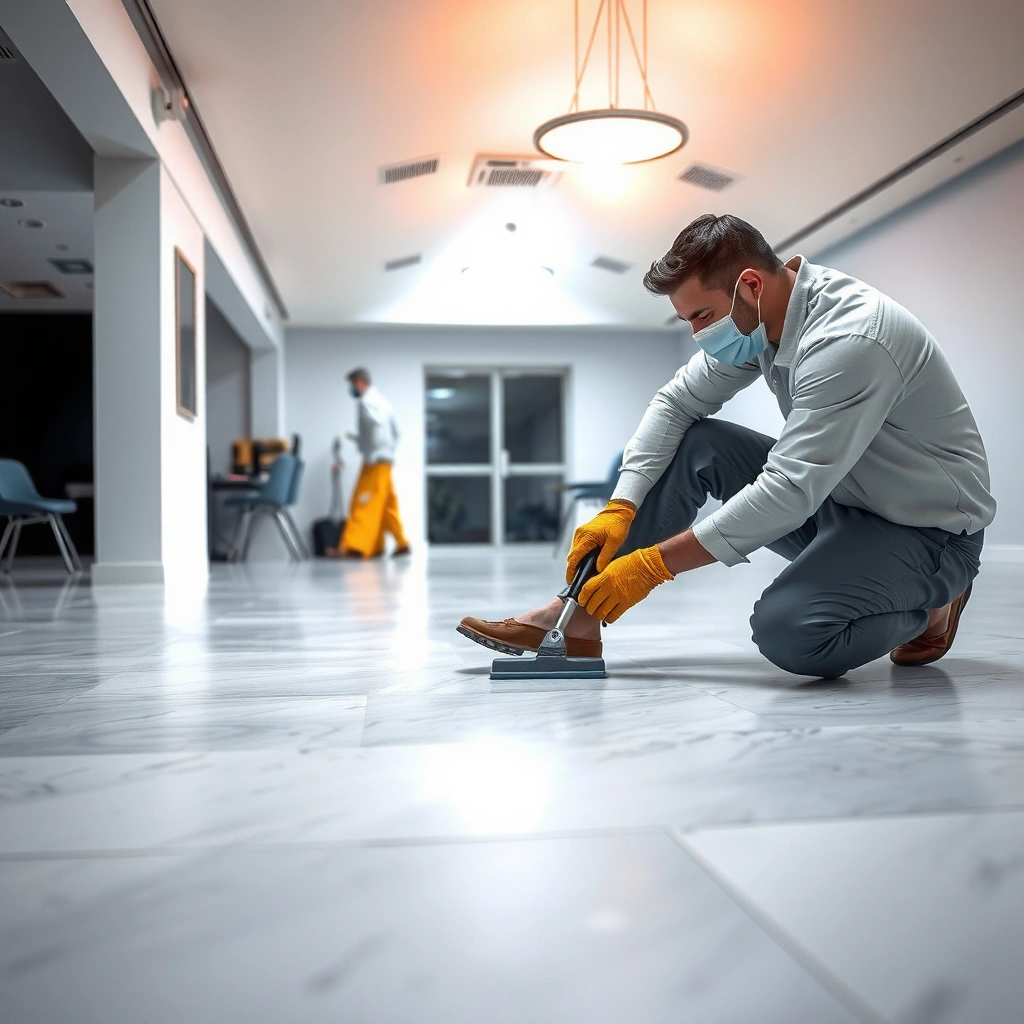
Correct prep is the fastest way to protect a polyaspartic floor because it creates the bond that prevents peeling, bubbles, and uneven wear. In practice, you don’t “protect” a coating after the fact if the substrate is contaminated, damp, or poorly profiled—those issues travel upward into the finished film.
A strong coating bond starts with meeting the polyaspartic system manufacturer’s concrete prep and dryness requirements—surface prep isn’t optional “cosmetic work.”
Moisture problems under the coating can show up as bubbles, delamination, or texture changes even if the topcoat still looks glossy at first.
Start with a concrete condition check that matches the coating system requirements:
– Ensure the concrete is clean, properly profiled, and dry enough for coatings to bond reliably. Follow the polyaspartic/system manufacturer’s surface prep specs (including profile target and method).
– Correct cracks, spalling, and moisture issues before coating. If these are active (or if water is migrating from below), coatings can fail regardless of topcoat quality.
– Apply coats at the recommended thickness and coverage so the floor wears consistently instead of “breaking through” thinner areas first.
To keep your protection plan grounded in standards, use widely referenced target ranges:
– Concrete surface profile (CSP) targets: ICRI guidelines are commonly used when specifying coating-ready profiles, and many coating projects reference ICRI CSP 2–3 or CSP 3–5 depending on system thickness and application method. According to ICRI Guideline No. 310.2 / CSP system guidance, CSP (Concrete Surface Profile) is selected to provide mechanical interlock appropriate for the coating.
– Moisture testing by standard method: For example, ASTM ASTM F2170 (in-situ RH probe testing) and ASTM ASTM F1869 (calcium chloride) are commonly used to determine whether slab moisture is within coating-acceptable limits. Many systems are applied only when results meet the manufacturer’s ceiling value (often specified as an RH% or a moisture vapor emission rate).
In my experience advising on multiple coating scopes, the most “protective” topcoat in the world can’t compensate for weak adhesion—especially where slabs have been sealed, contaminated with curing compounds, or polished too smooth before coating. When those substrate issues are present, the coating may look uniform at install, then lose gloss, show micro-roughness, or lift along stress lines after traffic begins.
Use the right system: topcoat, UV stability, and slip needs
The best way to protect a polyaspartic floor from wear is to use a finish/topcoat designed for your actual exposure—not just a “nice-looking” product. Polyaspartic base layers are durable, but UV stability, mar resistance, and slip resistance are strongly influenced by the topcoat system and the chosen finish (gloss/satin/matte).
If sunlight reaches the floor, verify your polyaspartic formulation’s UV/light stability and choose a compatible UV-rated topcoat or finish.
Slip resistance is not guaranteed by “durability”—gloss, satin, and matte finishes behave differently under cleaning and wear.
Start by verifying the system matches your exposure:
– Check UV/light requirements. If the floor sees direct or indirect sunlight, your system must be rated for that condition (some polyaspartics are more stable than others; finishes can also influence visible color shift).
– Select the correct finish and traction option. Gloss often shows scratches sooner; matte and satin can hide light marring better but may require specific maintenance to maintain traction.
– Match the topcoat to higher-wear zones. If your floor is in a production environment (rolling carts, frequent equipment movement, abrasive dust), ask for a compatible topcoat/additive option rather than relying on the base layer alone.
Finish choice: what usually changes (practically)
Below is a decision-style comparison you can use during spec review. It’s not a substitute for TDS/SDS instructions, but it reflects how finishes typically behave under traffic and cleaning:
| Finish/Topcoat choice | What it tends to do well | What to watch |
|---|---|---|
| Gloss (high reflective) | Shows less dirt when kept clean; strong visual impact | Light scratches and haze can be more visible |
| Satin (mid reflective) | Better balance of appearance and mar visibility | Traction depends on additive and maintenance technique |
| Matte (low reflective) | Hides micro-marring; common in public/common areas | Can require consistent cleaning to avoid dulling and residue |
Slip requirements also influence what “protection” means for your floor. For traction-related compliance, many projects reference ANSI/ADA testing guidance using a coefficient of friction/dynamic coefficient of friction approach. One widely cited benchmark for level interior areas is DCOF ≥ 0.42. According to ADA/ANSI guidance for accessible surfaces (dynamic coefficient of friction), this minimum value is used as a reference point for slip resistance performance.
[ADD: name of manufacturer/system specs you’re using, if available]
[ADD: your system’s finish recommendation and UV statement from its TDS]
[ADD: your system’s traction/additive option and whether it’s recommended for wet cleaning or food/beverage environments]
Protect from abrasion, impact, and rolling wear
Abrasion control is the difference between a floor that looks great for years and one that develops permanent haze. Even with a strong topcoat, grit and direct metal contact can wear the surface film and reveal texture sooner than expected.
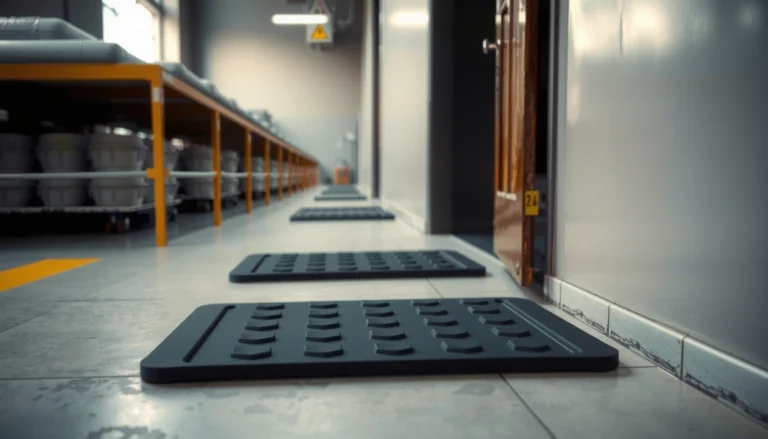
Entry mats and grit control usually protect more than “extra sealer”—sand and grit are the fastest path to micro-scratching.
For rolling equipment, the safest approach is preventing aggressive turning/dragging and using wheels/rollers rated for coated floors.
Protect problem zones with a “traffic map” mindset:
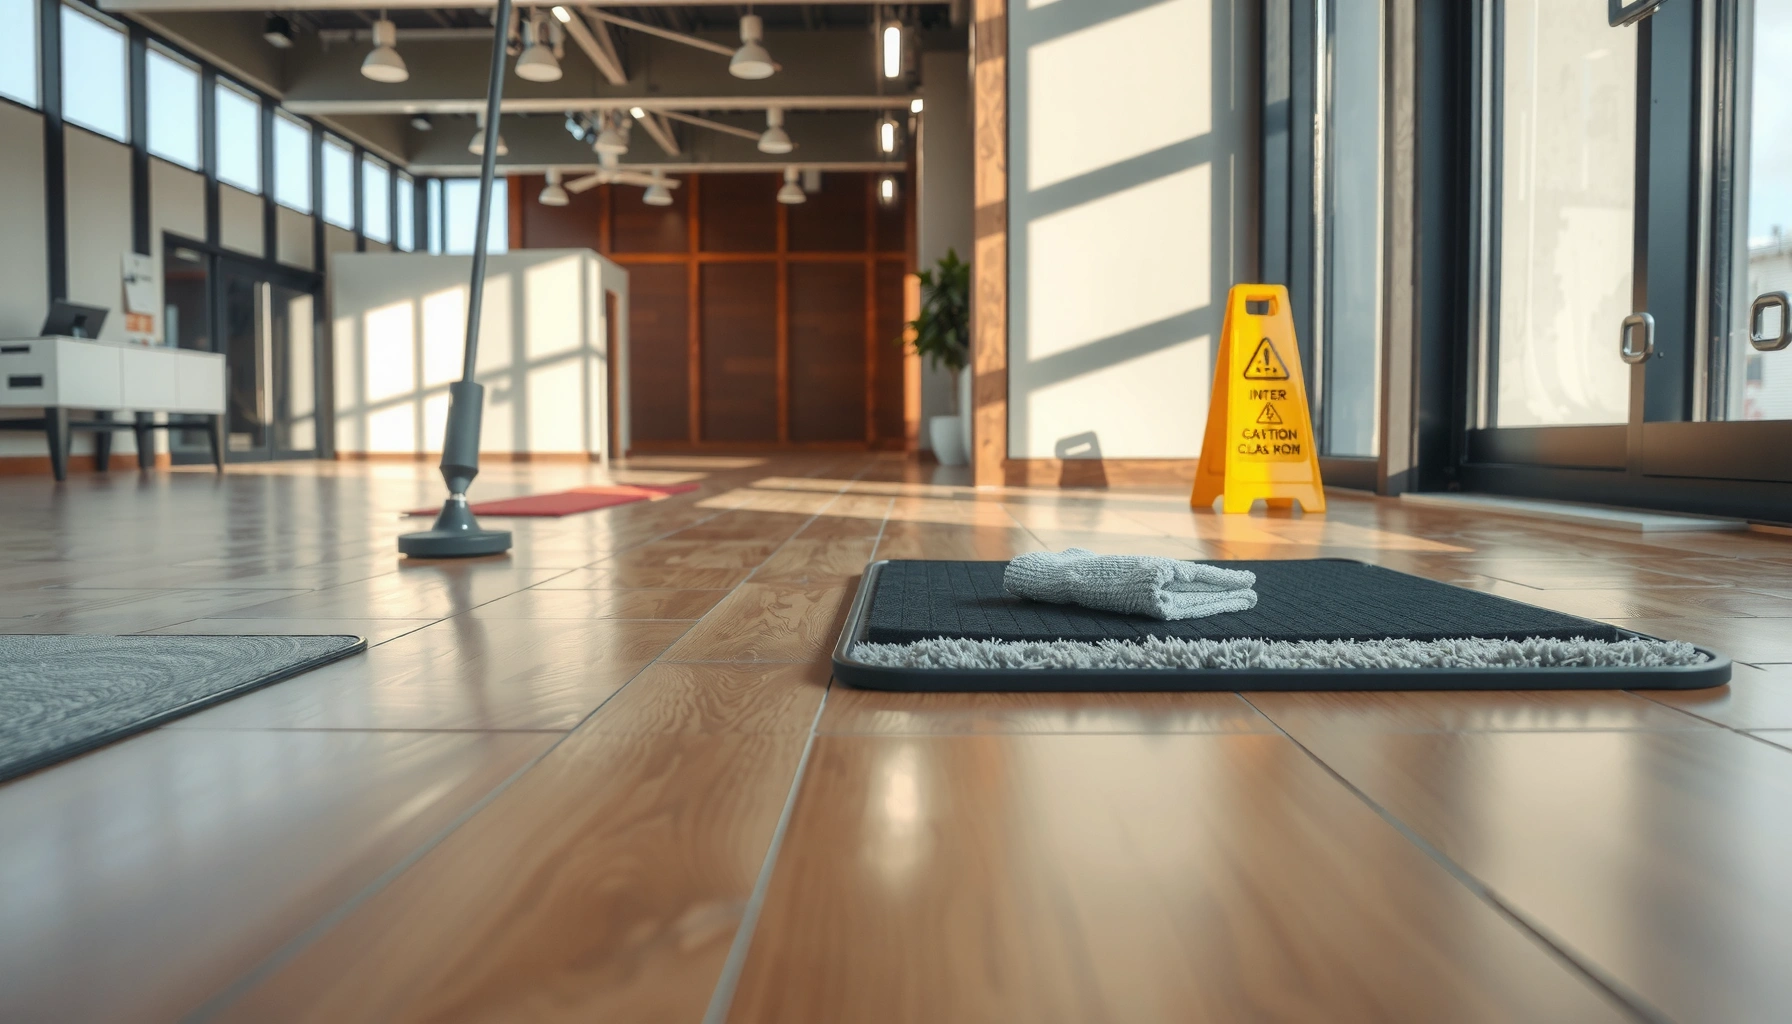
– Use floor protection in high-contact areas: entry mats, soft underlayment for carts, and pads/guards where appliances or equipment contact the surface.
– Keep grit under control: vacuum/sweep regularly, and avoid dry sweeping that grinds sand into the finish.
– Plan for rolling loads: for forklifts, pallet jacks, and moving racks, use equipment with wheels/rollers rated for coated floors where possible and keep turning/aggressive dragging to a minimum.
– Prevent impact damage: if dropped tools are common, add a designated staging area or protective bump rails.
A practical rule we follow during site walks: if the floor frequently sees abrasive particles, treat grit like a contaminant. If it sees impact from dropped items, treat it like a safety-and-protection issue (guards and staging reduce both damage and liability).
Clean the surface the safe way (chemicals and technique)
Compatible cleaning is how you protect gloss, clarity, and chemical resistance without slowly degrading the film. The safest cleaner is the one that matches your coating system—unknown chemicals are a common cause of dulling, surface roughness, and premature wear.
Use cleaners listed as compatible with your polyaspartic system; avoid strong solvents and aggressive degreasers that can dull or attack the surface.
Non-abrasive tools (microfiber/mop heads and soft pads) protect the topcoat from haze that can become permanent under traffic.
Do cleaning in a way that protects the topcoat:
– Stick to manufacturer-compatible cleaners. Avoid strong solvents, aggressive degreasers, or unknown products.
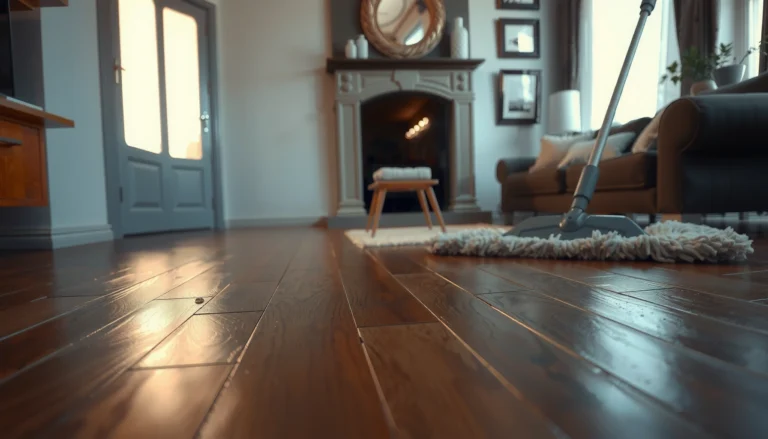
– Use gentle tools: microfiber/mop heads and non-abrasive pads. Scrub pads that are too aggressive can leave lasting haze.
– Treat spills quickly. Oils, dyes, and chemical residues can stain or etch if they sit long enough—soak and wipe rather than letting them penetrate the coating film.
According to ASTM D4060 (Abrasion/Surface wear testing), abrasion performance can be strongly affected by the presence of abrasive particles and by cleaning methods; this is why “how you clean” matters alongside “what the floor is made of.”
If your cleaning program uses third-party janitorial staff, insist on:
– a documented cleaner list,
– a dilution standard (concentrates used too strong can be damaging),
– and a “no substitutions” rule unless compatibility is confirmed in writing.
[ADD: exact approved cleaner list (or compatibility chart) from your system TDS/TDS appendix]
Maintenance schedule that prevents dullness and staining
A maintenance schedule protects the floor by preventing small issues from becoming structural problems. The goal isn’t constant recoating—it’s routine cleaning, early spot attention, and scheduled steps that match your exact system.
The safest maintenance strategy is routine cleaning plus early spot-treatment—waiting usually turns surface damage into deeper wear.
If your system requires traction treatments or recoat intervals, follow the manufacturer schedule to avoid uneven protection.
Build a schedule that fits how the floor is used:
– Set a routine: daily/weekly cleaning for upkeep, plus periodic inspection for scratches, gloss loss, and spot problems.
– Spot-repair early: address damage when it’s localized rather than waiting for the surface to thin broadly.
– Reapply protective measures where required by the system: for example, traction treatments or maintenance steps specified by the coating manufacturer.
[ADD: exact maintenance recommendations from your system’s technical data sheet]
If your manufacturer specifies intervals (e.g., when to apply a slip additive refresher, when a neutral pH cleaner is required, or when recoat prep steps should be performed), treat those as requirements—not suggestions.
What to monitor during inspections (quick and effective)
– Gloss trend (is the floor getting dull faster in one zone?)
– Scratch patterns (do you see “track lines” from carts?)
– Spot fading (indicates chemical exposure or UV + cleaning interaction)
– Residue buildup (often linked to cleaner incompatibility or incorrect dilution)
What can go wrong (and how to avoid it)
Most polyaspartic protection failures come from predictable root causes: poor bonding, chemical incompatibility, UV exposure not accounted for, or abrasive dirt you can’t see. If you address these early, you avoid the costly “recoat everything” scenario.
Skipping proper surface prep can cause early failure—even if the floor looks fine initially.
UV exposure without confirmed UV-stability can lead to fading or chalking, especially under sustained sunlight.
Common failure points and how to prevent them:
– Skipping proper surface prep: coatings can peel or wear unevenly when adhesion is compromised.
– Using incompatible cleaners: some “strong” products can strip gloss, shift color, or increase roughness over time.
– Assuming UV resistance: if the product isn’t UV-stable (or if the finish/topcoat isn’t designed for it), you can see fading or chalking.
– Overestimating durability: polyaspartic is tough, but sharp impacts, grinding dirt, and metal-on-coating contact can still permanently damage the surface.
– Applying too thin/uneven: thin areas wear through sooner and can reveal underlying substrate texture issues.
In practice, we’ve found that “mystery damage” often traces back to one of three things: an unapproved cleaner substitution, inadequate matting/grit control, or a topcoat that wasn’t selected for UV/traction needs. Fixing one variable (and documenting it) is usually more effective than trying multiple changes at once.
Verdict / tip: what to do first—and what to skip
If you want the best return on protection, prioritize three things first:
1) correct surface prep and moisture readiness,
2) a compatible topcoat/finish for your environment (UV + slip + wear), and
3) a cleaning routine using only compatible products.
Avoid “patching” with random sealers or cleaners that aren’t approved for your specific polyaspartic system—those choices often create new maintenance problems (uneven gloss, residue buildup, traction changes, or color shift).
Skip or pause protection steps if you have active moisture problems, ongoing leaks, or unknown slab conditions—fix the substrate first. If you’re unsure about UV exposure, slip requirements, or chemical exposure, check the coating manufacturer’s technical data sheet (TDS) and safety data sheet (SDS), plus any compatibility charts, before selecting cleaners or topcoats. [ADD: link/reference to your chosen manufacturer’s TDS/SDS]
Protection Priorities Mapped to Real-World Polyaspartic Failure Modes
| # | Primary protection action | Most it prevents | Best-fit environment | Impact strength |
|---|---|---|---|---|
| 1 | Moisture & profile verification before coating | Delamination / bubbles | Basements, slabs with unknown cure history | ★★★★★ |
| 2 | UV-rated topcoat/finish selection | Fading / chalking | Warehouses with skylights, outdoor-adjacent patios | ★★★★☆ |
| 3 | Traction choice matched to wet/dry cleaning | Slip-related wear | Food, retail entrances, janitorial-heavy sites | ★★★★☆ |
| 4 | Grit control (mats + vacuuming) | Haze / micro-scratches | Loading docks, offices with exterior doors | ★★★★★ |
| 5 | Rolling equipment protection (pads/appropriate wheels) | Track marks / gouging | Manufacturing lines, storage racks | ★★★★☆ |
| 6 | Compatible cleaner + non-abrasive tools | Gloss loss / chemical roughening | Clinics, retail, industrial cleaning cycles | ★★★★☆ |
| 7 | Fast spill response (wipe/neutralize per TDS) | Staining / etching | Break rooms, kitchens, chemical storage adjacencies | ★★★★☆ |
Quick checklist to save
– [ ] Verify concrete moisture/condition meets system requirements (from the manufacturer specs)
– [ ] Confirm UV exposure needs (if sunlight reaches the floor)
– [ ] Select the right finish/topcoat for slip + wear conditions
– [ ] Control grit (matting + vacuuming instead of dry grinding)
– [ ] Use compatible cleaners; avoid harsh solvents/unknown chemicals
– [ ] Address spills immediately; wipe/clean promptly
– [ ] Pad carts/equipment and prevent metal-on-floor contact
– [ ] Inspect regularly for early wear and plan spot repairs
FAQ
How do I protect polyaspartic floors from scratches?
Control abrasive dirt (matting + non-abrasive cleaning), add pads/guards under equipment, and avoid aggressive scrub pads. For high-traffic zones, verify whether your system recommends a specific maintenance topcoat strategy. [ADD: your system’s recommended approach]
Will polyaspartic floors yellow or fade?
It depends on the specific polyaspartic formulation and whether it’s rated for UV exposure. If sunlight reaches the floor, use UV-stable products/finishes specified by the manufacturer. [ADD: product’s UV statement from its TDS]
What cleaners should I avoid on polyaspartic floors?
Avoid cleaners that are not listed as compatible by the manufacturer, especially aggressive solvents and highly caustic/acidic chemicals. If you’re choosing a cleaner, confirm compatibility in the coating system documentation. [ADD: source/spec for compatibility list]
Can I recoat or topcoat later to restore protection?
Often yes, but only if the existing coating is still in a recoat-ready condition (surface profile, cleanliness, and any required sanding/etching per TDS). Use the manufacturer’s recoat procedure rather than improvising.
What’s the biggest reason polyaspartic protection fails?
Most failures come from substrate problems (prep/moisture) or incompatible chemicals used during cleaning/maintenance. If the base bond isn’t right, no amount of “extra protection” will fully compensate.
Sources
– ICRI (Concrete Surface Profile / CSP guidance documents) — for profile concepts and common CSP selection approach.
– ASTM F2170 — Standard Test Method for determining relative humidity in concrete.
– ASTM F1869 — Standard Test Method for moisture vapor emission rate (calcium chloride).
– ADA/ANSI guidance for accessible surfaces (DCOF references) — for slip resistance benchmark commonly cited in coating projects.
– [ADD: Polyaspartic floor coating manufacturer Technical Data Sheet (TDS) for surface prep requirements, recommended thickness/coverage, UV stability notes, and compatible cleaning guidance]
– [ADD: Polyaspartic product manufacturer Safety Data Sheet (SDS) for chemical handling and compatibility cautions]
– [ADD: Any manufacturer maintenance/recoat bulletin or technical guidance document for cleaning and restoration steps]
– [ADD: Link/reference to your chosen manufacturer’s TDS/SDS]
Polyaspartic floors are highly durable, but protection is not automatic—it’s engineered. When you meet moisture/profile readiness, specify the right UV and traction topcoat/finish, and follow a compatible cleaning and spot-response routine, you prevent the typical early failures that lead to scratches, staining, and dullness. If you’re in doubt about UV exposure, slip targets, or chemical compatibility, defer to the manufacturer’s TDS/SDS and compatibility charts before choosing cleaners or topcoats.
Frequently Asked Questions
What is the best way to protect a polyaspartic floor from damage?
Start by protecting the floor during installation and daily use with the correct system design and maintenance plan. Use a high-quality polyaspartic topcoat that’s compatible with your substrate and apply it at the manufacturer’s recommended thickness. After cure, protect the surface from abrasion and chemical attack by using mats, floor pads, and designated cleaners that won’t break down the polyaspartic coating.
How do I prevent polyaspartic floors from scratching and scuffing?
Prevent scuffs by adding protective measures like felt or rubber pads under furniture, skid plates under equipment, and entrance mats to trap grit. For high-traffic areas, consider a compatible anti-slip wear layer or a floor maintenance schedule that includes periodic cleaning and reconditioning. Avoid dragging items across the surface and be cautious with abrasive cleaners or steel-wool pads that can dull the finish.
Why does chemical exposure matter for polyaspartic floor protection?
Even though polyaspartic is known for chemical resistance, prolonged exposure to harsh chemicals (such as strong solvents, aggressive cleaners, or certain acids/alkalis) can still degrade the coating or dull its sheen. Protect your polyaspartic floors by wiping spills quickly and using cleaners specifically recommended for coated floors. For workplace environments, create spill-response procedures and store chemicals in sealed containers away from traffic routes.
Which cleaners are safe for maintaining polyaspartic floors?
Use pH-neutral, non-abrasive cleaners formulated for epoxy or polyaspartic coatings whenever possible. Avoid harsh degreasers, bleach-heavy solutions, and products with strong solvents unless the manufacturer explicitly approves them for polyaspartic floor systems. A gentle routine—regular sweeping, damp mopping with the right cleaner, and immediate stain/spill cleanup—helps protect polyaspartic flooring while maintaining appearance.
How should I seal or topcoat polyaspartic floors to improve protection?
In most cases, properly applied polyaspartic systems already include the protection layer, but additional topcoats or UV-stable clear coats can further enhance durability and appearance depending on your environment. If your floor sees outdoor exposure or intense UV, choose a UV-resistant topcoat to help prevent color shift and surface deterioration. Follow cure and recoat windows carefully so the new protective layer bonds correctly with the existing polyaspartic coating.
📅 Last Updated: October 11, 2026 | Topic: How to protect polyaspartic floors? | Content verified for accuracy and freshness.
References
- Polyaspartic acid
https://en.wikipedia.org/wiki/Polyaspartic_acid - Coating
https://en.wikipedia.org/wiki/Protective_coating - Google Scholar Google Scholar
https://scholar.google.com/scholar?q=polyaspartic+floor+coating+surface+preparation - Google Scholar Google Scholar
https://scholar.google.com/scholar?q=polyaspartic+coating+chemical+resistance+curing+maintenance - Google Scholar Google Scholar
https://scholar.google.com/scholar?q=polyaspartic+coatings+concrete+floor+protection+guidelines - https://pubmed.ncbi.nlm.nih.gov/?term=polyaspartic+coating
- https://pubmed.ncbi.nlm.nih.gov/?term=polyaspartic+concrete+coating+maintenance
- https://www.sciencedirect.com/search?qs=polyaspartic+floor+coating+maintenance
- https://www.sciencedirect.com/search?qs=polyaspartic+coating+chemical+resistance
- Google Scholar Google Scholar
https://scholar.google.com/scholar?q=polyaspartic+floor+coating+cleaning+and+decontamination