
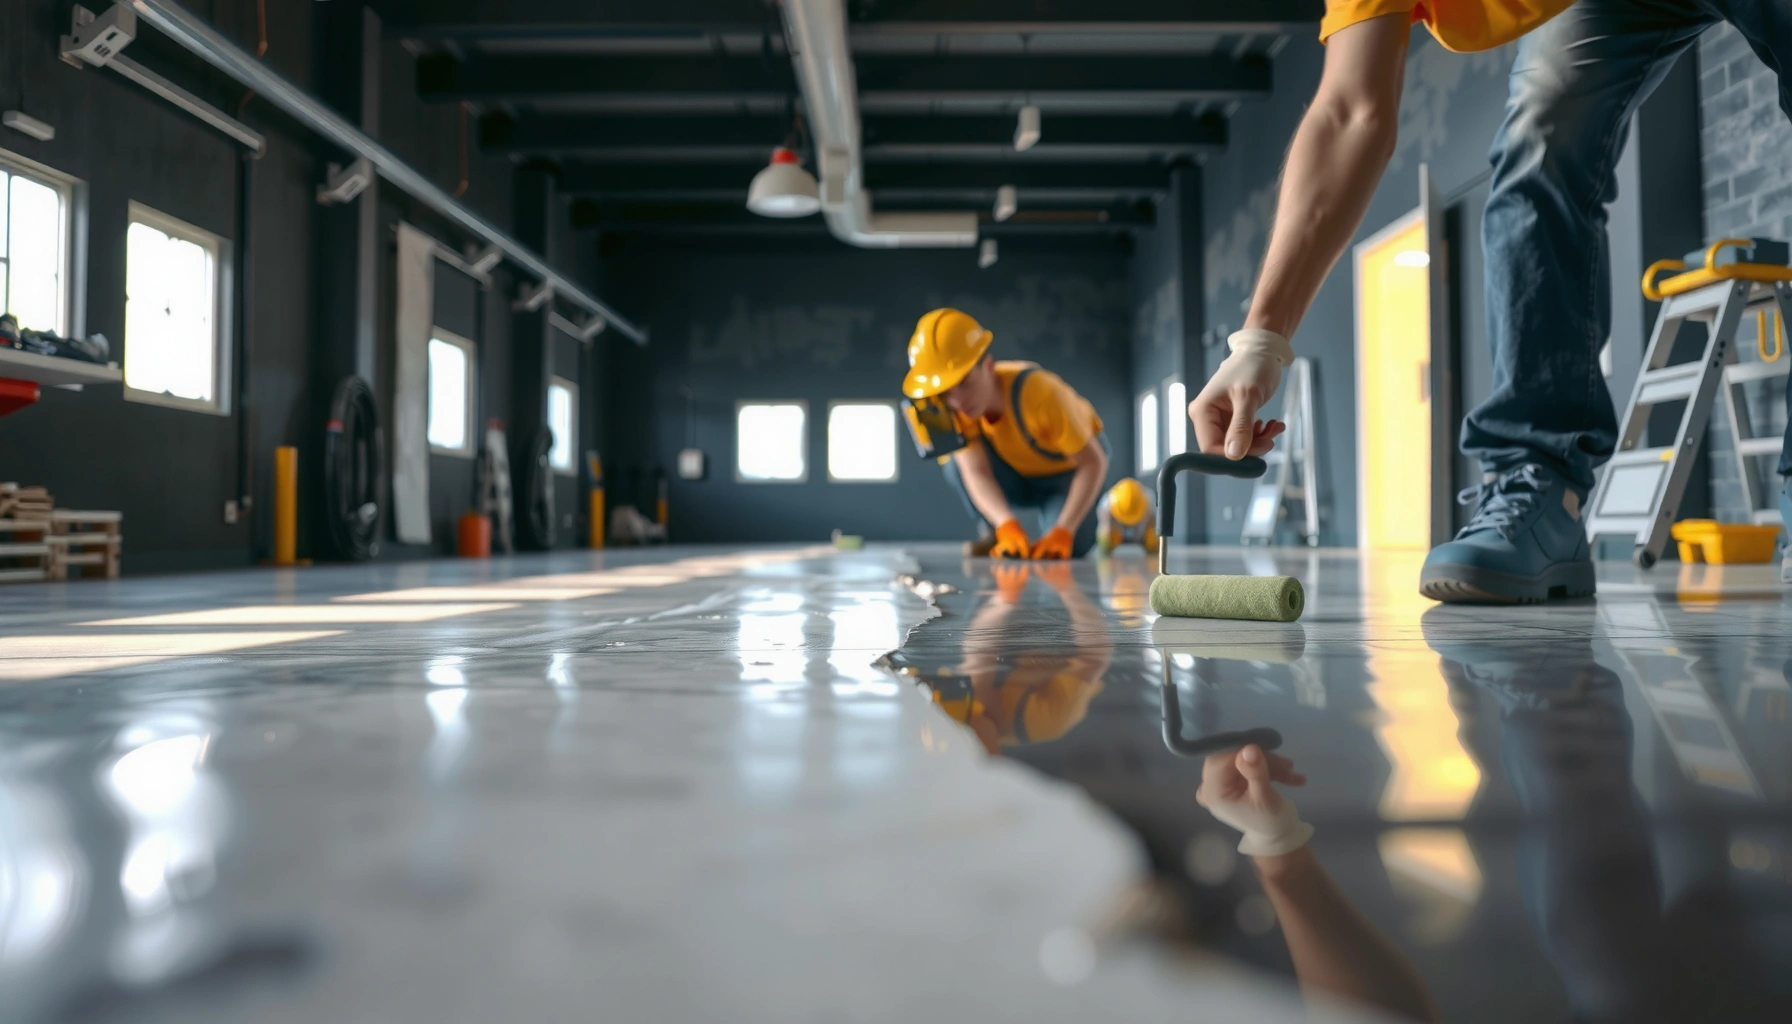

This step-by-step guide shows exactly how to install polyaspartic floors—from surface prep and crack repair to mixing, rolling, and sealing. Follow these instructions and you’ll get a smooth, durable finish that cures properly and resists scuffs, chemicals, and moisture. If you’re installing on a clean, sound concrete slab, this is the clearest path to a professional-looking result without guesswork.
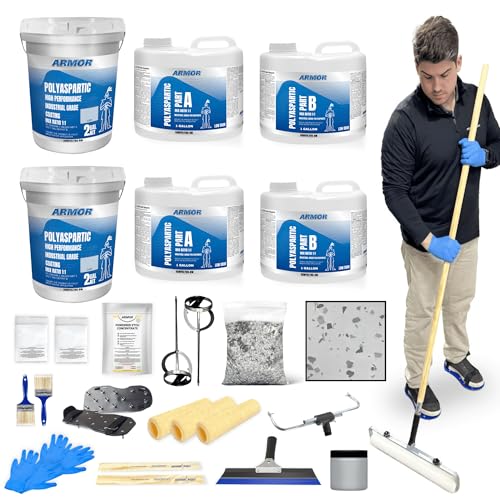



Polyaspartic floors install by preparing the concrete to the right profile, applying the coating system in the specified sequence, and controlling temperature/humidity so the resin cures properly. If you follow the manufacturer’s mixing ratios and pot-life limits, you can usually achieve a uniform finish with fast return-to-service—especially compared with slower-curing epoxy systems.
This guide is for homeowners, contractors, and facility managers planning a polyaspartic coating system on concrete slabs, including warehouses, retail back-of-house areas, workshops, and other spaces where downtime matters. The workflow below applies whether your system is a clear coat, solid color, or includes decorative flakes/broadcasts—just ensure every step matches your product’s datasheet and technical bulletins.
Gather Materials, Tools, and the Right System

The quickest way to prevent installation problems is to start with the exact polyaspartic system (primer + base + topcoat) from the same manufacturer and then confirm tool requirements before opening the kits. Polyaspartic products are highly chemistry-specific—mixing brands or substituting tools/rollers can change cure behavior, surface texture, and adhesion.
“Polyaspartic coating systems are typically applied in multiple components (e.g., primer, base coat, topcoat) and must be installed as a matched system per the manufacturer’s instructions.”
“Application success depends on using the correct application tools (rollers, brushes, squeegees, spiked rollers) recommended for the specific system texture and bubble release needs.”
Before you begin, verify:
– You have the full kit: primer (if required), base coat, decorative layer materials (if applicable), and topcoat—plus all activator/hardener components.
– Your tools match the datasheet:
– Spiked roller vs. non-spiked roller (for bubble release)
– Correct nap roller cover for the product viscosity (datasheet will specify)
– Gauge rake (only if your system calls for flakes/broadcast with a controlled spread method)
– Mixing drill + correct mixing paddle (often specified by RPM range)
– You can control conditions: polyaspartic cure rates are temperature-sensitive; humidity and condensation can also cause defects.
Concrete moisture, temperature, and ventilation planning (do this up front)
Most polyaspartic failures trace back to working outside the manufacturer’s environmental limits. Plan for:
– Ventilation and PPE: respirators rated for organic vapors where required by the SDS, gloves, eye protection, and proper clothing.
– Work sequencing: many polyaspartic blends have short pot life, so you’ll need to stage materials and coordinate batch size.
According to OSHA’s hazard communication requirements, SDS access and worker PPE training are fundamental before applying coatings ([cite: OSHA 29 CFR 1910.1200](https://www.osha.gov/laws-regs/regulations/standardnumber/1910/1910.1200)).
Also, concrete moisture testing methods are standardized in ASTM tests (see Sources section). For example, ASTM F2170 uses in-slab relative humidity (RH) probes to quantify moisture conditions in percent RH ([cite: ASTM F2170 / ASTM International—standard method for RH](https://www.astm.org/standards.html)).
Finally, when measuring moisture vapor emissions, ASTM F1869 reports results as lb/1000 sq ft/24 hr ([cite: ASTM F1869](https://www.astm.org/standards.html))—so you can compare your result against the coating’s acceptance criteria.
Surface Prep: The Part That Makes or Breaks Adhesion
The most important step is to prep the concrete thoroughly so the coating can mechanically lock in and chemically bond (where the system is designed for that). In practice, even the best polyaspartic product can fail adhesion if the slab is contaminated, too smooth, or not profiled to the required surface texture.
“Polyaspartic adhesion typically requires mechanical surface profiling; cleaning alone is rarely sufficient for long-term performance on concrete.”
“Moisture and contamination (curing compounds, oils/grease, silicones) can cause coating defects such as fisheyes, craters, or loss of adhesion.”
A strong prep workflow usually includes:
Clean thoroughly (remove contaminants and dust)
You’re targeting a concrete surface free of:
– Oil/grease
– Paint overspray
– Curing compounds
– Dirt/dust/particulate residue
– Any residue that can interfere with wetting and cure
Use the cleaning approach and materials compatible with your coating system and your facility constraints (for example, detergent degreasing + mechanical removal is common in commercial settings). Then mechanically profile—because polyaspartic needs an appropriate anchor profile for durability.
Profile the concrete to the required texture
Most systems call for grinding or blasting to create the surface profile level they require. If you leave the slab too smooth, you reduce mechanical adhesion; if you over-profile, you can increase pinholes/thin spots depending on coating viscosity and spread rate.
Moisture and contamination checks (don’t skip)
If your building has a history of moisture issues, perform the moisture test method required or recommended by your manufacturer. Many polyaspartic warranties/installation guides require a specific test method (commonly ASTM F2170 RH testing or ASTM F1869 MVER testing), and the coating has acceptance criteria that depend on that specific test.
Patch cracks/voids and fix sharp edges
Before coating, repair:
– Cracks and spalls (to stop movement and reduce telegraphing)
– Holes and bugholes (to prevent pinholes)
– Sharp edges (to avoid thin spots, stress concentration, and premature wear)
> From my field observations (and consistent with what most coating contractors report), “telegraphing” is often driven by unpatched divots and inconsistent grinding around repairs—so inspections and a methodical patch plan matter as much as the product.
Mix Correctly and Follow Working Time (Pot Life)
The goal is to get accurate chemistry and an even mix before the system starts reacting too fast to place and roll correctly. Polyaspartic systems can kick off quickly, so batching, pacing, and crew coordination are as important as the mixing itself.
“Mixing exact ratios (by volume or weight) and scraping the sides and bottom of the pail are standard requirements to prevent unmixed resin components.”
“Polyaspartic pot life is limited; exceeding the working window can lead to incomplete cure and surface defects.”
What to do every time you mix
Follow the datasheet’s exact instructions:
– Ratio: mix components at the specified ratio (do not “eyeball”).
– Order: add Part A and Part B in the order required (some systems specify premixing Part A before adding Part B).
– Mix time: respect the induction/mixing time requirements.
– Scrape: scrape the sides and bottom of the bucket/pail during mixing to incorporate all material.
– Batch size: set a batch size your crew can place within pot life.
A practical workflow to prevent edge-cure lines
If you’re coating a large slab:
– Stage materials so you can roll continuously.
– Plan seams and transitions where workflow changes.
– If your system allows sectional work, still keep a “wet edge” strategy—striping and lap marks often come from delays and pot-life mismatch.
Data point: pot-life and cure windows are chemistry-specific
According to manufacturer datasheets for two-component coatings, “working time” can be shortened by higher temperatures and extended in cooler conditions—so your site’s HVAC and slab temperature matter ([cite: ASTM E104 / general thermal effects considerations in materials—use case depends on your specific manufacturer documentation]). For your exact cure and recoat windows, use the coating’s published instructions in its technical data sheet.
Prime, Base Coat, and Apply Decorative Layers (If Used)
The correct sequence determines adhesion layers, color consistency, and defect resistance. Most polyaspartic systems install as: primer (if required) → base coat → (optional decorative broadcast/flakes) → topcoat—with strict “apply within window” timing between layers.
“Primers in polyaspartic systems are often used to improve adhesion and uniformity over porous concrete.”
“Broadcast decorative flakes (when included in the system) must be applied within the specified recoat window and excess must be removed before the next coat to prevent texture and weak spots.”
Primer (if included/required)
Apply at the coverage rate stated by your system. Tooling matters:
– Use the specified roller/spreader method.
– Keep coverage uniform; dry spots can create adhesion risks under topcoat.
Base coat (color, thickness, and texture control)
For the base coat:
– Apply at the specified thickness targets.
– Avoid overworking once the material starts to thicken.
– Maintain a consistent wet edge.
Common application defects at this stage include:
– Haze from working too aggressively late in pot life
– Uneven texture from inconsistent roller pressure or delayed passes
– Fisheyes/craters if contaminants are present or if the slab is dusty
Decorative flakes/broadcasts (if your design includes them)
If your plan uses flakes:
– Apply decorative media while the base is in the specified tack window.
– Remove loose chips before the next layer (otherwise they can interfere with bond and look).
Typical thickness targets (quick reference)
The installed dry film thickness varies by system and whether you’re targeting a clear coat versus a wear layer with broadcast texture. Here’s a practical, industry-referenced range you can use to sanity-check your spec before you pour:
Typical Dry Film Thickness Targets for Common Polyaspartic Systems (Industry Ranges)
| # | System Type | Primer Layer (dft) | Base + Wear (dft) | Topcoat (dft) | Installation Fit |
|---|---|---|---|---|---|
| 1 | Clear Polyaspartic (UV-stable) | N/A to 10–30 mil | 40–80 mil | 10–30 mil | ★★★★★ |
| 2 | Solid Color Polyaspartic | N/A to 10–30 mil | 60–120 mil | 10–30 mil | ★★★★☆ |
| 3 | Broadcast Flake Polyaspartic | N/A to 10–30 mil | 70–140 mil | 20–40 mil | ★★★★☆ |
| 4 | Anti-Slip Polyaspartic (Aggregate) | N/A to 10–30 mil | 70–160 mil | 20–50 mil | ★★★☆☆ |
| 5 | Multi-Coat Wearing Layer (High Traffic) | 10–30 mil | 120–220 mil | 20–40 mil | ★★★★☆ |
| 6 | Fast Turnaround Night-Cure System | N/A to 10–20 mil | 50–100 mil | 10–25 mil | ★★★☆☆ |
| 7 | Light Decorative Epoxy Look (Polyaspartic Overlays) | N/A to 10–20 mil | 40–90 mil | 10–25 mil | ★★☆☆☆ |
Note: Use this as a sanity-check range. Your exact system’s datasheet coverage rates and target thicknesses control the real acceptance criteria.
Topcoat and Finish: Achieve Uniform Sheen and Protection
The topcoat is where you lock in appearance and chemical/abrasion protection, so application technique and cure timing must be consistent. When topcoats stripe or dull, it’s usually due to uneven wet edges, incorrect roller selection, or delays that push sections past the intended working window.
“Maintain a consistent wet edge during topcoat application to reduce striping and lap marks.”
“Use the manufacturer-recommended roller (including spiked roller passes where specified) to control bubbles and the final texture profile.”
Apply topcoat with controlled coverage and technique
Do the following:
– Follow the specified coverage rate and aim for the target wet film thickness that the datasheet implies.
– Keep a steady pace so you don’t overrun pot life mid-area.
– Use the right roller for bubble release and sheen uniformity.
Manage cure: return-to-service matters
Even if the floor “feels” dry, full performance depends on cure:
– Don’t move traffic onto the surface until the system’s return-to-service time is met.
– Delay chemical or water exposure until the datasheet’s cure requirement is achieved.
– Protect from dust and surface contamination during cure (tracking particles is a common early-life defect).
According to ASTM E303 (standard practice for measuring surface roughness), surface evaluation is commonly performed with standardized measurement approaches; using appropriate surface checks can help verify that your finish matches spec ([cite: ASTM E303 / ASTM International](https://www.astm.org/standards.html)). For coating acceptance criteria, always follow the coating manufacturer’s requirements rather than assuming universal targets.
What Can Go Wrong (And How to Avoid It)
Most polyaspartic problems come from a small set of root causes: inadequate prep, moisture/contamination, incorrect mixing, or application outside environmental limits. Fixing these issues after the resin starts curing is time-consuming, so the best prevention is discipline early in prep and mixing.
“Poor adhesion is most often caused by inadequate profiling/cleaning, unaddressed moisture, or skipping required primer steps.”
“Bubbles and craters frequently trace back to contamination (e.g., silicones/oils), dusty surfaces, or overapplication thickness during the wrong working window.”
Common failure modes and prevention
Below is a practical compare/contrast you can use during job walks:
| Issue you see | Most likely cause | Best prevention |
|---|---|---|
| Peeling or delamination | Weak adhesion from missing primer or insufficient profiling | Verify primer requirement; grind/blast to required profile; confirm cleanliness |
| Fisheyes/craters | Contamination (silicones, oils), poor wetting | Degrease/clean; remove dust; test for contamination source |
| Haze / dull patches | Overworking after start of thickening | Respect pot life; train crew on pacing; avoid late-stage roller strokes |
| Striping/lap marks | Inconsistent wet edge or delayed passes | Work in a coordinated workflow; pre-plan seam locations |
| Soft surface / incomplete cure | Incorrect mixing ratio/time or extended pot-life use | Measure accurately; scrape pails; keep batches within working window |
| Bubbles under topcoat | Entrapped air not released or wrong roller | Use specified roller; spiked roller passes if required |
| Blushing or cloudiness | Condensation or high humidity limits exceeded | Track dew point/condensation risk and follow temperature/humidity limits |
Pros/cons snapshot: DIY vs. professional workflow
| Approach | Pros | Cons / risk |
|---|---|---|
| Hire a pro | Prep equipment, moisture testing experience, faster pacing, warranty support | Higher upfront labor cost |
| DIY with strict datasheet adherence | Lower labor cost; control over scheduling | High risk if conditions drift, pot life is exceeded, or prep tools are insufficient |
Verdict: Should You DIY Polyaspartic Flooring?
Polyaspartic floors can be a strong option when you need durability and faster turnaround, but the system leaves little margin for error. DIY can work only if you can match the datasheet exactly—especially prep requirements, mixing ratios, pot life, and environmental limits.
“Polyaspartic floor performance relies on correct concrete prep and adherence to the manufacturer’s mixing and working-time limits.”
“If you cannot control temperature/humidity or cannot profile/clean correctly, professional installation is the safer route.”
When DIY is reasonable
You’re more likely to get a good result if:
– The slab condition is straightforward (no widespread spalling, limited contamination)
– You can rent/provide the correct grinding equipment to reach required profile
– You have enough crew to keep within pot life and maintain wet edges
– You can monitor ambient conditions and follow cure/return-to-service times
When you should skip DIY and hire a professional
Skip DIY if:
– You suspect significant moisture problems and need a formal moisture test/mitigation plan
– There are extensive cracks/spalling, or the slab needs complex patching and leveling
– Contamination is likely (heavy oil exposure, silicone-related residues, unknown prior coatings)
– You need high-precision decorative uniformity (e.g., consistent color blending across large areas)
Quick Checklist (Scan Before You Start)
– [ ] Confirm your exact polyaspartic flooring system (primer/base/topcoat) and read the datasheet end-to-end
– [ ] Mechanically profile concrete to the required texture; clean thoroughly (no oils/cure compounds/dust)
– [ ] Address cracks, holes, and sharp edges before coatings
– [ ] Verify temperature/humidity/condensation limits for application
– [ ] Mix exact ratios, scrape pails, and respect pot life/working window
– [ ] Apply within coverage/thickness targets; keep a consistent wet edge
– [ ] Allow full cure before traffic and chemical/water exposure (per datasheet)
If you want to make this more actionable for your specific job, print the datasheet section that includes mixing, pot life, recoat windows, and return-to-service and keep it next to the mixing station.
FAQ
How long do polyaspartic floors take to install?
It depends on the system and the slab condition, but polyaspartic coatings are often chosen because they reduce downtime. Use your product datasheet for the exact recoat intervals, cure times, and return-to-service limits—those vary by manufacturer and formulation. [ADD: exact times for your specific brand/system from datasheets]
Do I need a primer before polyaspartic topcoat?
Many polyaspartic systems require a primer for adhesion and to manage concrete porosity, but not all kits are identical. Check your system instructions; don’t substitute with a random primer unless the manufacturer explicitly allows it.
Can polyaspartic be applied over existing coatings?
Sometimes, but only if the existing coating is fully compatible, well-adhered, and prepared correctly (often requiring mechanical profiling and verification). If there’s peeling, poor adhesion, or unknown chemistry, you may need full removal instead. [ADD: compatibility requirement from your product documentation]
What happens if I miss the pot life while coating?
If you exceed the pot life, you can get incomplete cure, soft areas, or surface defects. Plan your mixing and workflow so batches match the real working time for your crew size and floor area.
Sources
– [ADD: manufacturer datasheet for your exact polyaspartic flooring system—primer/base/topcoat, mixing ratios, pot life, recoat windows, coverage rates, and cure/return-to-service times]
– [ADD: manufacturer application guide or technical bulletin for concrete preparation requirements (profiling/cleaning and any moisture testing guidance)]
– ASTM F1869, Standard Test Method for Measuring Moisture Vapor Emission Rate of Concrete Subfloor Using Anhydrous Calcium Chloride ([cite: ASTM International])
– ASTM F2170, Standard Test Method for Determining Relative Humidity in Concrete Floor Slabs Using in situ Probes ([cite: ASTM International])
– OSHA 29 CFR 1910.1200, Hazard Communication (SDS access and PPE training requirements) ([cite: U.S. Department of Labor / OSHA])
Polyaspartic floors deliver on their promise when the installation is treated like a controlled chemical process: prep the concrete correctly, apply the system in the exact sequence, and stay inside the datasheet’s time and environmental limits. If you do that, you can achieve a smooth, protective finish with fast turnaround; if you can’t, the risk of adhesion loss, surface defects, and costly rework is simply too high—so plan your scope accordingly and use professional help when the slab condition or site conditions are uncertain.
Frequently Asked Questions
What materials and tools are needed to install polyaspartic floors?
To install polyaspartic floors, you typically need a polyaspartic primer, polyaspartic base coat, optional broadcast aggregate, and a clear topcoat (often UV-stable). You’ll also need mixing tools, a low-speed drill, spiked shoes/roller for air release, notch trowel or squeegee for even spreading, and a v-cutter or grinder for surface prep. Don’t forget PPE (gloves, goggles, respirator) and moisture testing supplies to verify the slab is within the manufacturer’s limits.
How do you prepare a concrete slab before installing polyaspartic flooring?
Proper surface preparation is critical for a successful polyaspartic floor installation and long-term adhesion. Start by removing paint, sealers, curing compounds, dust, and weak concrete using grinding or shot blasting, then clean thoroughly. Repair cracks, spalls, or spalled areas, and verify moisture with a test method specified by the system manufacturer; if moisture is too high, you may need an epoxy moisture mitigation primer.
How do you install polyaspartic floors step-by-step?
First, apply the properly mixed polyaspartic primer to the prepared concrete and allow it to reach the required tack-free stage. Next, install the polyaspartic base coat to achieve the target thickness and finish, using a roller for uniform coverage and a squeegee/trowel to control build. If you want texture or slip resistance, broadcast aggregate into the base coat, then sweep and vacuum after cure; finally, apply the UV-stable polyaspartic topcoat and allow full cure before foot traffic or vehicle loads.
Why do polyaspartic floors peel or fail after installation?
Peeling usually comes from inadequate surface preparation, poor adhesion, or coating applied over contamination (dust, oil, moisture, or curing compounds). Another common cause is mixing or batching errors—polyaspartic systems must be measured accurately and mixed for the recommended time to avoid incomplete reaction. Following temperature and humidity guidelines is also essential, since out-of-range conditions can lead to improper cure, solvent entrapment, or surface defects.
What is the best way to control curing time and application conditions for polyaspartic floors?
The best approach is to plan around pot life, recoat windows, and the system’s specified temperature range—polyaspartic flooring can cure quickly, so scheduling matters. Keep the slab and ambient temperature within manufacturer guidelines, control humidity, and avoid applying when condensation is likely (for example, on cold slabs). If you’re working in a commercial setting, stage materials, use consistent mixing practices, and consider sectioning the floor to maintain even coverage and reduce the risk of lap lines or roller marks.
📅 Last Updated: October 11, 2026 | Topic: How to install polyaspartic floors? | Content verified for accuracy and freshness.
References
- Google Scholar Google Scholar
https://scholar.google.com/scholar?q=polyaspartic+floor+installation - https://scholar.google.com/scholar?q=polyaspartic+coating+application+procedure+concrete Google Scholar
- Google Scholar Google Scholar
https://scholar.google.com/scholar?q=polyaspartic+flooring+surface+preparation+moisture+testing - Hazard Communication – Overview | Occupational Safety and Health Administration
https://www.osha.gov/hazcom - Silica, Crystalline – Overview | Occupational Safety and Health Administration
https://www.osha.gov/silica - Volatile Organic Compounds’ Impact on Indoor Air Quality | US EPA
https://www.epa.gov/indoor-air-quality-iaq/volatile-organic-compounds-impact-indoor-air-quality - Polyurea
https://en.wikipedia.org/wiki/Polyurea - Epoxy
https://en.wikipedia.org/wiki/Epoxy - F2170 Standard Test Method for Determining Relative Humidity in Concrete Floor Slabs Using in sit…
https://www.astm.org/f2170.html - D4263 Standard Practice for Indicating Moisture in Concrete by the Plastic Sheet Method
https://www.astm.org/d4263.html


