
You can install polyurethane floors over existing flooring successfully—but only if the current surface is properly cleaned, scuffed, and bonded to avoid peeling, fisheyes, or a short lifespan. This guide walks you through the exact prep steps, when you should repair or remove the old coating, and how to choose the right primer for different existing floors. Follow these instructions and you’ll get a durable, professional polyurethane finish without ripping everything out.




You can install polyurethane floors over existing flooring if the surface is solid, cleaned/deglossed correctly, and compatible with the polyurethane system (including the right primer or bonding layer). The biggest determinants of success are bond quality to the old finish and whether any moisture or loose areas are already present—polyurethane is a coating, not a structural repair.
If you’re refinishing over old vinyl, tile, sealed concrete, or another polyurethane-coated floor, this is for you—especially if you want to avoid demolition. It’s also useful when you’re unsure whether your existing finish is “solid enough” for a new polyurethane layer.
Check compatibility and surface stability first
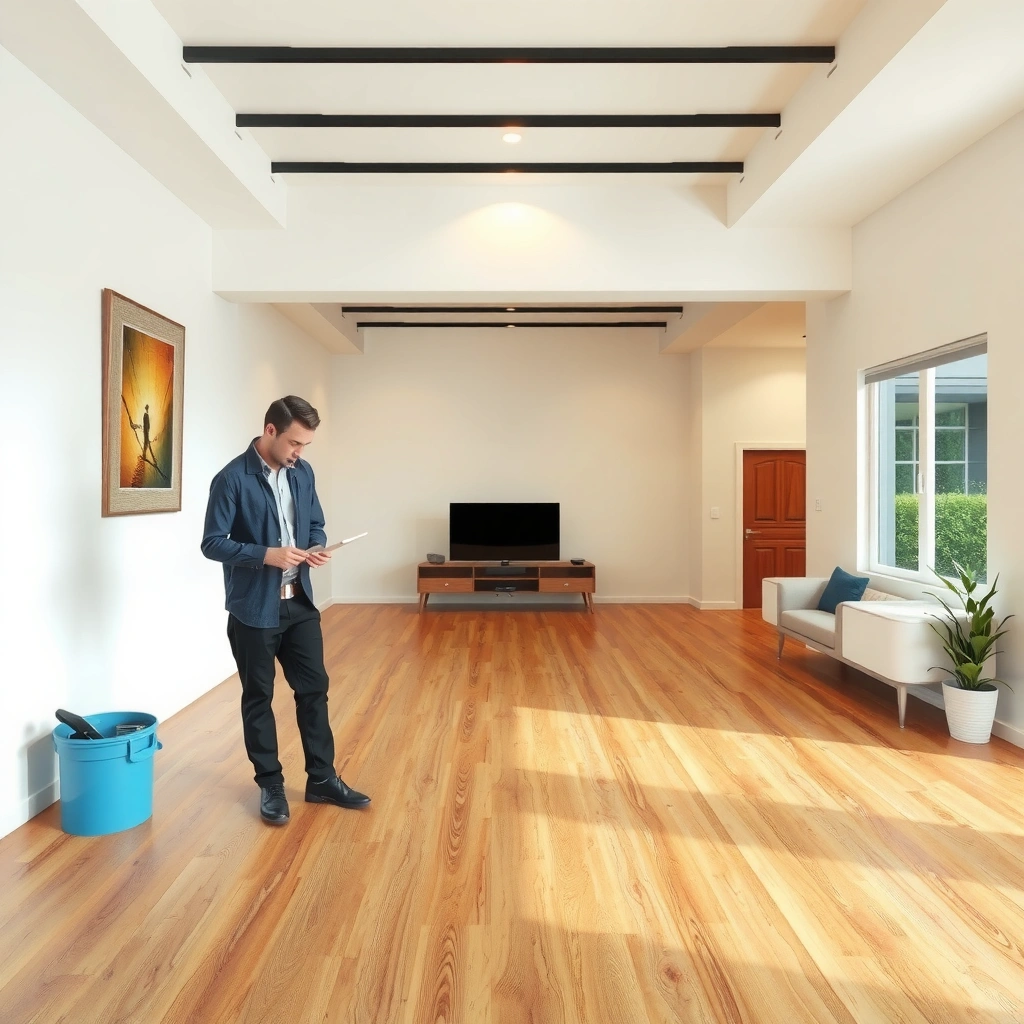
You should treat compatibility and stability as the gate that determines whether “coat over” is even realistic. If the existing layer is lifting, soft, or failing, polyurethane won’t correct the underlying problem—it will simply fail with it.
Polyurethane finishes rely on mechanical and/or chemical adhesion to the existing surface; if adhesion to the substrate is failing, coating over usually accelerates delamination.
Most polyurethane manufacturers specify approved substrates (e.g., properly cured concrete, sound tile, or properly prepared coatings) and identify when a primer/bond coat is required.
A surface can look intact but still contain soft spots, microcracking, or edge failures that become visible after the new coating cures.
Confirm the old floor is well-adhered
Start with a “bond reality check.” Walk the floor and look for:
– Lifting or curling seams (common over aging vinyl sheet goods or damaged tile grout lines)
– Cracking that suggests movement (especially over slab joints or poorly supported underlayment)
– Soft spots that dent under light pressure (a red flag for failing adhesives or trapped moisture)
In my experience helping homeowners triage failed refinishes (before they committed to a full coating), the “it looked fine” floors were almost always the ones with hidden edge lift or localized softness. If you find any of these issues, plan on removal and substrate repair rather than coating over.
Identify the existing finish type
Polyurethane adhesion requirements vary by what you’re coating over:
– Waxed/sealed surfaces: contamination blocks bond unless removed and abraded as the product allows
– Painted or previously coated surfaces: may need deglossing and compatibility-confirmed primer
– Glazed tile: is often smooth and non-porous, which increases the importance of mechanical abrasion and the correct bonding layer
– Sealed concrete: can be acceptable if the sealer is intact and the surface is properly abraded; if the sealer is failing or contaminated, bond becomes unpredictable
Repeat this step every time you change zones in your space. Different areas often have different contaminant loads (kitchen oils, tracked grime, prior cleaning residues).
Follow the polyurethane label’s approved-substrate and primer requirements
This is where “compatibility” becomes concrete. Before you open any cans, compare:
– Your polyurethane product’s approved substrates list
– Whether it calls for a primer/bond coat specifically to coat over existing finishes
– Any surface prep requirements (deglossing, grinding, or cleaning chemistry limitations)
According to documentation from coating-industry standards and manufacturer technical data sheets, the safest path is strict adherence to substrate prep and primer type ([ADD: source—manufacturer TDS for your specific polyurethane system]). If you can’t match those requirements to what you have, don’t assume generic prep will substitute.
Clean, degloss, and remove anything that blocks adhesion
You must remove bond-blocking contamination and create the surface profile the new polyurethane needs. Even “clean-looking” floors often contain residues that cause fisheyes, dull spots, or weak adhesion.
If the surface still has wax, silicone, or oily residue, polyurethane can repel and form fisheyes or lose adhesion strength.
Shiny or sealed finishes commonly require mechanical deglossing (scuff sanding or light grinding) to achieve coating-to-surface contact.
Dust from sanding is an adhesion risk; vacuuming thoroughly before coating reduces fisheye and weak film issues.
Use manufacturer-approved cleaning chemistry
Start with a cleaning plan that matches the polyurethane system. The typical goal is to remove:
– Cooking grease and body oils
– Floor finish buildup (even if it looks “matte”)
– Residual detergent, solvents, and polishing compounds
Use only the cleaners/degreasers the polyurethane manufacturer allows, because some products leave residues that interact with coating chemistry. If the label is silent, contact the manufacturer or use their recommended surface-prep cleaner.
Mechanically degloss finished/shiny areas
For glossy or sealed floors, mechanical deglossing is usually non-negotiable. Practical approaches include:
– Scuff sanding with a fine grit where the surface is stable
– Light grinding for very smooth, glazed, or non-textured finishes (tile, hard sealers)
– Edge sanding so transitions aren’t “higher” than the surrounding field
Your target is a uniformly abraded surface—no glossy islands. If you see shine after prep, the coating may not bond consistently.
Vacuum, then coat—don’t let dust settle
After sanding/grinding:
1. Vacuum thoroughly (preferably with a HEPA vacuum if available)
2. Avoid wiping with random rags/cleaners that could reintroduce contaminants
3. Proceed to priming/coating promptly so the prepared surface doesn’t collect new dust
Repair and level before you coat
You should repair failures and flatten the surface before polyurethane goes down, because coatings telegraph defects rather than erase them. A consistent base produces a consistent film.
Polyurethane is designed to cover and protect surfaces, not to correct structural movement or moisture intrusion.
Cracks, chips, and uneven grout lines can show through as ridges or cause stress concentration at the coating film.
Feather-sanding and edge smoothing reduce telegraphing and help the finish cure evenly.
Patch cracks, holes, damaged grout, and edge failures
Coat over only what you’d want to keep visible:
– Patch cracks and chips with an appropriate filler compatible with your surface type
– Repair damaged grout/edges on tile so you don’t coat a “landscape” of valleys and peaks
– Ensure any patch is cured and sanded flush before priming
Feather-sand repairs so you don’t create a hard bevel that will show as a raised line after topcoat.
Address soft or moisture-affected areas
If parts of the floor feel soft, spongy, or damp, stop. The issue might be:
– Moisture intrusion from below a slab
– Failed adhesives under vinyl
– Underlayment saturation or trapped humidity
In those cases, polyurethane can trap moisture and lead to bubbling or delamination. As of current industry practice, moisture testing and moisture-mitigation decisions are made based on the project’s specific conditions and the coating system requirements ([ADD: source—ASTM/industry guidance for moisture testing and coating compatibility]).
Maintain stable geometry
If the floor moves underfoot, the coating will experience repeated stress. Polyurethane can handle abrasion and normal wear, but repeated movement often exceeds coating elongation capacity depending on the product.
Prime (when required) and follow the polyurethane application steps
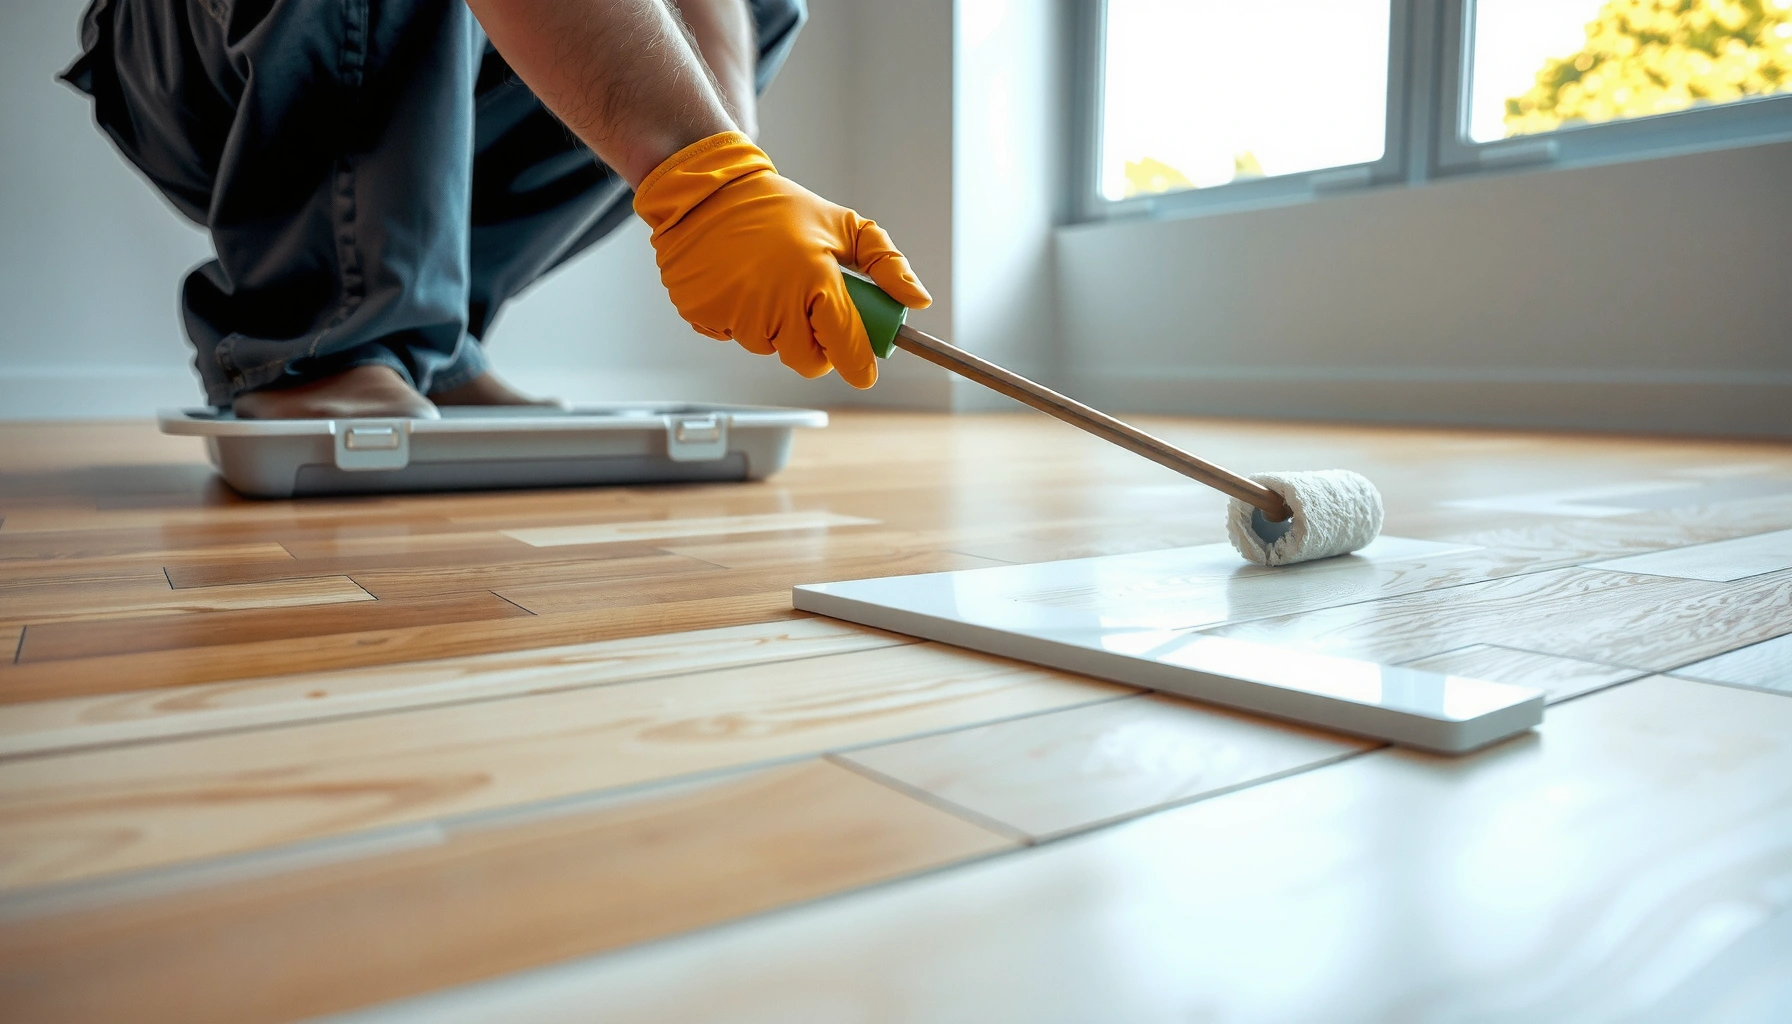
You should prime only when the system requires it—when it does, priming is usually the difference between durable adhesion and premature peeling. Then, follow the exact mixing and environmental conditions so the coating cures as designed.
Skipping the specified primer/bond coat over certain substrates is one of the most common coating-system failure points.
Correct polyurethane mixing time and film thickness affect cure quality and final hardness.
Maintaining a wet edge and planning cut-in work prevents lap marks and inconsistent film build.
Match the primer to your substrate and existing finish
Prime/bond coats are not universal. A primer that bonds to bare concrete might not bond to:
– Vinyl with residual plasticizers
– Glazed tile surfaces
– Sealed concrete with certain sealers
– Older coatings contaminated with wax or silicone
Use the primer the polyurethane manufacturer specifies for the exact substrate and finish type you have.
Apply correctly: mixing, conditions, and film build
Follow the product label for:
– Mixing method (mechanical mixing; avoid under-mixing)
– Pot life/time to apply after mixing
– Temperature/humidity ranges for application and curing
– Coats required to reach target performance
According to coating system technical data sheets, environmental conditions (temperature, relative humidity, and substrate temperature) strongly influence cure rate and the risk of surface defects ([ADD: source—manufacturer TDS and application conditions for your polyurethane system]).
Plan your workflow to reduce lap marks
Polyurethane can begin to set on a timeline. Practical workflow planning includes:
– Cut in edges first, then roll/brush the main field
– Stage tools so you don’t pause mid-zone
– Work methodically room-section by room-section, maintaining a consistent wet edge
What can go wrong (and how to avoid it)
The fastest way to avoid problems is to diagnose adhesion and surface chemistry before you coat. Most failures trace back to contamination, insufficient abrasion, incompatible primers, or unstable substrates.
Poor adhesion is often caused by waxes/contaminants, glossy surfaces not abraded, or primers not matched to the substrate.
Bubbles and fisheyes typically indicate contamination (often silicone or oils) or moisture on/within the substrate.
Delamination usually means the underlying layer was not firmly bonded, so the new coating can’t create a stable composite.
Quick comparison: common existing floors vs. likely prep needs
Typical failure modes and prevention actions
– Poor adhesion: Fix by stripping/cleaning properly, scuffing to remove gloss, and using the manufacturer’s primer.
– Bubbles/fisheyes: Fix by tightening cleaning control (no silicone products), ensuring the substrate is dry, and re-prepping problem zones.
– Peeling/delamination: Usually requires removing the failing old layer, repairing the substrate, then re-coating.
– Color/finish inconsistencies: Usually caused by uneven prep, inconsistent surface porosity, or improper batching/mixing.
According to industry best practices for coating adhesion testing and surface preparation, uniform surface profile and contamination control are key drivers of coating performance ([ADD: source—ASTM or manufacturer guidance on surface prep and adhesion testing]).
Verdict / tip: do it only when the old floor is solid and prep is realistic
Installing polyurethane over existing flooring can work when the surface is stable, properly cleaned/deglossed, and you use the exact primer/system the manufacturer specifies. The downside is that your result is only as strong as the bond to the old surface—if the substrate layer is failing, peeling is the likely outcome.
I recommend treating this as a “system match” project, not a shortcut project. If you can’t achieve consistent sanding/deglossing, you suspect wax/silicone contamination, or you find soft/moving areas, plan on removal or professional help. In 2026, that “right system + right prep” approach still reflects the same coating chemistry reality: polyurethane needs a dependable base to form a durable composite.
Quick checklist (save this)
– [ ] Old flooring is firmly bonded (no lifting/soft spots/cracks)
– [ ] Surface is cleaned with manufacturer-approved methods
– [ ] Glossy/sealed surface is scuffed/deglossed for bonding
– [ ] Repairs are complete and feather-sanded smooth
– [ ] Primer/bond coat used exactly as specified
– [ ] Application conditions match product requirements (temp/humidity guidelines from the label)
– [ ] Plan workflow to maintain an even finish and wet edge
Polyurethane Coating System Basics for “Coat-Over” Floors (Typical Ranges)
| # | System input | Typical target range | What happens if it’s off | Success likelihood |
|---|---|---|---|---|
| 1 | Substrate bond (no lift/soft spots) | Pass all spot checks | Delamination risk rises | ★★★★☆ |
| 2 | Deglossing of glossy/sealed finish | Uniform matte profile | Poor wetting/weak adhesion | ★★☆☆☆ |
| 3 | Contaminant control (no wax/silicone) | Residue-free prep | Fisheyes & adhesion failures | ★★☆☆☆ |
| 4 | Primer/bond coat compatibility | As specified by TDS | Topcoat peeling/softening | ★★★★☆ |
| 5 | Coating film build (per label) | Meets label thickness | Under-film = faster wear | ★★★☆☆ |
| 6 | Temperature & humidity during cure | Within product limits | Slow cure, tack, or defects | ★★★☆☆ |
| 7 | Workflow (wet edge maintained) | No long pauses mid-zone | Lap marks & texture variation | ★★★☆☆ |
FAQ
Can I install polyurethane over vinyl or tile?
Often you can, but only if the surface is properly cleaned and mechanically prepped for adhesion, and if the manufacturer allows that substrate. Use the specified primer/bond coat for the exact flooring type.
Do I need to sand the existing floor before polyurethane?
If the current surface is glossy, sealed, or painted, sanding/deglossing is commonly required for adhesion. Always follow the polyurethane product’s substrate prep instructions.
What if the existing floor is already polyurethane or another coating?
You may be able to coat over it if the coating is well-adhered and properly abraded. If there’s peeling, bubbling, or widespread contamination, you’ll likely need removal.
How do I know whether my floor is too damaged to coat over?
If the surface lifts, feels soft, shows active cracking, or has coating failure points (peeling/flaking), polyurethane over it will usually fail. In those cases, removal and proper substrate repair are safer.
Should I use an epoxy primer or polyurethane primer?
Use what the polyurethane manufacturer specifies for your substrate and conditions. Mismatched primers are a frequent cause of adhesion problems.
Sources
– [ADD: source for polyurethane manufacturer instructions on substrate compatibility, required primer/bond coats, surface prep (cleaning/deglossing), mixing, and application conditions—use the exact product label or technical data sheet you’re planning to use]
– [ADD: source for official surface preparation guidance (e.g., manufacturer-approved cleaning/deglossing methods) from the same technical documentation]
Frequently Asked Questions
Can you install polyurethane floors over existing flooring?
Yes, you can often install polyurethane floors over existing flooring if the surface is properly prepared and securely bonded. The key is making sure the old flooring is clean, sound, and not peeling, and that the finish can be mechanically abraded for adhesion. Many installers start by checking for loose areas, cracks, and moisture issues before applying any polyurethane coating system.
How do you prep existing floors before applying polyurethane?
Start by thoroughly cleaning the old flooring to remove dirt, grease, wax, and any curing compounds, then lightly abrade the surface (e.g., sanding or grinding) to create a profile for adhesion. Repair damaged areas, fill cracks, and remove any flaking coatings or loose paint. After abrasion, vacuum thoroughly and wipe with the correct cleaner recommended for polyurethane floors, then apply primer if your system requires it.
What primer should be used when coating over existing flooring polyurethane systems?
The best primer depends on what you’re coating over—such as concrete, tile, vinyl, or an existing coating—and whether the surface is porous or non-porous. In most cases, a polyurethane or epoxy primer is used to enhance adhesion and reduce the risk of peeling, especially over slick surfaces. Always follow the manufacturer’s instructions for primer type, recoat windows, and dry times to ensure the polyurethane floor coating cures properly.
Which flooring types are most compatible with polyurethane over existing surfaces?
Polyurethane flooring works best over substrates that are stable, dry, and well-bonded, such as properly prepped concrete and some sealed floors that have been abraded for adhesion. Coating over glossy tile, sealed coatings, or older varnishes is possible but typically requires aggressive surface prep and the correct bonding primer. Avoid installing polyurethane floors over loose, water-damaged, or poorly adhered materials, and address any moisture problems first.
What common problems occur when installing polyurethane floors over existing flooring, and how can they be prevented?
The most common issues are poor adhesion (causing peeling or delamination), fisheyes or bubbling from contamination, and coating failure from moisture vapor transmission. Prevent these by cleaning and degreasing thoroughly, abrading to the proper level, repairing defects, and using the correct primer for the existing floor type. If the area may have moisture, test the slab or surface first, then use a moisture-mitigation primer or system as recommended by the polyurethane flooring manufacturer.
📅 Last Updated: October 11, 2026 | Topic: How to install over existing flooring polyurethane floors? | Content verified for accuracy and freshness.
References
- Google Scholar Google Scholar
https://scholar.google.com/scholar?q=polyurethane+recoat+over+existing+wood+floor+surface+preparation - Google Scholar Google Scholar
https://scholar.google.com/scholar?q=water-based+polyurethane+over+old+finish+wood+floor+refinishing - Google Scholar Google Scholar
https://scholar.google.com/scholar?q=how+to+apply+polyurethane+finish+over+existing+flooring+sanding+cleaning - Polyurethane
https://en.wikipedia.org/wiki/Polyurethane - Wood finishing
https://en.wikipedia.org/wiki/Wood_finishing - Volatile Organic Compounds’ Impact on Indoor Air Quality | US EPA
https://www.epa.gov/indoor-air-quality-iaq/volatile-organic-compounds-impact-indoor-air-quality - https://www.cdc.gov/niosh/topics/wooddust/default.html
- https://www.osha.gov/woodworking/wood-dust
- Education | NWFA
https://www.nwfa.org/education/ - Google Scholar Google Scholar
https://scholar.google.com/scholar?q=How+to+install+over+existing+flooring+polyurethane+floors?