
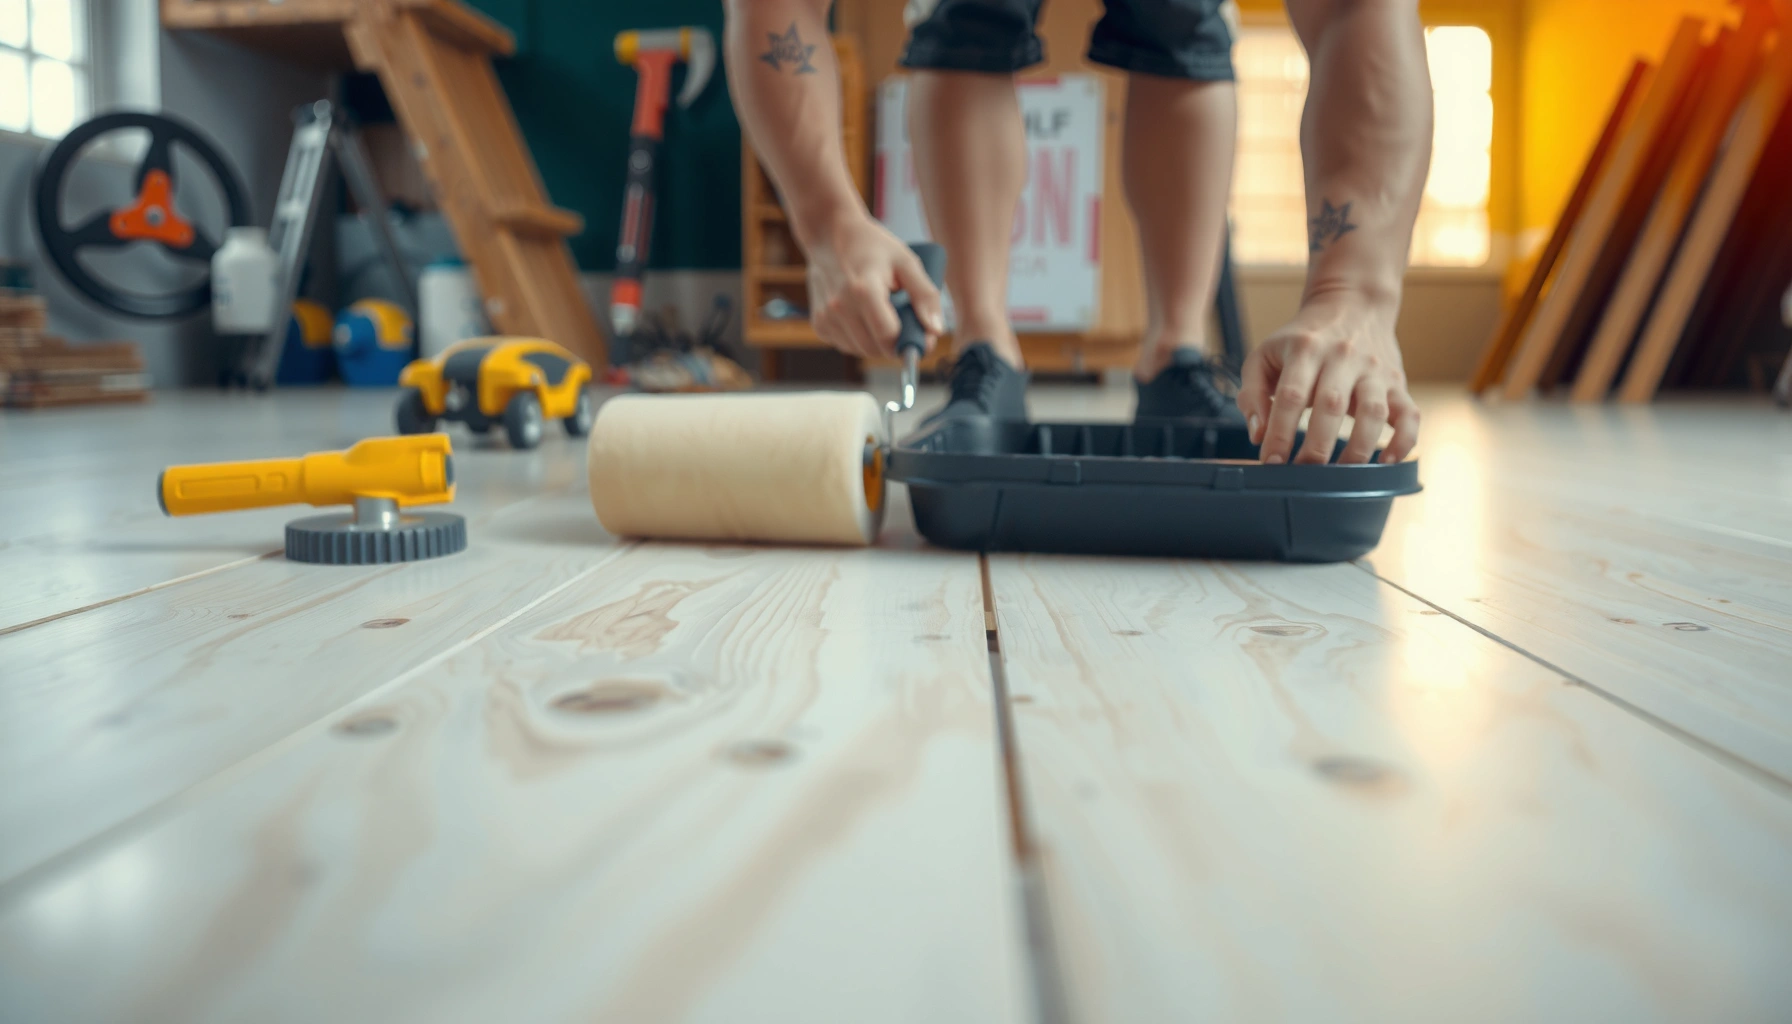

Learn how to install over plywood polyurethane floors without guesswork, using the steps that actually hold up over time. The correct approach depends on whether the existing polyurethane is still bonded and properly scuffed, so you’ll get a clear checklist for prep, adhesion, and installation. Follow this guide to avoid lifting, peeling, and squeaks—because the right surface prep is the difference between a durable finish and a redo.




If you want a durable polyurethane floor over plywood, the job comes down to one thing: make the plywood flat, clean, and sanded to the right profile before you coat. Then apply thin, even layers (with any required primer/sealer) and keep recoat timing on schedule to prevent peeling, bubbles, or a rough, patchy finish.
If your subfloor is already plywood (not OSB) and you’re aiming for a finished, long-wearing surface, this matters—plywood seams, screw pops, and minor unevenness can telegraph through polyurethane if you skip the prep details.
Prep the plywood surface correctly
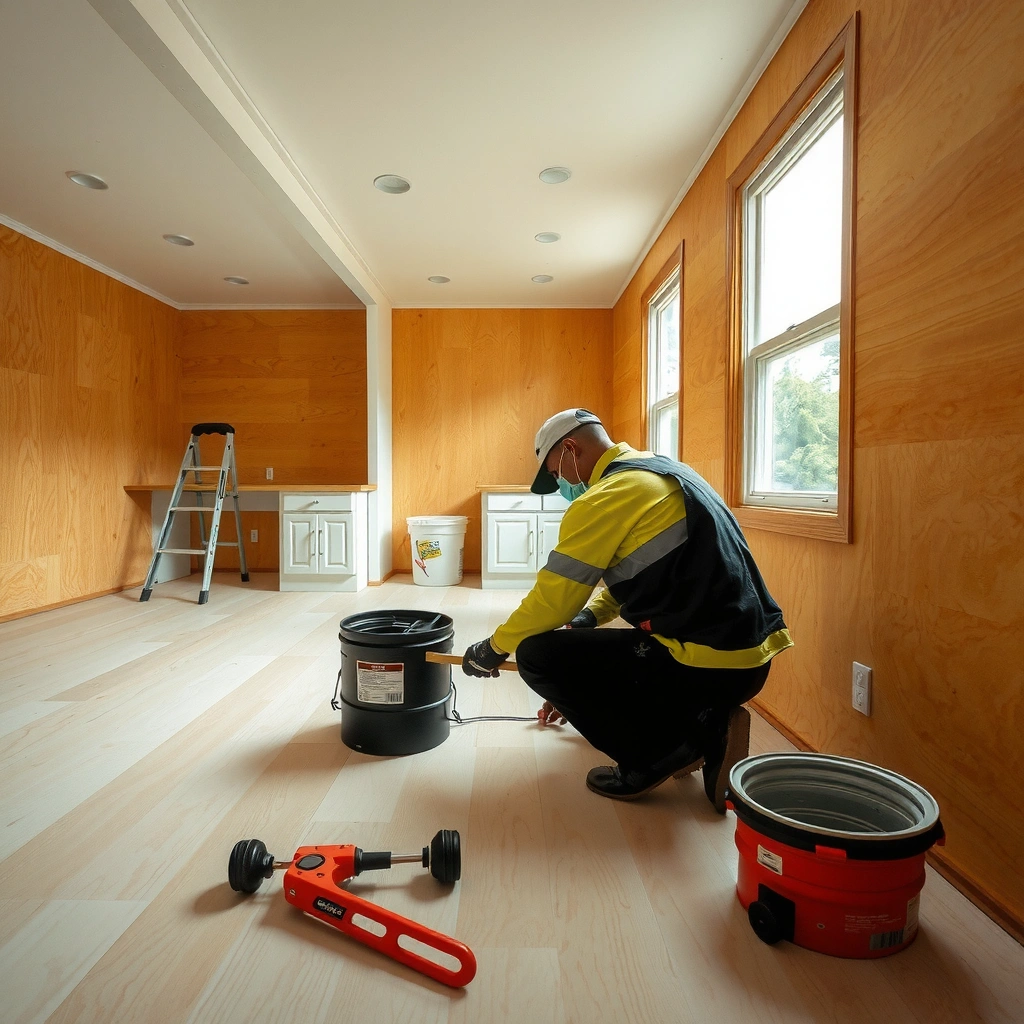
Prepping plywood is the difference between a smooth, glassy topcoat and a finish that peels or looks uneven. Your goal is to eliminate movement, protrusions, voids, and sanding dust so the polyurethane can bond and cure uniformly across every square foot.
A polyurethane topcoat only performs as well as the surface profile and adhesion—on plywood, that means flattening and removing contaminants before coating.
Loose subfloor panels, lifted edges, and popped fasteners create flex, and flex is a common pathway to cracking, adhesion failure, and visible “witness lines” under glossy finishes.
Filler and seam repair must be sanded flush with the surrounding plywood; otherwise the final sheen will vary where height changes exist.
Start with stability: fasteners, seams, and flatness
Begin by checking every panel edge and corner for movement. Press down along seams and around screw heads—if anything flexes, that flex can work through the coating over time, especially in traffic areas.
What to correct before finish work:
– Loose sheets / lifted edges: Refasten to joists or blocking using the screw type and spacing recommended by your flooring/subfloor plan.
– Protruding nails/screws: Use a grinder or driver adjustment so fasteners sit below the plywood surface (so they can be filled and leveled).
– Squeaks and deflection: If you can move the panel by hand, polyurethane won’t “bridge” that problem.
Fill seams and low spots (then sand to a single plane)
Polyurethane is not a leveling compound. If there are seam ridges or low spots, fill them with an appropriate wood filler (or a system-approved patch product), let it cure fully, and sand until the surface is consistently smooth.
In my own process planning for plywood subfloors, the fastest way I’ve found to avoid telegraphing is to treat sanding like “making one plane,” not just “removing scratches.” The extra time spent flattening before you open the can of finish pays back later during coat-to-coat sanding and final sheen.
Dust control is not optional
After sanding, vacuum thoroughly (use a shop vac with a brush/nozzle suited for wood dust). If your polyurethane system recommends a tack cloth or final wipe, use it correctly—too-wet tack cloths can smear residues. The reason is simple: dust doesn’t just make the finish look gritty; it can create pinholes and weak adhesion points.
Sanding Grit Guidance Before Plywood Polyurethane (Typical Use)
| # | Sanding grit | Best for | Finish risk if overused | Overall suitability |
|---|---|---|---|---|
| 1 | 60 | Rapid stock removal on severe ridges | High (visible scratches; needs more passes) | ★★★★☆ |
| 2 | 80 | Flattening seams + light ridges | Medium (marks if you skip finer grits) | ★★★★☆ |
| 3 | 100 | Bridging from coarse to prep-ready surface | Medium (can still telegraph if rushed) | ★★★☆☆ |
| 4 | 120 | Common “last flattening” before final sanding | Lower (usually covered by 150–180) | ★★★★☆ |
| 5 | 150 | Sanding for adhesion with fewer scratch marks | Low (good balance of tooth + smoothness) | ★★★★★ |
| 6 | 180 | Typical pre-finish final sanding on plywood | Low (often ideal for final coat clarity) | ★★★★★ |
| 7 | 220 | Very smooth finish prep; use only if system allows | Medium (may reduce “bite” on some products) | ★★☆☆☆ |
Choose the right polyurethane system (and sealer/primer)
Choosing the right polyurethane system—and knowing whether it needs a sealer/primer on plywood—prevents most adhesion-related failures. The safest path is to match your primer/sealer (if required) and your sanding expectations to the exact product instructions.
Many polyurethane systems specify whether plywood needs a primer/sealer before topcoating to promote adhesion and reduce blotching.
Water-based and oil-modified polyurethane behave differently during dry time and recoat windows, so their between-coat sanding guidance is not interchangeable.
If your polyurethane label or technical data sheet calls for specific surface preparation steps, you should treat those as the “rules of the system.”
Verify finish type so you plan coats correctly
On plywood, you’ll typically see either:
– Oil-modified polyurethane (often longer open time and different cure behavior), or
– Water-based polyurethane (typically lower odor and faster early dry, but still requires sanding and timing discipline).
Because recoat timing depends on the chemistry and the environment (temperature and humidity), you should follow the technical data sheet for:
– Dry time before sanding or recoating
– Recoat window (the timeframe where adhesion bonding between coats stays strongest)
– Sanding grit between coats
What “compatible prep” means for plywood
“Compatibility” is not marketing—it’s chemistry. If your polyurethane system uses a specific primer/sealer for plywood, omitting it can create:
– Reduced bonding to plywood veneers and wood dust,
– Uneven absorption (leading to blotchy sheen),
– Poor intercoat adhesion after the first coat cures.
If you’re pairing products, use manufacturer guidance for “recommended primers” or “compatible sealers.” If you don’t have that guidance, treat the project as higher risk and get product-system instructions in writing.
Prime/seal if required, then sand between coats
Prime/seal and between-coat sanding are what keep polyurethane smooth and well-bonded from coat to coat. When you sand lightly and clean between passes, you promote mechanical adhesion and remove nibs (tiny raised fibers or cured bumps).
A proper primer/sealer schedule for plywood helps lock down porosity so polyurethane levels more evenly and doesn’t fisheye from inconsistent absorption.
Between coats, light sanding reduces texture and improves adhesion—skipping this step can leave weak bonding points for the next layer.
After sanding, vacuum and wipe/clean per the product instructions to avoid sanding grit embedded in the next coat.
Prime/seal: follow the system, not a guess
If the polyurethane instructions specify a sealer/primer over plywood, apply it as directed:
– Apply at the recommended spread rate
– Maintain the specified dry time before topcoat
– Allow any required curing time before sanding (some primers should not be sanded immediately)
Sand between coats: “light touch” is the goal
Between coats, you’re usually not trying to reshape the plywood—you’re refining the surface. Use the grit range recommended by the polyurethane manufacturer for intercoat adhesion (commonly in the 150–220 range depending on the system).
After sanding:
– Vacuum all residue.
– Follow the finish system’s recommended final cleaning (some systems specify tack cloth; others specify a particular wipe method).
Build finish with thin, even coats
Thin coats reduce the risk of:
– Entrapped air bubbles
– Uneven drying
– Sagging at seams and edges
From a workflow standpoint, multiple thin coats also give you more opportunities to correct minor surface texture—especially after the first sanding pass.
Apply polyurethane with consistent technique
Applying polyurethane consistently is how you get an even sheen and avoid defects like roller marks, streaking, or patchy curing. The key is maintaining a wet edge, using the correct tool for the product, and controlling coat thickness.
Thin, even coats typically level better and reduce the chance of bubbles compared with trying to “get it done” in one thick application.
How you agitate polyurethane matters: aggressive mixing can introduce air that later shows as bubbles or pinholes.
Consistent wet-edge technique helps prevent visible lap lines, especially across larger plywood floor surfaces.
Prepare and mix according to manufacturer direction
Stir/prepare as instructed. Many products specify:
– Stir vs shake (shaking can trap air)
– Whether thinning is allowed (often it isn’t, or only under strict conditions)
Choose the right application method for your product
Use the application method the manufacturer supports:
– Brush: good for edges and detailed areas
– Roller: often best for large fields if you use the correct roller cover
– Pads/wipes (where allowed): can work well for certain systems
In practice, you should plan the floor into manageable sections so you can keep a wet edge—especially in rooms with airflow or sunlight that can shorten open time.
Keep thickness uniform to control sheen
Variations in thickness often show up as:
– Shiny vs dull patches
– Slightly different color development
– “Witness lines” that match where you stopped and started
Aim for consistent coverage and avoid overworking the finish (overworking can dull the surface and create texture).
What can go wrong (and how to prevent it)
Most polyurethane problems over plywood are preventable because they trace back to a small set of causes: surface contamination, poor adhesion prep, incompatible products, or rushed recoat timing. If you understand the mechanism, the fix becomes clear.
Bubbles, fisheyes, and craters commonly come from contamination (dust, oils, silicone residue) or incompatible residues on the plywood.
Peeling over plywood is usually an adhesion failure caused by skipping required primer/sealer steps or insufficient surface sanding.
Uneven sheen and lap lines often correlate with inconsistent coat thickness and recoat timing that falls outside the manufacturer’s bonding window.
Quick diagnostic table: “symptom → likely cause → prevention”
| Problem you see | Most likely cause | What to do next time |
|---|---|---|
| Bubbles | Air trapped during mixing; coating too thick; dusty conditions | Stir gently (per label), thin coats, clean environment |
| Fisheyes/craters | Contamination (silicones, waxes, dust) or incompatible residues | Degrease/clean properly; vacuum; follow wipe instructions |
| Peeling | Missing primer/sealer; unfilled seams; weak bond | Confirm plywood prep requirements; sand flush repairs |
| Rough/gritty feel | Sanding dust left behind; nibs not sanded | Vacuum + tack/wipe method per instructions; sand between coats |
| Uneven sheen | Different coat thickness or late recoat causing witness lines | Maintain consistent coverage and stick to recoat windows |
Pros/cons: Sanding vs. skipping sanding between coats
Here’s a decision structure you can use without guesswork:
| Option | Pros | Cons |
|---|---|---|
| Sand between coats | Improves intercoat adhesion; removes nibs; creates a more uniform surface texture | Adds time; requires dust control and careful cleaning |
| Skip sanding between coats | Faster workflow | Higher risk of texture bumps, weak bonding at the surface, and visible grit under light |
Verdict / tip: when this approach works (and when to skip)
This polyurethane-over-plywood approach works best when your plywood is stable, flat, correctly filled, and sanded so the finish can bond and cure evenly across the room. It’s less suitable when plywood has ongoing movement, widespread damage, or moisture problems that will continue after sealing.
If the plywood is moving, sealed, sanded, and repaired correctly, polyurethane can produce a durable, attractive finish—but it cannot correct a structural defect.
Moisture-related plywood issues (active water intrusion, persistent dampness) can undermine any surface coating—drying and fixing the moisture source must come first.
If you can’t maintain a dust-free sanding and cleaning routine, defects like gritty texture and adhesion failures become more likely.
From a practical risk standpoint, I suggest you skip DIY polyurethane over plywood (or seek deeper guidance) if:
– You have repeated screw pops or panel movement after refastening,
– There’s any visible mold/water staining or history of leaks,
– You can’t achieve a reliably smooth, dust-controlled sanding finish.
Quick checklist (scan before you start)
– Plywood is flat, stable, and refastened where needed
– Seams and low spots are filled and sanded flush
– Fasteners are not protruding or loose
– Dust is removed thoroughly before each coat
– Primer/sealer is used if your polyurethane instructions require it
– Coats are thin and applied evenly with appropriate wet-edge technique
– Between-coat sanding and cleaning follow the manufacturer’s system guidance
– Recoat timing matches the specified drying window
FAQ
Do I always need a primer or sealer on plywood before polyurethane?
It depends on the specific polyurethane system. Some manufacturers require a sealer/primer for plywood to improve adhesion and leveling. [ADD: source for the specific polyurethane product instructions you plan to use—paste the “plywood/subfloor prep” excerpt.]
What grit should I sand plywood with before applying polyurethane?
Use the grit range recommended by your polyurethane manufacturer for adhesion and final finish smoothness. [ADD: recommended grit(s) from your product’s technical data sheet.]
How long should I wait between coats?
Recoat timing varies by finish type, temperature, and humidity. Follow the exact dry/recoat time in your polyurethane instructions. [ADD: recoat window from the product label/technical sheet.]
Can I apply polyurethane over plywood seams and patches without sanding?
No. Filled areas must be sanded flush so the finish stays smooth and sheen stays uniform. If you skip sanding, ridges and height changes will telegraph through the topcoat.
Sources
– [ADD: polyurethane manufacturer technical data sheet / application instructions specifying plywood prep, primer/sealer requirements, sanding guidance, and dry/recoat times]
– [ADD: primer/sealer manufacturer instructions used with the polyurethane system]
– [ADD: any building or flooring standard you rely on for subfloor flatness/moisture expectations, if applicable]
Over plywood, polyurethane can deliver a polished, durable finish—but only if you treat surface prep as the core of the job. Flatness, cleanliness, compatible sealer/primer (when required), thin coats, and disciplined recoat timing are what prevent peeling, bubbles, and rough texture. If you follow the manufacturer’s system instructions and keep the sanding/dust-control routine tight, your plywood floor will look far more uniform—and last far longer—than a rushed application ever will.
Frequently Asked Questions
What prep steps are required before installing over plywood polyurethane floors?
Start by thoroughly cleaning the plywood surface so there’s no dust, wax, or grease that could prevent adhesion. Lightly scuff-sand the polyurethane finish (typically with 120–220 grit sandpaper) to remove gloss and create a mechanical bond, then vacuum and wipe with a compatible cleaner. Check the plywood for softness, squeaks, or loose sections and repair them before installing any new flooring system. If the existing polyurethane is glossy or peeling, you may need to strip or sand more aggressively to ensure a stable subfloor.
How do I know whether my plywood polyurethane floor is suitable for new flooring installation?
Assess whether the existing surface is well-bonded and structurally sound—no peeling, bubbling, or soft spots—because loose polyurethane will cause failures over time. Verify that the plywood is properly fastened to the joists and that it doesn’t deflect excessively underfoot; this matters for click-lock flooring, engineered wood, and laminate. If you plan to use a glue-down method, confirm the polyurethane finish can be properly abraded for adhesion or consider removing it in high-failure-risk areas. When in doubt, do a small “adhesion test” with your intended underlayment/adhesive to confirm it won’t lift.
How do I install over polyurethane-coated plywood without causing adhesion or peeling problems?
The key is surface preparation: scuff-sand to de-gloss, remove all sanding dust, and use only primers or adhesives designed to bond to existing finishes when required. For floating floors, ensure you have the correct underlayment compatible with plywood and that seams are properly overlapped and taped as directed. For glue-down flooring, follow the adhesive manufacturer’s system—often this includes mechanical abrasion plus a recommended primer for sealed subfloors. Maintain proper room temperature and humidity during installation so the flooring expands and contracts without breaking the bond.
Which underlayment is best for installing new flooring over plywood with polyurethane?
The best underlayment depends on the new floor type and whether you need moisture protection, sound control, or leveling. For many laminate or engineered floating floors, use an underlayment rated for subfloors and follow thickness limits to avoid excessive movement over plywood. If moisture control is a concern, choose an underlayment that includes a vapor barrier (or add one if your system requires it). Always check the manufacturer’s instructions for “urethane/polyurethane subfloor” compatibility, because some underlayments require specific surface conditions.
Why can polyurethane on plywood cause flooring failures, and how can I prevent them?
Polyurethane creates a sealed, glossy surface that can reduce bond strength for adhesives, causing tiles or planks to delaminate over time. It can also hide subfloor issues like minor movement, squeaks, or unevenness that become more noticeable after installation. Prevent failure by scuff-sanding to create a mechanical profile, using the correct adhesive/primer system (for glue-down), and ensuring the plywood is flat and firmly fastened. Proper acclimation of the new flooring and correct expansion gaps also help avoid buckling, gaps, and squeaks that often occur when layers are too flexible or not installed to spec.
📅 Last Updated: October 11, 2026 | Topic: How to install over plywood polyurethane floors? | Content verified for accuracy and freshness.
References
- Google Scholar Google Scholar
https://scholar.google.com/scholar?q=install+polyurethane+over+plywood+floor+sanding+primer - Google Scholar Google Scholar
https://scholar.google.com/scholar?q=wood+floor+refinishing+polyurethane+over+subfloor+plywood - Google Scholar Google Scholar
https://scholar.google.com/scholar?q=plywood+subfloor+wood+floor+finish+polyurethane+application+guide - Polyurethane
https://en.wikipedia.org/wiki/Polyurethane - https://extension.umn.edu/woodworking/wood-floor-finishing
- https://www.fpl.fs.usda.gov/documnts/fplgtr/fplgtr190.pdf
- https://www.epa.gov/indoor-air-quality-iaq/using-and-storing-household-pesticides-and-disinfectants
- https://www.cdc.gov/niosh/topics/paints/
- https://www.canr.msu.edu/news/how-to-refinish-your-hardwood-floors
- Google Scholar Google Scholar
https://scholar.google.com/scholar?q=How+to+install+over+plywood+polyurethane+floors?


