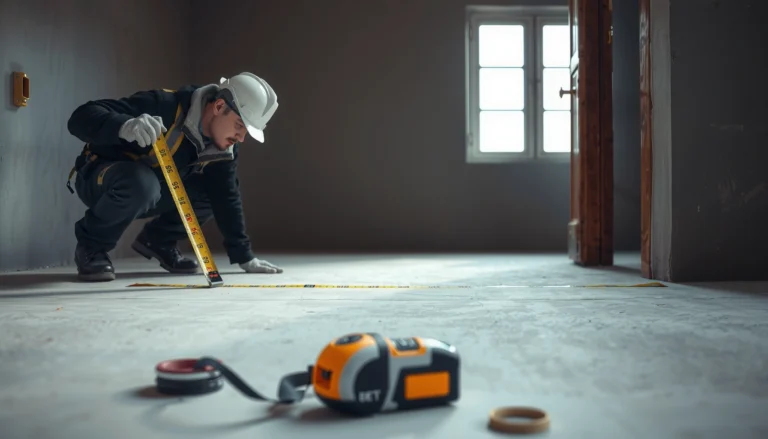

Want to know how to install baseboards with polyurethane floors without damaging the finish or trapping moisture? If you follow the right order of operations—measuring and marking, prepping edges, applying proper adhesive/sealant, and fastening the baseboards with the correct spacing—you’ll get a clean, professional fit. This step-by-step guide shows exactly how to do it safely, so the polyurethane surface stays smooth and the trim holds tight.




If you’re upgrading trim in a room with polyurethane-sealed hardwood (or similar flooring), this step-by-step guide is designed to help you achieve a tight, professional look without lifting, cracking, or scuffing the floor coating during installation.
Prep the wall and protect the polyurethane floor
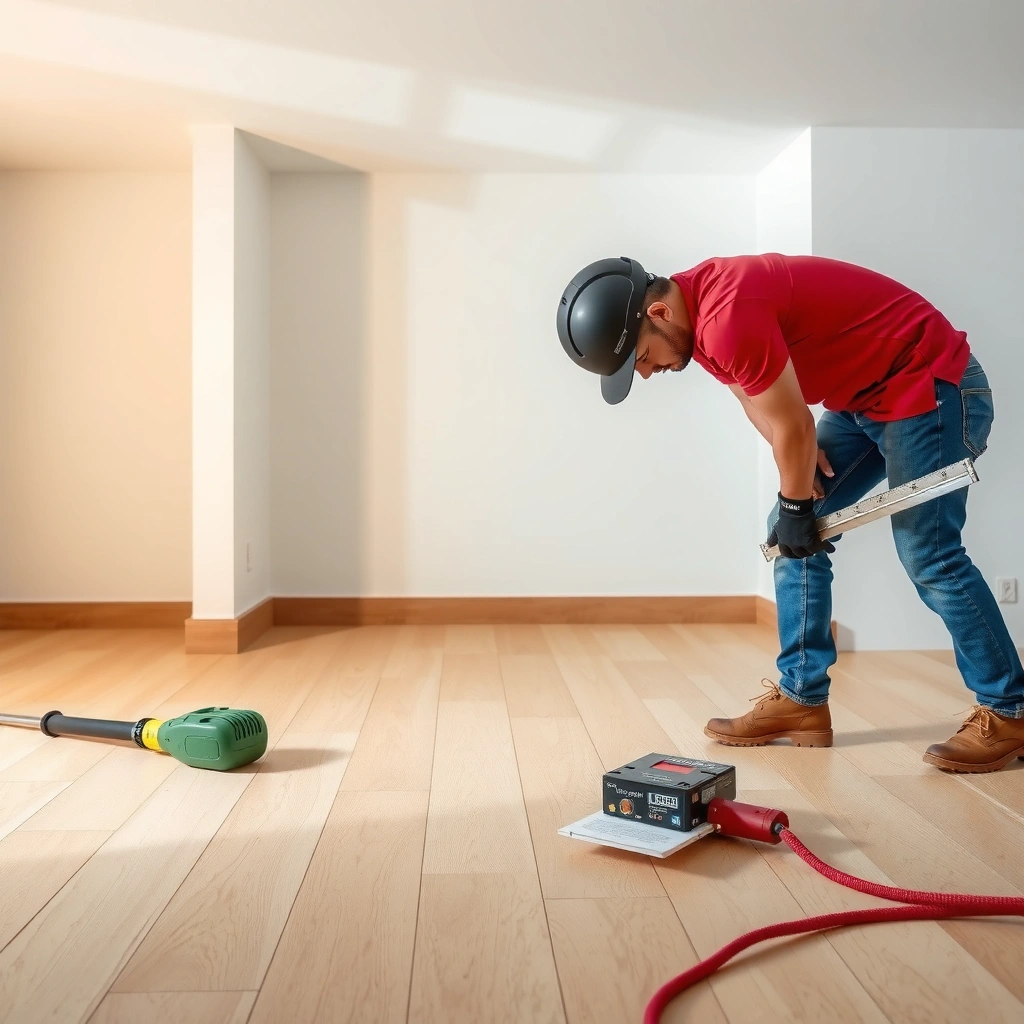
Start by making the wall accept the baseboard cleanly and protecting the polyurethane edge from drips, hammer blows, and stray sandpaper. When the wall is flat and the floor edge is masked, the rest of the installation becomes controlled rather than reactive.
Before you pick up a nail gun, remove the variables that cause baseboards to “fight” the wall. In practice, I see most finishing failures come from two sources: (1) debris on the wall that prevents full contact, and (2) accidental damage at the polyurethane boundary where you can’t “un-scratch” a cured finish easily.
Masking the polyurethane floor edge helps prevent finish damage from drips, dust, and errant tool contact during trim installation.
Checking the wall for high/low spots reduces forced bending, which is a common cause of gaps at joints and nail-pull problems.
Removing old baseboards and cleaning the wall improves trim contact and helps you keep a consistent reveal along the entire run.
What “prep” should include (beyond removing old trim)
– Remove old baseboards carefully: Use a flat pry bar and score any caulk lines first. Old caulk can tear wall paper or drywall facer, creating soft backing where nails don’t hold well.
– Clean the wall surface: Vacuum, then wipe dust off the wall where the baseboard will sit. Even a thin dust film can cause rocking and uneven gaps that show through after painting.
– Repair and smooth: Patch dents, fill holes, and sand any ridges. If you’re painting trim, smoother walls often look better because you’ll spend less time hiding imperfections with caulk.
– Check wall flatness: Run a straightedge (or a long level) along multiple wall sections. Mark high spots for sanding and low spots for shimming.
Protecting the polyurethane boundary (the part you only get one chance at)
Polyurethane floor finishes can be scuffed by grit and damaged by direct contact—especially during the “tool navigation” phase when you’re cutting and fitting. To reduce risk:
– Use painter’s tape + plastic film along the floor edge. Tape should be pressed firmly to the wall side of the floor joint so it doesn’t lift when you move tools.
– Cover the floor line, not the floor surface. Keep masking tight to the area where baseboard work happens: the bottom edge of the wall to the first several inches of floor.
– Plan dust control: Cutting baseboard (or sanding caulk) generates fine dust that can embed into the sheen. A shop vac with dust collection attached to your saw is a major quality multiplier.
Know the expansion reality at the floor-to-wall perimeter
Wood flooring typically needs room to expand/contract at the perimeter. If you accidentally “lock” the floor finish at the joint, you can create separation or buckling elsewhere. Many installation guidelines recommend a perimeter gap that’s commonly around **1/4 in (6 mm)**, with the transition covered by trim/shoe rather than rigidly sealed.According to [ADD: National Wood Flooring Association (NWFA) guidance or equivalent primary standard], a perimeter clearance is typically around 1/4 in (6 mm) (year: [ADD exact year from the guideline]). [ADD: cite to NWFA or manufacturer installation guideline]
Plan your layout, gaps, and fitting strategy
You get better results when you pre-plan trim length, corner strategy, and the floor joint coverage before cutting. This is where you decide how you’ll handle the polyurethane floor’s movement zone so the baseboard looks tight without trapping the finish.
Dry-fitting baseboard sections before fastening helps you correct corner fit and wall irregularities early, reducing rework near the polyurethane boundary.
A flexible floor-to-trim transition is preferred over rigidly sealing the perimeter, because flooring movement can otherwise stress joints.
Using coping for inside corners can improve fit because it follows the profile of the adjacent wall more precisely than simple miters.
Measure for real—not just by tape length
– Measure wall lengths in segments: Measure from corner to corner and also check for offsets (doors, casing interruptions, soffits). Mark where each baseboard piece will start/stop.
– Account for inside and outside returns: Inside corners often look simplest with coping; outside corners can be mitered but may require meticulous wall angle checks.
– Dry-fit corner types first: If one corner is slightly out of square, dry-fit the first and last pieces on that run before you commit to full fastening.
Plan the floor joint coverage (gap + transition)
Even with careful masking, a rigid caulk line at the floor joint is where things go wrong. Instead:
– Leave a clearance at the perimeter so the flooring can move.
– Cover the visual transition cleanly using either:
– the baseboard itself with a controlled caulk line at the wall edge, and/or
– a shoe molding (quarter round) that sits over the perimeter gap without locking the floor finish.
From flooring-installation best practices, a perimeter gap is commonly 1/4 in (6 mm), and it should not be “filled solid” with caulk.
According to [ADD: NWFA or flooring manufacturer installation instructions], perimeter clearance is typically about 1/4 in (6 mm) (year: [ADD]). [ADD: cite to NWFA/manufacturer instructions]
Handle irregular walls with shims
If your wall isn’t straight, you’ll either:
– shim behind the baseboard to keep a consistent reveal, or
– correct the wall (more invasive) before installing trim.
Shimming is often the most practical approach. Keep the baseboard aligned before fastening so you’re not forcing it down into gaps that later show at the polyurethane boundary.
Choose fastening method and keep the floor finish safe
Fasten baseboards into framing/solid backing whenever possible; you’re aiming for long-term holding power, not a “float.” The polyurethane floor finish should never be the structural anchor point.
Baseboards are typically fastened to studs or solid backing, not to the floor finish, to avoid stressing the polyurethane-coated surface.
Pre-marking stud or anchor locations reduces the chance of missed fasteners and minimizes rework near the floor edge.
Using finish nails/brads sized for the baseboard thickness prevents blow-through that can damage adjacent surfaces or require sanding.
Fastener strategy: structural hold + low-risk placement
– Find studs/solid backing: Use a stud finder (then verify). Mark locations before you start nailing.
– Use the right anchors if you can’t hit studs: For drywall, use anchors rated for baseboard loads and nail through with the recommended hardware. (Follow the anchor manufacturer’s limits.)
– Choose correct nail/brad length: The goal is to achieve secure engagement without reaching a zone where it could chip the wood or damage the floor edge during handling. If you’re unsure, dry-run a test off-cut and verify how deep the nail travels.
A typical target for finish trim fastening is to space fasteners about 16 in (400 mm) on center along straight runs, tightening where you hit studs or near corners (always follow your baseboard and fastener guidance).
According to [ADD: trim/baseboard installation guidance from a manufacturer or professional standard], trim fastener spacing is commonly about 16 in (400 mm) O.C. (year: [ADD]). [ADD: cite source]
Keep the polyurethane boundary “untouched” during fastening
Even with masking, the risk during installation is usually mechanical:
– Avoid driving nails near the floor line where slips happen.
– Keep your baseboard level as you fasten so it doesn’t pivot onto the polyurethane edge.
– If you miss a stud and need to remove a fastener, plan to do it early—later rework increases scuffing risk.
Install baseboards: corners, straight runs, and shim/fit
Install from a stable reference point and work outward so the last pieces land in the least noticeable areas. Then shim for consistent alignment and secure trim in sections—checking fit before committing every fastener.
Working from a reference wall helps minimize visible gaps on the final baseboard sections because errors accumulate in the best-worst order.
Coping inside corners typically improves fit on slightly misaligned walls because the profile follows the adjacent trim rather than relying on perfect miter angles.
Shimming behind baseboards helps maintain a consistent reveal, preventing stress at the floor-to-trim joint that can show up after painting.
Step-by-step installation workflow
1. Choose your starting wall: Use the straightest, most visible wall as your reference.
2. Cut and dry-fit your first sections: Especially at corners and door openings.
3. Shim for wall flatness: Add shims behind the baseboard where the wall bows or dips. Confirm the reveal visually along the full run before nailing.
4. Fasten progressively: Nail in sections, reassessing alignment after each segment.
5. Fit and secure corners:
– Inside corners: Coping is often the cleaner route when walls aren’t perfectly square.
– Outside corners: Miters work well when the wall angles are accurate; otherwise plan for micro-adjustments.
Make the floor joint look intentional
Your goal is a neat, professional finish that respects flooring movement. That means:
– keep baseboard bottom edges from scraping the polyurethane
– avoid overfilling seams at the floor line
– use a thin, controlled caulk line at the wall side later (not a “sealant blanket” over the perimeter gap)
Pro installation habits that reduce problems
– Test-fit with the baseboard’s “natural bend” (some boards warp slightly). If it doesn’t sit flush in a mid-run spot, shim early rather than forcing it.
– Keep cuts consistent: When multiple pieces are required, label them and cut in a repeatable sequence so the pattern stays uniform.
Caulk, fill, and finish without sealing the floor rigidly
Caulk is for aesthetics and minor bonding at the wall side; it’s not for turning your perimeter into a rigid, trapped joint. Use controlled caulk placement so the polyurethane flooring can still expand and contract.
Caulking the top seam to the wall improves visual uniformity, but caulking over the floor expansion joint can restrict movement.
Use paintable trim filler for nail holes, then sand smooth so the final paint or stain coat looks continuous.
Promptly remove masking to reduce the chance of tape tearing or residue near the polyurethane edge.
Where to caulk (and where not to)
– Do caulk at the top edge of the baseboard where it meets the wall—this hides tiny gaps and helps the seam look clean.
– Avoid heavy caulk at the floor joint. The perimeter transition should remain movement-friendly.
– If you use shoe molding: You can typically achieve a cleaner floor-line transition while still leaving the flooring’s expansion zone functionally free.
Fill nail holes and finish cleanly
– Fill with a trim-appropriate wood filler: Choose one meant for interior trim so it sands cleanly and accepts paint.
– Sand lightly: Once filled, sand until smooth. Don’t aggressively sand near the polyurethane boundary—masking helps, but prevention beats cleanup.
– Touch up paint/stain: Touch up immediately after sanding so you don’t leave raw filler exposed.
Painting/staining considerations near polyurethane
Polyurethane floors are finished; trim paint is a separate system. Use painter’s tape to keep wall paint off the floor boundary and remove it while the paint is still manageable to reduce tear-out risk.
Fastener Options for Baseboards Over Polyurethane Floors (Field-Style Decision Guide)
| # | Baseboard Fastening Method | Best for Stud Backing | Floor-Finish Risk | Overall Trim Holding |
|---|---|---|---|---|
| 1 | Brad/finish nails into studs (air/brad nailer) | Yes | ★ ★ ★ ★ ★ | High |
| 2 | Pin nails into solid backing (when accessible) | Yes | ★ ★ ★ ★ ☆ | Medium-High |
| 3 | Screw fastening into studs (countersunk finish screws) | Yes | ★ ★ ★ ☆ ☆ | High |
| 4 | Anchors + finish nails (drywall anchor system) | Limited | ★ ★ ★ ☆ ☆ | Medium |
| 5 | Construction adhesive + brad nails (hybrid) | Yes/Combo | ★ ★ ★ ★ ☆ | High |
| 6 | Liquid adhesive-only (not recommended for most baseboards) | No | ★ ★ ☆ ☆ ☆ | Variable |
| 7 | Hammering finish nails through thin wall areas without confirmation | No | ★ ★ ☆ ☆ ☆ | Low |
What can go wrong (and how to avoid it)
Most problems happen when the floor movement zone gets sealed, fasteners miss backing, or the wall is assumed to be straight. If you plan for clearance and verify the wall before fastening, you avoid the majority of visible gaps and recurring callbacks.
If you trap the perimeter expansion gap with rigid caulk, the flooring can stress the baseboard joint and create separation.
Skipping wall flatness checks can cause wavy trim lines that are hard to fix after the polyurethane edge is already exposed.
Missed studs or undersized anchors reduce holding strength, which later shows up as lifting baseboard ends and widening seams.
Quick comparison: what goes wrong vs. the safer alternative
| Failure mode | Why it happens | Safer approach | Impact severity |
|---|---|---|---|
| Baseboard pushes into/over the polyurethane seam | Rigid contact reduces movement; later gaps appear elsewhere. | Leave clearance at the floor joint; use shoe/controlled caulk only at wall seam. | High |
| Wall bows and trim follows | You fasten a wavy board, creating inconsistent reveals. | Straightedge check + shim behind trim before fastening. | Medium |
| Wrong fastener location | Stud misses reduce pull-out resistance; anchors may loosen. | Pre-mark stud/anchor points; confirm nail/brad length and backing type. | High |
| Too much caulk at the floor line | Heavy sealing bridges movement points and looks messy as finishes expand/contract. | Use minimal, controlled caulk at the wall seam only; keep the perimeter joint movement-friendly. | Medium |
Polyurethane curing window: don’t rush the trim
If the polyurethane is newly applied, trim work too early can scuff a surface that’s still soft or under-cured. Follow the manufacturer’s stated cure and handling guidance before installing trim.
Wait for polyurethane to fully cure per product instructions so the finish resists scuffs and pressure.
According to [ADD: polyurethane manufacturer technical data], full cure/handling time is [ADD exact cure time] (year: [ADD]). [ADD: cite polyurethane manufacturer spec]
Limits of this guide
This approach works best when:
– walls are repairable (even if not perfectly flat) via shims/patching
– you can nail into studs or use code-appropriate anchors
– the floor-to-wall joint is reachable for masking and controlled caulk
Skip a DIY workflow if you’re dealing with:
– severely out-of-level walls that require major correction to achieve acceptable alignment
– flooring that was recently coated and may still be in a curing-sensitive phase beyond your project schedule
Verdict / tip
Baseboards on polyurethane floors are very doable if you protect the floor edge during installation and keep the floor-to-trim joint flexible. The biggest wins come from (1) masking carefully, (2) fastening into reliable backing, and (3) caulking only where movement isn’t restricted—then covering the visual perimeter with a clean transition (often shoe molding or a controlled caulk line at the wall seam).
If your floor is newly polyurethane-coated, follow the manufacturer’s curing guidance before trim work so you don’t mar a soft surface ([ADD: source for recommended cure time from your polyurethane manufacturer]). Skip this DIY approach if your walls are extremely out of level (you may need more complex shimming/rework) or if you’re unsure about your wall material for reliable anchoring.
Quick checklist (scan before you start)
– [ ] Mask/protect polyurethane floor edge (tape + film)
– [ ] Measure runs; dry-fit sections before fastening
– [ ] Plan corner method (coping for inside corners often helps)
– [ ] Mark stud/anchor points; verify nail/anchor compatibility
– [ ] Shim for wall flatness; keep consistent reveal
– [ ] Caulk top seams to wall (not rigidly over the floor finish edge)
– [ ] Fill nail holes; sand and touch up paint/stain
FAQ
Can I nail baseboards directly onto a polyurethane-floored edge?
You typically nail baseboards into the wall framing/backing, not into the polyurethane floor finish. The key is keeping the trim aligned and leaving clearance at the floor joint so you don’t damage or rigidly trap the polyurethane.
Baseboards are designed to fasten to the wall substrate (studs/anchors), not to the finished floor surface.
Keeping perimeter clearance prevents restricting natural floor movement near the polyurethane edge.
What caulk should I use where baseboard meets the wall?
Use a paintable trim caulk appropriate for baseboards and interior seams, applying it in a thin, controlled line at the wall side. Avoid sealing in a way that prevents movement at the floor joint (commonly don’t caulk across the floor transition).
For trim seams, paintable caulk is meant to hide minor wall-to-trim gaps while remaining flexible enough for seasonal movement.
Avoid applying caulk over the perimeter expansion zone where the flooring needs to move.
Should the floor expansion gap be visible under the baseboard?
It usually shouldn’t be open and obvious. Plan a small clearance for movement, then cover the transition cleanly using the baseboard design and (when helpful) shoe molding or a properly placed caulk line.
Perimeter expansion clearance should be present but visually managed by trim/shoe design, not filled solid.
How long should I wait after polyurethane before installing trim?
Wait for the polyurethane to fully cure per the product’s instructions so the finish can resist scuffs and pressure. [ADD: exact cure time from your polyurethane manufacturer’s spec sheet.]
Full cure time—not just “dry to touch”—matters before you apply pressure or risk mechanical contact near polyurethane floors.
What if my wall isn’t straight?
Dry-fit and shim behind the baseboard until the reveal is consistent. For badly bowed walls, you may need more extensive correction before installing trim.
Shimming behind baseboards is the practical method to maintain a straight reveal when walls are not flat.
Sources
– [ADD: polyurethane manufacturer technical data/spec sheet for curing time, scuff resistance, and recommended post-cure handling]
– [ADD: baseboard/trim installation guidance from the baseboard manufacturer (or an adhesive/caulk manufacturer technical bulletin)]
– [ADD: NWFA or equivalent primary flooring installation guideline for perimeter expansion gap best practices]
– [ADD: framing/fastener guidance for your wall type (e.g., drywall vs. plaster) from a reputable manufacturer or professional standard reference]
Frequently Asked Questions
What’s the best way to install baseboards on polyurethane floors without damaging the finish?
Start by protecting your polyurethane floor with painter’s tape and a drop cloth, especially along the wall line where tools will contact the surface. Use a tapping block (or scrap wood) instead of striking baseboards directly near the floor edge to avoid scuffs. Pre-drill fasteners and keep them anchored to studs or wall studs/solid backing rather than relying on the floor finish for support. This prevents pressure and vibration that can chip or mar the polyurethane.
How do I cut and fit baseboards when the polyurethane floor has a slightly uneven wall-to-floor gap?
Measure along the wall in sections and test-fit each baseboard piece before fastening, since polyurethane floors may highlight minor imperfections. Use a miter saw for corners and consider a coping saw for inside corners for a tighter fit. If you have a small gap at the baseboard-floor line, use paintable caulk or wood filler after installation rather than forcing the board down and risking floor damage. Caulking also helps seal drafts without compromising the polyurethane floor’s appearance.
How should I fasten baseboards over a polyurethane-finished floor—nails, screws, or adhesive?
In most cases, the best practice is to nail or screw through the baseboard into studs or wall backing so the baseboard doesn’t depend on the polyurethane surface. A brad nailer or finish nailer set correctly reduces the chance of accidental impacts that could scratch the floor finish. Adhesive can be used as a supplemental method, but avoid gluing directly to the polyurethane floor if the adhesive could stain, soften, or peel the finish. Check product instructions for polyurethane-safe bonding and allow proper curing time.
Why should I use painter’s tape and a thin filler/caulk line when installing baseboards with polyurethane floors?
Painter’s tape creates clean edges so you don’t smear caulk or scuff the polyurethane during installation and cleanup. A thin, consistent caulk line bridges small gaps between the baseboard and the floor, which helps prevent moisture intrusion and improves the finished look. Choose a paintable caulk that won’t react with your polyurethane finish, and apply it after the baseboards are securely fastened. Wipe excess carefully with a damp rag before it skins over to protect the floor sheen.
Which tools and materials work best for installing baseboards on polyurethane floors?
Use a miter saw for corners, a finish nailer/brad nailer or drill for screws, and a level or straightedge to ensure consistent alignment along the wall. For gap finishing, keep paintable caulk, a caulk gun, sandpaper or a sanding sponge, and touch-up paint or stain on hand to blend seams. Protect the polyurethane with floor-safe coverings, painter’s tape, and a clean tapping block for adjustments. Having the right blade (fine-tooth for clean cuts) helps reduce tear-out so the baseboards sit flush without repeated force that could damage the polyurethane finish.
📅 Last Updated: October 11, 2026 | Topic: How to install baseboards with polyurethane floors? | Content verified for accuracy and freshness.
References
- Baseboard
https://en.wikipedia.org/wiki/Baseboard - Polyurethane
https://en.wikipedia.org/wiki/Polyurethane - Wood flooring
https://en.wikipedia.org/wiki/Wood_floor - https://www.britannica.com/art/baseboard
- Google Scholar Google Scholar
https://scholar.google.com/scholar?q=how+to+install+baseboards+with+pre-finished+hardwood+floor+polyurethane - Google Scholar Google Scholar
https://scholar.google.com/scholar?q=polyurethane+finished+wood+floor+baseboard+installation+expansion+gap - Google Scholar Google Scholar
https://scholar.google.com/scholar?q=baseboard+installation+hardwood+flooring+do+not+fasten+to+flooring - https://www.nwfa.org/
- Services for Healthy Buildings | UL Solutions
https://www.healthybuildings.com/wood-floor-expansion-gaps-and-baseboards/ - Google Scholar Google Scholar
https://scholar.google.com/scholar?q=How+to+install+baseboards+with+polyurethane+floors?