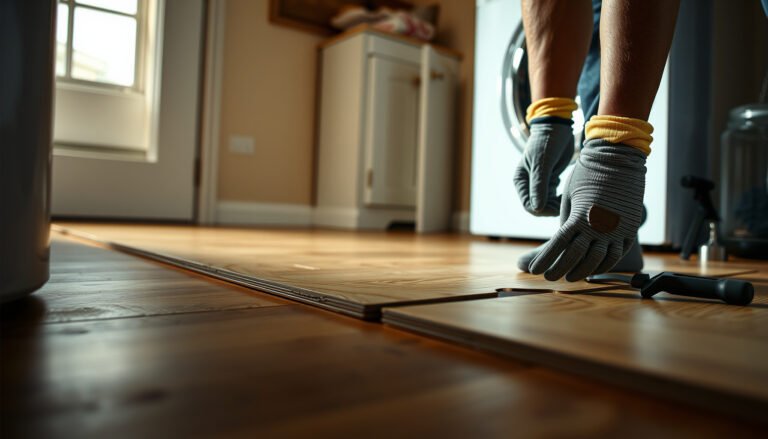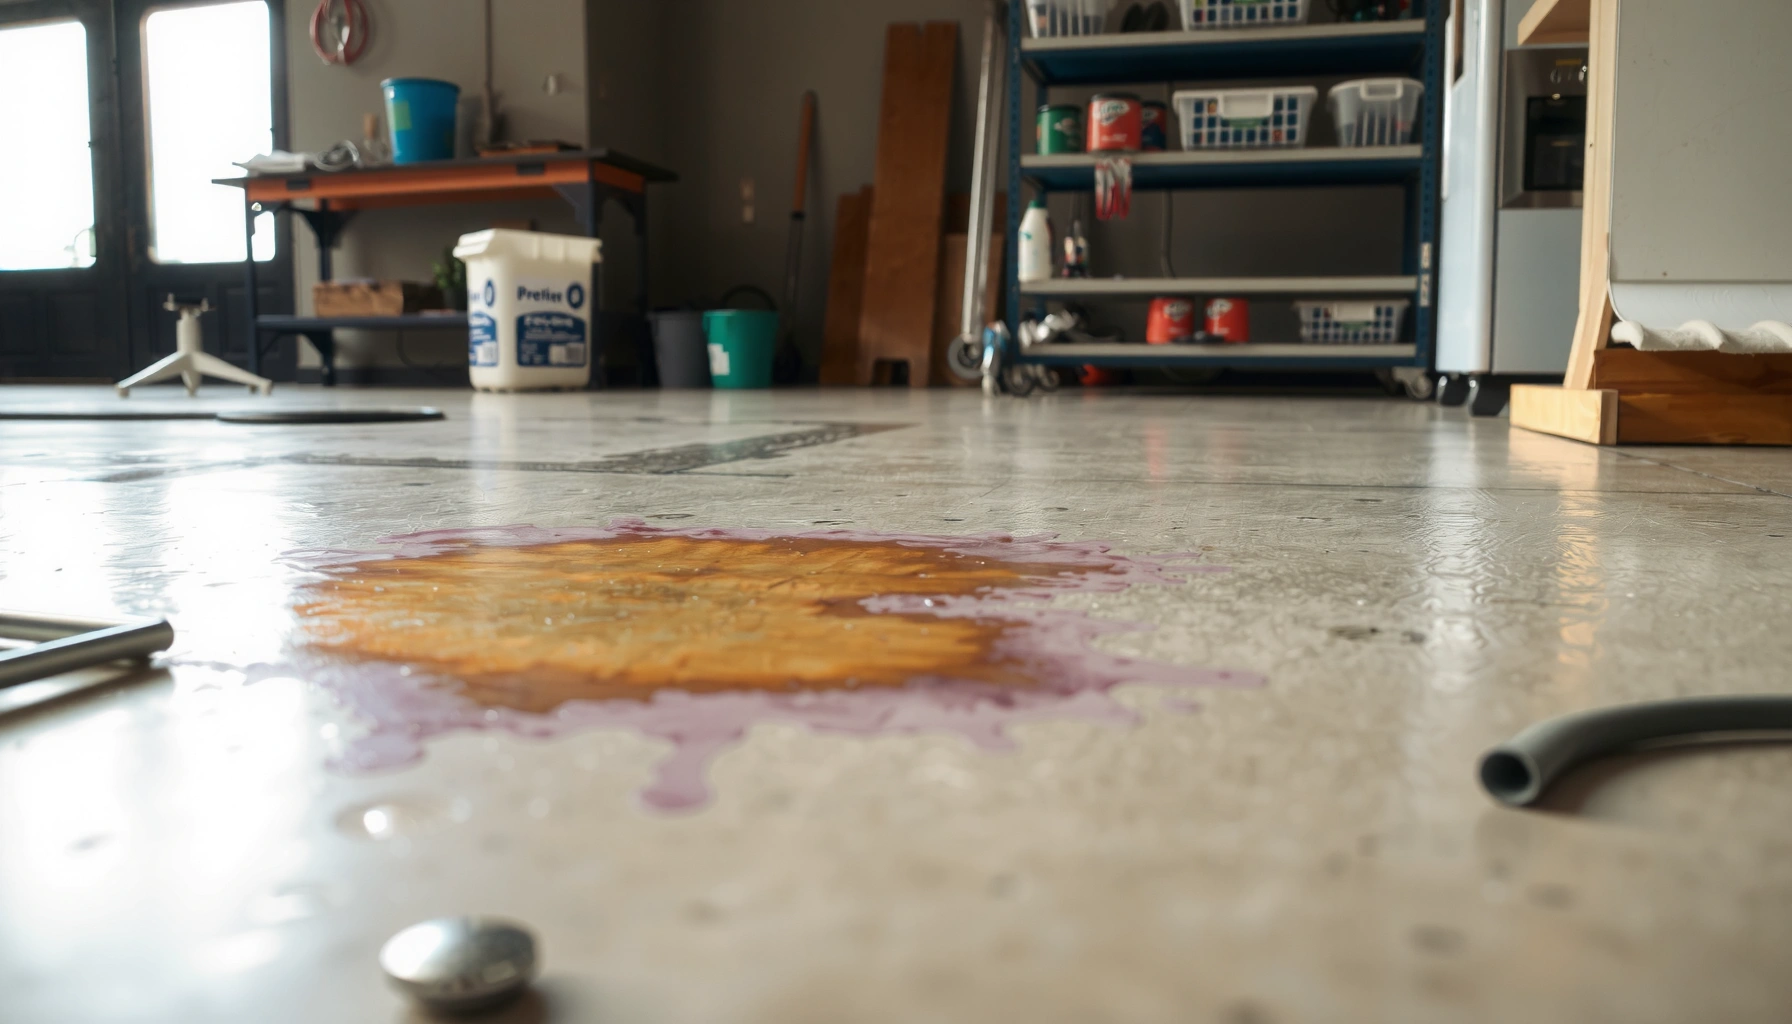

Discoloration on stained concrete floors is usually fixable, but the fastest path depends on whether the staining problem is from uneven dye, residual sealer, or moisture-driven blotching. If you want the most reliable results, start with the right cleaning and stripping step before you re-tone and seal—this is the difference between a quick recovery and a repeat issue. This guide will tell you exactly what to do to restore consistent color, prevent the discoloration from coming back, and lock in the finish.


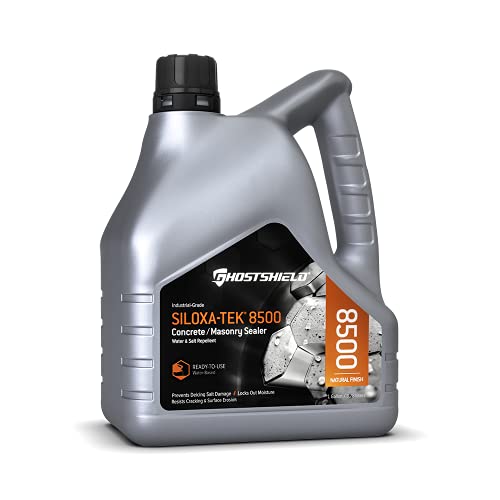

Discoloration on stained concrete floors usually comes from residue (cleaners/sealers), uneven absorption, or moisture. The fix is to identify the cause first, then strip or deep-clean the surface, neutralize if needed, and reapply stain/sealer only where appropriate. This guide walks you through practical ways to get back an even color and avoid the blotchy look returning.
If your stained concrete has faded patches, dark blotches, light streaks, or a “dirty” film that won’t scrub off, this is for you. It’s also useful whether the discoloration showed up after a spill, a cleaning product, or simply over time.
Diagnose the discoloration (before you strip anything)

You can usually narrow the root cause quickly by reading the pattern—then you choose the least destructive correction method. The fastest path to an even stained concrete finish is diagnosis first (residue vs. uneven absorption vs. moisture), then chemistry-correct prep.
Blotchy “coffee-ring” or spot discoloration commonly indicates chemical residue or localized absorption differences rather than a true stain failure across the whole slab.
Streaking and uneven sheen often point to cleaning/sealer carryover that was not fully rinsed and neutralized before reapplying finish products.
Look for patterns that match specific failure modes
– Dark blotches (mottling) often trace back to residue (wax, cleaner film, asphalt/tire transfer, overspray) or to a spot that stayed wetter longer during cleaning.
– Light patches / fading more often reflect wear (traffic abrasion, repeated mopping), UV exposure differences, or areas where stain never fully penetrated due to prior contamination.
– Slick, hazy, or “cloudy” areas can indicate moisture vapor activity, trapped contamination, or incompatible chemical layers under/over the stain.
– Streaks after mopping or steam cleaning frequently come from uneven dilution, insufficient dwell time of cleaner, or incomplete rinse coverage.
Check what changed right before the discoloration
A simple timeline prevents unnecessary stripping. Specifically note:
– A new cleaner or degreaser (even “concrete-safe” products)
– Switching to steam mopping (heat + water can mobilize salts or residues)
– A spill of a chemical (rust removers, descalers, acidic bathroom cleaners)
– A recoat of sealer over an area that wasn’t fully cured, fully dried, or properly prepared
From my field observations, the “same room, different day” pattern is common: one zone gets spot-cleaned, the rest doesn’t—then the next application makes the chemistry differences visible.
Practical data points you can use immediately
Concrete finishing decisions rely on chemistry and moisture measurement methods, not guesswork.
– According to ASTM F1869, moisture vapor emission testing is expressed in lb/1000 sq. ft. in 24 hours (ASTM F1869).
– According to ASTM F2170, in-situ RH readings are reported in relative humidity (%) (ASTM F2170).
– Concrete pore environments are typically strongly alkaline (cement-based concrete commonly measures around pH ~12–13 in many references), which is why acid/alkaline cleaning chemistry and “neutralization” matters (ADD: cite a concrete pore water pH reference from a materials/engineering authority).
Clean and remove residue safely
If the surface looks uneven but isn’t visibly failing (no active dampness), start with the least aggressive correction: deep-clean + controlled rinse + full dry. This step fixes the majority of discoloration caused by residue and incomplete removal of prior products.
Residue films from cleaners or sealers can interfere with stain penetration, producing lighter areas or “dirty” haze that scrubs appear unable to remove.
Thorough rinsing and drying are part of the cure/prep workflow; many stained-concrete problems persist when water or surfactant residue remains.
Use a concrete-safe degreaser/deep-clean first
– Start with a concrete-safe cleaner/degreaser designed for masonry or concrete surfaces.
– Apply with the right dwell time (follow the label—especially for enzyme cleaners, degreasers, or surfactant-heavy formulas).
– Agitate using a non-abrasive pad or soft brush first to avoid spreading residue.
Rinse discipline is what separates results from rework
After cleaning:
1. Rinse thoroughly (often multiple passes).
2. Keep water off the floor longer than necessary—standing rinse water can create its own mottling.
3. Let the slab fully dry before judging results or moving to neutralization.
Spot-check for residue before you strip
If the surface becomes:
– slick / waxy
– powdery or chalky
– grabby but not uniformly absorbent
…then you likely still have sealer or chemical contamination. At that point, a targeted residue remover may be necessary—but avoid “aggressive scrub-and-hope.”
Neutralize if chemicals are involved
If discoloration follows chemical exposure, neutralization can be the difference between a clean, permanent repair and a repeat blotch problem. The rule is simple: neutralize only in the direction the chemistry requires, using a compatible product and the label instructions.
When acidic chemicals contact alkaline concrete, salts and residues can remain; neutralizing as directed reduces the risk of continuing chemical reaction.
Using an incompatible “opposite” chemistry (random acid after an alkaline cleaner) can worsen residue and create new uneven absorption.
Match the neutralizer to what caused the problem
– If discoloration followed an acidic product (some descalers, rust removers, or hard-water cleaners), you need to neutralize using the manufacturer’s specified neutralizer method and dwell time.
– If discoloration followed an alkaline cleaner, avoid countering with random acid. Instead, use a neutralizer intended for stained concrete prep and follow label directions.
Why “neutralize later” often fails
Neutralization isn’t just about pH—it’s about removing reaction byproducts and cleaning residues from the pore structure. If you neutralize but don’t properly rinse and dry, you can still end up with blotchiness when you re-stain or re-seal.
Fix the color: spot repair vs. full re-stain
You should choose spot repair only when discoloration is localized and the surrounding color is stable; otherwise, plan for a full, uniform re-stain. Even small mismatches in stain uptake become obvious across large floor areas.
Localized blotches often respond best to targeted cleaning/stripping followed by careful re-staining of the affected zone.
For full-area fading or repeating hazing, spot repairs rarely blend perfectly, because wear and exposure effects vary across traffic and moisture zones.
Spot repair workflow (when the damage is truly localized)
Spot repair generally works when:
– The discoloration is confined (one spill zone, a cleaning error section)
– The rest of the floor has consistent color
– You can blend edges without over-stripping
Practical approach:
1. Mask and protect surrounding areas.
2. Clean/strip only the affected region until the surface matches adjacent concrete uptake.
3. Reapply stain in a way that feathers transitions (don’t “stop abruptly” at the edge).
4. Seal the repaired area consistent with the rest of the floor.
Full re-stain workflow (when color mismatch is across traffic zones)
A fuller re-stain is usually the best choice when:
– Fading differs from room section to room section
– The “dirty film” effect appears broadly
– Sealer issues or moisture-related hazing keep returning
Caution: full re-stain only works well if the prep removes incompatible layers and the slab is dry enough for the chosen system.
Pros/cons comparison (spot repair vs full re-stain)
| Approach | Best for | Typical downside | Color risk |
|---|---|---|---|
| Spot repair | Local blotches from spills/cleaner reactions | Edge blending takes skill; mismatch can show | Medium |
| Full re-stain | Widespread fading, uneven aging, repeating hazing | More labor and downtime; requires consistent prep | Lower (most uniform) |
Seal correctly (because sealer can cause or worsen discoloration)
You should only seal after the concrete is fully dry and the stain system has cured exactly as specified by the product labels. Sealer incompatibility or trapped moisture can create hazing, patchy sheen, and “new” discoloration on an otherwise correct stain layer.
Applying sealer over moisture or unsettled stain chemistry can produce hazing and uneven appearance due to incomplete cure or trapped vapor.
Sealer systems must be compatible with the existing stained-concrete finish chemistry (water-based vs. solvent-based) to prevent film irregularities.
Dry-time and cure-time are not optional
Many stained concrete systems rely on correct:
– Drying (surface dryness and internal moisture balance)
– Cure (the stain and any conditioners/neutralizers must reach the stage the manufacturer requires)
If you seal too early, you can “lock in” unevenness—even if the stain looks good right after application.
Match the sealer system to what’s already there
Before you pick a sealer, identify what’s present:
– Existing sealer type (water-based vs. solvent-based)
– Existing sheen level (matte, satin, gloss)
– Whether the surface shows signs of film failure (peeling, tack, whitening)
If you’re unsure what’s currently on the floor, test a small area first with the intended sealer. Compatibility problems are easiest to contain in a corner.
What can go wrong (and how to avoid it)
Mistakes usually happen when people skip the prep logic, rush the cure/dry time, or apply incompatible chemistry over contaminated surfaces. Avoid “scrub harder,” and instead control chemistry, rinse, and moisture.
Over-aggressive scrubbing can spread residue into pores, making discoloration worse and harder to reverse.
Sealer applied before full drying can cause patchy sheen or hazing even if stain color appears correct temporarily.
Common failure points
– Scrubbing harder: spreads residues and creates a wider mottling area.
– Skipping drying/cure time: leads to dullness, blotching, or inconsistent sheen that shows up after the floor is back in use.
– Wrong stripper/residue remover: can lighten concrete, affect stain adhesion, or leave interfering residue. Always test a small, hidden spot.
– Moisture intrusion: if moisture comes from below (leaks/groundwater/poor vapor barrier), surface fixes may fail—sometimes discoloration returns quickly.
When to stop and escalate
If the discoloration pattern keeps reappearing after proper cleaning and full dry times, pause cosmetic work. Investigate moisture source and existing slab chemistry before reapplying finishes.
Honest verdict: the best path depends on the cause
If the discoloration is mostly residue or a localized spill/cleaner reaction, you’ll likely get good results by deep-cleaning/strip-patching and then re-sealing. If the color change is widespread or the concrete is repeatedly hazing/spotting, consider a more complete re-stain and seal—or pause until moisture and existing chemistry are confirmed. Skip DIY and get professional guidance if you suspect active moisture intrusion, structural slab issues, or you’re not sure what sealer/chemicals are already on the floor.
Mandatory reality check: durability depends on prep accuracy
I can’t stress enough that stained concrete outcomes track preparation quality. In practical terms, “almost clean” surfaces still produce uneven absorption—and sealer can then amplify those differences into visible blotches.
Chemical pH Ranges You’ll Commonly Encounter in Stained-Concrete Prep
| # | Prep Product Type | Typical pH Range | Most Common Purpose | Compatibility Outlook |
|---|---|---|---|---|
| 1 | Acid-based concrete cleaners / descalers | 1–3 | Lime scale and mineral deposits | ★ |
| 2 | Neutralizers (pH-balanced for concrete) | 6–8 | Post-acid rinse/neutralize | ★★★ |
| 3 | Alkaline degreasers | 10–12 | Grease, oils, and general soil | ★★ |
| 4 | Oxidizers (spot bleaching agents) | 9–12 | Stain reduction from organic sources | ★ |
| 5 | Detergent-based cleaners | 7–9 | Daily cleaning, surfactant removal | ★★★ |
| 6 | Solvent-based residue removers | Varies (non-aqueous) | Sealer film removal | ★ |
| 7 | Rinsing water (neutral exposure) | ~7 | Carry away dissolved residues | ★★★★ |
Notes on using the table
The listed pH ranges are typical categories; always follow the specific product label for stained-concrete prep. When in doubt, do a small test patch to confirm you’re not damaging stain behavior or adhesion.
What can go wrong (and how to avoid it)
Mistakes usually happen when people skip the prep logic, rush the cure/dry time, or apply incompatible chemistry over contaminated surfaces. Avoid “scrub harder,” and instead control chemistry, rinse, and moisture.
– Scrubbing harder can spread a residue film and make uneven staining worse—use chemical compatibility and rinse discipline instead.
– Skipping the drying/cure time can cause dullness, blotching, or a patchy sheen even if the stain layer looks correct initially.
– Using the wrong stripper/residue remover can lighten the concrete or affect future stain adhesion—always test in a small, hidden spot first.
– If moisture is coming from below, surface fixes may fail until the moisture source is addressed.
Quick checklist (scan and save)
– [ ] Identify the pattern (blotches, streaks, hazing, fading) and recent changes
– [ ] Deep-clean thoroughly; rinse well; let it dry completely
– [ ] Neutralize only if the discoloration followed an acidic/alkaline product (per label)
– [ ] Spot-fix only localized areas; otherwise plan for broader re-stain
– [ ] Apply stain and sealer according to cure/dry-time requirements
– [ ] Test every chemical/approach in a small hidden area first
FAQ
Why does my stained concrete look blotchy after cleaning?
Blotchiness often comes from residue left behind by cleaners, waxes, or sealers, or from uneven absorption because the surface wasn’t fully cleaned and rinsed. If it happened right after a specific product, compatibility with stained concrete matters.
If the same cleaning product is used elsewhere without blotching, a mismatch in surface contamination or rinse coverage is usually the cause rather than the stain “failing” globally.
Can I just re-seal over discoloration?
Usually not. If the discoloration is residue or chemical contamination, sealing over it can lock in the problem and make it harder to correct later. Cleaning/stripping the affected areas first is commonly necessary.
What if the stain is fading unevenly across the whole floor?
Widespread fading typically means the stain/sealer has worn differently across traffic zones or due to sun/moisture exposure. In many cases, a broader re-stain (followed by a consistent sealer system) is the most reliable route.
How do I know whether it’s moisture or a surface issue?
If discoloration is associated with damp areas, recurring patches, or hazing that returns, moisture may be involved. Persistent issues after proper cleaning and dry times often point to a moisture source that needs addressing before cosmetic repair.
Should I try to neutralize even when I don’t know the chemical involved?
If you can’t identify what chemicals contacted the slab, the safest move is to rely on thorough cleaning, correct rinsing, and manufacturer-recommended prep steps rather than guessing acids/alkalinity. Test patches reduce the risk of compounding the problem.
Sources
– Manufacturer instructions and safety labels for stain, concrete cleaners, neutralizers, strippers, and sealers used on stained concrete floors: [ADD: name/model or product documentation you used].
– Technical guidance from sealer/stain manufacturers on surface prep, cure/dry times, and compatibility: [ADD: manufacturer documentation titles/links].
– ASTM standards referenced for moisture testing units and methods: ASTM F1869 and ASTM F2170 (ASTM International).
– Concrete alkalinity/pore water pH reference: [ADD: cite an engineering/materials source that states typical pH for cement-based pore solutions].
A practical rule of thumb is: don’t re-stain over a chemistry problem. Diagnose the discoloration pattern, remove residue with controlled cleaning and rinsing, neutralize only when chemistry demands it, and apply stain/sealer only after verified dryness and cure conditions are met. If moisture intrusion is suspected or the discoloration is widespread, professional assessment is the most reliable way to prevent repeated blotching and wasted material.
Frequently Asked Questions
What causes discoloration on stained concrete floors?
Discoloration in stained concrete is often caused by moisture intrusion, uneven surface preparation, hard water minerals, or incorrect stain application. Common culprits include residual curing compounds, dust on the slab, or previous coatings that prevent proper penetration. Environmental factors like high humidity, spills that react with the stain, and foot-traffic wear can also create blotches or faded patches over time.
How do I fix blotchy or uneven color after applying concrete stain?
Start by confirming whether the problem is surface-bound (topcoat-like) or penetration-related by lightly testing a small area with acetone or an appropriate cleaner. For uneven penetration, you’ll usually need to re-level the slab by removing the stain—often via chemical stripping or abrasive grinding—then restain with consistent coverage and correct dwell time. Ensure the concrete is fully dry, clean, and properly etched so the stain bonds evenly the next time.
How can I remove dark spots, stains, or mottling from a stained concrete floor?
Treat spots based on what caused them: oil spots typically require an oil-specific degreaser before any re-staining, while mineral deposits may respond to a mild acid wash designed for concrete. For persistent mottling from residue or previous treatments, use the right stain stripper and then thoroughly rinse and neutralize per product instructions. After cleaning, reapply concrete stain with uniform application to restore the intended color.
Which cleaning method works best to correct faded or dull stained concrete discoloration?
For most stained concrete floors, begin with gentle pH-neutral concrete cleaner to remove grime without stripping color. If the discoloration is caused by dulling from embedded dirt, a controlled scrub with a soft-bristle brush and proper rinsing can restore clarity. If the stain has faded due to wear or UV exposure, cleaning alone may not be enough—refinishing with a compatible concrete stain or color enhancer and a penetrating sealer is often the most durable fix.
What’s the best way to prevent future discoloration after repairing stained concrete floors?
After you correct discoloration, seal the floor with a breathable, stain-compatible concrete sealer to reduce moisture, spills, and rapid re-soiling. Fix moisture issues first by addressing leaks or improving drainage so the stain doesn’t continue reacting unevenly. Maintain the floor with pH-neutral cleaners, avoid harsh chemicals that can lift stain, and use protective mats in high-spill areas to limit future blotching.
📅 Last Updated: October 10, 2026 | Topic: How to fix discoloration on stained concrete floors? | Content verified for accuracy and freshness.
References
- Google Scholar Google Scholar
https://scholar.google.com/scholar?q=how+to+remove+stains+from+stained+concrete+floor - Google Scholar Google Scholar
https://scholar.google.com/scholar?q=concrete+floor+discoloration+efflorescence+rust+water+stain+remediation - Google Scholar Google Scholar
https://scholar.google.com/scholar?q=concrete+stain+cleaning+etching+sealer+restoration - Efflorescence
https://en.wikipedia.org/wiki/Efflorescence - Concrete
https://en.wikipedia.org/wiki/Concrete - https://www.cdc.gov/mold/default.htm
- Mold | US EPA
https://www.epa.gov/mold - https://www.hud.gov/program_offices/healthy_homes/mold
- https://www.sciencedirect.com/search?qs=concrete%20stain%20removal
- https://pubmed.ncbi.nlm.nih.gov/?term=concrete+stain+removal