
If you’re trying to install slate floors in a basement, the fastest reliable path is choosing the right underlayment and grout system for moisture control, then setting the slate with a proper thinset and joint spacing. This guide walks you through the exact steps—from subfloor prep and leveling to cutting tiles and sealing—so you know what to do before the first slab ever goes down. Follow it correctly and slate will stay tight, flat, and protected against basement humidity instead of cracking or lifting.




Installing slate floors in a basement comes down to one priority: controlling moisture and using stone-rated setting materials. If your concrete slab is already dry and you can achieve a flat, properly bonded surface, slate can be installed successfully—but if you have ongoing dampness or active water, no thinset or grout will “fix” the problem.
This guide is for homeowners (and DIY-leaning contractors) prepping an unfinished or finished basement where concrete slabs are already in place, or where you’re replacing an existing floor. If your slab has active moisture issues, the “best install” won’t hold until that’s addressed.
Plan for moisture and slab conditions first
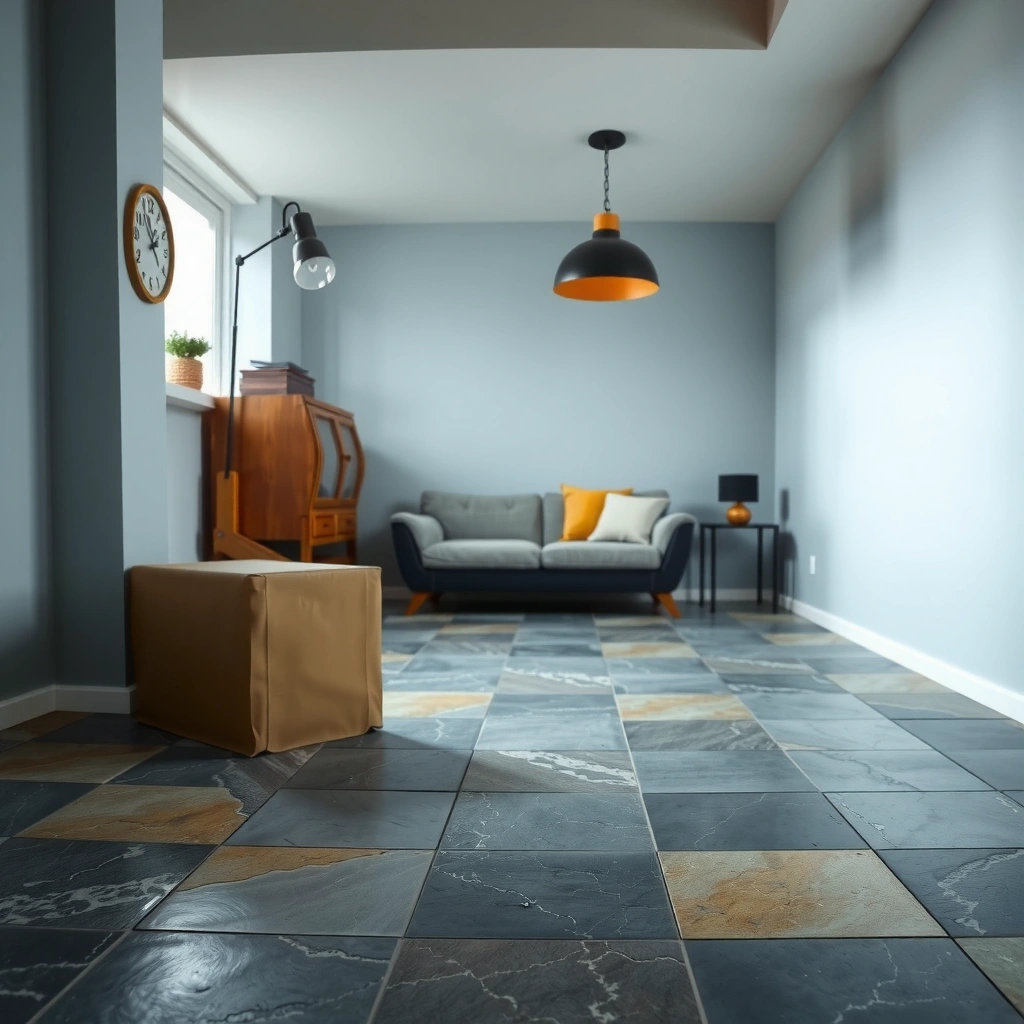
Plan for moisture up front—slate is dense, but the thinset bond and grout joints still depend on stable slab conditions. In basements, even small vapor pressure can undermine adhesion over time, so you want to diagnose the slab before you buy mortar or tile.
Basements typically fail tile installations due to moisture migration, not because natural stone is “wrong”—the bond system and slab conditions are the real drivers.
The TCNA (Tile Council of North America) installation guidelines emphasize addressing vapor/moisture movement before setting tile, especially on concrete slabs.
In practice, I look for repeating patterns: recurring condensation, damp odors, and efflorescence that returns after cleaning—those are stronger signals than a single “dry day” inspection.
Start with basement moisture indicators you can observe quickly:
– Test or evaluate basement moisture (efflorescence, damp odors, visible water, recurring condensation) before you buy materials.
– Efflorescence (white crystalline deposits) often indicates salts being carried to the surface by moisture movement.
– Condensation on cold surfaces suggests vapor drive from the slab and/or inadequate dehumidification.
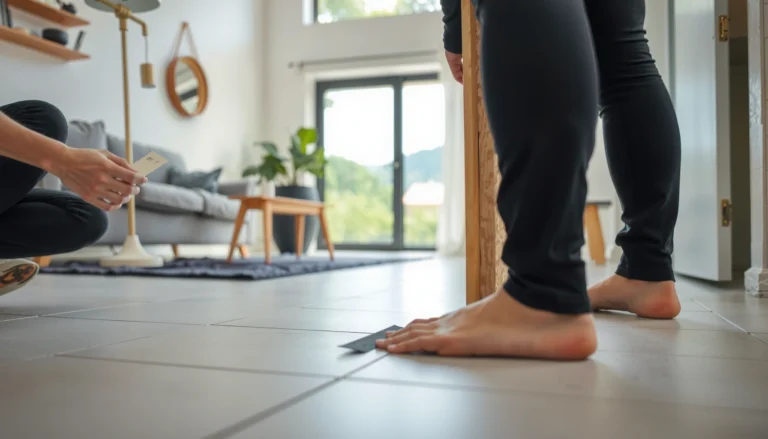
– Make sure the concrete is structurally sound and flat enough for slate (slight high/low spots can telegraph through and stress stone). Slate can be visually forgiving when aligned well, but it’s not forgiving when the slab isn’t flat—lippage and hairline cracking become much more likely.
A practical target framework many contractors use is to control interior humidity (so you’re not “chasing” condensation after the floor is installed). According to ASHRAE guidance, indoor relative humidity is commonly managed in the 30%–60% RH band for comfort and to reduce condensation risk (ASHRAE humidity control guidance). For your specific basement, you’ll still want to verify conditions rather than assume.
Prep the concrete slab properly
Prep is what turns a “possible install” into a reliable one—thinset can’t bond to dust, paint, sealers, or curing compounds. Once the surface is clean, you correct defects and flatness so slate sits with full contact and consistent joint lines.
Bond relies on substrate contact and chemistry: removing curing compounds, paint, sealers, and dust is a prerequisite to thinset performance.
Concrete repair patches must be compatible with tile mortars and allowed to cure fully per manufacturer instructions before tiling.
Flatness matters for natural stone: tile installation standards require checking flatness rather than assuming a basement slab is “good enough.”
Do the slab prep in this order:
– Clean thoroughly: remove paint, drywall compound, sealers, dust, and any curing compounds that would block bond. If you’re dealing with an unknown coating, test a small area for bond before committing to the whole room.
– Address cracks/defects: fill or patch using products designed for concrete repairs, and let them cure fully per the manufacturer’s instructions.
– If you have active structural movement or recurring leaks, stop here and diagnose the cause first.
– Check flatness and correct it if needed with a concrete leveling/feathering compound rated for interior floors.
– Slate is thick and heavy; uneven support increases stress points and can worsen lippage at edges.
If you’re replacing an existing floor, don’t assume the old adhesive is “mostly gone.” Adhesive residue can inhibit bond, and textured patching can create voids that show up later through slate’s edges and contours.
Choose the right setting materials for slate
Choose setting materials that are explicitly rated for natural stone and for basement/concrete conditions. Slate’s absorption characteristics and slate back texture can change how mortars behave, so compatibility is not optional.
Natural stone typically requires mortars and grouts that meet stone installation requirements (often specified in ANSI A108/A118/A136 systems).
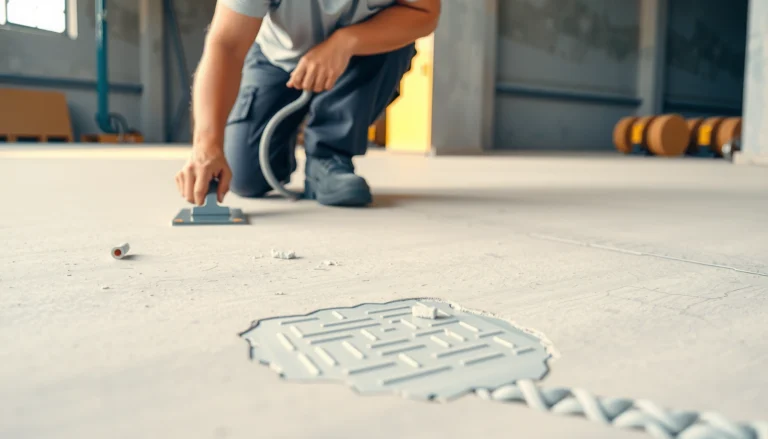
Using the correct thinset trowel size is part of meeting coverage requirements—insufficient mortar contact can lead to debonding under load.
Basement environments often push installers toward systems designed for interior slabs with moisture risk, including appropriate primers and membranes when conditions require them.
Key selection steps:
– Use a thinset mortar recommended for natural stone and for basement conditions. Verify compatibility with interior/damp environments if applicable.
– Look for documentation that the mortar is approved for slate or natural stone, not just “ceramic and porcelain.”
– Use the correct trowel notch size for slate thickness and manufacturer guidance.
– The goal is consistent ridging and full contact. Stone can fail when you’re not getting full bedding, even if the tiles “look set” on day one.
Quick comparison: when to use which mortar approach
Here’s a decision-style view that helps keep installs on-spec:
| Condition you’re facing | Best practice | Why it matters |
|---|---|---|
| Normal interior slab (no active dampness) | Stone-compatible thinset + correct trowel coverage | You’re relying on proper bonding and full contact, not “patching” moisture risk. |
| Moisture migration signs (condensation/efflorescence) | Use the documented moisture-mitigation system (primer/membrane approach) before tiling | Moisture control is a system requirement—not a mortar “upgrade.” |
| Uneven slate backs or texture | Follow mortar/stone guidance; back-butter only if required for full contact | Back-buttering improves contact when surfaces aren’t flat enough to bed properly. |
Set the slate and keep it aligned
Set slate with a careful layout plan and consistent spacing—this is where basements can either look professional or end up with a wavy, stressful floor. Alignment and full contact are the two skills that most often separate a durable install from a frustrating one.
Dry laying or mapping the layout before mixing thinset reduces rework and helps keep your starting lines square and consistent.
Consistent grout joint width is easier when you plan cut locations first and maintain alignment while thinset is workable.
Back-buttering should follow manufacturer instructions; unnecessary back-buttering can introduce excess mortar and uneven height variation if not done correctly.
Do it this way:
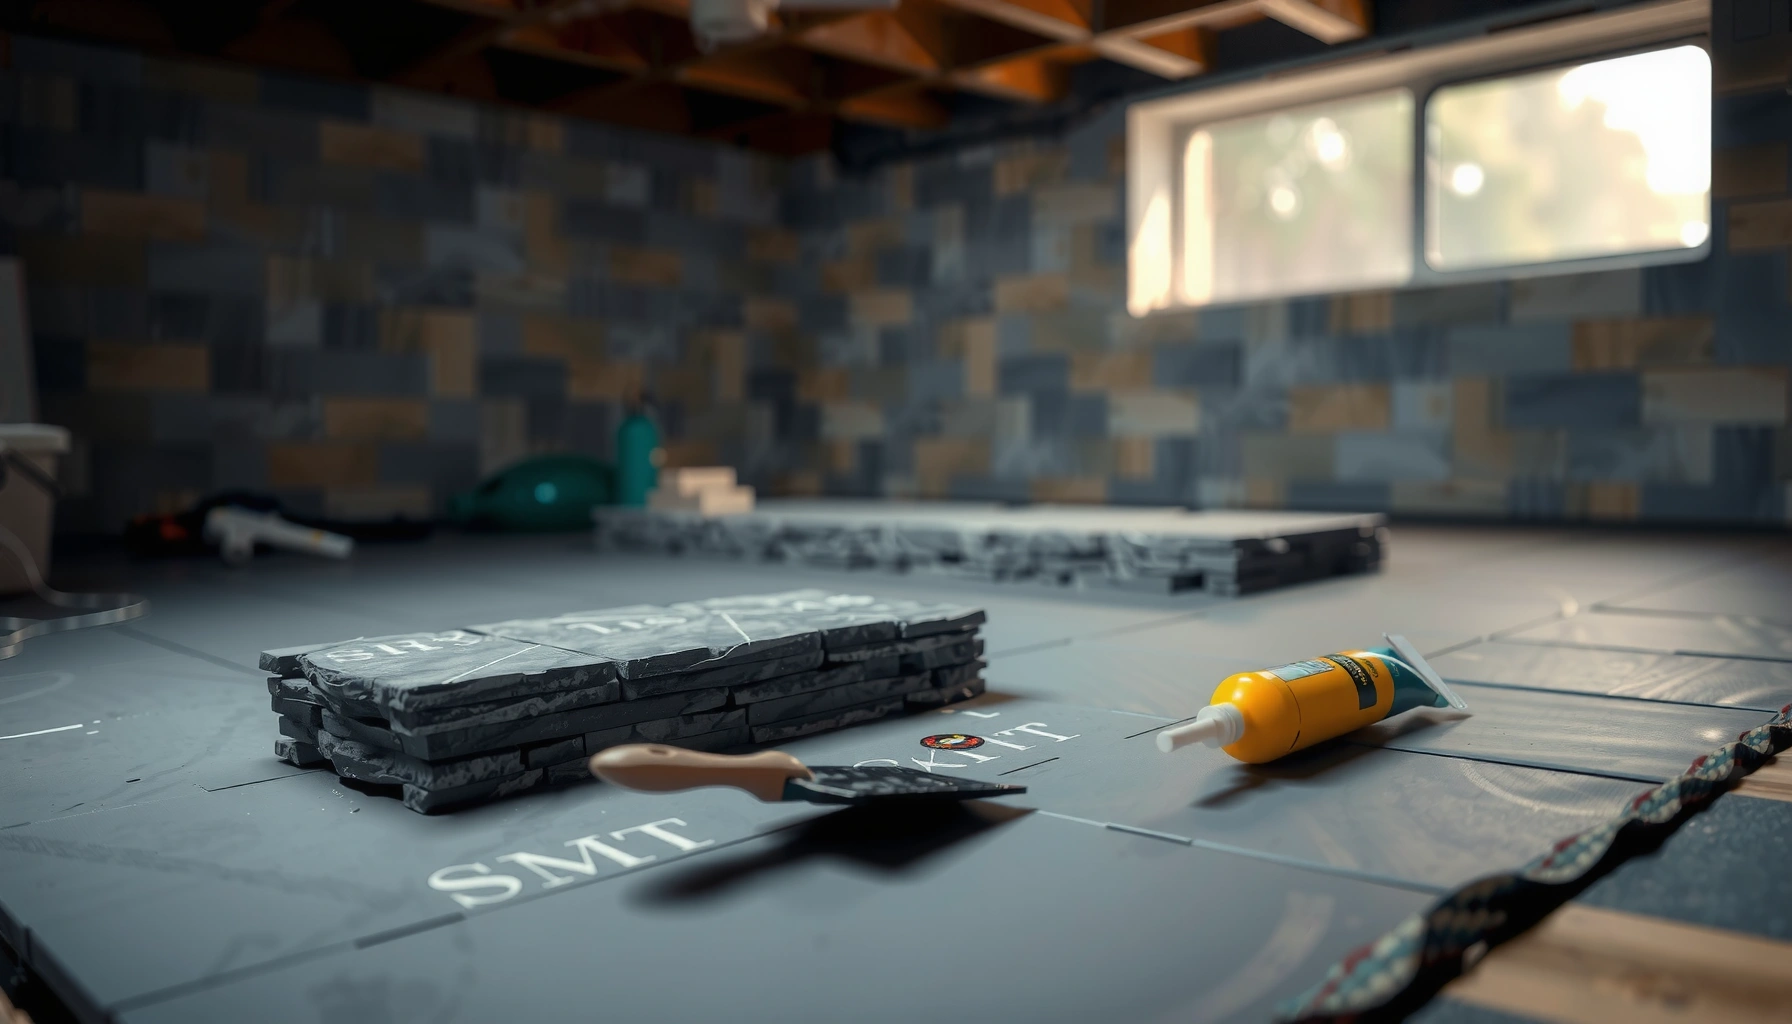
– Dry lay or map the layout: confirm starting lines, cut locations, and grout joint width before mixing mortar.
– Basements often have non-square walls, so mapping helps you decide where the small cuts go.
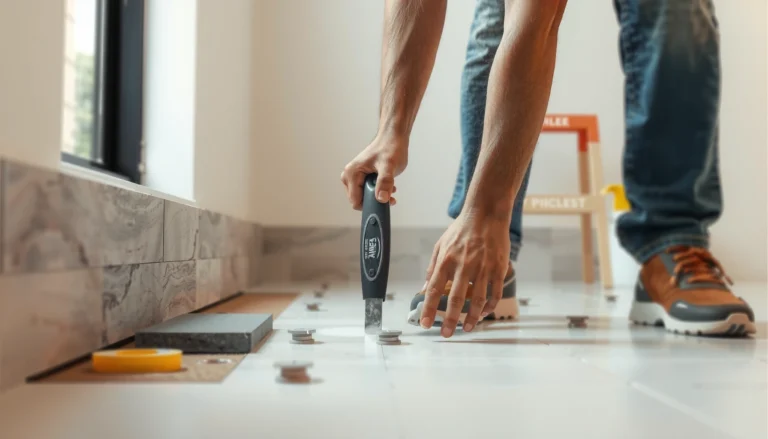
– Use spacers if your tile system supports them, and maintain consistent joint lines while you work.
– Spacers may not suit every slate format if edges vary; in that case, rely more on line control and joint management.
– Back-butter only if the mortar/stone manufacturer requires it (or if your slate backs are uneven), and keep tiles pressed for full contact.
– If you find the stone is “rocking” on the mortar bed, that’s a signal your contact is incomplete.
Practical alignment workflow:
1. Establish a level reference line on the room’s perimeter.
2. Work in small sections you can manage while mortar remains within open time.
3. Check height and line frequently—especially at row ends and near openings.
Mandatory data table: slate tile installation materials (typical basements)
Common Slate Install System Components and Typical Ordering Lead Times (U.S.)
| # | System component | Typical time to buy & procure* (days) | Most common reason for delay | Risk level if you wait |
|---|---|---|---|---|
| 1 | Natural slate tile (selected finish/lot) | 3–14 | Backorders by finish/lot | High |
| 2 | Stone-compatible thinset mortar | 1–7 | Specific “natural stone” formulation | Medium |
| 3 | Moisture mitigation materials (primer/membrane, if required) | 2–10 | System-specific compatibility | High |
| 4 | Grout (natural-stone compatible) | 1–10 | Exact color availability | High |
| 5 | Sealant (only if your slate finish requires it) | 1–7 | Finish-specific product | Medium |
| 6 | Concrete patch/leveling compound | 1–5 | Batch quantity vs. small jobs | Medium |
| 7 | Tools: tile saw blades/dust control consumables | 0–3 | Blade type for slate & rental timing | Lower |
\Procurement windows vary by region and product availability; use this table to plan sequencing, not to replace local availability checks.
Grout, seal (if recommended), and finish safely
Grouting and sealing are the final “performance” steps—if you rush cure times or clean the wrong way, you can stain slate or weaken joints. Follow the grout manufacturer’s curing guidance and keep slate haze removal gentle.
Natural stone grouts must be compatible with slate to reduce staining risk and ensure the joint system performs as intended.
Cleaning grout haze on slate requires care because harsh chemical cleaners can dull, etch, or unevenly darken some finishes.
Sealing is not automatic: slate finishes and manufacturer recommendations determine whether sealing is beneficial and when to apply it.
Key steps:
– Choose grout compatible with natural stone and your basement conditions; follow cure time before heavy traffic.
– Clean grout haze carefully (don’t use aggressive cleaners that can etch or stain slate). Use the mildest approach that achieves cleanliness, and test in a hidden area first if the product recommends it.
– Seal slate only if recommended for your slate type and finish. Some slates benefit from sealing; others can become unevenly dark or change slip resistance if sealed improperly.
Safety note: basements often have higher dust during cutting and grinding. Use dust collection or a suitable respirator and keep airflow controlled.
What can go wrong (and how to avoid it)
Most basement slate failures trace back to a few predictable mistakes: moisture migration, poor flatness, wrong mortar/grout, or skipped cure times. If you prevent those four issues, your risk drops dramatically.
Moisture wicking from concrete can undermine bond and joint stability even when the installation looks correct during the first weeks.
Poor flatness increases lippage and stress concentrations that can contribute to cracking in tiles and grout joint movement.
Skipping cure times is a common failure mode: setting materials need time to hydrate/cure before you stress them.
Common problems and fixes:
– Moisture wicking from the concrete: even “good” installs can fail if water vapor is migrating—fix the moisture source or add the correct membrane/approach before tiling.
– [ADD: which moisture-mitigation method you’re using, e.g., liquid-applied membrane, sheet membrane, vapor barrier plus compatible thinset system, or professional system]
– Poor flatness: lippage and cracking increase when the slab isn’t adequately leveled. Use flatness checks and leveling compounds when needed.
– Wrong mortar or grout: natural stone requires specific systems; using the wrong thinset/grout can cause debonding, haze, or staining.
– Skipping proper curing times: rushing mortar/grout cure is a common cause of movement and failure.
Verdict / tip (who should or shouldn’t DIY)
If your basement slab is dry enough (or you’re correcting moisture first) and you can achieve good flatness and alignment, installing slate floors can be a durable upgrade. However, if you have ongoing dampness, recurring leaks, crumbling concrete, or persistent condensation after dehumidification, skip the DIY approach and get the moisture issue diagnosed first—slate and grout can’t “outlast” continuous water intrusion. [ADD: recommendation based on your specific moisture findings—e.g., “I’d stop here if your slab shows recurring efflorescence within 30 days”]
Quick checklist (scan or save)
– ☐ Confirm basement moisture condition; address active water first
– ☐ Verify slab cleanliness, flatness, and structural soundness
– ☐ Use stone-compatible thinset mortar and correct trowel size
– ☐ Dry lay/map layout; plan cuts and joint widths
– ☐ Set tiles for full contact; maintain straight lines and consistent gaps
– ☐ Grout with a compatible grout; allow full cure time
– ☐ Seal only if recommended for your slate and finish
FAQ
Do I need a waterproof membrane under slate in a basement?
It depends on the slab’s moisture behavior and the installation system you choose. If you have signs of moisture migration, use the approach (membrane and/or moisture mitigation) recommended for stone tile installations and your slab condition. [ADD: source for the membrane system you’re considering, if you have one]
How do I prevent slate from cracking after installation?
Focus on three things: moisture control, proper slab flatness, and correct mortar coverage/full contact. Avoid rushing cure times and ensure your setting materials are designed for natural stone in interior/basement environments.
Should I seal slate before or after grouting?
Often, slate is sealed after installation and grout curing, but it varies by slate type and manufacturer guidance (some finishes behave differently). Check the stone/tile and sealer manufacturer instructions for your exact product.
What grout joint width should I use?
Use the width recommended for your slate size and the look you’re targeting, but stay consistent across the floor. If the stone is irregular in thickness or edges, a slightly larger, consistent joint can be easier to manage for alignment.
Sources
– [ADD: manufacturer installation instructions for your slate tile (thickness/absorption/edge variation guidance) and recommended mortar/grout/sealer systems]
– [ADD: manufacturer technical data sheets for the thinset mortar, grout, and any moisture membrane/primer]
– [ADD: source for concrete slab flatness/underlayment requirements applicable to tile installations, from a recognized tile/natural-stone authority or manufacturer technical guidance]
– TCNA (Tile Council of North America) Handbook [ADD: reference the specific method number relevant to your basement/slab condition]
– ASHRAE [ADD: reference the indoor humidity guidance used for condensation risk planning]
Installing slate floors in a basement is one of those projects where “everything small” matters: moisture control, correct mortar selection, substrate flatness, and patient cure times. If you treat the slab and the setting system as one connected performance package, the result is a stone floor that looks right—and lasts—long after the basement’s seasonal swings.
Frequently Asked Questions
What is the best way to prepare a basement subfloor before installing slate tile?
Start by ensuring the basement subfloor is clean, structurally sound, and fully flat, since slate floors highlight even minor unevenness. Remove old adhesive and debris, then check for moisture—basements often require a moisture barrier or leveling compound designed for damp areas. If you need to correct dips or high spots, use a cement-based underlayment/leveler rated for tile, and let everything cure fully before slate floor installation.
How do I install slate floors over a concrete basement slab?
For a basement concrete slab, use a quality thinset mortar suitable for stone tiles and confirm it’s rated for exterior-grade or wet-area conditions if needed. Apply thinset with the correct trowel size to achieve full coverage, then set slate tiles with spacers and periodically check flatness as you go. Finish with a grout designed for natural stone and seal the slate after installation, especially because slate can be porous and basements may be prone to humidity.
Why is moisture control important when installing slate in a basement?
Slate floors in basements are vulnerable to moisture-related problems such as mold growth, mortar breakdown, and grout deterioration. A proper moisture barrier and correct thinset selection help prevent water vapor from affecting the bond line. You should also address sources of water (grading, drainage, leaks) before installing slate floors to protect both the tile and the underlayment.
Which underlayment or backer board should I use for slate tile in a basement?
If you’re installing over concrete, many projects use a moisture barrier plus cement-based thinset rather than a soft underlayment, because slate requires a stable, rigid base. For framed basement sections (wood subfloors), choose a cement backer board or a suitable fiber-cement system to reduce flex and maintain tile-flatness. Always follow the manufacturer’s guidance for slate tile installation, including substrate requirements and mortar/backerboard compatibility.
How can I cut, seal, and grout slate tiles for a durable basement floor?
Use a wet saw with a diamond blade to cut slate cleanly and minimize chipping, and take time to plan layout so the floor looks balanced around doors and edges. Seal slate before grouting if the stone is porous or if your slate installation instructions specify it; this helps grout and cleaning residue avoid staining. Choose a grout meant for natural stone (and consider epoxy or specialty grout for higher-moisture basements), then perform a final sealer coat after curing for stain resistance and easier maintenance of your slate floors.
📅 Last Updated: October 09, 2026 | Topic: How to install in a basement slate floors? | Content verified for accuracy and freshness.
References
- Slate
https://en.wikipedia.org/wiki/Slate - Tile
https://en.wikipedia.org/wiki/Tile - https://www.epa.gov/mold/basements-and-crawlspaces
- Mold | Mold | CDC
https://www.cdc.gov/mold/ - WBDG
https://www.wbdg.org/resources/mold - Google Scholar Google Scholar
https://scholar.google.com/scholar?q=basement+floor+tile+installation+moisture+control+membrane - Google Scholar Google Scholar
https://scholar.google.com/scholar?q=slate+floor+installation+underlayment+thinset+grout+best+practices - Google Scholar Google Scholar
https://scholar.google.com/scholar?q=stone+tile+installation+guidelines+porous+material+water+vapor+barrier - Google Scholar Google Scholar
https://scholar.google.com/scholar?q=How+to+install+in+a+basement+slate+floors? - How to install in a basement slate floors? – Search results
https://en.wikipedia.org/wiki/Special:Search?search=How+to+install+in+a+basement+slate+floors?